1. Introduzione
The Walfront Y102 USB IP67 Endoscope is a versatile inspection camera designed for various applications, including industrial, automotive, and household inspections. Featuring a 5.5mm lens with 6 adjustable LED lights and a 5-meter cable, it provides clear visuals in dark or hard-to-reach areas. Its 3-in-1 USB design ensures wide compatibility with Android devices and computers.
Le caratteristiche principali includono:
- Convenient and Practical: 6 adjustable LED lights for improved visibility in dark environments.
- Qualità Premium: Costruzione durevole per un utilizzo a lungo termine.
- Utilizzo estensivo: Compatible with Android devices and computers via its 3-in-1 USB connection.
- Great Performance: 2.0MP CMOS HD camera for enhanced image resolution and clarity.
- Descrizione del prodotto: 5.5mm diameter lens, IP67 waterproof rating, and 5-meter USB cable.
2. Componenti del prodotto
The Y102 Endoscope package includes the main endoscope unit with its integrated cable and USB connector, along with several useful accessories.

Figure 2.1: The Walfront Y102 USB Endoscope, showing the camera head, control unit, coiled 5-meter cable, and the 3-in-1 USB connector (USB-A, Micro USB, USB-C).

Figure 2.2: The endoscope unit displayed with its standard accessories: a side mirror for angled viewing, a hook for retrieving objects, and a magnet for metallic items.
The control unit, located on the cable, features a button for capturing images and a rotary dial for adjusting the brightness of the LED lights.

Figure 2.3: Detail of the control unit, highlighting the capture button and the integrated wheel for adjusting the intensity of the LED illumination.
3. Istruzioni per l'installazione
To begin using your Walfront Y102 Endoscope, follow these steps to connect it to your device:
- Installa applicazione: For Android devices, download and install a compatible endoscope application from your device's app store. Popular choices include "USB Camera", "OTG View", or "AN98". For Windows PCs, you may need to install a specific driver or use a webapplicazione camma.
- Connect Endoscope: Plug the appropriate USB connector (USB-A, Micro USB, or USB-C) into your Android smartphone, tablet, or computer's USB port. Ensure your device supports OTG (On-The-Go) functionality for Android.
- Avvia applicazione: Open the installed endoscope application. The application should automatically detect the endoscope and display the live video feed.

Figure 3.1: Illustration of the endoscope connected to a smartphone (left) and a laptop (right), demonstrating its multi-device compatibility.
4. Istruzioni per l'uso
Once connected and the application is running, you can begin using your endoscope for inspection:
- Insert Endoscope: Carefully insert the camera head into the area you wish to inspect. The flexible cable allows for navigation through tight spaces.
- Regola le luci a LED: Use the rotary dial on the control unit to adjust the brightness of the 6 LED lights. Increase brightness in dark environments for clearer images.
- Cattura immagini/video: Use the button on the control unit to take still photographs. Most applications also offer a record button within the software interface to capture video footage.
- Utilizzare gli accessori: Attach the side mirror for viewing at a 90-degree angle, the hook for retrieving small objects, or the magnet for picking up metallic items.

Figure 4.1: The endoscope camera head with its 6 adjustable LED lights providing illumination for inspection.
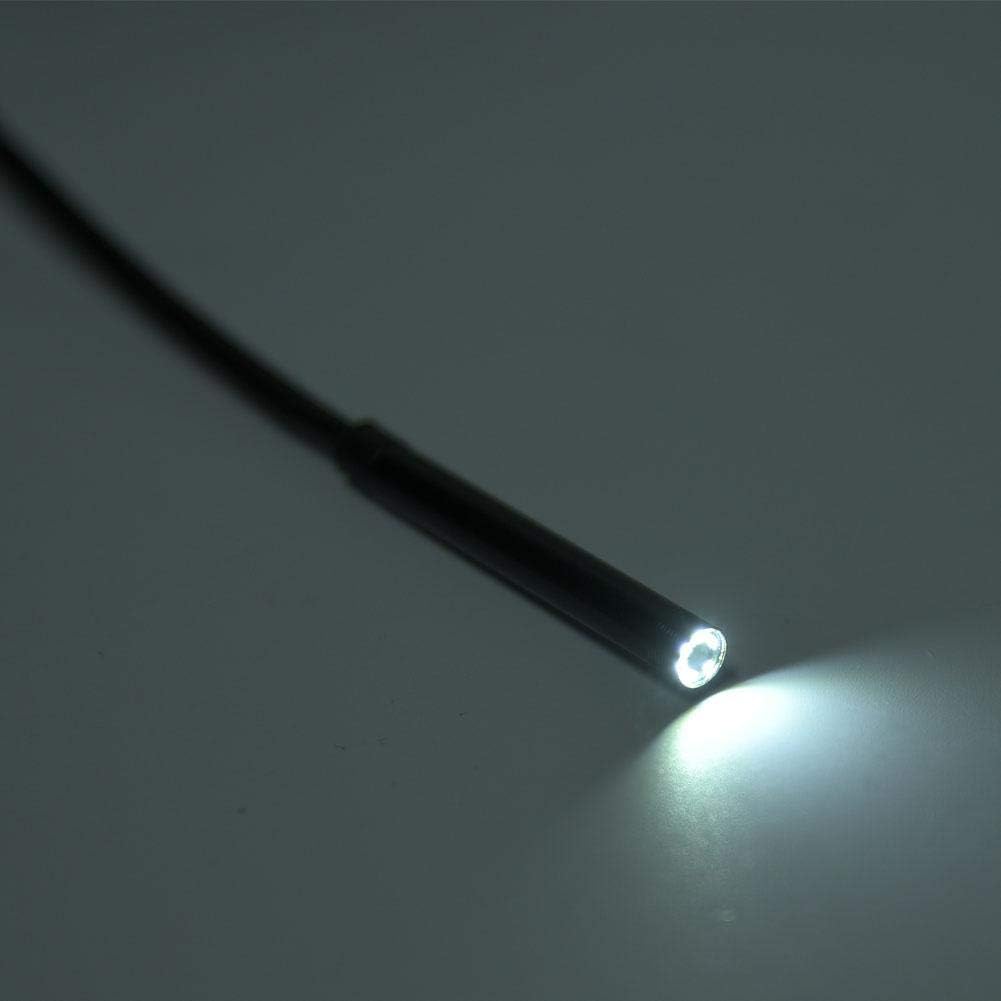
Figure 4.2: Practical applications of the endoscope, including inspecting internal wall structures and accessing areas behind appliances.
5. Manutenzione
Una corretta manutenzione garantisce la longevità e le prestazioni ottimali del tuo endoscopio:
- Pulizia: Dopo ogni utilizzo, soprattutto in ambienti sporchi o bagnati, pulire delicatamente l'obiettivo della fotocamera e il cavo con un panno morbido e asciutto.amp cloth. The IP67 rating indicates resistance to dust and water immersion up to 1 meter for 30 minutes, but it is not designed for prolonged underwater use or harsh chemicals.
- Essiccazione: Ensure the endoscope and its connectors are completely dry before storing.
- Magazzinaggio: Conservare l'endoscopio in un luogo fresco e asciutto, lontano dalla luce solare diretta e da temperature estreme. Avvolgere il cavo senza stringere troppo per evitare piegature o danni.
- Evitare di piegarsi: Do not excessively bend or crimp the cable, as this can damage internal wiring.
6. Risoluzione Dei Problemi
If you encounter issues with your Walfront Y102 Endoscope, refer to the following common problems and solutions:
| Problema | Possibile causa | Soluzione |
|---|---|---|
| No image displayed / Device not recognized. |
|
|
| L'immagine è sfocata o scura. |
|
|
| L'app si blocca o si arresta in modo anomalo. |
|
|
7. Specifiche
| Caratteristica | Dettaglio |
|---|---|
| Modello | Y102 |
| Diametro della lente | 5.5mm |
| Risoluzione della fotocamera | 2.0MP CMOS HD (Video Capture Resolution: 480p) |
| Luci LED | 6 LED regolabili |
| Lunghezza del cavo | 5 metri |
| Grado di impermeabilità | Grado di protezione IP67 |
| Connettività | 3-in-1 USB (USB-A, Micro USB, USB-C) |
| Compatibilità | Android (OTG support required), Windows PC |
| Gamma di messa a fuoco macro | 5 centimetri - ∞ |
| Dimensioni del prodotto | 4.72 x 4.72 x 1.38 pollici |
| Peso dell'articolo | 0.704 once |
| Colore | Nero |
| Produttore | Walfront |
8. Garanzia e supporto
For information regarding warranty coverage and terms for your Walfront Y102 Endoscope, please refer to the documentation provided at the time of purchase or contact the seller directly. Support inquiries, technical assistance, or questions about product functionality should also be directed to the point of purchase or the manufacturer's official support channels.