Diablo X-Player L
Diablo X-Player 2.0 Gaming Chair User Manual
Model: X-Player L
Marca: Diablo
1. Prodotto finitoview
The Diablo X-Player 2.0 Gaming Chair is designed to provide exceptional comfort and ergonomic support for extended periods of gaming or office work. It features a robust construction, adjustable components, and high-quality materials to ensure durability and a superior seating experience.
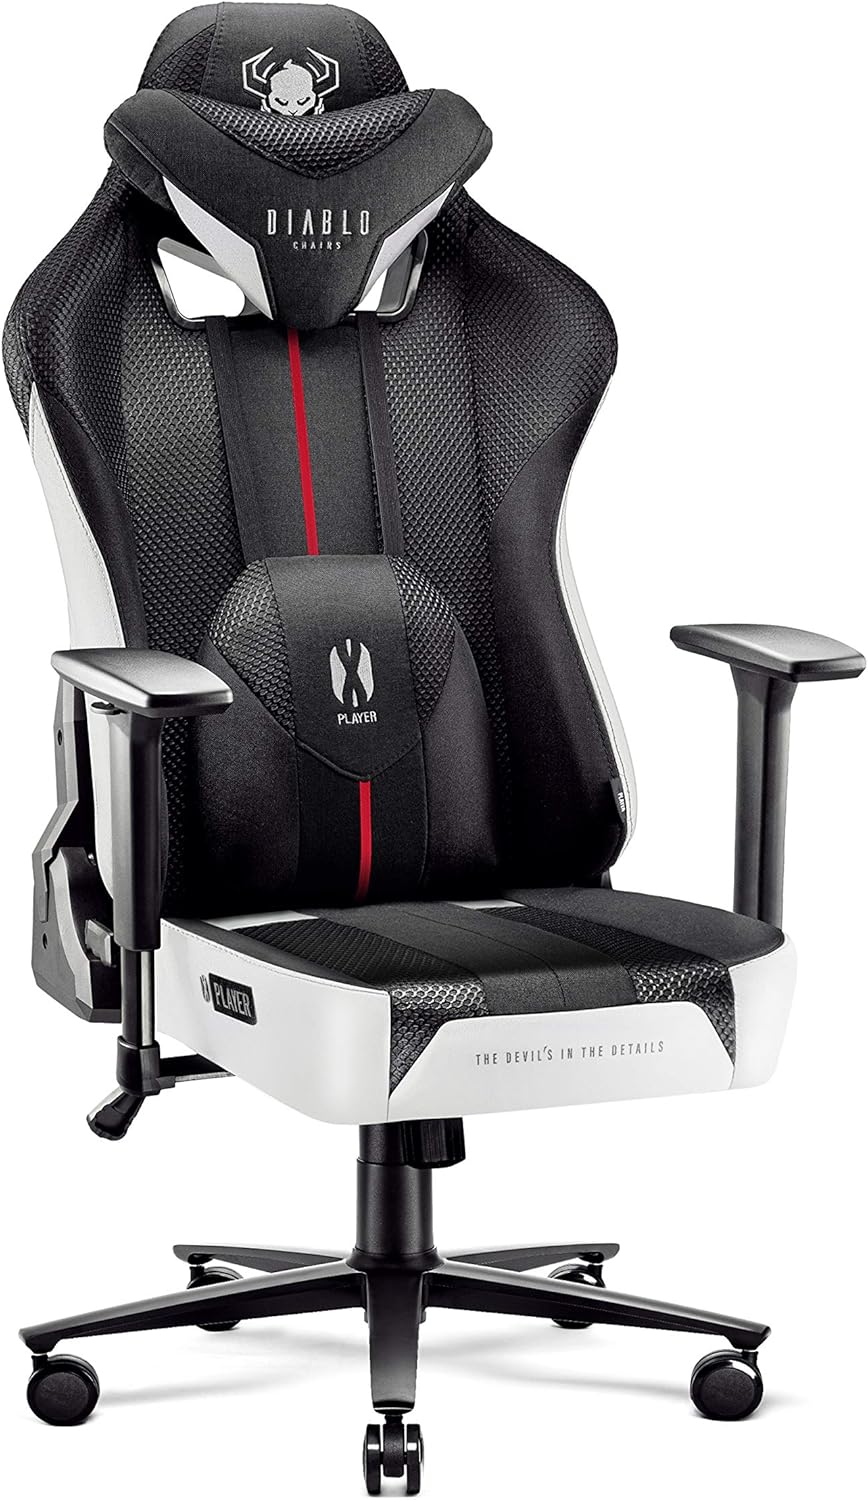
This image displays the Diablo X-Player 2.0 Gaming Chair in its full form, highlighting its white and black color scheme, ergonomic design, and prominent Diablo branding on the headrest and lumbar cushion.

The chair is shown positioned in front of a desk with a computer monitor, illustrating its suitability for both gaming and professional use within a home or office setup.
2. Installazione e assemblaggio
The Diablo X-Player 2.0 Gaming Chair requires assembly. Please follow these instructions carefully to ensure proper and safe setup. Assembly typically takes approximately 45 minutes.
2.1. Disimballaggio
- Aprire con cautela la confezione e rimuovere tutti i componenti.
- Verificare che siano presenti tutti i componenti elencati nella lista di imballaggio.
- Locate the small plastic container which holds the assembly tools (Allen key/screwdriver) and the instruction manual.
2.2. Fasi di assemblaggio
While specific steps are detailed in the included manual, general assembly involves:
- Attaching the wheels to the base.
- Inserimento del pistone a gas nella base.
- Securing the seat mechanism to the seat base.
- Attaching the backrest to the seat base.
- Mounting the armrests.
- Posizionamento del sedile assemblato sul pistone a gas.

This image provides a visual guide to the chair's packaging and the arrangement of its components, which can assist in identifying parts during the assembly process.
3. Istruzioni per l'uso
The Diablo X-Player 2.0 Gaming Chair offers various adjustments to customize your seating experience for optimal comfort and support.
3.1. Regolazione dell'altezza
To adjust the chair's height, locate the lever on the right side beneath the seat. Pull the lever up while seated to lower the chair, or pull it up while standing to raise the chair. Release the lever at the desired height.
3.2. Reclinazione dello schienale (Tilttech Gear)
The backrest can be reclined up to approximately 160 degrees. Use the lever on the left side of the chair to adjust the recline angle. Push the lever down to unlock and recline, then release to lock at your preferred angle.
This image illustrates the range of recline angles available with the Tilttech Gear mechanism, from upright (90° for work) to fully reclined (160° for turbo nap), including gaming (120°) and movie (140°) positions.
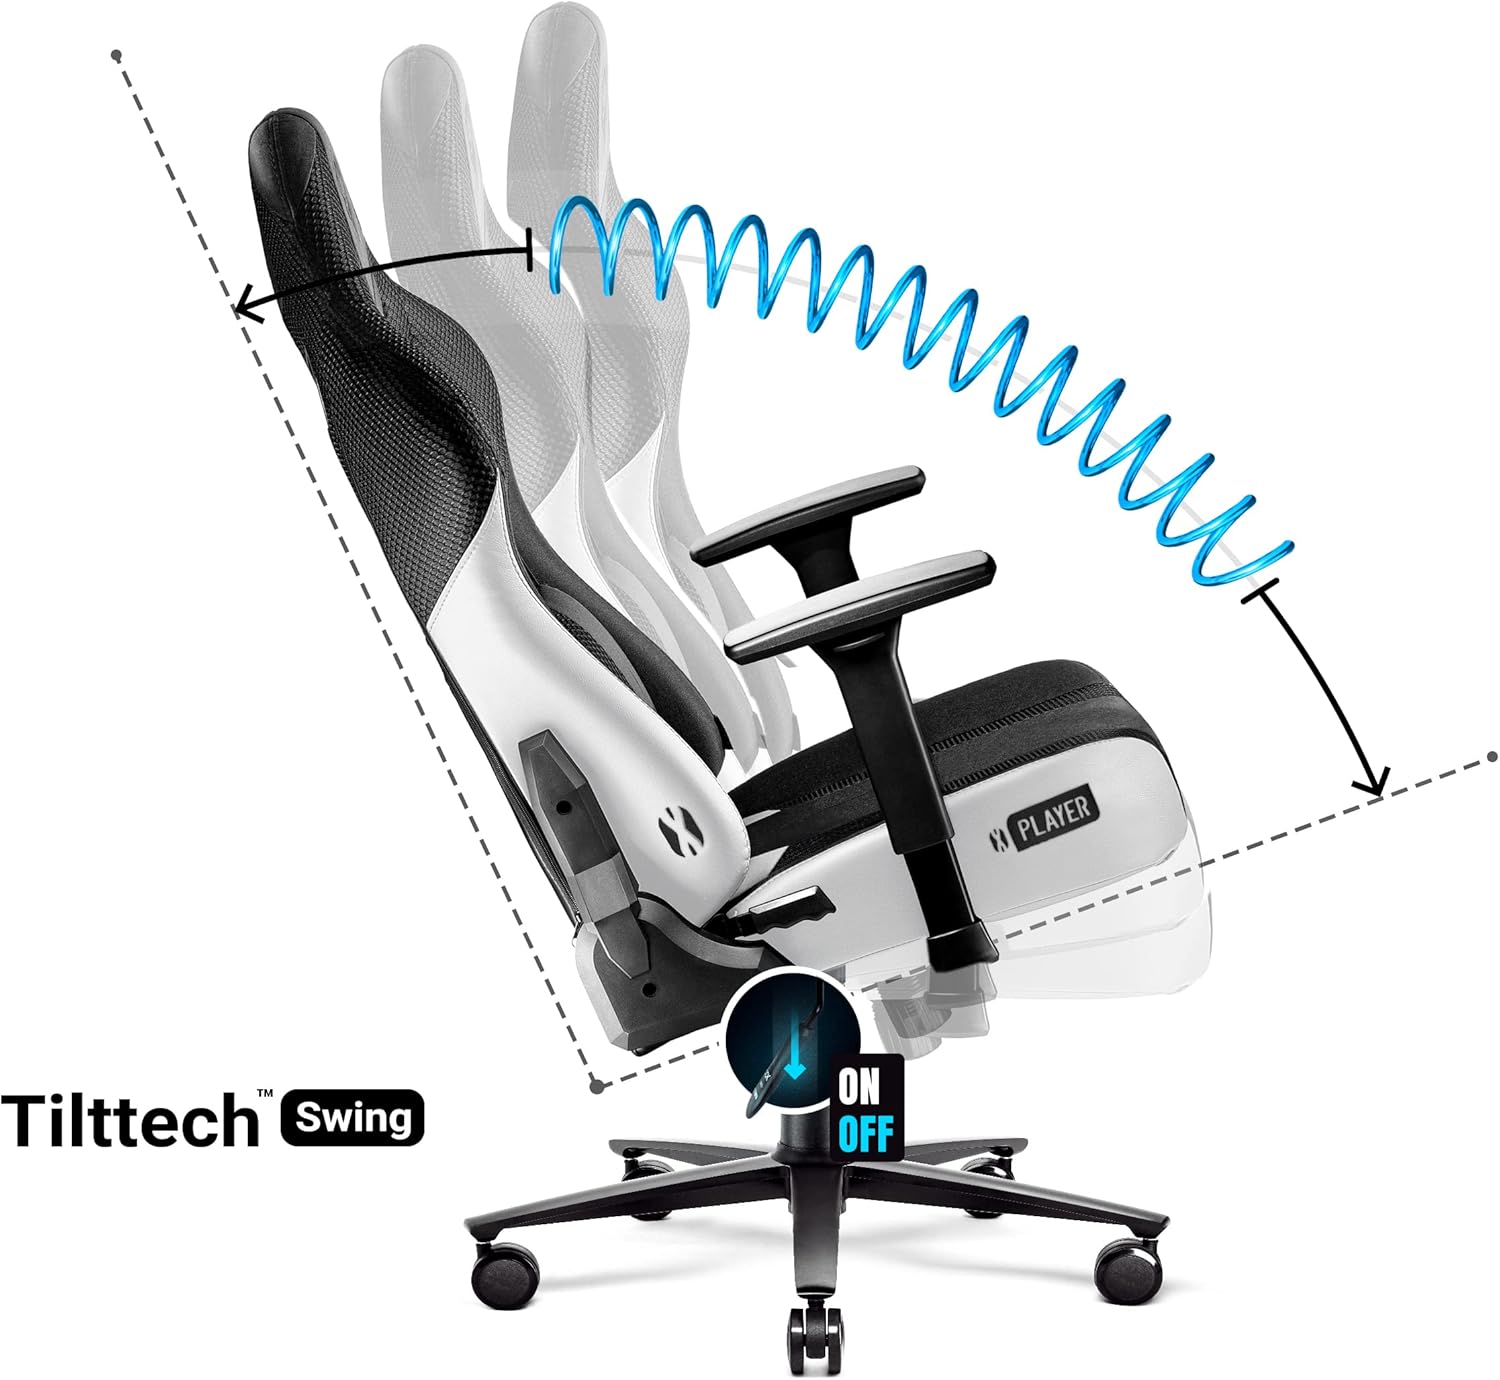
3.3. Rocking Function (Tilttech Swing)
The chair features a rocking function for dynamic seating. To activate, pull out the lever on the right side (the same lever used for height adjustment). Push it back in to lock the chair in an upright position.

This diagram shows the chair's rocking motion and the 'ON/OFF' switch for the Tilttech Swing function, allowing users to engage or disengage the rocking feature.
3.4. Armrest Adjustment (Armtech Hybrid)
The 3D adjustable armrests provide versatile support for your arms and shoulders. They can be adjusted in three dimensions:
- Regolazione dell'altezza: Premere il pulsante sul lato del bracciolo e spostarlo verso l'alto o verso il basso.
- Scorrimento avanti/indietro: Far scorrere il cuscinetto del bracciolo in avanti o indietro.
- Girevole: Ruotare il bracciolo verso sinistra o verso destra.

This image details the various adjustment capabilities of the Armtech Hybrid armrests, including vertical (1D), crossover (2D), and hybrid (3D) movements, allowing for personalized arm support.
3.5. Cuscini lombari e poggiatesta
The chair includes adjustable memory foam lumbar and headrest cushions for enhanced ergonomic support. Position them to fit the natural curve of your spine and neck.

This image highlights the soft, conforming nature of the memory foam used in the chair's cushions, demonstrating how it adapts to the user's body for personalized comfort.

This cutaway view illustrates the Dual Layer cushioning system within the seat, showing the different layers of foam designed for optimal support and breathability.
3.6. Design ergonomico
The chair's design promotes a healthy posture, supporting key pressure points to prevent discomfort during long sessions.

This image highlights the specific areas of the chair that provide ergonomic support, corresponding to the body's natural pressure points for improved comfort and posture.

This visual demonstrates how the chair's ergonomic design aligns with the human body, indicating the areas of support for the back, neck, arms, and legs to promote healthy posture.
4. Manutenzione
Proper maintenance will extend the life and appearance of your Diablo X-Player 2.0 Gaming Chair.
4.1. Pulizia
- The chair's faux leather and fabric covers are designed for easy maintenance.
- Per la pulizia generale, utilizzare un panno morbido eamp panno per pulire le superfici.
- For spills or stains, perform a spot clean using a mild soap solution and a clean cloth. Avoid harsh chemicals or abrasive cleaners.
- Ensure the chair is completely dry before use.
4.2. Assistenza generale
- Controllare regolarmente tutte le viti e i bulloni per assicurarsi che siano ben serrati. Serrarli nuovamente se necessario.
- Tenere la sedia lontana dalla luce solare diretta e da fonti di calore per evitare il degrado del materiale.
- The abrasion-resistant rubber wheels are designed to prevent scratches on most floor types. Keep the wheels clean from debris to ensure smooth movement.
5. Risoluzione Dei Problemi
Questa sezione affronta i problemi più comuni che potresti riscontrare con la tua sedia da gaming.
5.1. Rumori stridenti
- Problema: The chair produces squeaking noises during use.
- Soluzione: Squeaking often indicates friction between moving parts. Apply a small amount of silicone-based lubricant to the joints of the seat mechanism, the gas lift, and the connections where the backrest meets the seat. Ensure all bolts are securely tightened.
5.2. Wobbly Armrests
- Problema: The armrests feel wobbly or loose.
- Soluzione: Check the screws that secure the armrests to the chair's frame. Tighten them using the provided Allen key. If the armrest pad itself is wobbly, ensure its internal locking mechanism is engaged after adjustment.
5.3. La sedia non regola l'altezza
- Problema: The chair's height adjustment is not functioning.
- Soluzione: Ensure the height adjustment lever is fully engaged. Check if the gas lift cylinder is properly seated in the base and the seat mechanism. If the issue persists, the gas lift may need replacement.
6. Specifiche
Key technical specifications for the Diablo X-Player 2.0 Gaming Chair:
| Caratteristica | Specificazione |
|---|---|
| Numero di modello | X-Player L |
| Colore | Bianco / Nero |
| Dimensioni del prodotto | 55 x 66 x 133 cm (L x P x A) |
| Peso | 24 kg |
| Capacità di carico massima | 150 kg |
| Materiale primario | Faux Leather, Fabric |
| Materiale del telaio | Metallo |
| Tipo di bracciolo | 3D Adjustable (Armtech Hybrid) |
| Angolo di reclinazione | Up to 160 degrees (Tilttech Gear) |
| Funzione dondolo | Yes (Tilttech Swing) |
| Cuscini | Memory Foam Lumbar and Headrest |
| Ruote | Abrasion-resistant rubber (PFC 360) |
| Assemblaggio richiesto | SÌ |
| Istruzioni per la cura | Spot pulito |
7. Garanzia e supporto
For information regarding warranty coverage and terms for your Diablo X-Player 2.0 Gaming Chair, please refer to the documentation provided at the time of purchase or visit the official Diablo Chairs website. Warranty details may vary by region and retailer.
If you require technical assistance, have questions about assembly, or need to order replacement parts, please contact Diablo Chairs customer support through their official channels. You can typically find contact information on the manufacturer's websito o tramite il punto vendita originale.
Manufacturer: Diablo Chairs
Ask a question about this manual
Ask about setup, troubleshooting, compatibility, parts, safety, or missing instructions. Manuals+ will review the question and use this page’s manual context to help answer it.