Introduzione
Thank you for choosing the Parkside PABH 20-Li B2 20V Cordless Rotary Hammer Drill. This manual provides important information regarding the safe operation, setup, maintenance, and troubleshooting of your new tool. Please read this manual thoroughly before using the device and keep it for future reference.
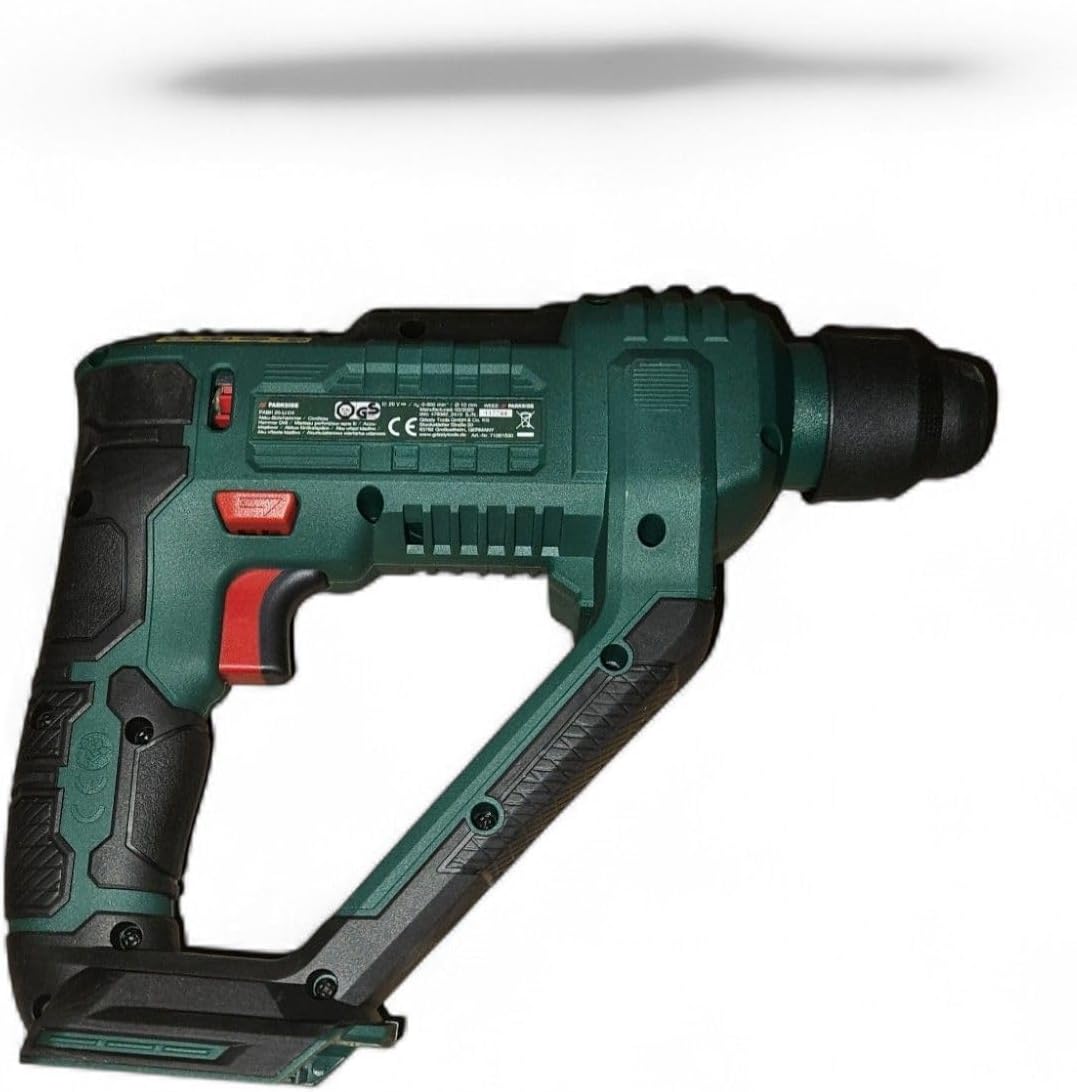
The Parkside PABH 20-Li B2 is a versatile cordless rotary hammer drill designed for various applications, including drilling in concrete, stone, metal, and wood, as well as screwdriving. It features an SDS-plus chuck for quick bit changes, variable speed control, an integrated LED light, and a comfortable soft-grip handle.
Istruzioni generali di sicurezza
AVVERTIMENTO! Leggere tutte le avvertenze di sicurezza, le istruzioni, le illustrazioni e le specifiche fornite con questo elettroutensile. La mancata osservanza di tutte le istruzioni elencate di seguito può causare scosse elettriche, incendi e/o lesioni gravi.
Sicurezza dell'area di lavoro
- Mantenere l'area di lavoro pulita e ben illuminata. Le aree disordinate o buie favoriscono gli incidenti.
- Non utilizzare utensili elettrici in atmosfere esplosive, come in presenza di liquidi, gas o polvere infiammabili. Gli utensili elettrici creano scintille che possono incendiare la polvere o i fumi.
- Tenere lontani bambini e astanti mentre si utilizza un elettroutensile. Le distrazioni possono causare la perdita del controllo.
Sicurezza elettrica
- Le spine degli utensili elettrici devono essere adatte alla presa. Non modificare mai la spina in alcun modo.
- Evitare il contatto del corpo con superfici messe a terra o collegate a massa, come tubi, radiatori, fornelli e frigoriferi. C'è un rischio maggiore di scosse elettriche se il corpo è collegato a massa o collegato a massa.
- Non esporre gli utensili elettrici alla pioggia o a condizioni di bagnato. L'ingresso di acqua in un utensile elettrico aumenta il rischio di scosse elettriche.
Sicurezza personale
- Indossare sempre protezioni per gli occhi. Utilizzare dispositivi di protezione individuale adeguati, come maschera antipolvere, scarpe antinfortunistiche antiscivolo, casco o protezioni acustiche, a seconda delle condizioni di lavoro.
- Prevent unintentional starting. Ensure the switch is in the off-position before connecting to a battery pack, picking up or carrying the tool.
- Non sporgersi troppo. Mantenere sempre un appoggio e un equilibrio adeguati. Ciò consente un migliore controllo dell'utensile elettrico in situazioni impreviste.
Uso e cura degli utensili elettrici
- Non forzare l'utensile elettrico. Utilizzare l'utensile elettrico corretto per la propria applicazione.
- Non utilizzare l'utensile elettrico se l'interruttore non lo accende e spegne. Qualsiasi utensile elettrico che non può essere controllato con l'interruttore è pericoloso e deve essere riparato.
- Scollegare la batteria dall'utensile elettrico prima di effettuare qualsiasi regolazione, cambiare gli accessori o riporre gli utensili elettrici. Tali misure di sicurezza preventive riducono il rischio di avviamento accidentale dell'utensile elettrico.
- Conservare gli elettroutensili inutilizzati fuori dalla portata dei bambini e non consentire a persone che non hanno familiarità con l'elettroutensile o con le presenti istruzioni di utilizzarlo.
- Mantieni gli utensili elettrici e gli accessori. Controlla eventuali disallineamenti o inceppamenti delle parti mobili, rotture di parti e qualsiasi altra condizione che possa influire sul funzionamento dell'utensile elettrico. Se danneggiato, fai riparare l'utensile elettrico prima dell'uso.
Prodotto finitoview
The Parkside PABH 20-Li B2 is a robust cordless rotary hammer drill designed for efficient drilling and screwdriving tasks. Below are the key components and features of the tool.
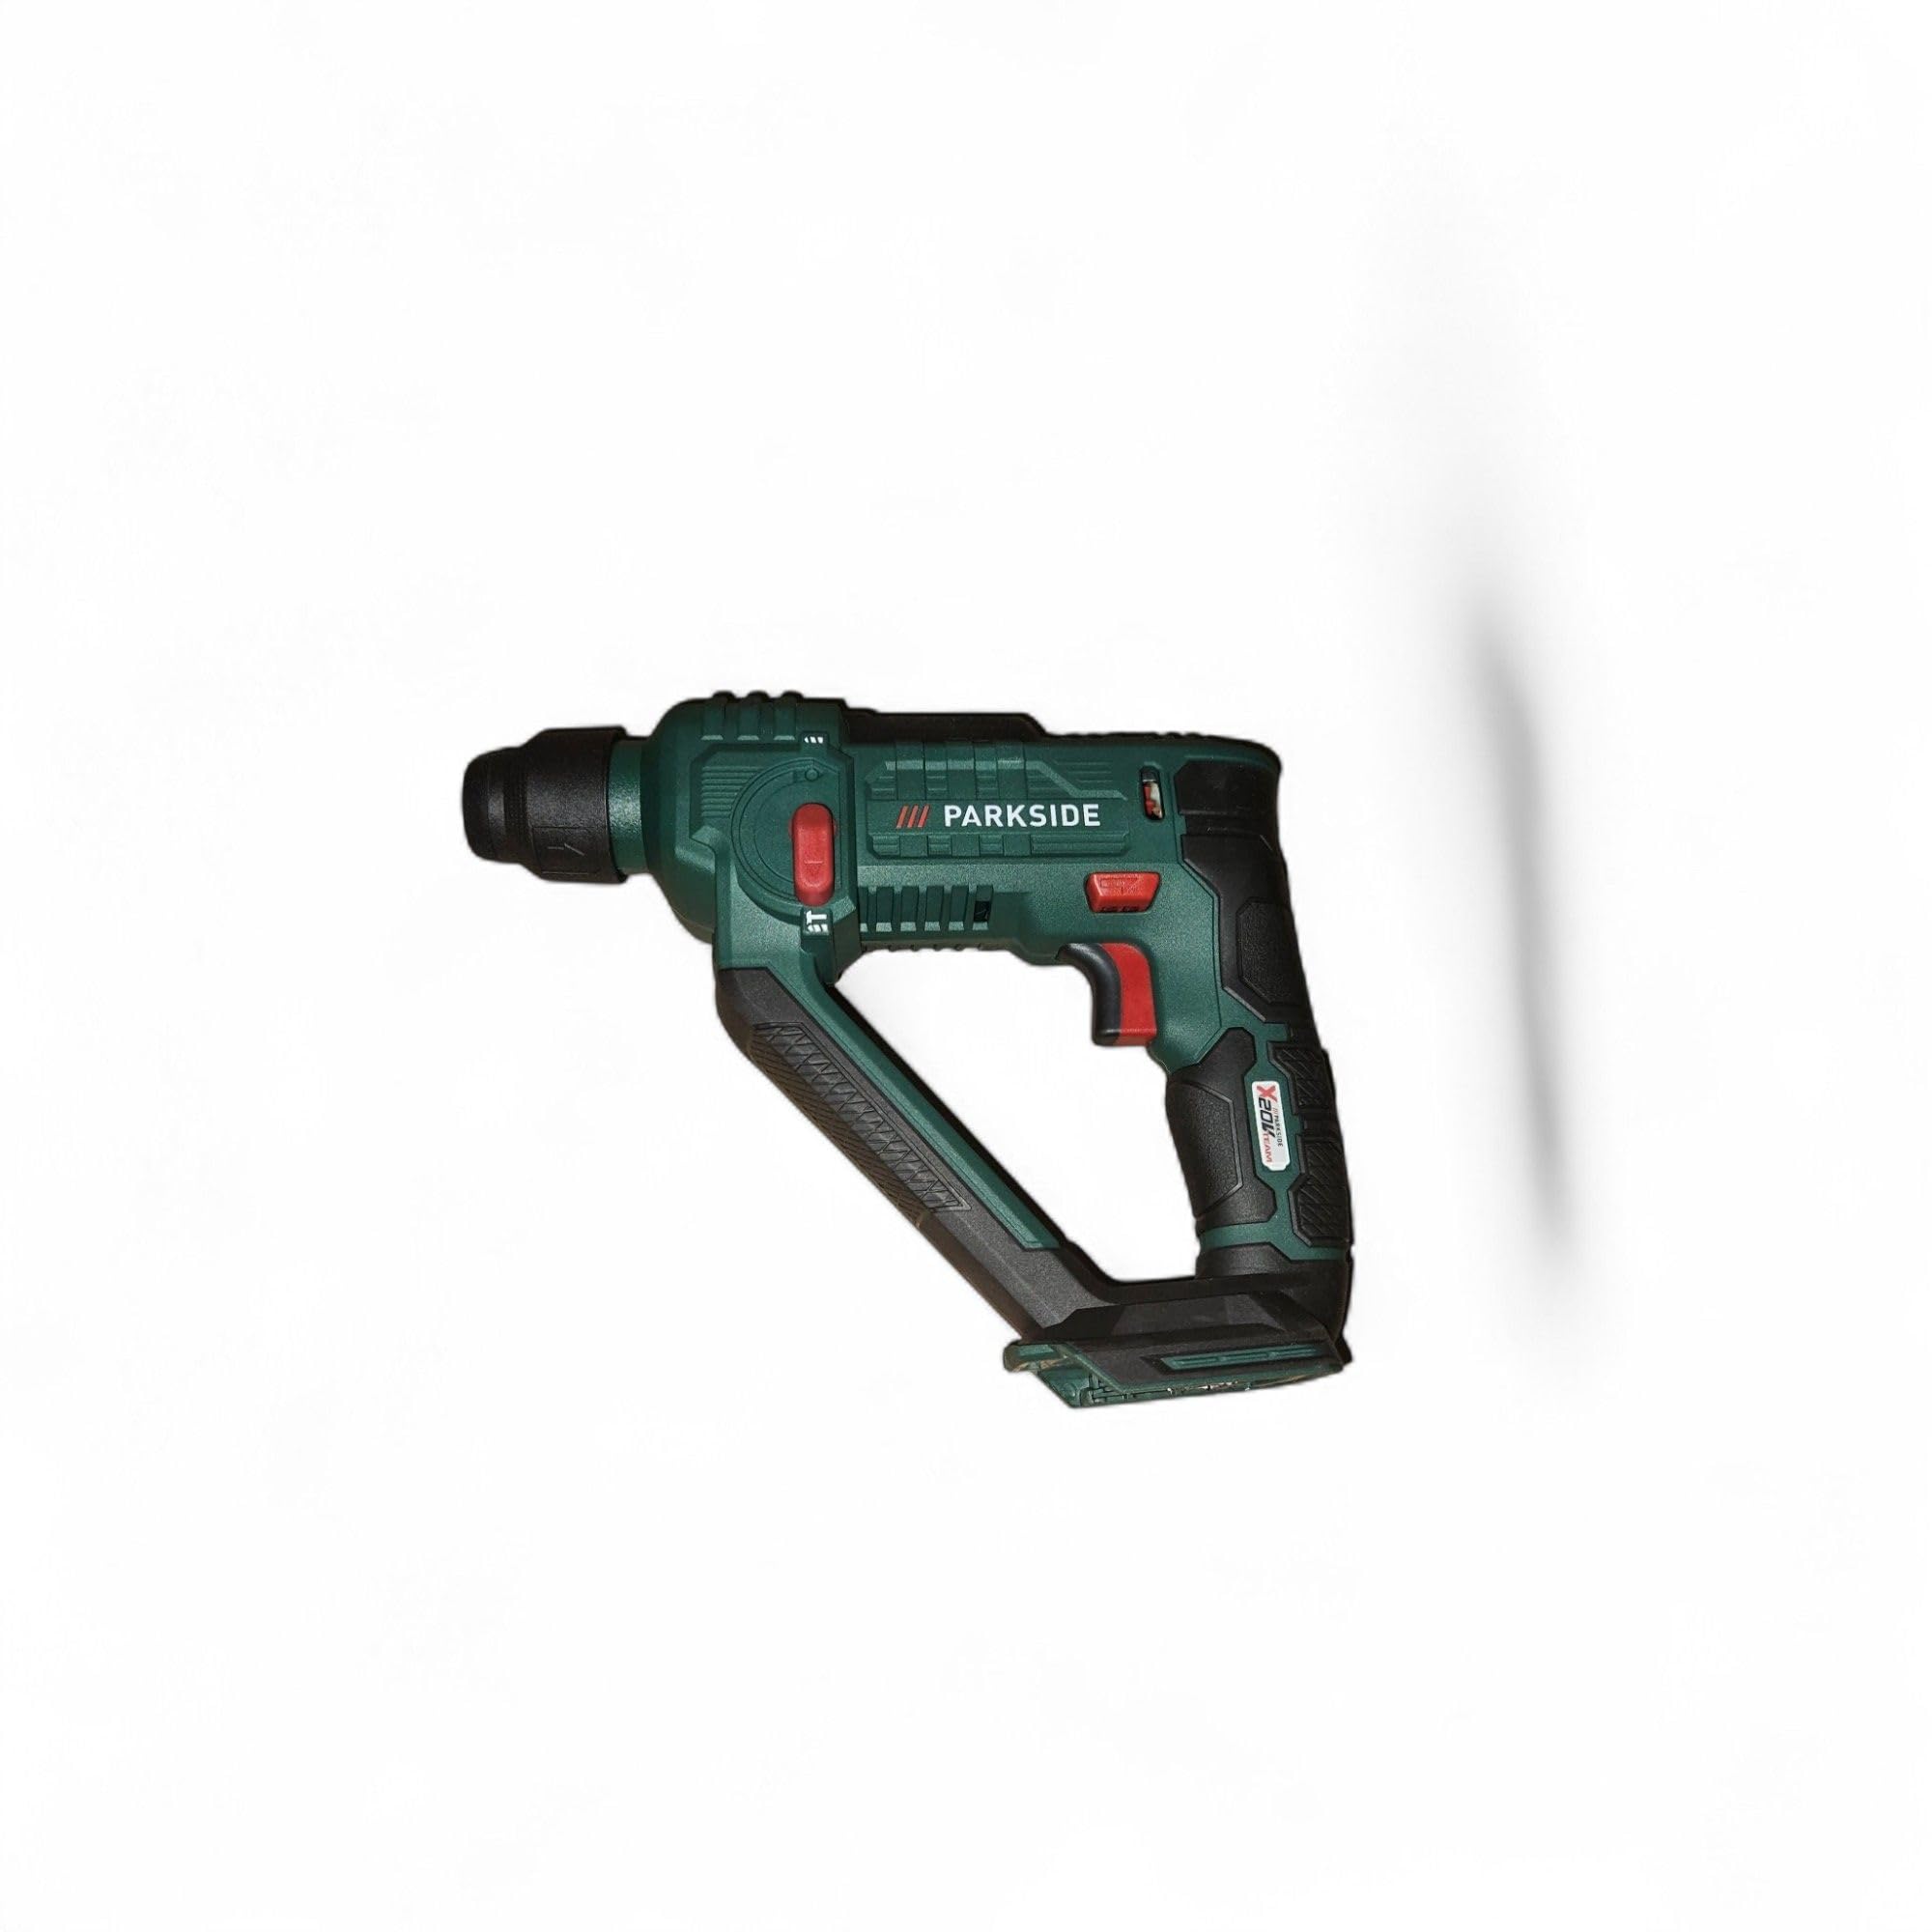
Caratteristiche principali:
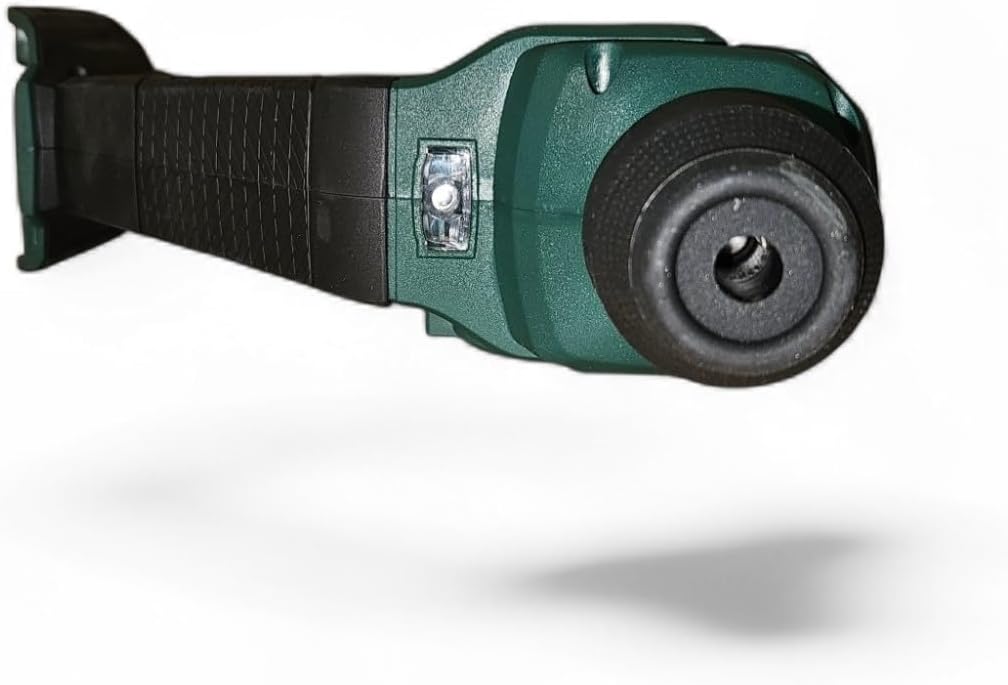
- Mandrino SDS-plus: Per cambi di punta rapidi e sicuri.
- Two Adjustable Functions:
- Drilling with impact mechanism (for concrete and stone).
- Screwdriving or drilling without impact mechanism (for metal and wood).
- Controllo continuo della velocità: Adjustable via the trigger button.
- Interruttore avanti/indietro: Per cambiare il senso di rotazione.
- Luce LED integrata: Illumina l'area di lavoro.
- Rivestimento Softgrip antiscivolo: Per una maneggevolezza comoda e sicura.
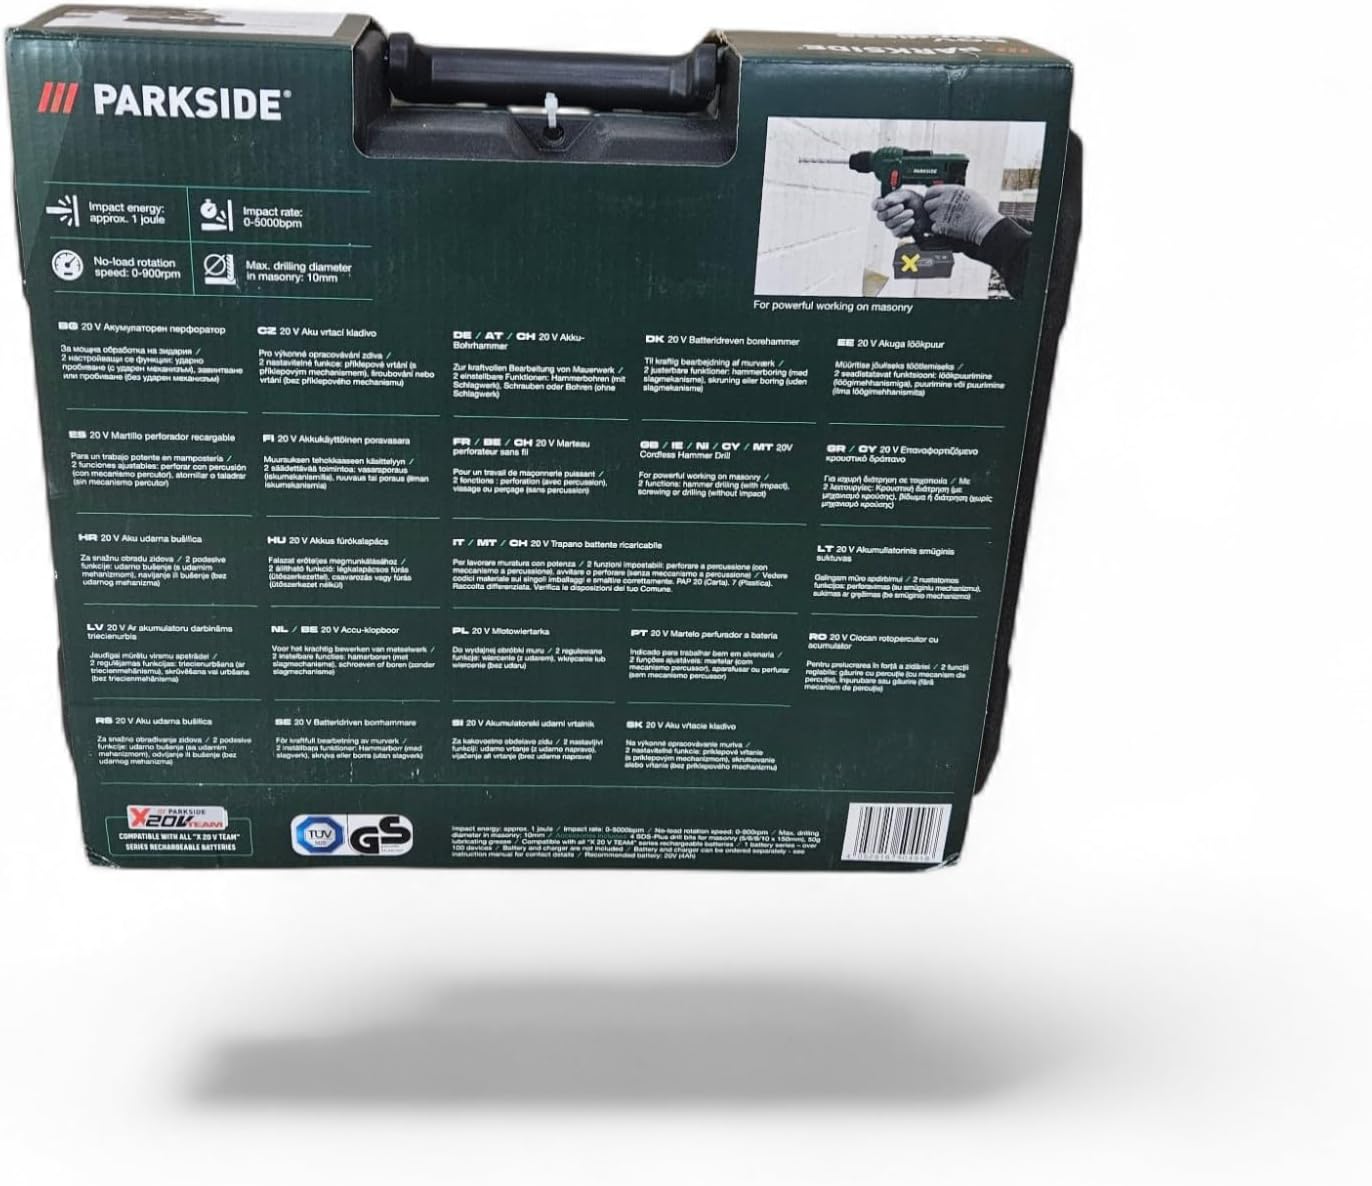
- Compatibilità: Designed for use with Parkside X 20 V Team series batteries.
Accessori inclusi:
- 3 SDS-plus drill bits (6/8/10 mm x 150 mm)
- 3 HSS drill bits with hexagonal shank (5/6/8 mm)
- 4 Screwdriver bits (50 mm)
- 1 Parkside 20 V range adapter
Installazione e assemblaggio
Installazione e rimozione della batteria
The Parkside PABH 20-Li B2 operates with a 20V lithium-ion battery from the Parkside X 20 V Team series. Battery and charger are not included with this tool.
- Per installare: Align the battery pack with the battery port on the tool handle. Slide the battery into place until it clicks securely.
- Per rimuovere: Premere il pulsante di rilascio della batteria (solitamente situato sul pacco batteria) ed estrarre la batteria dall'utensile.


Attaching and Removing SDS-plus Bits
- Allegare: Pull back the chuck sleeve, insert the SDS-plus bit into the chuck, and release the sleeve. Push the bit in until it locks. Pull on the bit to ensure it is securely seated.
- Per rimuovere: Pull back the chuck sleeve firmly and pull the bit out.
For HSS drill bits with hexagonal shank or screwdriver bits, use the included Parkside 20 V range adapter.
Istruzioni per l'uso
Selezione della modalità operativa
The tool offers two main operating modes, selected via a mode selector switch:
- Drilling with Impact: For drilling in hard materials like concrete and stone. This mode engages the hammer mechanism.
- Drilling without Impact / Screwdriving: For drilling in softer materials such as wood and metal, or for driving screws. The hammer mechanism is disengaged in this mode.
Ensure the tool is switched off before changing the operating mode.
Avvio e arresto dello strumento
- Iniziare: Press the trigger switch. The integrated LED light will illuminate the work area.
- Fermare: Rilasciare l'interruttore del grilletto.
Controllo della velocità variabile
The speed of rotation and impact frequency are continuously adjustable by varying the pressure on the trigger switch. Pressing the trigger further increases the speed and impact rate.
Rotazione avanti/indietro
A switch located near the trigger allows you to select the direction of rotation (forward for drilling/screwdriving, reverse for removing screws or jammed bits). Ensure the tool is stationary before changing the rotation direction.
Manutenzione e cura
Regular maintenance ensures the longevity and optimal performance of your tool. Always disconnect the battery pack before performing any maintenance.
Pulizia
- Mantenere pulite le fessure di ventilazione per evitare il surriscaldamento.
- Pulire l'alloggiamento dell'utensile con un panno morbido eamp stoffa. Non utilizzare prodotti chimici aggressivi o detergenti abrasivi.
- Clean the SDS-plus chuck regularly to ensure smooth bit changes.
Magazzinaggio
- Conservare l'utensile in un luogo asciutto e sicuro, fuori dalla portata dei bambini.
- Rimuovere la batteria prima di riporre il prodotto per periodi prolungati.
- Store the tool and accessories in the provided carrying case to protect them from damage.

Risoluzione dei problemi
This section addresses common issues you might encounter with your Parkside PABH 20-Li B2. If you experience problems not listed here, contact customer support.
| Problema | Possibile causa | Soluzione |
|---|---|---|
| Lo strumento non si avvia. | Batteria non carica o installata in modo errato. | Assicurarsi che la batteria sia completamente carica e inserita correttamente. |
| Potenza o prestazioni ridotte. | Low battery charge; worn or dull drill bit. | Recharge battery; replace drill bit. |
| La punta non si blocca nel mandrino. | Chuck is dirty or damaged; incorrect bit type. | Clean chuck; ensure SDS-plus bit is used for SDS-plus chuck. |
| Vibrazioni o rumori eccessivi. | Loose components; damaged bit; internal fault. | Check for loose parts; replace bit. If problem persists, seek professional service. |
Specifiche tecniche
Below are the detailed technical specifications for the Parkside PABH 20-Li B2 Cordless Rotary Hammer Drill.
| Caratteristica | Valore |
|---|---|
| Numero di modello | PABH 20-Li B2 |
| Marca | Lato parco |
| Fonte di alimentazione | Alimentato a batteria |
| Tipo di batteria | 20 V Lithium-ion (2 Ah recommended) |
| Energia d'impatto | Circa 1 Joule |
| Tasso di impatto | 0-5000 bpm (colpi al minuto) |
| Velocità a vuoto | 0-900 rpm (revolutions per minute) |
| Diametro massimo di perforazione (calcestruzzo/pietra) | 10 millimetri |
| Diametro massimo di foratura (metallo) | 8 millimetri |
| Diametro massimo di foratura (legno) | 16 millimetri |
| Dimensioni del mandrino | 10 mm (massimo) |
| Peso | 2.68 kg |
| Dimensioni (L x P x A) | Dimensioni: 34 x 30 x 10 cm |
| Materiale | Plastica, gomma, metallo |
Garanzia e supporto
Parkside products are manufactured to high-quality standards. In the unlikely event of a defect or malfunction, please refer to your purchase documentation for warranty details. For technical assistance, spare parts, or service inquiries, please contact your local Parkside service center or the retailer where the product was purchased.
Si prega di conservare la prova d'acquisto per eventuali reclami in garanzia.