
1. Introduzione
This manual provides detailed instructions for the installation, operation, and maintenance of your EKYLIN DC 12V to 5V Micro USB Hardwire Kit. This device is designed to provide a stable 5V power supply to various electronic devices, such as dash cameras, GPS navigators, and other Micro USB powered gadgets, directly from your vehicle's 12V-24V electrical system. Please read this manual thoroughly before installation and use to ensure proper function and safety.
2. Caratteristiche del prodotto
- VoltageConversione: Converts DC 12V-24V vehicle input to a stable DC 5V 2.1A output.
- Right Angle Micro USB Plug: Features a right-angle Micro USB connector for convenient and space-saving device connection.
- Alta efficienza: Achieves a conversion rate of 96% or more, minimizing heat generation.
- Protezione completa: Includes built-in safeguards against over-voltage, over-current, over-temperature, short-circuit, and low car battery voltage auto cut-off.
- Ampia compatibilità: Suitable for dash cameras, GPS navigators, tablets, mobile phones, DVR recorders, and other 5V Micro USB devices.
- Lunghezza cavo estesa: Total length of 10 feet (3 meters) for flexible installation.
3. Specifiche
| Parametro | Valore |
|---|---|
| Ingresso volumetage | CC 12V-24V |
| Volume di uscitatage | CC 5V |
| Corrente di uscita | 2.1A |
| Tipo di connettore | Micro USB (Right Angle) |
| Lunghezza totale del cavo | 10 piedi (3 metri) |
| Lunghezza del cavo di alimentazione | 6.5 piedi (2 metri) |
| Lunghezza del cavo del caricatore | 3.2 piedi (1 metro) |
| Converter Box Dimensions (L x W x H) | 4.9 cm x 2.8 cm x 1.5 cm (1.9 pollici x 1.1 pollici x 0.6 pollici) |
| Efficienza | ≥ 96% |
| Caratteristiche di protezione | oltre il volumetage, Over Current, Over Temperature, Short Circuit, Low Car Battery Voltage Auto Cut Off (approx. 11.2V) |
4. Contenuto della confezione
- 1 x EKYLIN DC 12V to 5V Micro USB Hardwire Kit
5. Configurazione e installazione
Proper installation is crucial for the safe and effective operation of your hardwire kit. If you are unsure about any steps, it is recommended to seek professional assistance.
5.1 Precauzioni di sicurezza
- Always ensure the vehicle's ignition is OFF before beginning installation.
- Disconnect the vehicle's battery negative terminal if you are uncomfortable working with live electrical circuits.
- Carefully test and check the polarity and grounding of your vehicle's electrical system before making connections.
- Non esporre il kit di cablaggio all'umidità o a temperature estreme.
5.2 Schema elettricoview
The hardwire kit features two input wires for connection to your vehicle's power source:
- Red Wire (ACC/Battery+): Connects to a switched 12V-24V power source (e.g., an ACC fuse in your fuse box) that turns on and off with the vehicle's ignition.
- White Wire (GND/Battery-): Connects to a reliable ground point on the vehicle's chassis.

Image: Close-up of the red (ACC/Battery+) and white (GND/Battery-) input wires.
5.3 Passaggi di installazione
- Identificare le fonti di energia: Locate your vehicle's fuse box. Using a circuit tester, identify a fuse that provides switched power (ACC) and a suitable ground point (metal chassis).
- Collegare il cavo di alimentazione: Use a fuse tap (not included) to connect the red wire (ACC/Battery+) of the hardwire kit to the identified switched power fuse.
- Collegare il filo di terra: Connetti in modo sicuro il white wire (GND/Battery-) to a clean, unpainted metal bolt or screw on the vehicle's chassis. Ensure a good electrical connection.
- Cavo di percorso: Carefully route the Micro USB cable from the power converter box to the location of your device (e.g., dash cam). Ensure the cable is tucked away neatly and does not interfere with vehicle operation or safety features.
- Connetti dispositivo: Plug the right-angle Micro USB connector into your dash camera, GPS navigator, or other compatible 5V device.
- Funzionalità di prova: Turn on your vehicle's ignition. Your connected device should power on. If not, recheck all connections.
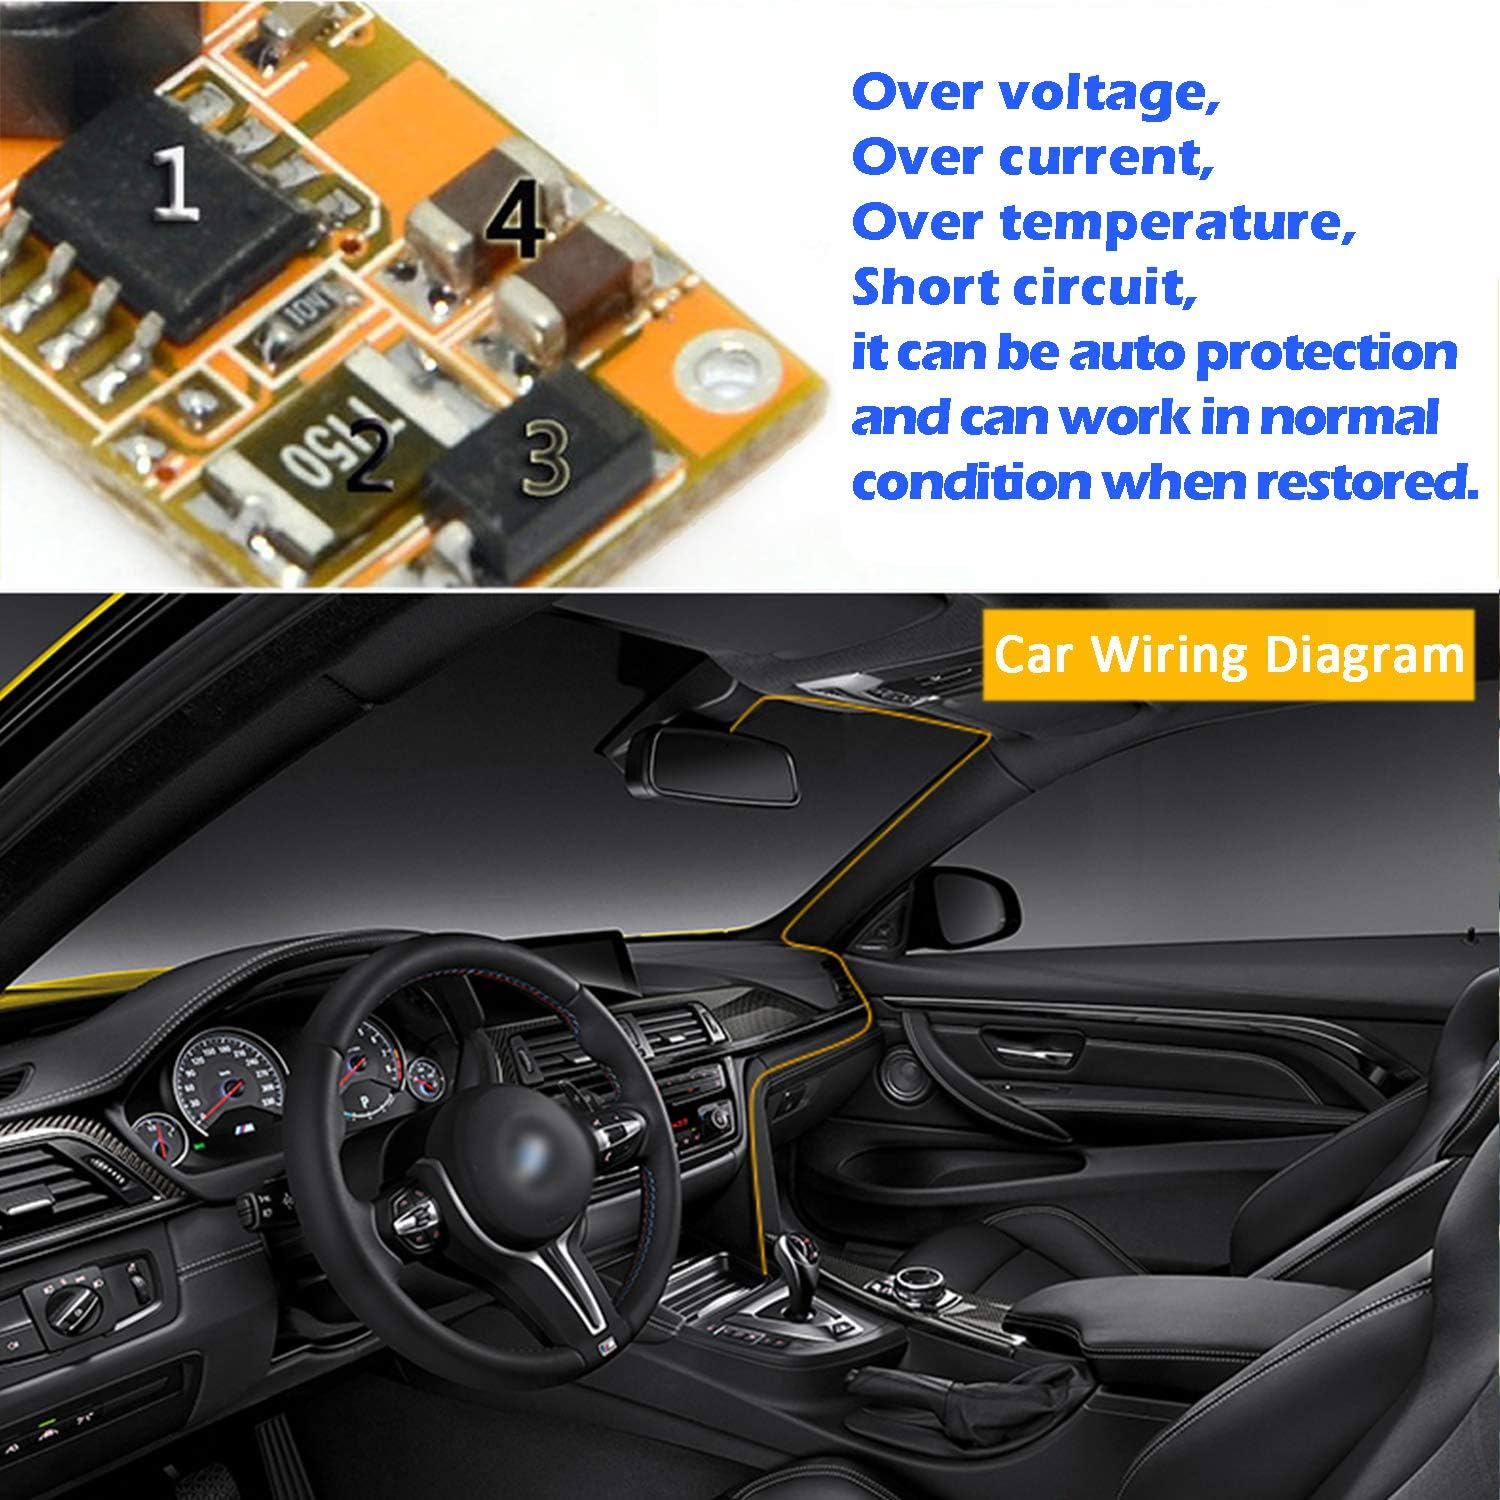
Image: Illustrative diagram of a car interior with suggested cable routing for a dash cam hardwire kit.
6. Istruzioni per l'uso
Once installed, the EKYLIN DC 12V to 5V Micro USB Hardwire Kit operates automatically:
- When the vehicle's ignition is turned on, the hardwire kit will supply 5V power to your connected device.
- When the vehicle's ignition is turned off, the hardwire kit will cease power supply to the device.
- The built-in low car battery voltage auto cut-off feature will automatically stop power delivery if your vehicle's battery voltage drops below approximately 11.2V, preventing complete battery discharge. Power will resume when the voltage raggiunge circa 11.6 V.

Image: Various devices such as a dash cam, tablet, mobile phone, and other USB devices connected to the hardwire kit.
7. Risoluzione Dei Problemi
If you encounter issues with your hardwire kit, please refer to the following troubleshooting steps:
- Il dispositivo non si accende:
- Ensure all connections (ACC, Ground, Micro USB) are secure and properly seated.
- Check the fuse connected to the ACC wire. Replace if blown.
- Verificare che l'accensione del veicolo sia accesa.
- Testare il volume di ingressotage at the hardwire kit's red wire to ensure it receives 12V-24V when the ignition is on.
- Confirm your device requires 5V Micro USB power.
- Potenza intermittente:
- Check for loose connections, especially the ground wire.
- Ensure the fuse tap is making good contact.
- Monitor your car battery voltage. Il basso voltage cut-off may be activating if the battery is weak.
- Device Not Charging/Low Output:
- Ensure the Micro USB cable is fully inserted into your device.
- Verify your device is not drawing more than 2.1A, which is the maximum output of this kit.
- Hardwire Kit Overheating:
- Ensure the converter box is not covered or placed in an area with poor ventilation.
- Confirm your device's power requirements are within the kit's specifications (5V 2.1A max).
8. Manutenzione
The EKYLIN DC 12V to 5V Micro USB Hardwire Kit requires minimal maintenance:
- Periodically check all electrical connections to ensure they remain secure.
- Keep the converter box free from dust and debris.
- Avoid exposing the unit to excessive moisture or direct sunlight for prolonged periods.
9. Assistenza clienti
For any questions, concerns, or assistance with your EKYLIN DC 12V to 5V Micro USB Hardwire Kit, please contact our customer support. We are committed to resolving any issues you may encounter.