1. Introduzione
1.1 Prodotto finitoview
The Renkforce RF-HC-100 is a compact 16-megapixel trail camera designed for outdoor monitoring. It features a time-lapse function, night vision capabilities, and a durable, camouflage brown housing. This camera is suitable for wildlife observation, property surveillance, and other outdoor recording needs.
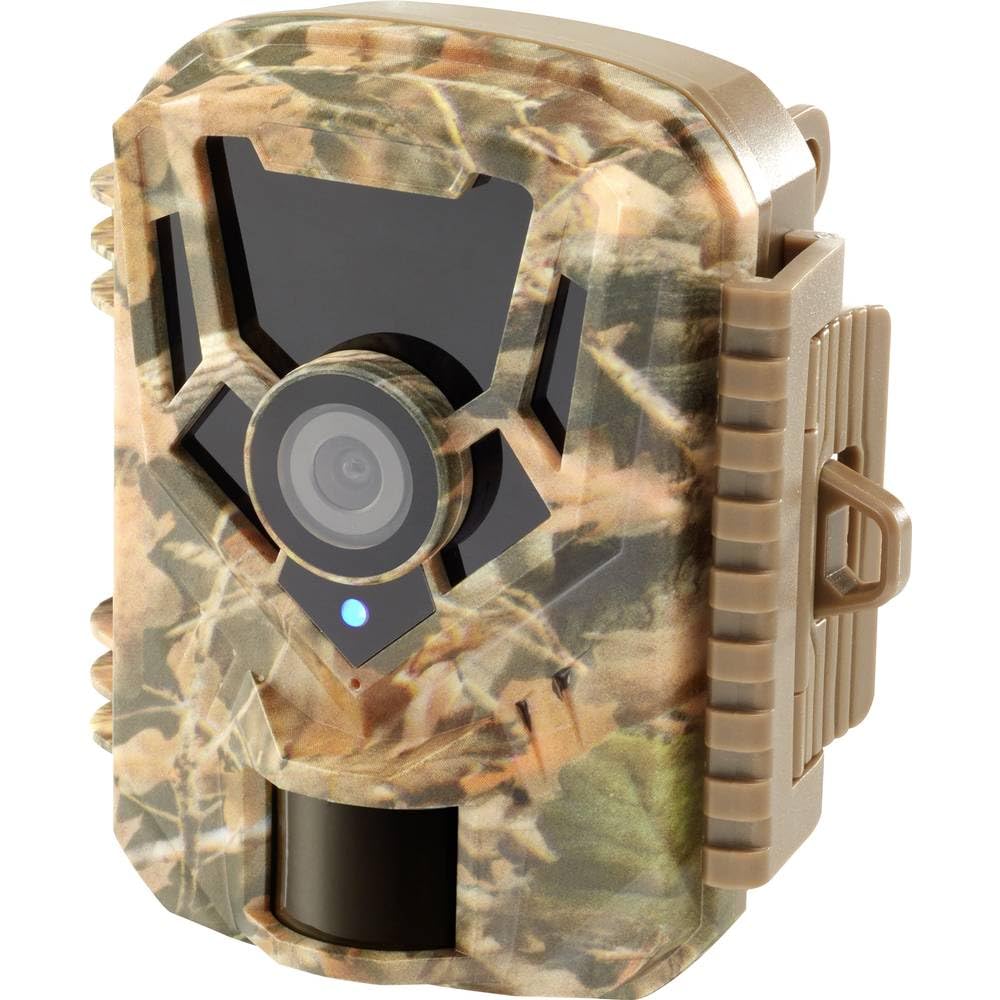
Immagine: lato frontale view of the Renkforce RF-HC-100 Trail Camera, showcasing its compact design and camouflage pattern.

Immagine: Frontale view of the Renkforce RF-HC-100 Trail Camera, highlighting the main lens and motion sensor.
1.2 Contenuto della confezione
- 1 x Renkforce RF-HC-100 Trail Camera Unit
- Note: Additional accessories such as mounting straps, USB cables, or user manuals may be included depending on the specific package.
2. Informazioni sulla sicurezza
- Leggere attentamente tutte le istruzioni prima di utilizzare il dispositivo.
- Do not expose the camera to extreme temperatures, direct sunlight for prolonged periods, or corrosive liquids.
- Ensure the battery compartment is properly sealed to maintain the IP65 weather resistance.
- Smaltire le batterie secondo le normative locali. Non mischiare batterie vecchie e nuove o tipi diversi di batterie.
- Tenere il dispositivo fuori dalla portata dei bambini.
- Non tentare di smontare o modificare la fotocamera, poiché ciò invaliderebbe la garanzia e potrebbe danneggiarla.
3. Caratteristiche del prodotto
The Renkforce RF-HC-100 Trail Camera offers the following key features:
- Immagini ad alta risoluzione: 16 Megapixel effective capture resolution for clear photos and 1080p video recording.
- Visione notturna: Equipped with color night vision for monitoring in low-light conditions.
- Funzione Time-Lapse: Catturare immagini a intervalli prestabiliti per osservare eventi a lungo termine.
- Slot per scheda SD: Supports external SD cards for ample storage of photos and videos.
- Resistenza alle intemperie: IP65 international protection rating ensures durability in various outdoor environments.
- Design compatto: Miniature form factor with a camouflage brown finish for discreet placement.
- Grandangolo View: 90-degree angle of view to cover a broad area.
- Connettività: Features wired connectivity (USB, AV ports) and Wi-Fi protocol for data transfer and control via application.
- Opzioni di montaggio: Includes support for wall mounting.
4. Impostazione
4.1 Installazione della batteria
- Aprire l'alloggiamento della telecamera sganciando le clip laterali.
- Individua il vano batteria.
- Insert the required number of AA batteries (not included) according to the polarity markings (+/-).
- Chiudere bene il vano batterie.
4.2 Installazione della scheda SD
- Con l'alloggiamento della fotocamera aperto, individuare lo slot per la scheda SD.
- Insert a compatible SD card (up to 32GB, Class 10 recommended) into the slot with the metal contacts facing down until it clicks into place.
- Per rimuoverla, spingere nuovamente la scheda SD finché non scatta fuori.

Image: The Renkforce RF-HC-100 Trail Camera with its housing open, revealing the control panel, USB, AV, and DC ports, and the ON/SETUP/OFF switch.
4.3 Montaggio della telecamera
The camera can be mounted using a strap or a wall mount bracket (if included or purchased separately).
- Montaggio della cinghia: Thread a mounting strap through the slots on the back of the camera and secure it to a tree or pole.
- Montaggio a parete: Use the integrated mounting points or a compatible wall mount bracket to attach the camera to a flat surface. Ensure the camera is stable and pointed in the desired direction.
5. Istruzioni per l'uso
5.1 Accensione/spegnimento e selezione della modalità
Locate the ON/SETUP/OFF switch inside the camera housing.
- OFF: Spegne la fotocamera.
- IMPOSTARE: Enters setup mode, allowing you to configure settings via the internal display.
- SOPRA: Activates the camera for recording based on the configured settings.
5.2 Configurazione delle impostazioni
In SETUP mode, use the navigation buttons (if available) to access the menu and adjust parameters such as:
- Risoluzione foto/video
- Sensibilità del sensore PIR
- Ritardo di rilevamento
- Intervallo di time-lapse
- Data e ora
- Recording Mode (Photo, Video, Photo+Video, Time-Lapse)
5.3 Recupero dati
Per accedere alla registrazione files:
- Tramite USB: Connect the camera to a computer using a USB cable. The camera will appear as a removable disk.
- Tramite scheda SD: Remove the SD card from the camera and insert it into a computer's card reader.
6. Manutenzione
- Pulizia: Use a soft, dry cloth to clean the camera lens and housing. For stubborn dirt, a slightly damp È possibile utilizzare un panno, ma assicurarsi che non penetri umidità nel dispositivo.
- Sostituzione della batteria: Sostituire le batterie quando compare l'indicatore di batteria scarica o quando le prestazioni diminuiscono.
- Gestione della scheda SD: Regularly format the SD card (after backing up important data) to maintain optimal performance and prevent errors.
- Magazzinaggio: When not in use for extended periods, remove batteries and store the camera in a cool, dry place away from direct sunlight.
7. Risoluzione Dei Problemi
| Problema | Possibile causa | Soluzione |
|---|---|---|
| La fotocamera non si accende. | Low or dead batteries; incorrect battery installation; power switch in OFF position. | Replace batteries; ensure correct polarity; set switch to ON or SETUP. |
| Scarsa qualità delle immagini/video. | Lente sporca; condizioni di scarsa illuminazione; impostazioni di risoluzione errate. | Clean the lens; ensure adequate lighting or use night vision; adjust resolution settings. |
| La telecamera non registra. | SD card full or faulty; incorrect mode selected; PIR sensor blocked. | Format or replace SD card; select appropriate recording mode; clear sensor path. |
| Impossibile connettersi al computer. | Faulty USB cable; camera not in correct mode; driver issues. | Try a different USB cable; ensure camera is in connection mode (if applicable); try another computer or card reader. |
8. Specifiche
| Nome del modello | RF-HC-100 (RF-4466574) |
| Effective Capture Resolution | 16 Megapixel |
| Risoluzione video | Formato: 1080p |
| Dimensioni (L x P x A) | 21 x 12 x 9 cm (8.27 x 4.72 x 3.54 pollici) |
| Peso | 186 grammi (0.41 libbre) |
| Tecnologia di connettività | Wired (USB, AV), Wi-Fi Protocol (for control/transfer) |
| Caratteristiche speciali | Local Recording, Night Vision (Color Night Vision) |
| Ambiente di utilizzo | All'aperto |
| Valutazione internazionale di protezione | Grado di protezione IP65 |
| Fonte di alimentazione | Manual Operation (Battery-powered, batteries not included) |
| Cosatage | 1.5 Watt |
| View Angolo | 90 gradi |
| Colore | Camouflage Brown |
| Materiale | Metal (internal) |
| Tipo di montaggio | Supporto per montaggio a parete |
9. Garanzia e supporto
Renkforce provides support for its products. Spare parts availability is indicated for 1 year from the date of purchase. For technical assistance, troubleshooting beyond this manual, or warranty claims, please refer to the contact information provided with your product packaging or visit the official Renkforce websito.