
KitchenAid KFP0918CU
KitchenAid 9-Cup Food Processor Instruction Manual
Model: KFP0918CU
Introduzione
Thank you for choosing the KitchenAid 9-Cup Food Processor. This manual provides essential information for the safe and efficient operation, maintenance, and care of your appliance. Please read all instructions carefully before first use and retain this manual for future reference.

Image: The KitchenAid 9-Cup Food Processor in Contour Silver, fully assembled with the work bowl and lid in place.
Importanti istruzioni di sicurezza
AVVERTIMENTO:
- Leggere tutte le istruzioni prima di utilizzare il robot da cucina.
- Non immergere la base del motore in acqua o altri liquidi.
- Scollegare sempre l'apparecchio dalla presa di corrente prima di montarlo, smontarlo o pulirlo.
- Avoid contact with moving parts. Keep hands and utensils away from cutting blades and discs during operation to prevent injury.
- Prima di azionare l'apparecchio, assicurarsi che il coperchio sia ben bloccato in posizione.
- Do not process hot liquids in the food processor.
- Questo apparecchio non è destinato all'uso da parte di persone con ridotte capacità fisiche, sensoriali o mentali, o prive di esperienza e conoscenza, a meno che non siano supervisionate o abbiano ricevuto istruzioni sull'uso dell'apparecchio da una persona responsabile della loro sicurezza.
- È necessaria un'attenta supervisione quando un elettrodomestico viene utilizzato da bambini o nelle loro vicinanze.
Componenti inclusi
Your KitchenAid 9-Cup Food Processor comes with the following parts:
- (1) 9-cup work bowl
- (1) Lid with feed tube
- (1) Multi-purpose blade
- (1) Reversible medium slicing/shredding disc
- (1) Thick slicing disc
- (1) Food pusher
- (1) Motor base
Installazione e assemblaggio
Before first use, wash all parts except the motor base in warm, soapy water, rinse, and dry thoroughly. Ensure the appliance is unplugged before assembly.
- Posizionare la base del motore su una superficie piana, pulita e asciutta.
- Align the work bowl with the motor base and twist clockwise until it locks into place. The handle should be positioned to the right.
- Carefully place the desired blade or disc onto the drive adapter inside the work bowl.
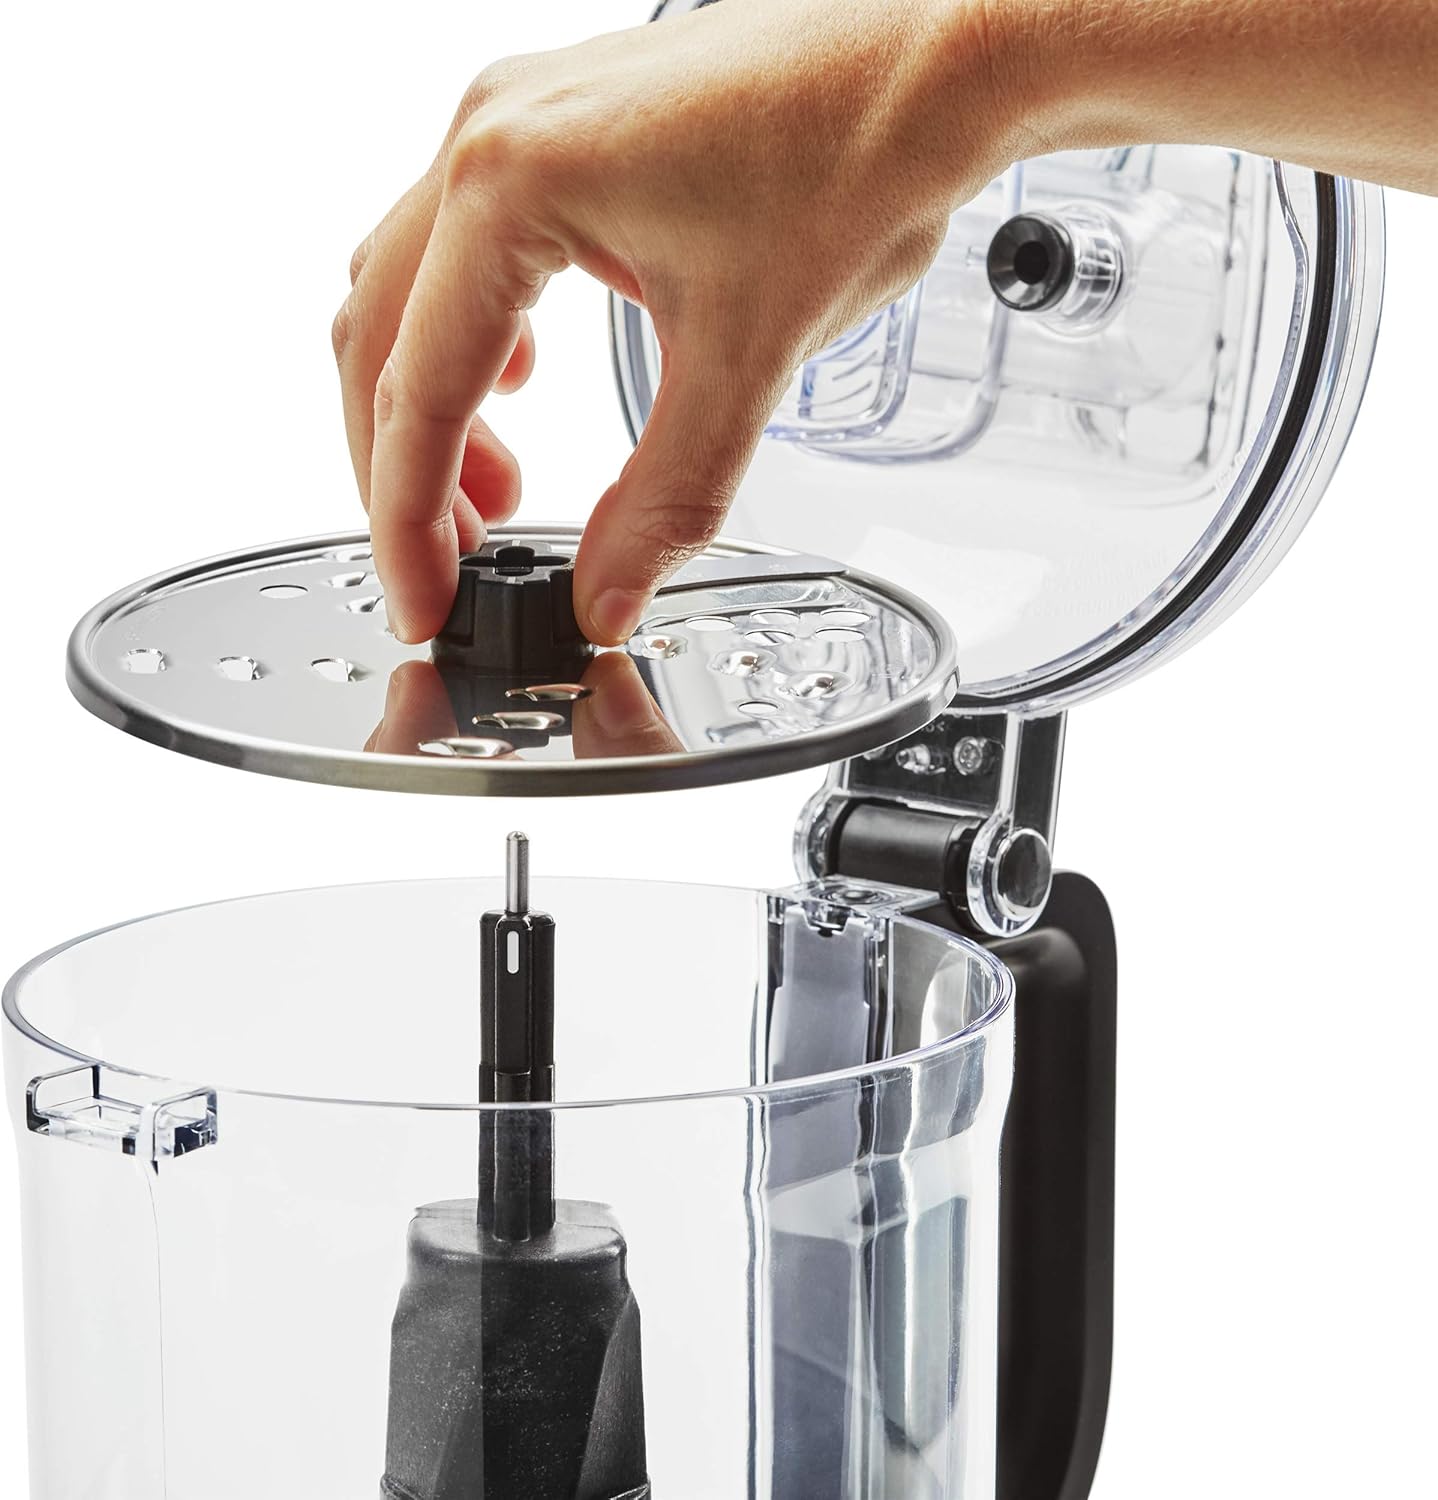
Image: A hand carefully places the slicing disc onto the central shaft within the food processor's work bowl.
- Place the lid onto the work bowl, aligning the lid tab with the handle. Twist the lid clockwise until it locks securely. The food processor will not operate unless the lid is properly locked.
- Inserire lo spingi-alimenti nel tubo di alimentazione del coperchio.
Istruzioni per l'uso
The KitchenAid 9-Cup Food Processor features three speed options: Low, High, and Pulse, controlled by easy-press paddles with illuminated LED controls.

Image: Close-up of the KitchenAid Food Processor's base, showing the 'Low', 'High', and 'Off/Pulse' illuminated control buttons.
- Assicurarsi che il robot da cucina sia correttamente assemblato e che il coperchio sia bloccato.
- Collegare il cavo di alimentazione a una presa elettrica dotata di messa a terra.
- Add ingredients to the work bowl. For slicing or shredding, place ingredients into the feed tube.
- Seleziona la velocità desiderata:
- Basso: For softer ingredients or when more control is desired.
- Alto: For harder ingredients or faster processing.
- Impulso: Press and hold for short bursts of power. Release to stop. Ideal for chopping, mincing, or when precise control over consistency is needed.
- When processing is complete, press the "Off/Pulse" button to turn off the appliance.
- Unplug the food processor before disassembling and removing ingredients.

Image: The KitchenAid Food Processor on a kitchen counter, actively processing zucchini, with other fresh vegetables nearby.

Image: The KitchenAid Food Processor on a wooden counter, filled with sliced yellow squash and zucchini, surrounded by fresh tomatoes and other ingredients.
Cura e pulizia
Proper cleaning ensures the longevity and hygiene of your food processor. All parts, except the motor base, are dishwasher-safe.
- Scollegare sempre il robot da cucina prima di pulirlo.
- Disassemble all parts: remove the lid, food pusher, blade/disc, and work bowl from the motor base.
- Wash the work bowl, lid, food pusher, and all blades/discs in the dishwasher (top rack recommended) or by hand with warm, soapy water.
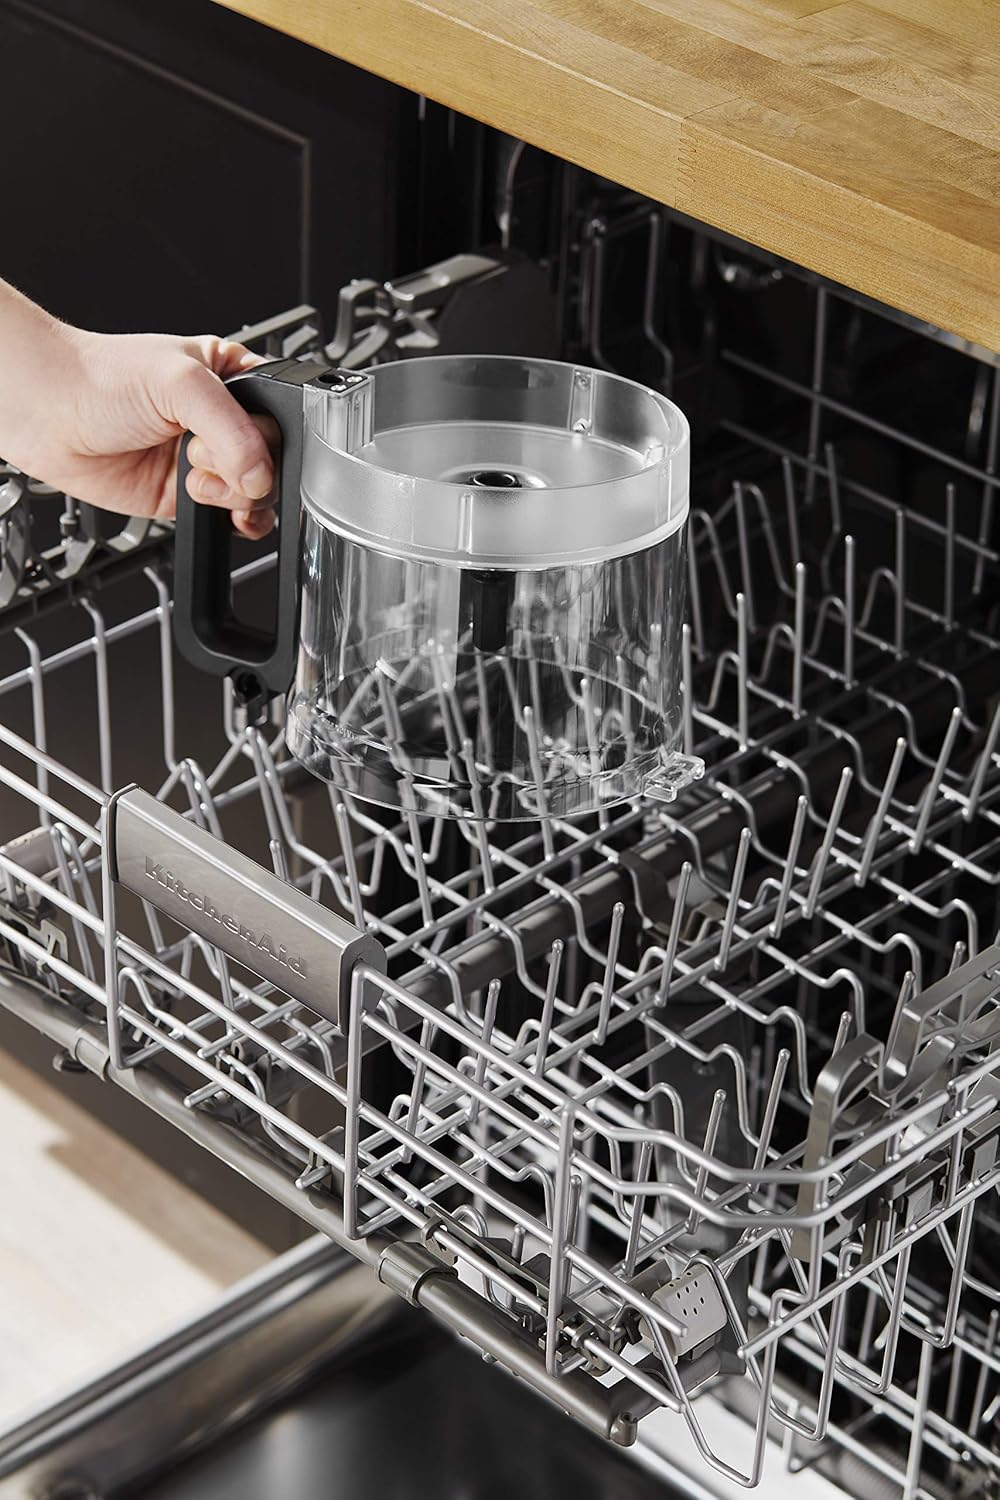
Image: A hand placing the clear work bowl of the food processor into the top rack of a dishwasher for cleaning.
- Use caution when handling blades and discs as they are sharp.
- Pulisci la base del motore con un pannoamp stoffa. Non immergere la base motore in acqua.
- Asciugare accuratamente tutte le parti prima di riassemblarle o riporle.
Risoluzione dei problemi
| Problema | Possibile causa | Soluzione |
|---|---|---|
| Il robot da cucina non si accende. |
|
|
| Il motore si ferma durante il funzionamento. |
|
|
| Gli ingredienti non vengono lavorati in modo uniforme. |
|
|
Specifiche
- Marca: Aiuto in cucina
- Modello: KFP0918CU
- Capacità: 9 tazze
- Cosatage: 270 watt
- Numero di velocità: 3 (Basso, Alto, Impulso)
- Voltage: 120 Volt
- Materiale della lama: Acciaio inossidabile
- Cura del prodotto: Dishwasher Safe (work bowl, lid, accessories)
Informazioni sulla garanzia
This KitchenAid 9-Cup Food Processor (Model KFP0918CU) comes with a Garanzia limitata di 90 giorni from the date of purchase. This warranty covers defects in material and workmanship under normal household use. For full terms and conditions, please refer to the warranty card included with your product or visit the official KitchenAid websito.
Assistenza clienti
For further assistance, product registration, or to purchase additional accessories, please contact KitchenAid Customer Service:
- Websito: www.kitchenaid.com
- Telefono: Refer to your product packaging or the KitchenAid websito per i numeri di contatto regionali.
When contacting support, please have your model number (KFP0918CU) and serial number (if applicable) ready.
Ask a question about this manual
Ask about setup, troubleshooting, compatibility, parts, safety, or missing instructions. Manuals+ will review the question and use this page’s manual context to help answer it.