1. Introduzione
This manual provides instructions for the proper setup, operation, and maintenance of your CHOUBENBEN replacement remote control for Mitsubishi MSZ-GA71VA and MSZ-GA80VA air conditioner units. Please read this manual thoroughly before use to ensure optimal performance and longevity of your remote control.
2. Informazioni sulla sicurezza
- Non mischiare batterie vecchie e nuove.
- Non mischiare batterie alcaline, standard (zinco-carbone) o ricaricabili (nichel-cadmio).
- Rimuovere le batterie se il telecomando non verrà utilizzato per un periodo prolungato.
- Tenere il telecomando lontano dall'acqua e dalla luce solare diretta.
- Evitare di far cadere il telecomando o di sottoporlo a forti urti.
3. Contenuto della confezione
- 1 x CHOUBENBEN Replacement Remote Control
- Nota: le batterie AAA da 1.5 V non sono incluse e devono essere acquistate separatamente.
4. Impostazione
4.1 Installazione della batteria
- Individuare il vano batterie sul retro del telecomando.
- Per aprire il coperchio del vano batteria, farlo scorrere verso il basso.
- Inserire due (2) batterie AAA da 1.5 V, assicurandosi che i terminali positivo (+) e negativo (-) corrispondano alle marcature all'interno del vano.
- Far scorrere il coperchio in posizione finché non scatta in modo sicuro.
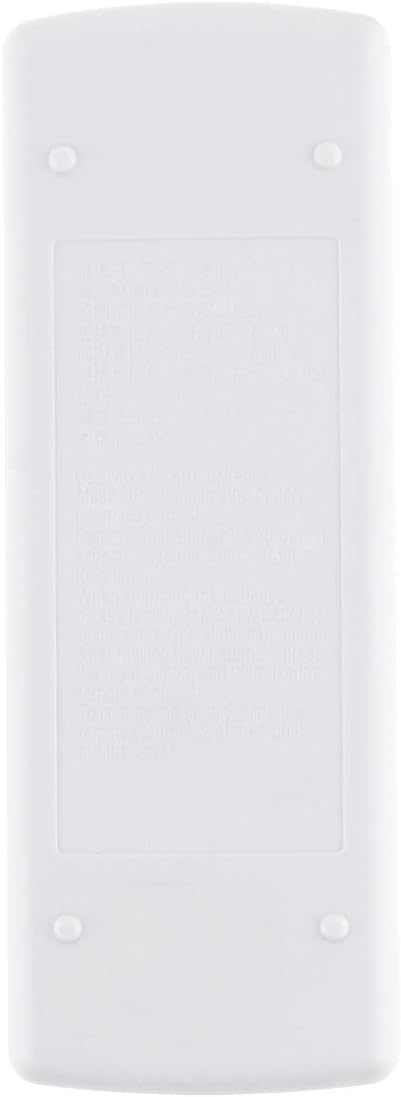
Immagine: Posteriore view of the remote control, illustrating the battery compartment cover. This is where two AAA batteries are inserted.
Once batteries are installed, the remote control is ready for use. No programming is required for compatible Mitsubishi MSZ-GA71VA and MSZ-GA80VA air conditioner models.
5. Istruzioni per l'uso
Durante il funzionamento, puntare il telecomando direttamente verso il ricevitore dell'unità di condizionamento dell'aria.
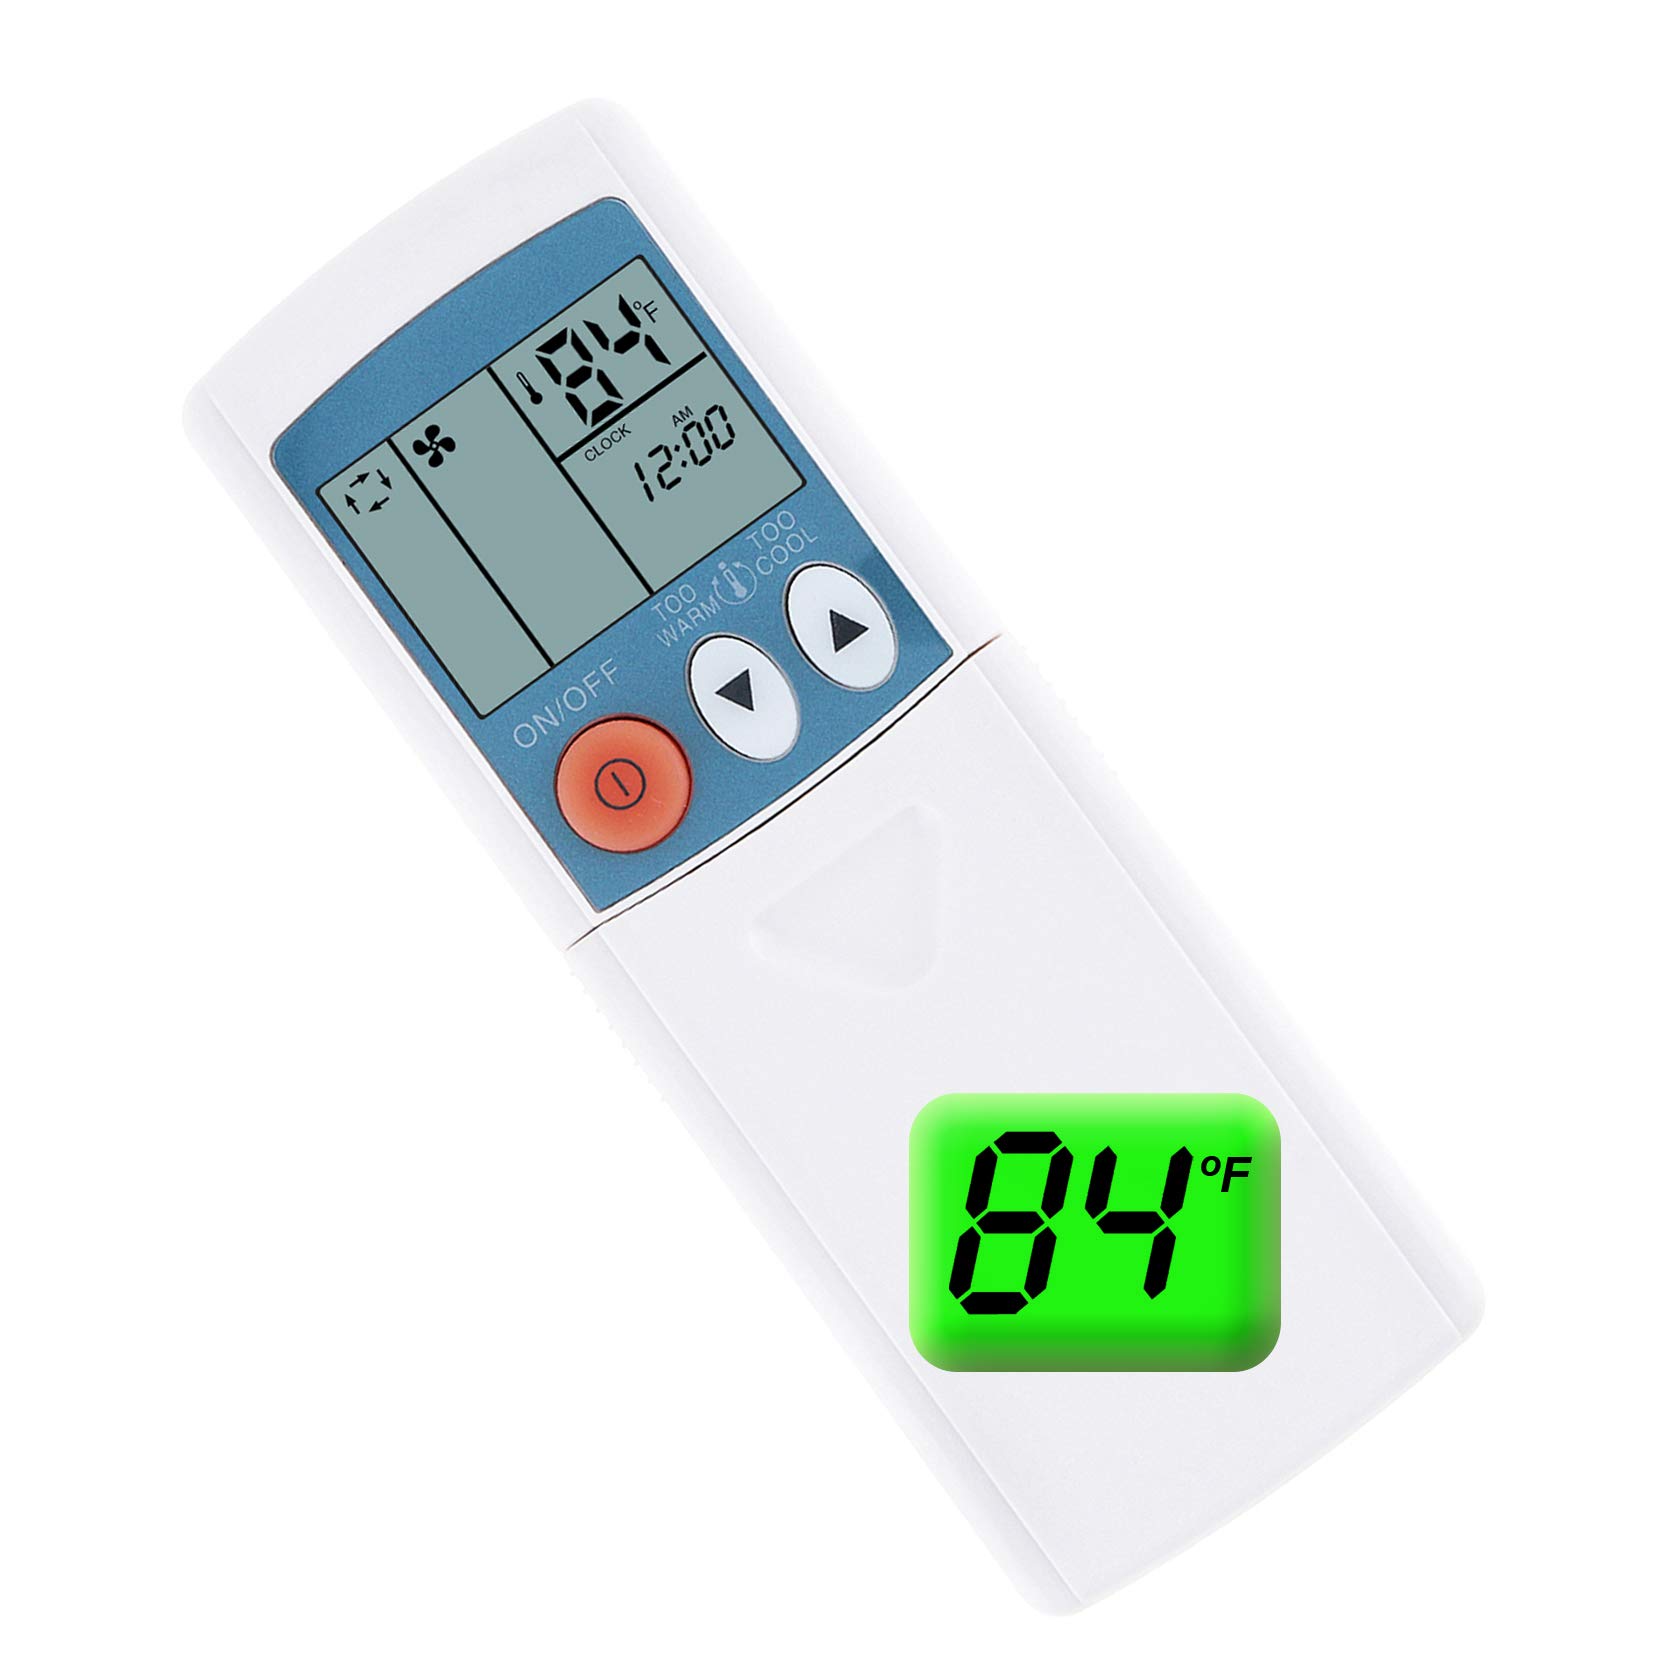
Immagine: Davanti view of the remote control, displaying the LCD screen and primary control buttons such as ON/OFF, temperature adjustment, and mode selection.
5.1 Funzioni di base
- Pulsante ON/OFF: Premere il tasto ACCESO/SPENTO button (red circle with line) to turn the air conditioner unit on or off.
- Regolazione della temperatura: Utilizzare il TOO WARM (▼) E TOO COOL (▲) pulsanti per aumentare o diminuire la temperatura desiderata.

Immagine: The remote control with its protective slide-down panel open, exposing additional buttons for functions like MODE, FAN, VANE, STOP, and START timers.
5.2 Advanced Functions (Under Slide Panel)
- Pulsante MODE: Premere il tasto MODALITÀ button to cycle through operating modes such as Cool, Heat, Fan, Dry, and Auto. The current mode will be displayed on the LCD screen.
- Pulsante VENTOLA: Premere il tasto FAN pulsante per regolare la velocità della ventola (ad esempio, Bassa, Media, Alta, Auto).
- Pulsante VANE: Utilizzare il PALETTA button to control the direction of the airflow or activate the swing function.
- STOP Timer: Premere il tasto FERMARE button to set a timer for the unit to turn off.
- START Timer: Premere il tasto INIZIO button to set a timer for the unit to turn on.
5.3 Fahrenheit/Celsius Display Toggle
This remote control supports both Fahrenheit (℉) and Celsius (℃) temperature displays. To switch between these units:
- Assicurarsi che il telecomando sia acceso.
- Locate the small button or combination of buttons (often the temperature up/down buttons pressed simultaneously, or a dedicated small button) that toggles the display unit. Refer to your air conditioner's main unit manual if unsure, or try pressing the TOO WARM (▼) E TOO COOL (▲) buttons together for a few seconds.
- The temperature display on the remote's LCD screen will switch between ℉ and ℃.

Immagine: A visual representation of the remote's LCD screen showing temperature readings in both Fahrenheit (84℉) and Celsius (24℃), highlighting the ability to switch between units.
6. Manutenzione
6.1 Pulizia
Pulisci il telecomando con un panno morbido e asciutto. Non utilizzare detergenti liquidi o materiali abrasivi, poiché potrebbero danneggiare la superficie o i componenti interni.
6.2 Sostituzione della batteria
Replace batteries when the remote control's range decreases significantly or if the display becomes dim. Always replace both batteries at the same time with new AAA 1.5V batteries.
7. Risoluzione Dei Problemi
- Il telecomando non risponde:
- Controllare che le batterie siano inserite correttamente, rispettando la polarità corretta.
- Sostituisci le vecchie batterie con nuove batterie AAA da 1.5 V.
- Assicurarsi che non vi siano ostacoli tra il telecomando e il ricevitore dell'unità del condizionatore.
- Assicurarsi di trovarsi all'interno del raggio d'azione effettivo dell'unità di condizionamento dell'aria.
- Il display è scuro o vuoto:
- Sostituire le batterie.
8. Specifiche
| Caratteristica | Dettaglio |
|---|---|
| Numero di modello | AA320201017-183 |
| Modelli di condizionatori d'aria compatibili | Mitsubishi MSZ-GA71VA, MSZ-GA80VA |
| Fonte di alimentazione | 2 batterie AAA da 1.5 V (non incluse) |
| Unità di visualizzazione | Fahrenheit (℉), Celsius (℃) |
| ASIN | B08LBJ8NFF |
| Produttore | KITCHENWARE STORE |
| Data prima disponibilità | 17 ottobre 2020 |
9. Garanzia e supporto
This replacement remote control is designed to function as described. For any issues or support inquiries, please contact the seller or retailer from whom you purchased the product. Please retain your proof of purchase for warranty claims, if applicable.