Introduzione
This manual provides detailed instructions for the setup, operation, and maintenance of your FANGOR 15.6" Portable Monitor, model DH112222. Please read this manual thoroughly before using the product to ensure proper functionality and to prevent damage.
The FANGOR DH112222 is a versatile 15.6-inch Full HD 1080P IPS display designed for various applications, including extending laptop screens, gaming, and multimedia consumption. It features USB Type-C and HDMI connectivity, built-in speakers, and a smart cover for portability and protection.
Contenuto della confezione
Si prega di controllare il contenuto della confezione al momento del disimballaggio. Se qualche articolo risulta mancante o danneggiato, contattare l'assistenza clienti.
- FANGOR 15.6" Portable Monitor (DH112222)
- Smart Cover / Stand
- USB-C to USB-C Cable (for power and video/data)
- HDMI to Mini HDMI Cable (for video)
- USB-A to USB-C Cable (for power)
- Adattatore di alimentazione (se incluso)
- Manuale dell'utente (questo documento)
Prodotto finitoview
Familiarizzare con i componenti e le porte del monitor.
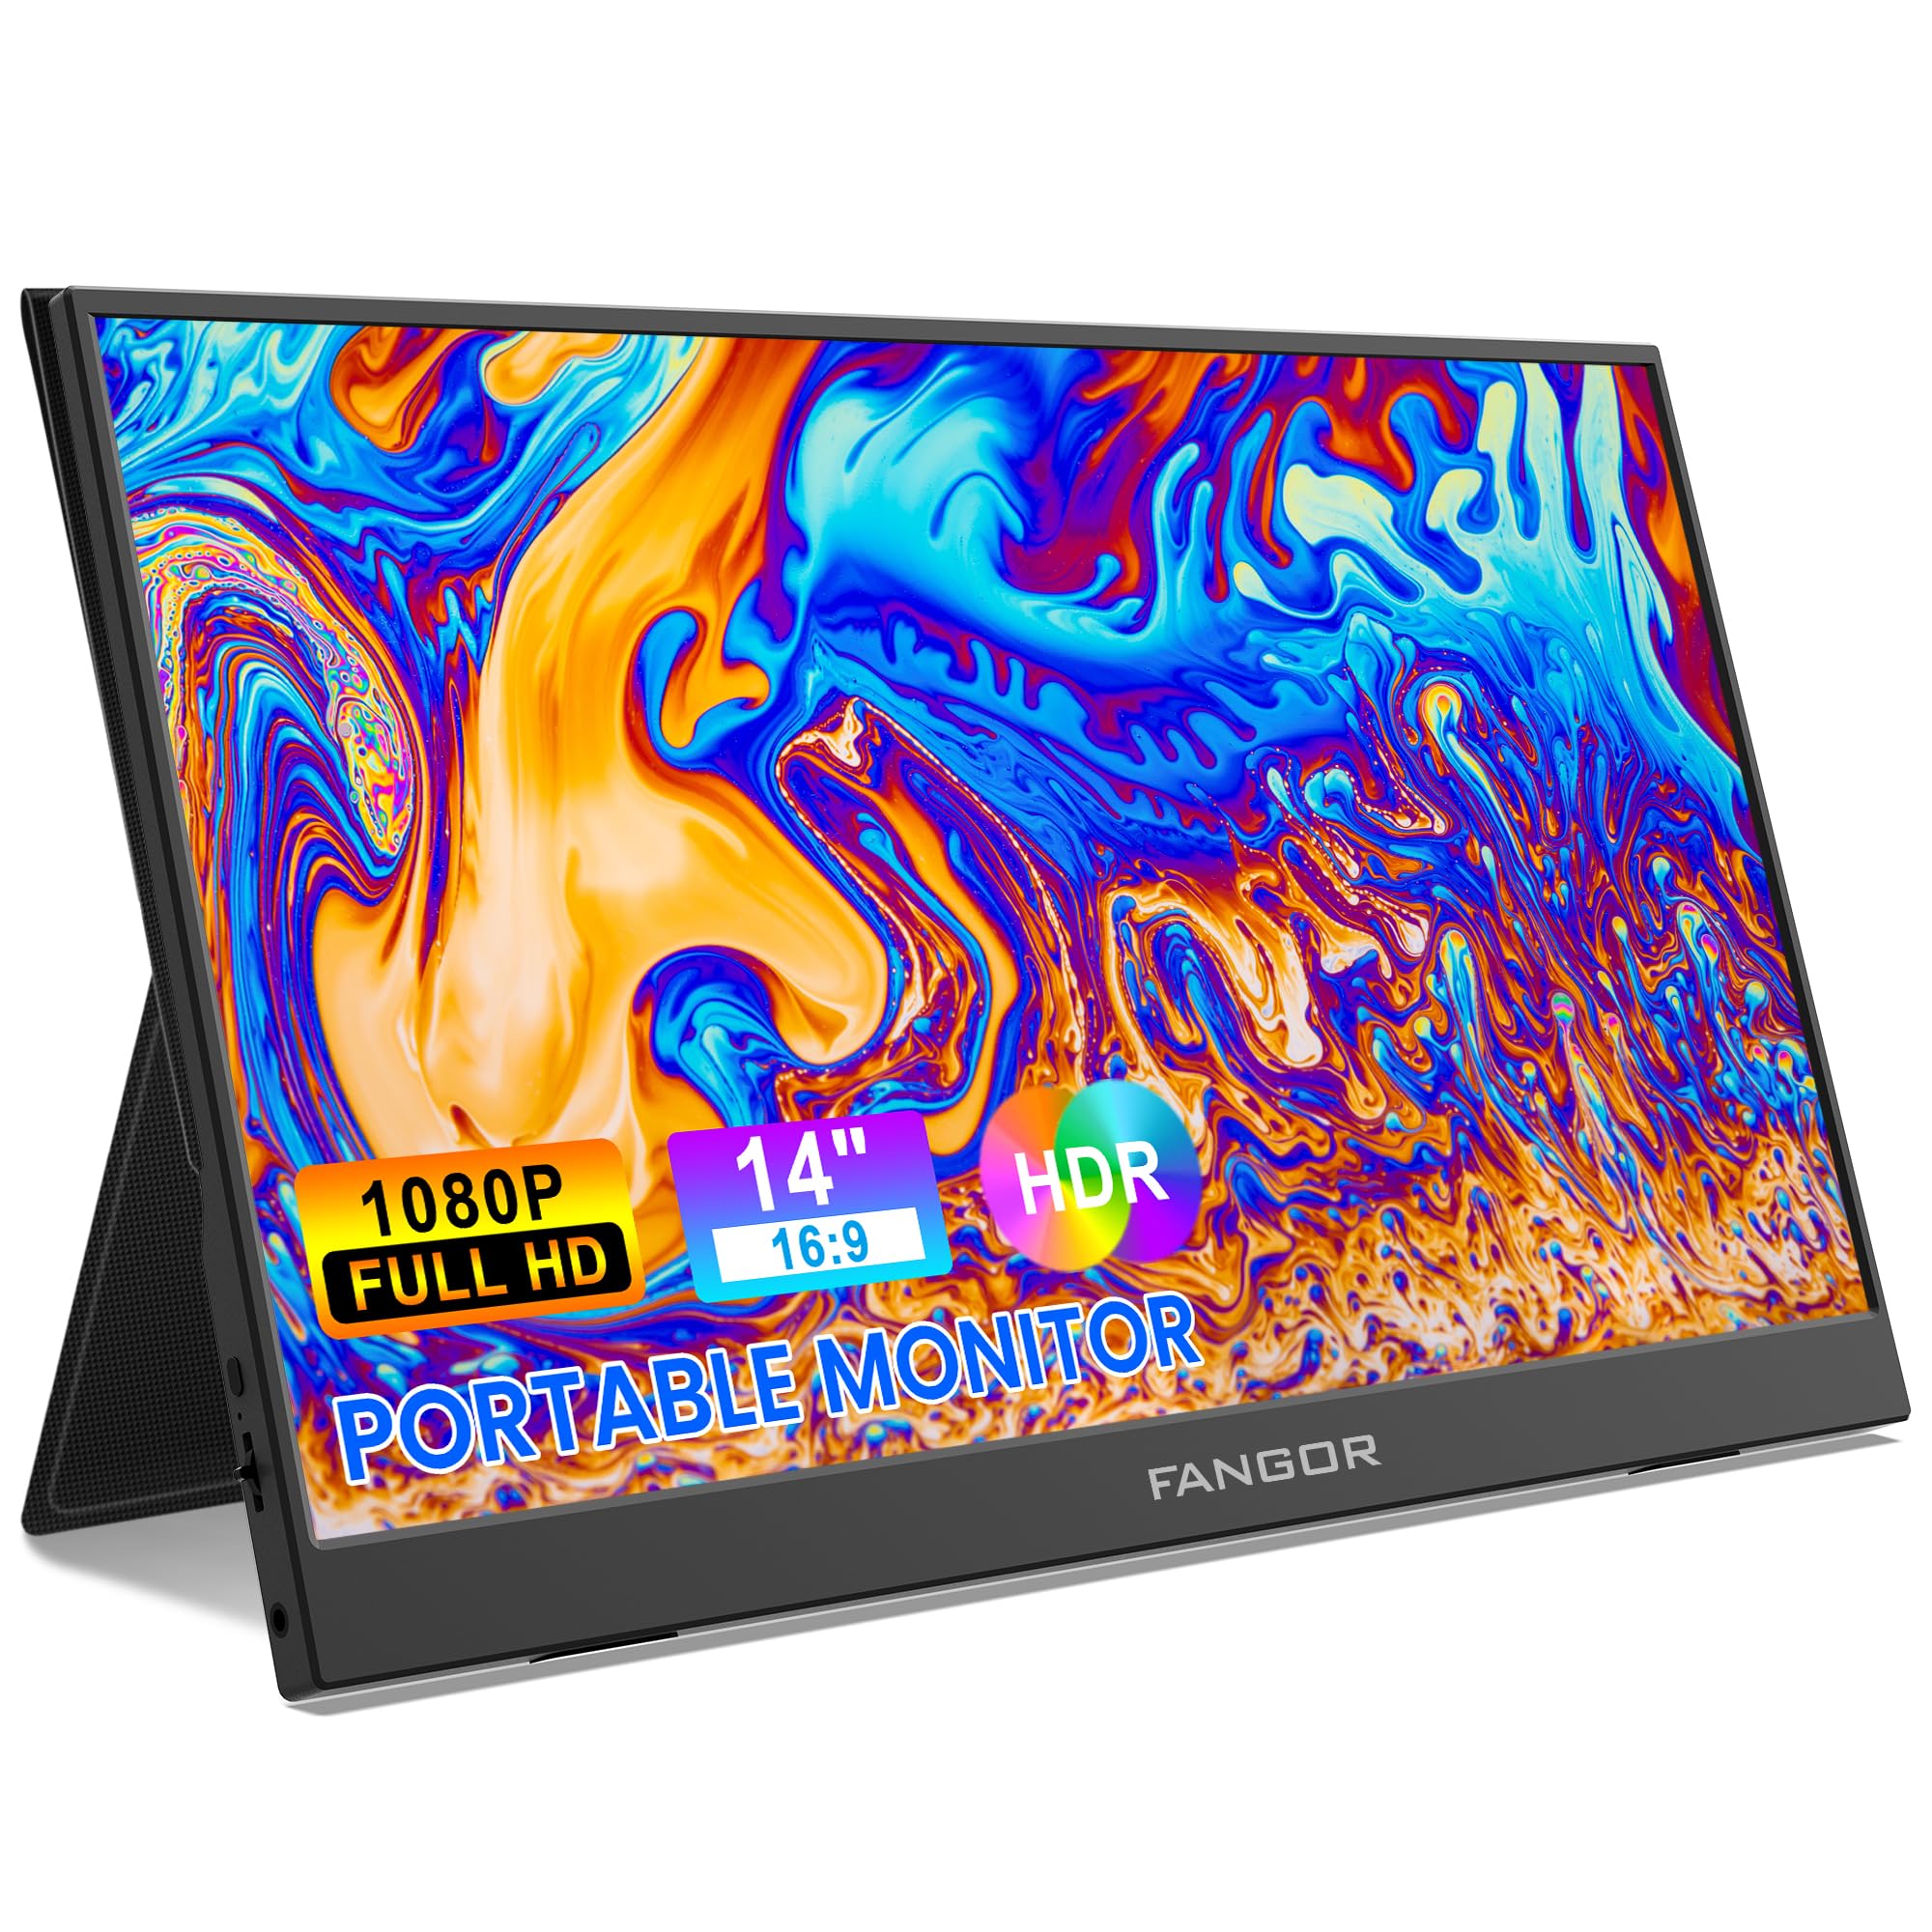
Image: FANGOR 15.6" Portable Monitor DH112222. This image displays the monitor with its smart cover, showcasing il suo sottile profile e schermo.
Porte e pulsanti:
- Porta USB-C (completa di funzionalità): For power, video, and data transmission from compatible devices.
- Mini porta HDMI: For video input from devices using an HDMI cable.
- Jack audio da 3.5 mm: Per collegare cuffie o altoparlanti esterni.
- Power Button / OSD Menu Button: Tenere premuto per accendere/spegnere. Premere per accedere al menu OSD (On-Screen Display).
- Volume / Navigation Buttons: Used to adjust volume or navigate through the OSD menu.
- Altoparlanti incorporati: Located on the sides or rear of the monitor.
Note: A visual diagram showing the exact location of each port and button would typically be included here.
Istruzioni di installazione
1. Setting up the Smart Cover:
- Unfold the smart cover to form a triangular stand.
- Place the monitor into the grooves of the stand to achieve the desired viewangolo di ing.
Note: An illustration demonstrating how to fold the smart cover into a stand would be beneficial here.
2. Collegamento a una fonte di alimentazione:
The monitor requires power to operate. It can be powered via USB-C.
- Connect one end of the USB-C to USB-C cable to the monitor's full-featured USB-C port.
- Connect the other end to a power adapter (5V/3A or higher recommended) or a compatible device's USB-C port that supports power delivery.
- Alternatively, use the USB-A to USB-C cable with a power adapter.
Note: A diagram showing power connection options would be helpful.
Istruzioni per l'uso
Connessione ai dispositivi:
The FANGOR DH112222 supports various devices via USB-C and HDMI.
1. Connecting to a Laptop/PC (USB-C):
For laptops/PCs with a full-featured USB-C port (supporting DisplayPort Alternate Mode and Power Delivery):
- Connect one end of the USB-C to USB-C cable to the monitor's full-featured USB-C port.
- Connect the other end to the laptop's full-featured USB-C port.
- The monitor should automatically detect the signal and display the screen. If not, ensure the laptop's display settings are configured for an external monitor (e.g., Extend, Duplicate).
Note: Some laptops may require an external power source for the monitor if their USB-C port does not provide sufficient power.
2. Connecting to a Laptop/PC (HDMI):
For laptops/PCs with an HDMI port:
- Connect one end of the HDMI to Mini HDMI cable to the monitor's Mini HDMI port.
- Connect the other end (HDMI) to the laptop's HDMI port.
- Ensure the monitor is powered via its USB-C port (using a USB-A to USB-C cable connected to a power adapter or a USB-C to USB-C cable connected to a power source).
- The monitor should automatically detect the signal. Adjust display settings on your PC if necessary.
3. Connecting to Gaming Consoles (PS4, Xbox, Switch):
Use the HDMI to Mini HDMI cable for video and a USB-C cable for power.
- Connect the monitor to a power source via USB-C.
- Connect the HDMI to Mini HDMI cable from the console's HDMI output to the monitor's Mini HDMI input.
- Power on the console and the monitor.
4. Connecting to Smartphones (USB-C):
For smartphones with a full-featured USB-C port (supporting DisplayPort Alternate Mode and Power Delivery):
- Connect one end of the USB-C to USB-C cable to the monitor's full-featured USB-C port.
- Connect the other end to the smartphone's USB-C port.
- The monitor will display the phone's screen. Some phones may offer a desktop mode.
Note: Not all smartphones support video output via USB-C. Check your phone's specifications.
Menu OSD (On-Screen Display):
Il menu OSD consente di regolare varie impostazioni di visualizzazione.
- Press the Power/OSD button to open the OSD menu.
- Use the Volume/Navigation buttons to move up/down or left/right through the menu options.
- Press the Power/OSD button again to select an option or confirm a setting.
- Per uscire dal menu OSD, andare all'opzione "Esci" oppure attendere che il menu scada.
Common OSD Menu Options: Brightness, Contrast, Color Temperature, Aspect Ratio, Input Source, Volume.
Manutenzione
- Pulizia dello schermo: Utilizzare un panno morbido e privo di lanugine leggermente dampcon acqua o un detergente per schermi non abrasivo. Non spruzzare il liquido direttamente sullo schermo.
- Pulizia del Casing: Use a soft, dry cloth. Avoid harsh chemicals or abrasive materials.
- Magazzinaggio: When not in use, store the monitor in its smart cover to protect the screen from scratches and dust. Avoid extreme temperatures and humidity.
- Gestione: Maneggiare sempre il monitor tenendolo per i bordi. Evitare di esercitare pressione sullo schermo.
Risoluzione dei problemi
| Problema | Possibile soluzione |
|---|---|
| Nessun segnale / Schermo nero |
|
| Nessun suono dagli altoparlanti |
|
| Screen flickering or unstable image |
|
| Il monitor non si accende |
|
Specifiche
| Caratteristica | Dettaglio |
|---|---|
| Numero di modello | Il DH112222 |
| Dimensioni dello schermo | 15.6 pollici |
| Risoluzione | Risoluzione Full HD 1080p (1920 x 1080) |
| Tipo di visualizzazione | LCD, IPS |
| Proporzioni | 16:9 |
| Frequenza di aggiornamento | Frequenza 60 Hz |
| Rapporto di contrasto | 1000:1 |
| Viewangolo di ing | 160 gradi |
| Screen Finish | Lucido |
| Connettività | HDMI, USB-C (full-featured), Mini HDMI |
| Audio | Built-In Speakers, 3.5mm Audio Jack |
| Dimensioni del prodotto | Dimensioni: 38 x 28.5 x 45 cm |
| Peso dell'articolo | 612.35 g (1.35 libbre) |
| Dispositivi compatibili | Laptop, PC, Smartphone, XBOX, Switch, PS4 |
Informazioni sulla sicurezza
- Non esporre il monitor alla pioggia o all'umidità per evitare rischi di incendio o scosse elettriche.
- Non aprire il monitor casing. Affidare tutti gli interventi di assistenza a personale qualificato.
- Evitare di posizionare il monitor vicino a fonti di calore o alla luce diretta del sole.
- Utilizzare solo l'adattatore di alimentazione e i cavi forniti o consigliati dal produttore.
- Tenere il monitor lontano da forti campi magnetici.
Garanzia e supporto
For warranty information and technical support, please refer to the warranty card included with your product or visit the official FANGOR websito. Conservare la ricevuta d'acquisto come prova d'acquisto per eventuali reclami in garanzia.
For further assistance, contact FANGOR customer support through their official channels.