
1. Introduzione
The rockspace AC1200 WiFi Range Extender is designed to expand your existing wireless network coverage and eliminate Wi-Fi dead zones. Utilizing dual-band technology, it supports both 2.4GHz and 5GHz bands, providing stable and high-speed connections for up to 20 wireless devices across an area of up to 2624 sq.ft. This manual provides detailed instructions for setting up, operating, and maintaining your device.

The rockspace AC1200 WiFi Range Extender expands your network coverage.
2. Informazioni sulla sicurezza
- Non esporre il dispositivo all'acqua, al fuoco o alle alte temperature.
- Evitare di posizionare il dispositivo in prossimità di forti campi elettromagnetici.
- Assicurare una ventilazione adeguata; non coprire le prese d'aria del dispositivo.
- Utilizzare solo l'alimentatore fornito con il dispositivo.
- Tenere fuori dalla portata dei bambini.
3. Contenuto della confezione
- 1 x rockspace AC1200 WiFi Range Extender
- 1 x Manuale di istruzioni
4. Prodotto finitoview
The rockspace AC1200 WiFi Range Extender features a compact design with dual external antennas for enhanced signal reception and transmission. It includes a WPS button for quick setup, an Ethernet port for wired connections, and LED indicators to show device status.

Davanti view of the rockspace AC1200 WiFi Range Extender.
Indicatori LED:
- LED di segnalazione: Indicates the strength of the signal received from the router.
- LED WPS: Indica lo stato della connessione WPS.
- LED ACCENSIONE: Indica lo stato dell'alimentazione.
Porte e pulsanti:
- Pulsante WPS: Per una configurazione rapida e semplice con router abilitati WPS.
- Porta Ethernet: For connecting wired devices or setting up in Access Point mode.
5. Impostazione
Method 1: WPS Button Setup (Recommended)
- Plug the extender into an electrical outlet near your wireless router. Wait for the PWR LED to turn solid blue.
- Press the WPS button on the extender. The WPS LED will start blinking.
- Within 2 minutes, press the WPS button on your wireless router.
- Wait for the Signal LED on the extender to turn solid blue, indicating a successful connection.
- Once connected, you can unplug the extender and relocate it to a desired location within your router's Wi-Fi range. Ensure the Signal LED remains solid blue for optimal performance.

WPS setup for quick connection.
Metodo 2: Web-based Setup
- Plug the extender into an electrical outlet near your wireless router. Wait for the PWR LED to turn solid blue.
- Connect your computer or mobile device to the extender's default Wi-Fi network (e.g., 'rockspace_EXT' or 'rockspace_5G_EXT'). No password is required initially.
- Aprire un web browser and enter the default IP address (e.g., 192.168.0.254) or domain name (e.g., re.rockspace.local) in the address bar.
- Follow the on-screen instructions to create an administrator password, select your router's Wi-Fi network, and enter its password.
- Once configured, the extender will restart. Reconnect your devices to the new extended Wi-Fi network (usually your original network name with '_EXT' appended).
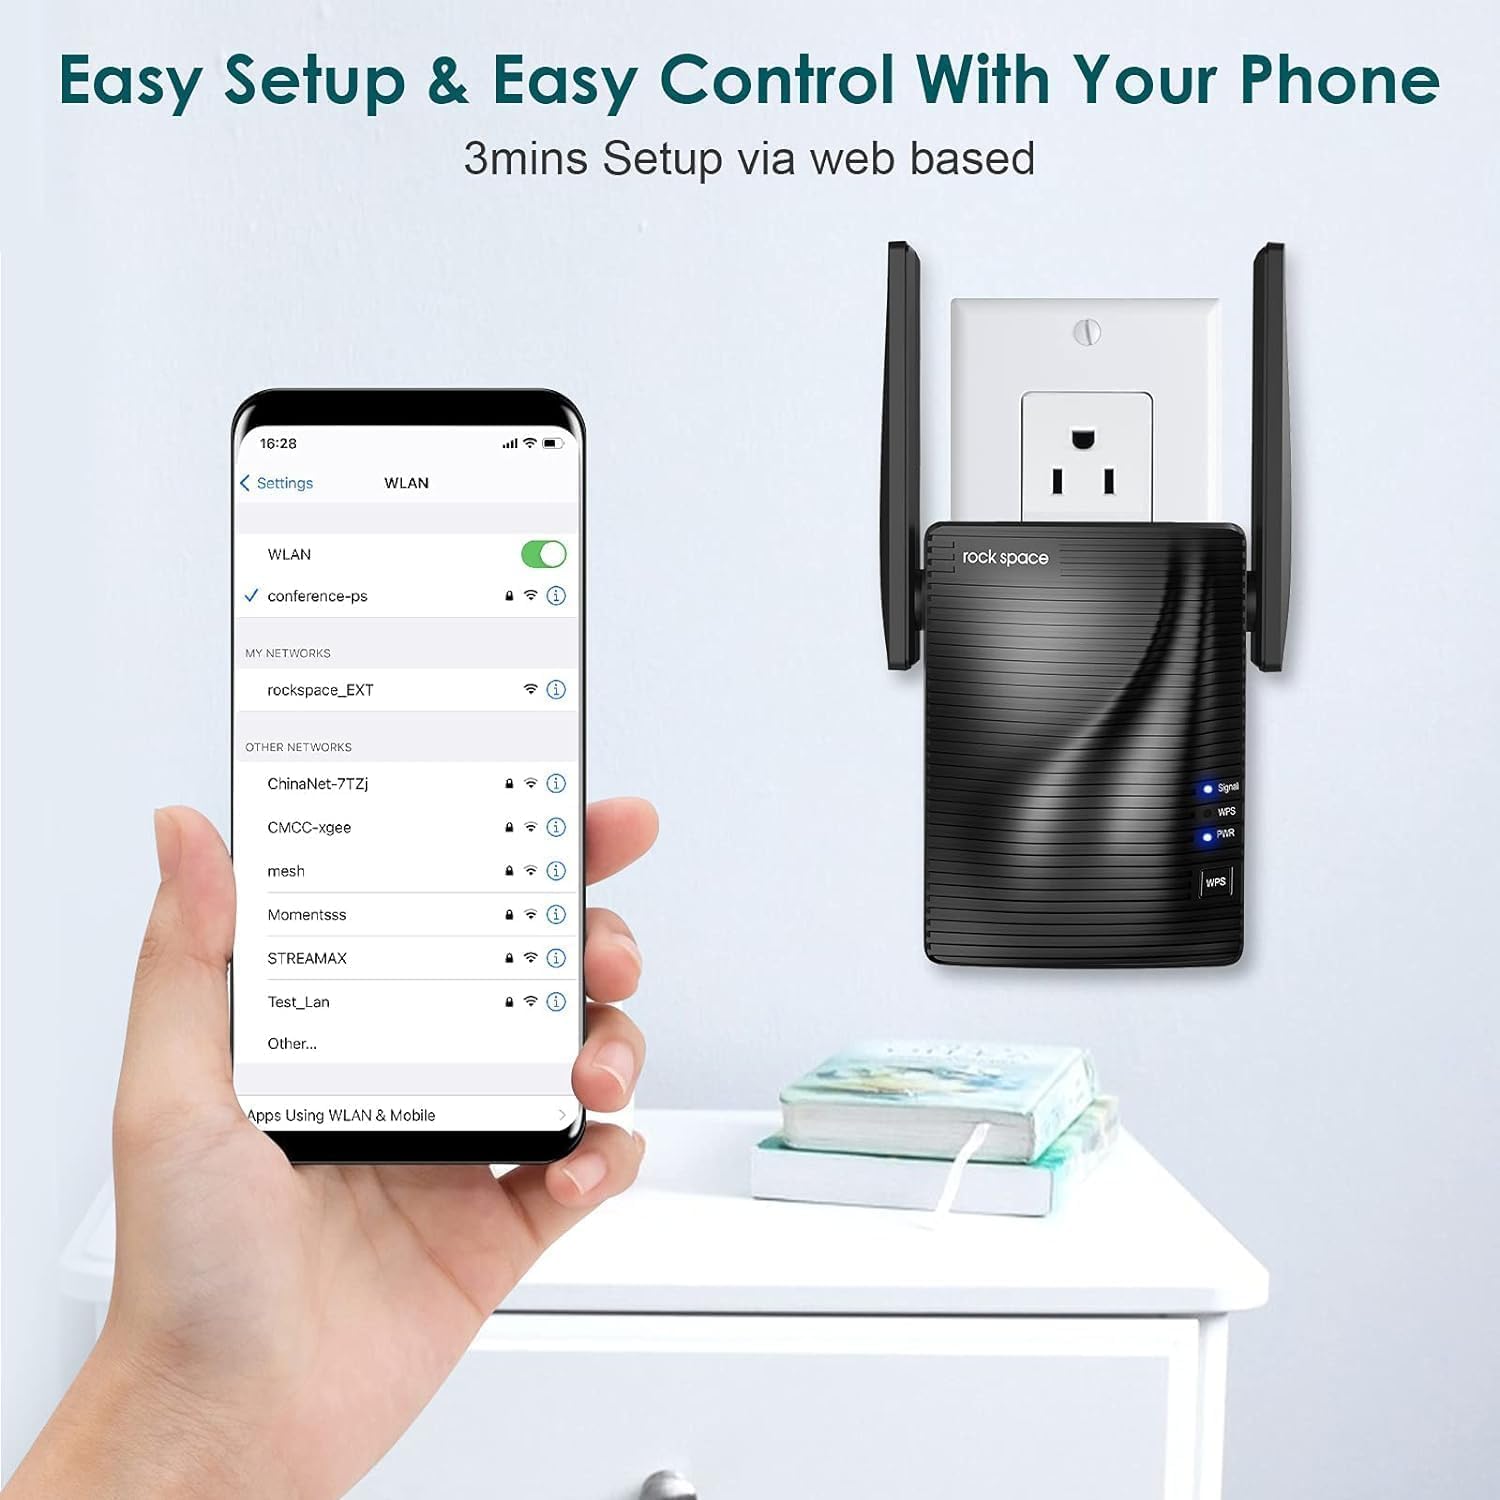
Web-based setup via smartphone.
6. Modalità operative
Modalità ripetitore (predefinita)
In modalità ripetitore, l'extender si connette in modalità wireless al router esistente e amplifies its Wi-Fi signal, extending coverage to areas with weak or no signal. This is ideal for expanding your wireless network without running new cables.
Modalità punto di accesso (AP)
In AP Mode, the extender connects to your router via an Ethernet cable and creates a new wireless network. This is useful for converting a wired network connection into a wireless hotspot, providing Wi-Fi access in areas where only wired connections are available.

Access Point mode provides stable wired-to-wireless conversion.
7. Manutenzione
- Posizionamento ottimale: Place the extender halfway between your router and the Wi-Fi dead zone. Avoid physical obstructions like thick walls or large metal objects.
- Aggiornamenti del firmware: Regularly check the rockspace official websito per gli aggiornamenti del firmware per garantire prestazioni e sicurezza ottimali.
- Pulizia: Pulire delicatamente il dispositivo con un panno morbido e asciutto. Non utilizzare detergenti liquidi o spray.
8. Risoluzione Dei Problemi
- Nessun potere: Ensure the extender is securely plugged into a working electrical outlet. Check the PWR LED.
- Nessun segnale/Segnale debole: Relocate the extender closer to your main router. Ensure there are minimal obstructions between the router and the extender.
- Bassa velocità di Internet: This can be caused by interference, too many connected devices, or improper placement. Try adjusting antenna positions or moving the extender.
- Impossibile accedere Web Pagina di gestione: Ensure your device is connected to the extender's Wi-Fi network. Clear your browser's cache and cookies, or try a different browser.
- Password dimenticata: Perform a factory reset on the extender by pressing and holding the Reset button (usually a small pinhole) for about 8-10 seconds until the LEDs flash. This will revert all settings to factory defaults.
9. Specifiche
| Caratteristica | Dettaglio |
|---|---|
| Numero di modello | 2020 1200RPT |
| Standard di comunicazione wireless | 802.11a/b/g/n |
| Velocità di trasferimento dati | 1200 Megabyte al secondo (Mbps) |
| Classe di banda di frequenza | Doppia banda (2.4 GHz e 5 GHz) |
| Tipo di connettore | RJ45 (Ethernet) |
| Peso dell'articolo | 10.4 once |
| Dimensioni del pacco | 5 x 5 x 4 pollici |
10. Garanzia e supporto
rockspace products typically come with a standard manufacturer's warranty. For specific warranty details, technical support, or to download the latest user guide, please visit the official rockspace website or refer to the included Guida per l'utente (PDF).
