
1. Prodotto finitoview
This manual provides essential information for the proper setup, operation, and maintenance of the Cuifati 16-Channel USB Controlled Opto-Isolated Relay Module. This device is designed for simple ON/OFF switching of electrical equipment, making it suitable for various applications including robotics and home automation projects.

Figura 1: Dall'alto verso il basso view of the Cuifati 16-Channel USB Controlled Opto-Isolated Relay Module, showing the 16 blue relays, USB port, and terminal blocks.
2. Caratteristiche principali
The Cuifati 16-Channel USB Controlled Opto-Isolated Relay Module offers the following features:
- 16 SPDT Relays: Equipped with sixteen Single-Pole Double-Throw (SPDT) relays for versatile switching applications.
- Controllo USB: Designed for control via a USB interface, allowing integration with various computer systems.
- Opto-Isolated Design: Features opto-isolation to protect the control circuit from high-voltage relay circuits, enhancing safety and reliability.
- Indicatori LED: Includes an LED power indicator and individual LEDs for each relay output, providing clear status feedback.
- Elevata capacità di carico: Each relay supports a maximum load of 10A at 250V AC or 10A at 30V DC.
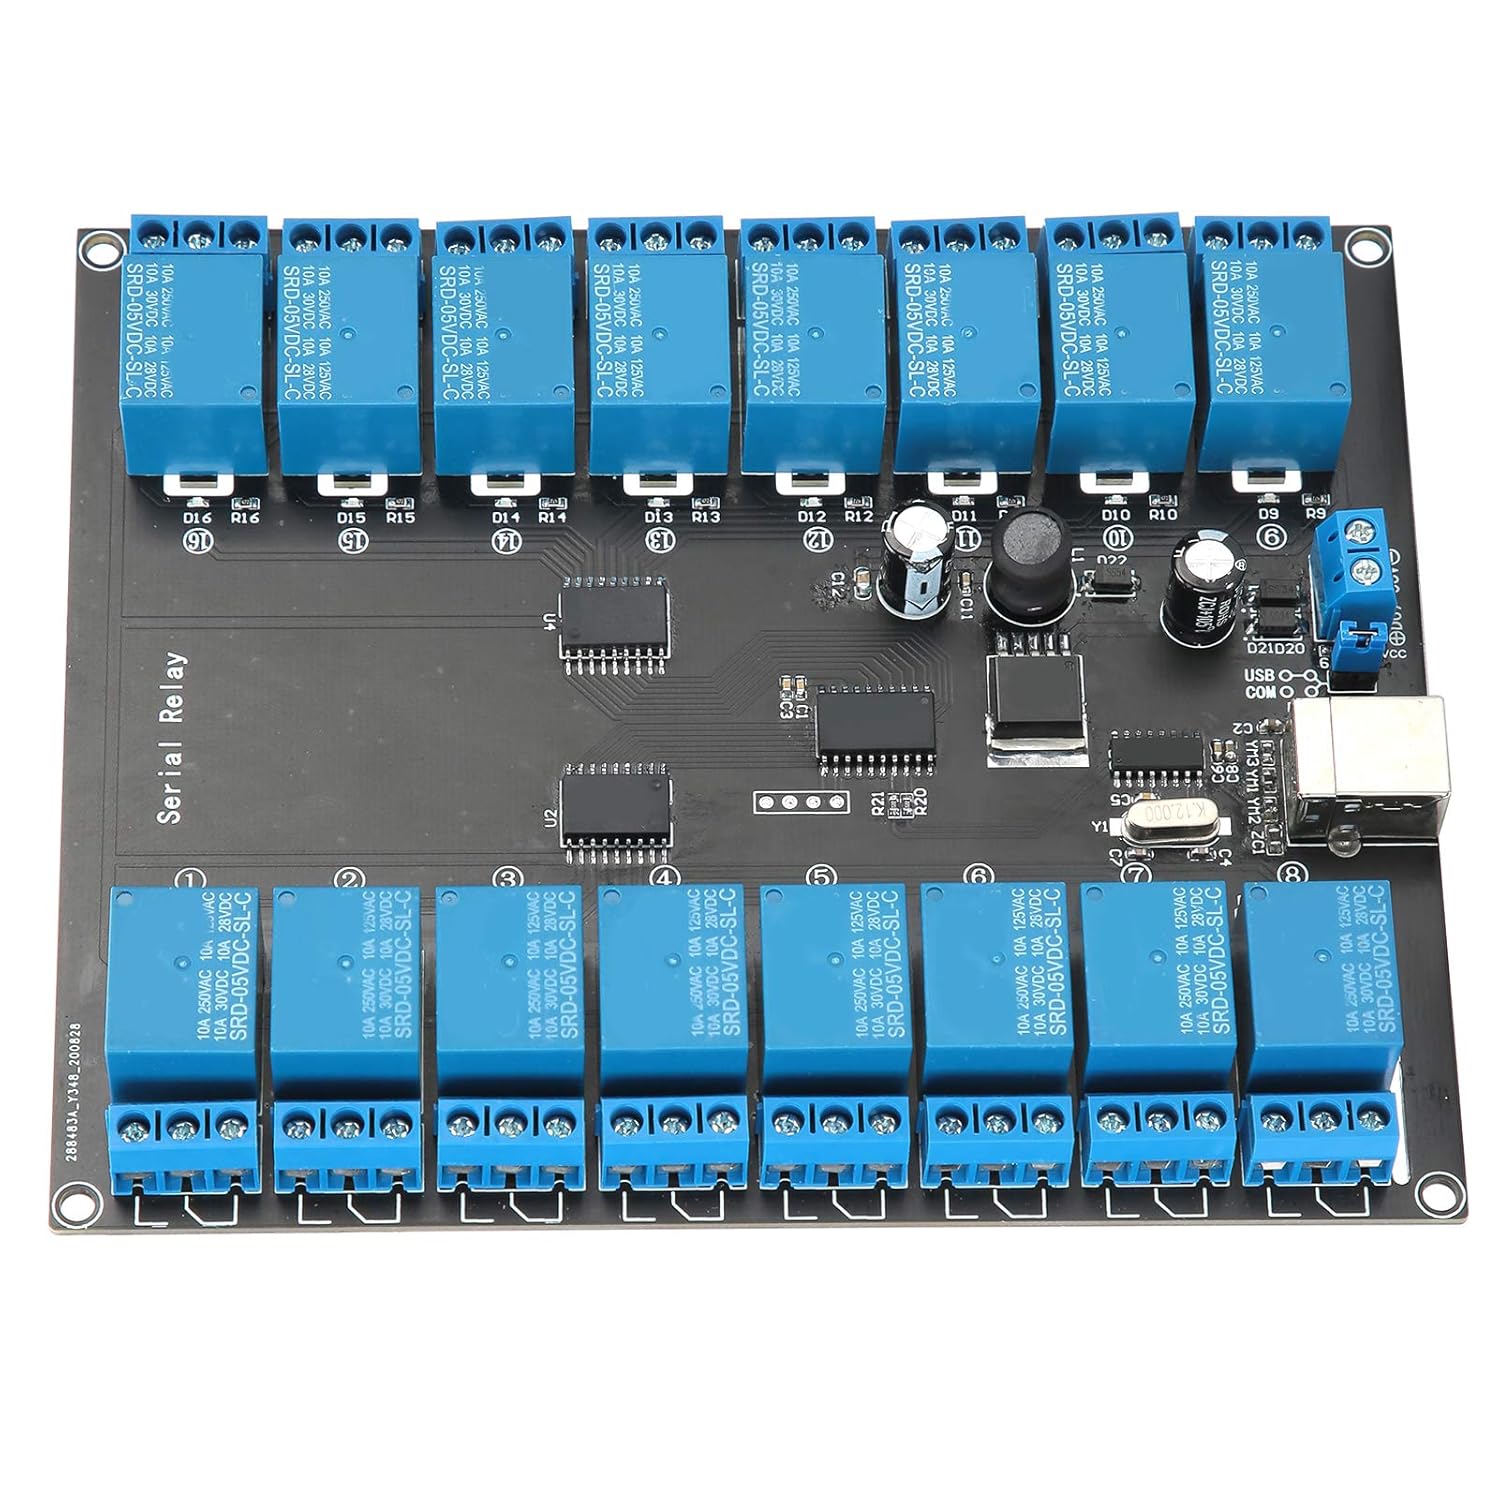
Figura 2: primo piano view highlighting the USB controlled, opto-isolated nature of the board with its 16 SPDT relays.
3. Istruzioni per l'installazione
Follow these steps to set up your Cuifati Relay Module:
- Collegamento dell'alimentazione: Connect a DC power supply within the range of 7V to 38V to the designated power input terminals on the module. Ensure correct polarity.
- Connessione USB: Connect the module to your computer using a standard USB cable. The USB port is located on the side of the board.
- Installazione del driver (se richiesto): Depending on your operating system, you may need to install specific drivers for the USB interface. Refer to your operating system's documentation or the manufacturer's website for driver availability.
- Connessione di carico: Connect the electrical equipment you wish to control to the relay terminal blocks. Each relay has three terminals: Common (COM), Normally Open (NO), and Normally Closed (NC). Refer to the circuit diagram for your specific application.

Figura 3: Angolato view of the module, illustrating the USB port and power input terminals for connection.
4. Funzionamento del modulo
Once the module is set up, you can operate it via your computer:
- Controllo software: The module is controlled via USB. You will need to use compatible software or develop custom code to send commands to the module and activate/deactivate the relays. This manual does not provide specific software or programming instructions.
- Indicatori LED: Observe the LED indicators for operational status. The power LED indicates that the module is receiving power. Each relay has an associated LED that illuminates when the relay is activated.
- Relay Switching: When a relay is activated, its contacts will switch from their default state (Normally Closed to Common) to the activated state (Normally Open to Common).

Figura 4: Dettagli dall'alto verso il basso view of the relay module, showing the layout of relays, control chips, and connection points.
5. Manutenzione
To ensure the longevity and reliable operation of your relay module, consider the following maintenance guidelines:
- Mantenere pulito: Regularly clean the module with a soft, dry cloth to remove dust and debris. Avoid using liquid cleaners.
- Evitare l'umidità: Protect the module from moisture and extreme temperatures. Operate it in a dry environment.
- Gestione corretta: Handle the module with care to prevent physical damage to components or connections.
- Ispezionare le connessioni: Periodically check all power and load connections to ensure they are secure.
6. Risoluzione Dei Problemi
If you encounter issues with your Cuifati Relay Module, consider the following troubleshooting steps:
- No Power Indicator LED:
- Check the power supply connection and ensure it is within the 7V-38V DC range.
- Verificare che l'alimentatore funzioni correttamente.
- Relè non attivati:
- Ensure the module is properly connected via USB to your computer.
- Confirm that the necessary drivers are installed and recognized by your operating system.
- Verify that your control software or code is sending the correct commands to the module.
- Check the load connections to the relay terminals.
- Modulo non riconosciuto dal computer:
- Prova una porta USB diversa sul tuo computer.
- Utilizzare un cavo USB diverso.
- Reinstall or update the USB drivers for the module.
- Funzionamento generale: Note that this manual does not include specific software or programming instructions for controlling the module. Users are expected to source or develop their own control interface.
7. Specifiche
| Caratteristica | Specificazione |
|---|---|
| Numero di modello | Cuifatiu0cks8mzpe1290 |
| Numero di relè | 16 |
| Tipo di relè | SPDT (singolo polo doppio lancio) |
| Interfaccia di controllo | USB |
| Isolamento | Optoisolato |
| Max Load per Relay | 10A / 250V AC, 10A / 30V DC |
| Alimentazione elettrica | 7V - 38V CC |
| Indicatori | Power LED, 16 Relay Status LEDs, USB LED |
| Dimensioni (L x P x A) | Approximately 1 x 1 x 1 cm (Product dimensions from source: 1 x 1 x 1 cm) |
| Peso | Circa 392 grammi |
| Produttore | Cuifati |
| Paese di origine | Cina |

Figura 5: In basso view of the Printed Circuit Board (PCB) for the relay module.
8. Garanzia e supporto
For warranty information and technical support, please refer to the documentation provided at the time of purchase or contact the seller/manufacturer directly. This manual does not include specific warranty terms or support contact details.