
1. Introduzione
Thank you for choosing the HBN Digital Timer Plug. This device is designed to automatically control the power supply to your indoor appliances, helping you save energy and enhance convenience. It features weekly programming with up to 8 ON/OFF programs per day and a random function for added security. Please read this manual carefully before use to ensure proper operation and safety.
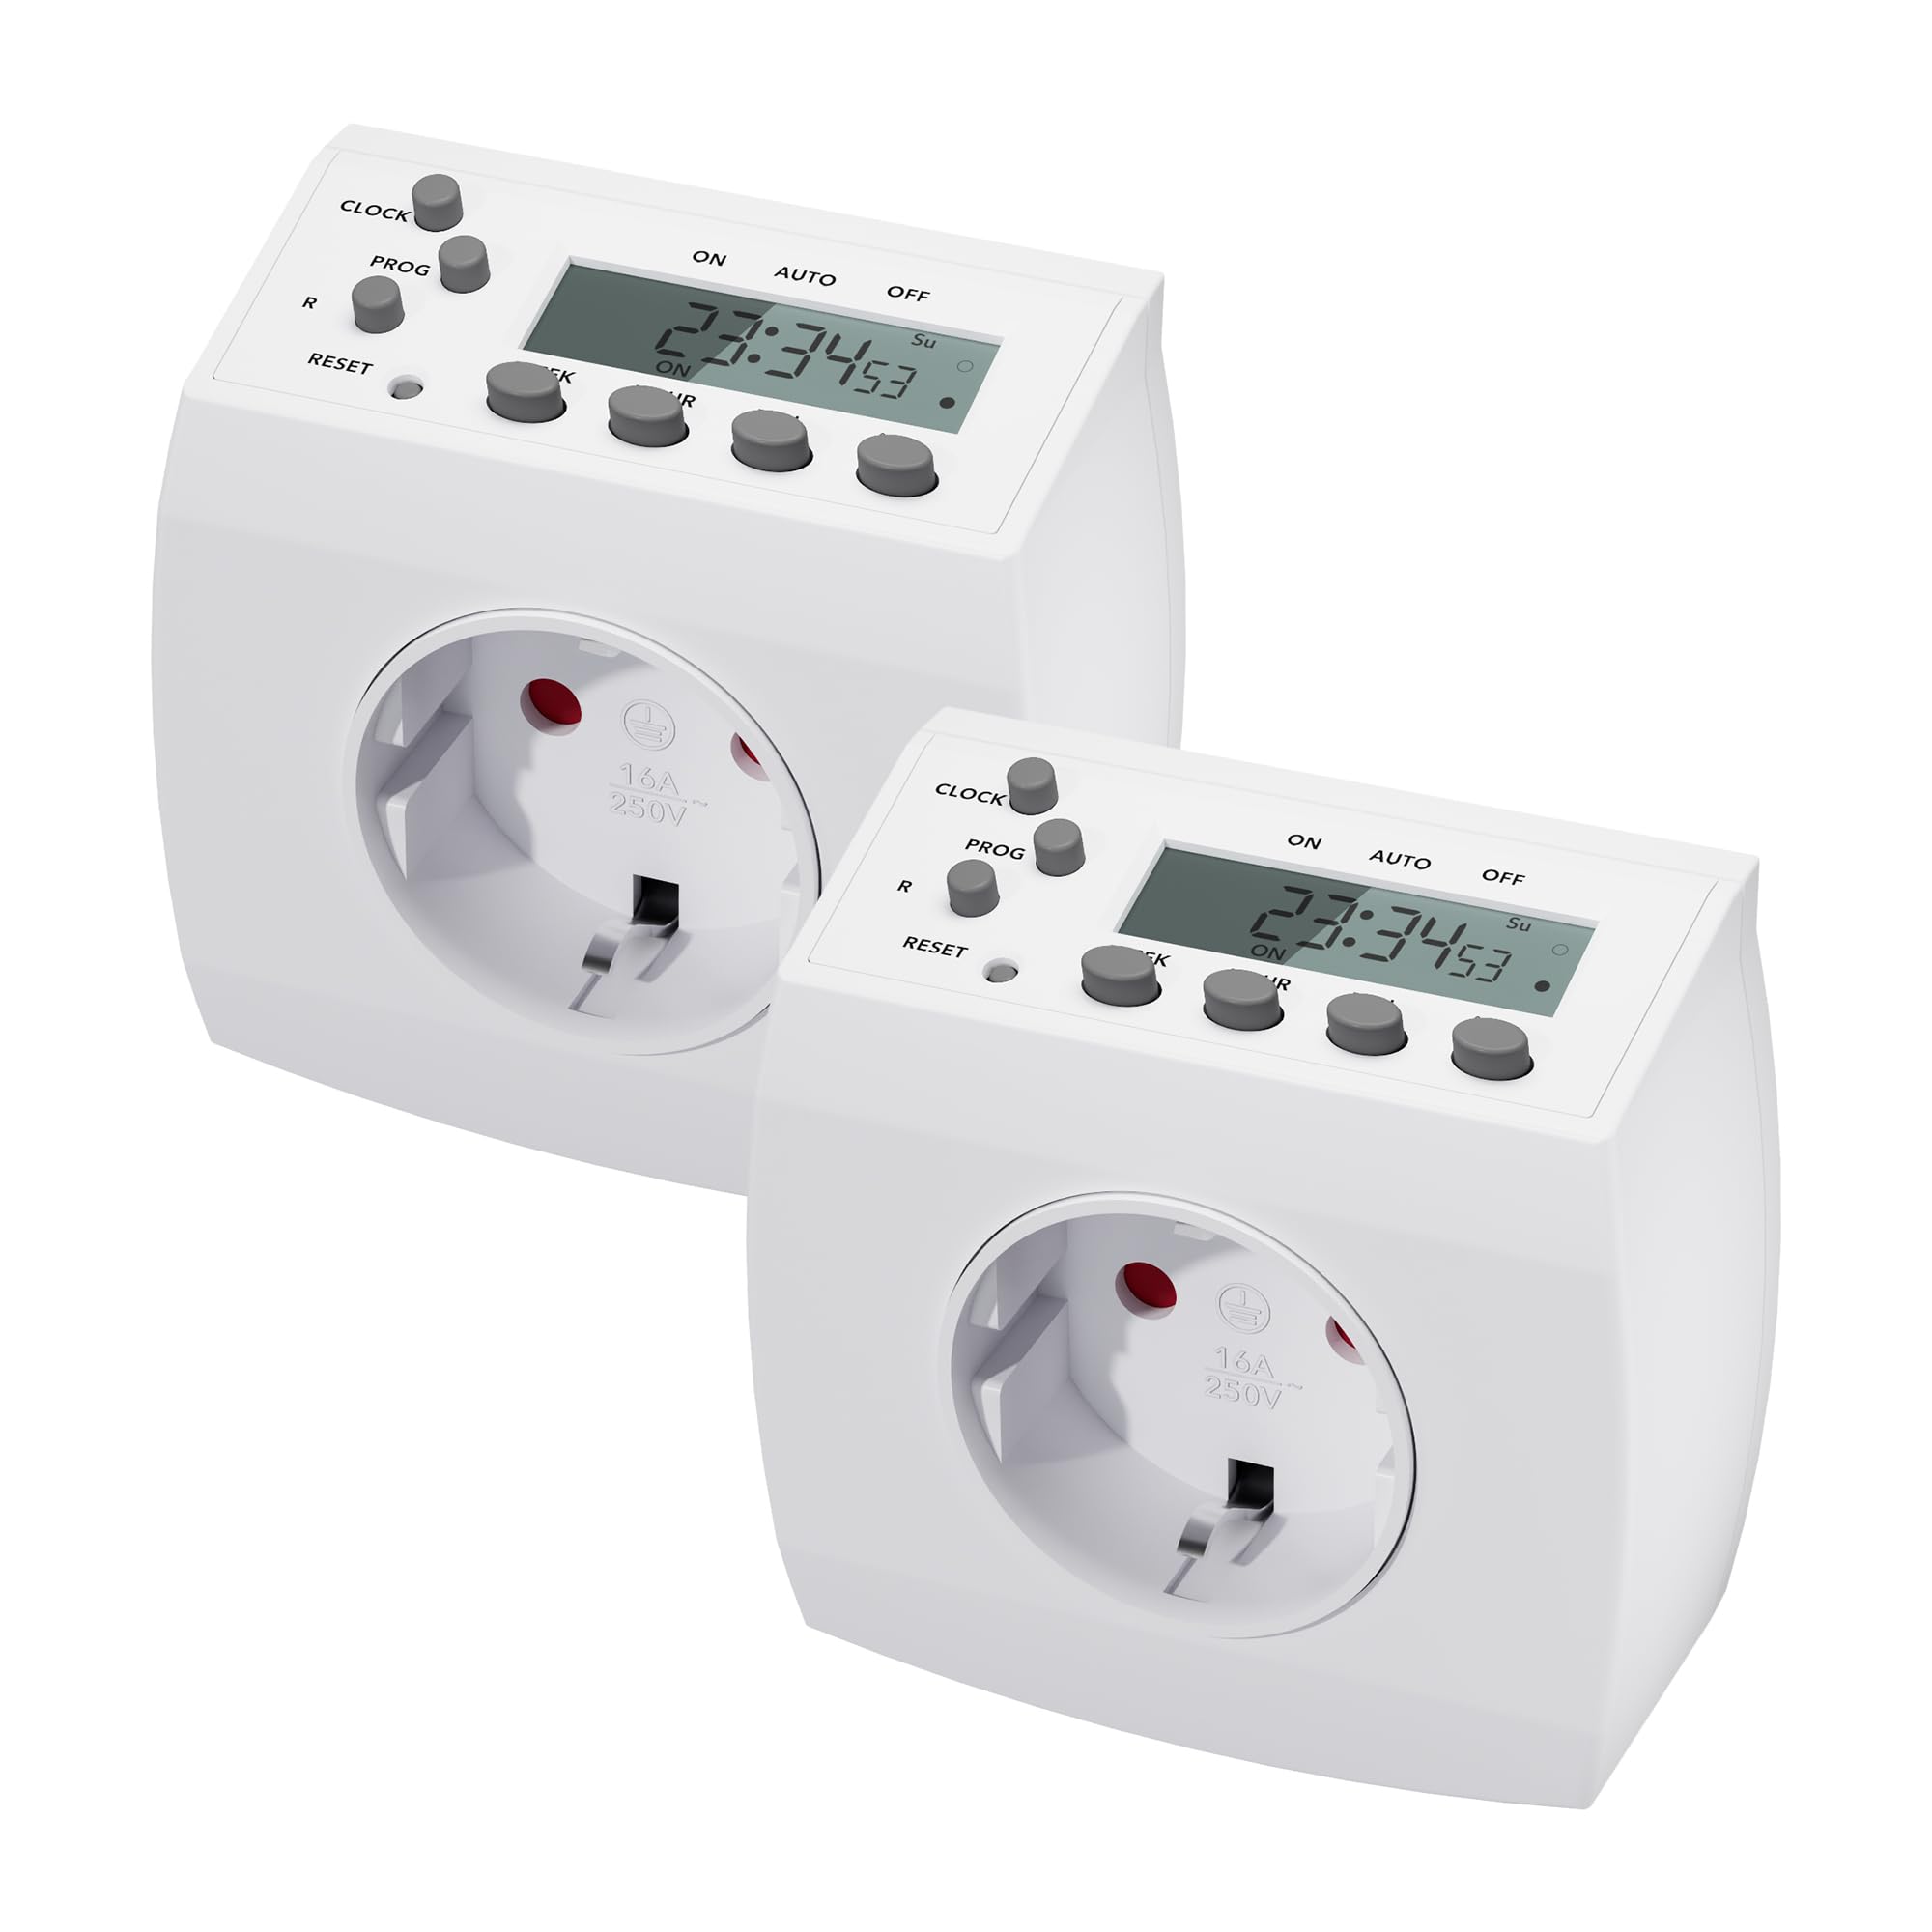
Image 1.1: HBN Digital Timer Plug in use with a coffee machine, highlighting key features.
2. Istruzioni di sicurezza
- Solo per uso interno. Non esporre a umidità o temperature estreme.
- Non superare il carico massimo di 16A / 3680W.
- Ensure the timer is fully inserted into the wall socket.
- Non collegare più timer in serie.
- Always unplug the timer from the wall socket before cleaning.
- Tenere fuori dalla portata dei bambini.
3. Prodotto finitoview
3.1 Componenti e display
The HBN Digital Timer Plug features a clear LCD display and intuitive buttons for easy programming. The device is compact and designed for discreet integration into your home.

Immagine 3.1: Fronte e lato view of the timer, highlighting buttons and display.
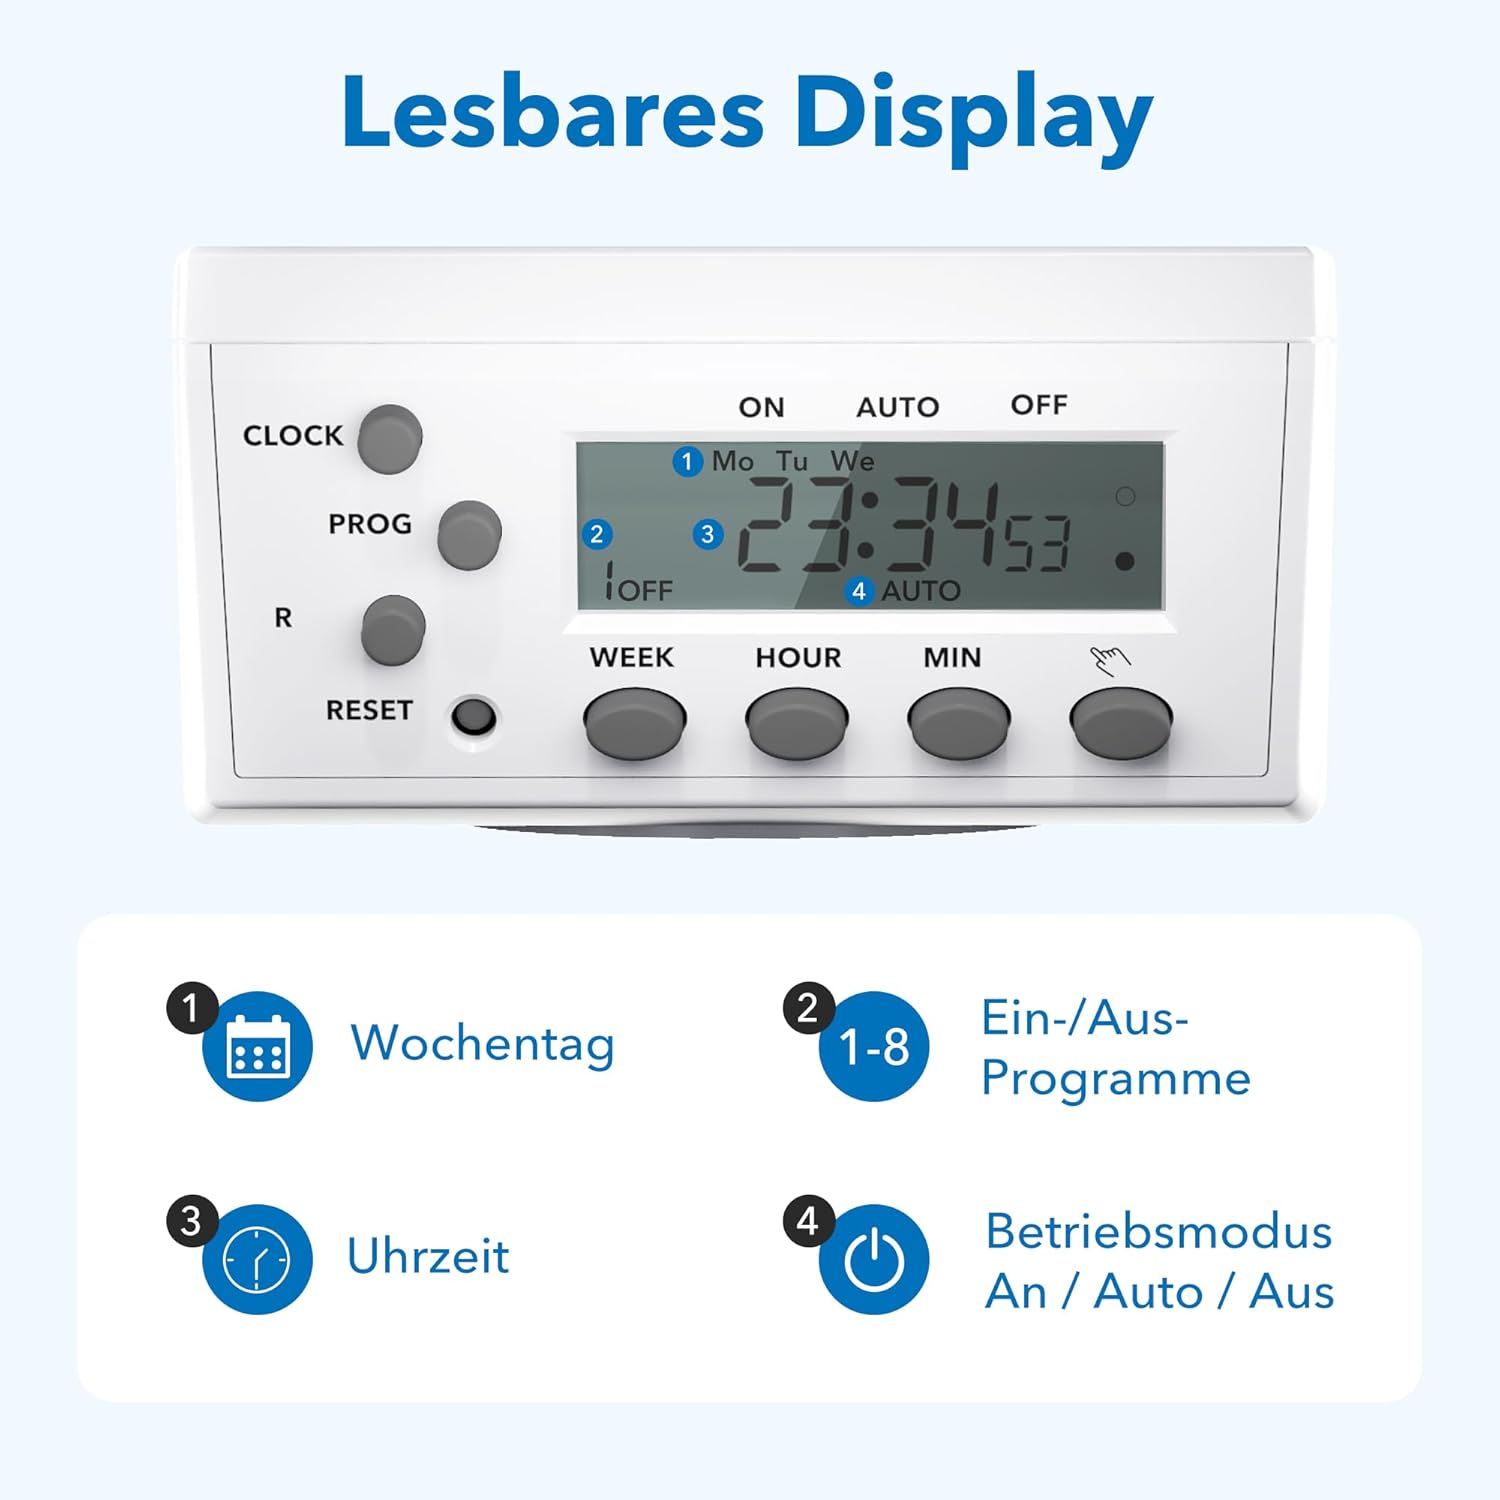
Immagine 3.2: Dettagliata view of the readable display, showing weekday, program, time, and mode indicators.
3.2 Technical Data and Dimensions

Image 3.3: Technical specifications and dimensions of the timer.
- Dimensioni: Circa 7.5 cm x 7.5 cm x 8 cm
- Max. Programs: 8 programmi ON/OFF al giorno
- Weekly Combinations: 15 different weekly settings
- Carico massimo: 3680 W / 16 A
- Min. Switching Time: 1 minuto
- Caratteristiche: Manual ON/OFF, Summer/Winter time, Power failure memory
4. Impostazione
4.1 Configurazione iniziale e ricarica
- Plug the timer into a wall socket for at least 30 minutes to charge the internal battery. This battery maintains settings during power outages.
- Premere il tasto RESET button with a pointed object (e.g., a pen tip) to clear all previous settings. The display will show "0:00" and all segments will flash.
4.2 Impostazione dell'ora corrente
- Premere il tasto OROLOGIO pulsante e tenerlo premuto.
- Mentre si tiene OROLOGIO, premere il tasto SETTIMANA button repeatedly to select the current day of the week (Mo, Tu, We, Th, Fr, Sa, Su).
- Mentre si tiene OROLOGIO, premere il tasto ORA button repeatedly to set the current hour (0-23).
- Mentre si tiene OROLOGIO, premere il tasto MINIMO button repeatedly to set the current minute (0-59).
- Rilasciare il OROLOGIO pulsante. L'ora corrente è ora impostata.
5. Istruzioni per l'uso
5.1 Programmazione degli orari di accensione/spegnimento
Il timer consente di impostare fino a 8 programmi di accensione/spegnimento. Ogni programma può essere impostato per giorni specifici o combinazioni di giorni.
- Premere il tasto PROG una volta il pulsante. Il display mostrerà "1 ON" e l'ora lampeggerà.
- Premere SETTIMANA to select the desired day(s) for the first ON program. Options include individual days, weekdays, weekends, or all days.
- Premere ORA E MINIMO per impostare l'orario di accensione desiderato.
- Premere PROG di nuovo. Il display mostrerà "1 OFF" e l'ora lampeggerà.
- Premere SETTIMANA to select the desired day(s) for the first OFF program (usually the same as the ON program).
- Premere ORA E MINIMO per impostare l'orario di spegnimento desiderato.
- Repeat steps 1-6 for programs 2 through 8.
- Dopo aver impostato tutti i programmi desiderati, premere il tasto OROLOGIO pulsante per tornare alla visualizzazione dell'ora corrente.
5.2 Comando manuale (ON/AUTO/OFF)
Premere il tasto MANUALE button (often labeled with a hand icon or similar) to cycle through the operating modes:
- SOPRA: L'apparecchio collegato rimarrà sempre ACCESO, ignorando tutti i programmi.
- AUTO: The timer will operate according to the programmed ON/OFF times.
- OFF: L'apparecchio collegato rimarrà costantemente SPENTO, ignorando tutti i programmi.
5.3 Funzione casuale
The random function can simulate presence in your home by turning appliances ON and OFF at irregular intervals, typically between 6:00 PM and 6:00 AM. This feature is useful for deterring potential intruders when you are away.
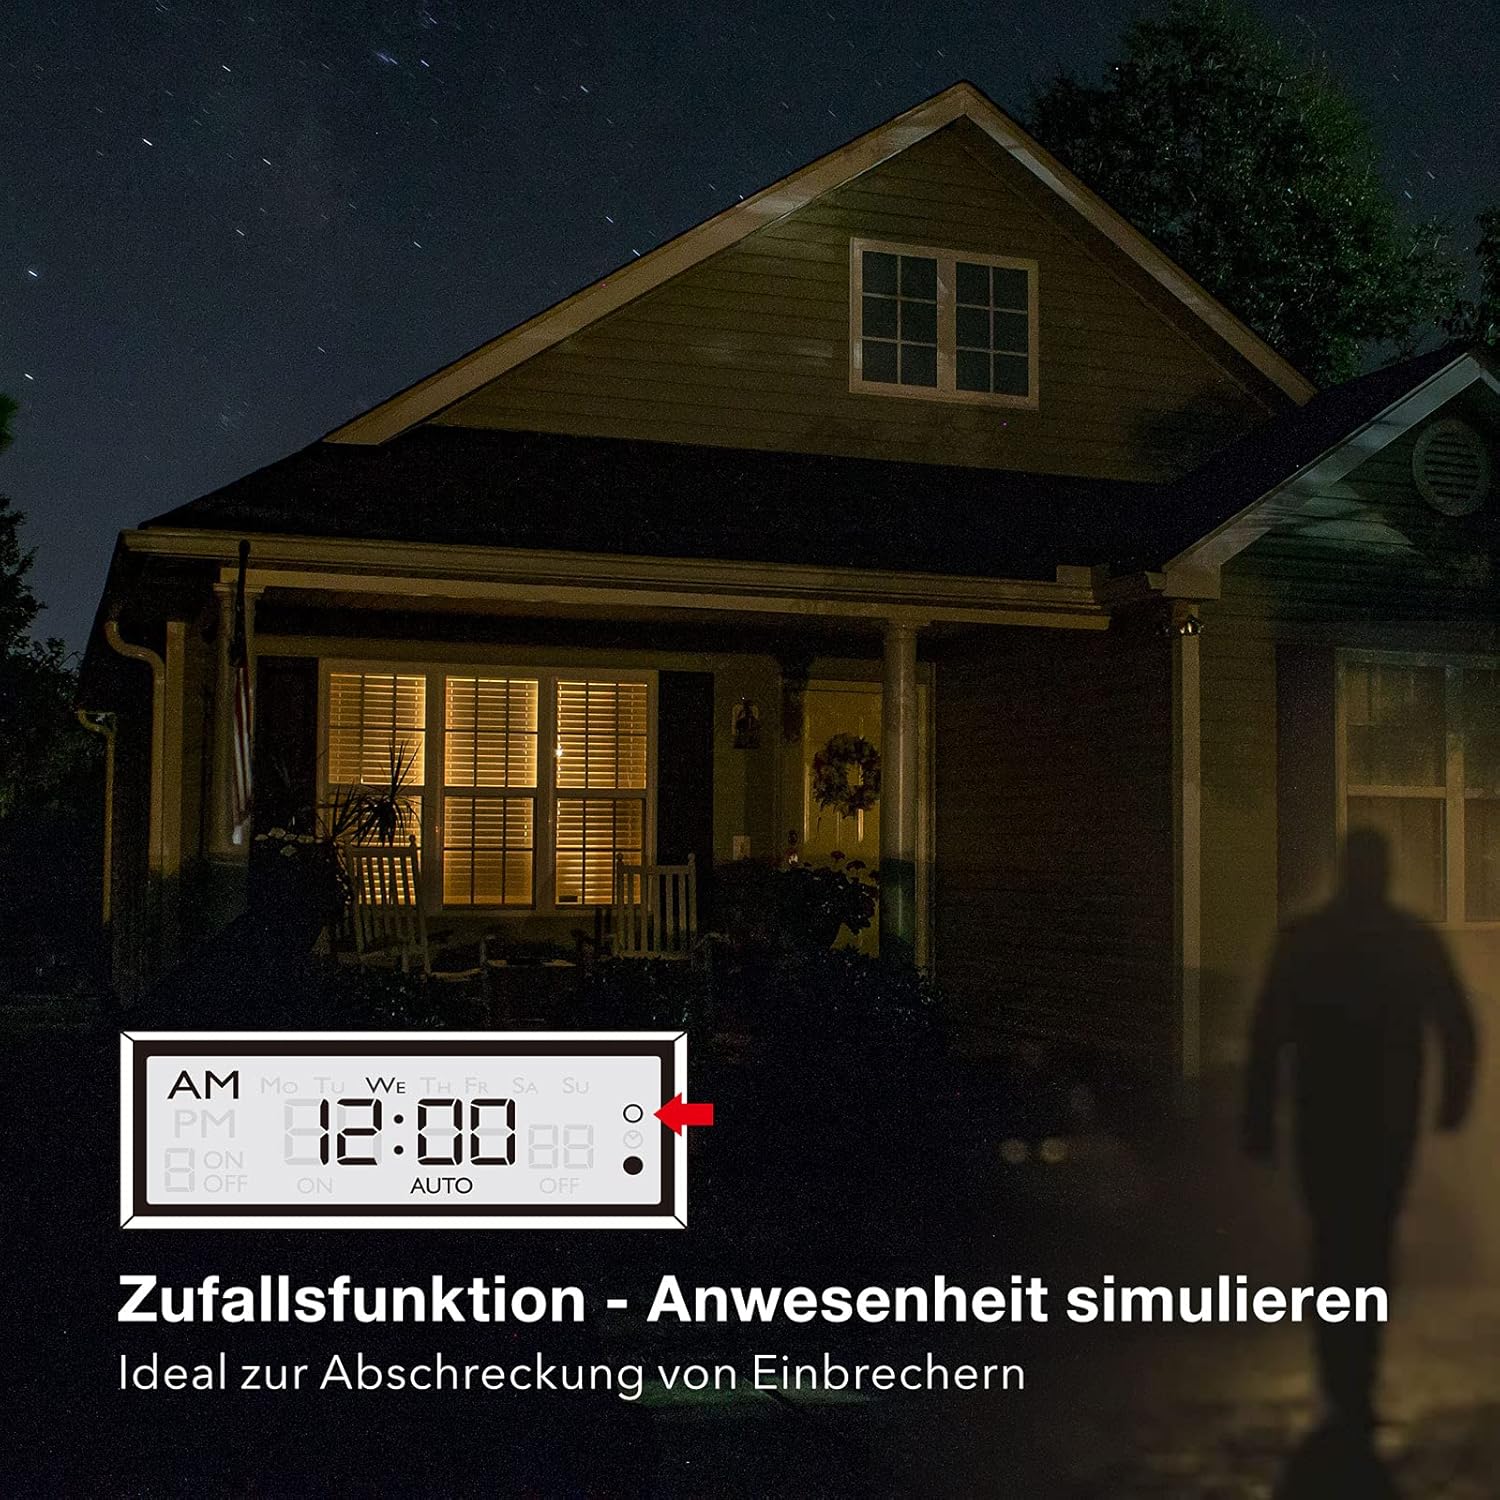
Image 5.1: Random function simulating presence for security.
- Per attivare la funzione casuale, premere il tasto R (Random) button. The display will show "R" or a similar indicator.
- Per disattivare, premere il tasto R di nuovo il pulsante.
6. Manutenzione
The HBN Digital Timer Plug requires minimal maintenance.
- Ensure the timer is unplugged from the power outlet before cleaning.
- Pulire l'esterno con un panno morbido e asciutto. Non utilizzare detergenti abrasivi o solventi.
- Conservare in luogo fresco e asciutto quando non in uso.

Image 6.1: The timer operates silently, suitable for bedrooms.

Image 6.2: Versatile applications for the HBN Digital Timer Plug.
7. Risoluzione Dei Problemi
- Il display è vuoto: Ensure the timer is plugged into a live socket. If it has been unplugged for a long time, the internal battery might be depleted. Plug it in for 30 minutes to charge.
- L'apparecchio non si accende/spegne come programmato:
- Check if the timer is in "AUTO" mode.
- Verificare che i programmi ON/OFF siano impostati correttamente per i giorni e gli orari desiderati.
- Ensure the appliance itself is switched ON.
- Check if the random function is accidentally activated.
- Timer is unresponsive: Premere il tasto RESET button with a pointed object to restore factory settings. You will need to reprogram the time and schedules.
8. Specifiche
| Specificazione | Valore |
|---|---|
| Numero di modello | 2xBND-50/SG3-VC |
| Voltage | 230V~50Hz |
| Corrente massima | 16(3)Un |
| Potenza massima | 3680W |
| Numero di programmi | 8 programmi ON / OFF |
| Tempo minimo di presa | 1 minuto |
| Colore | Bianco |
| Peso del prodotto | 150 grammi |
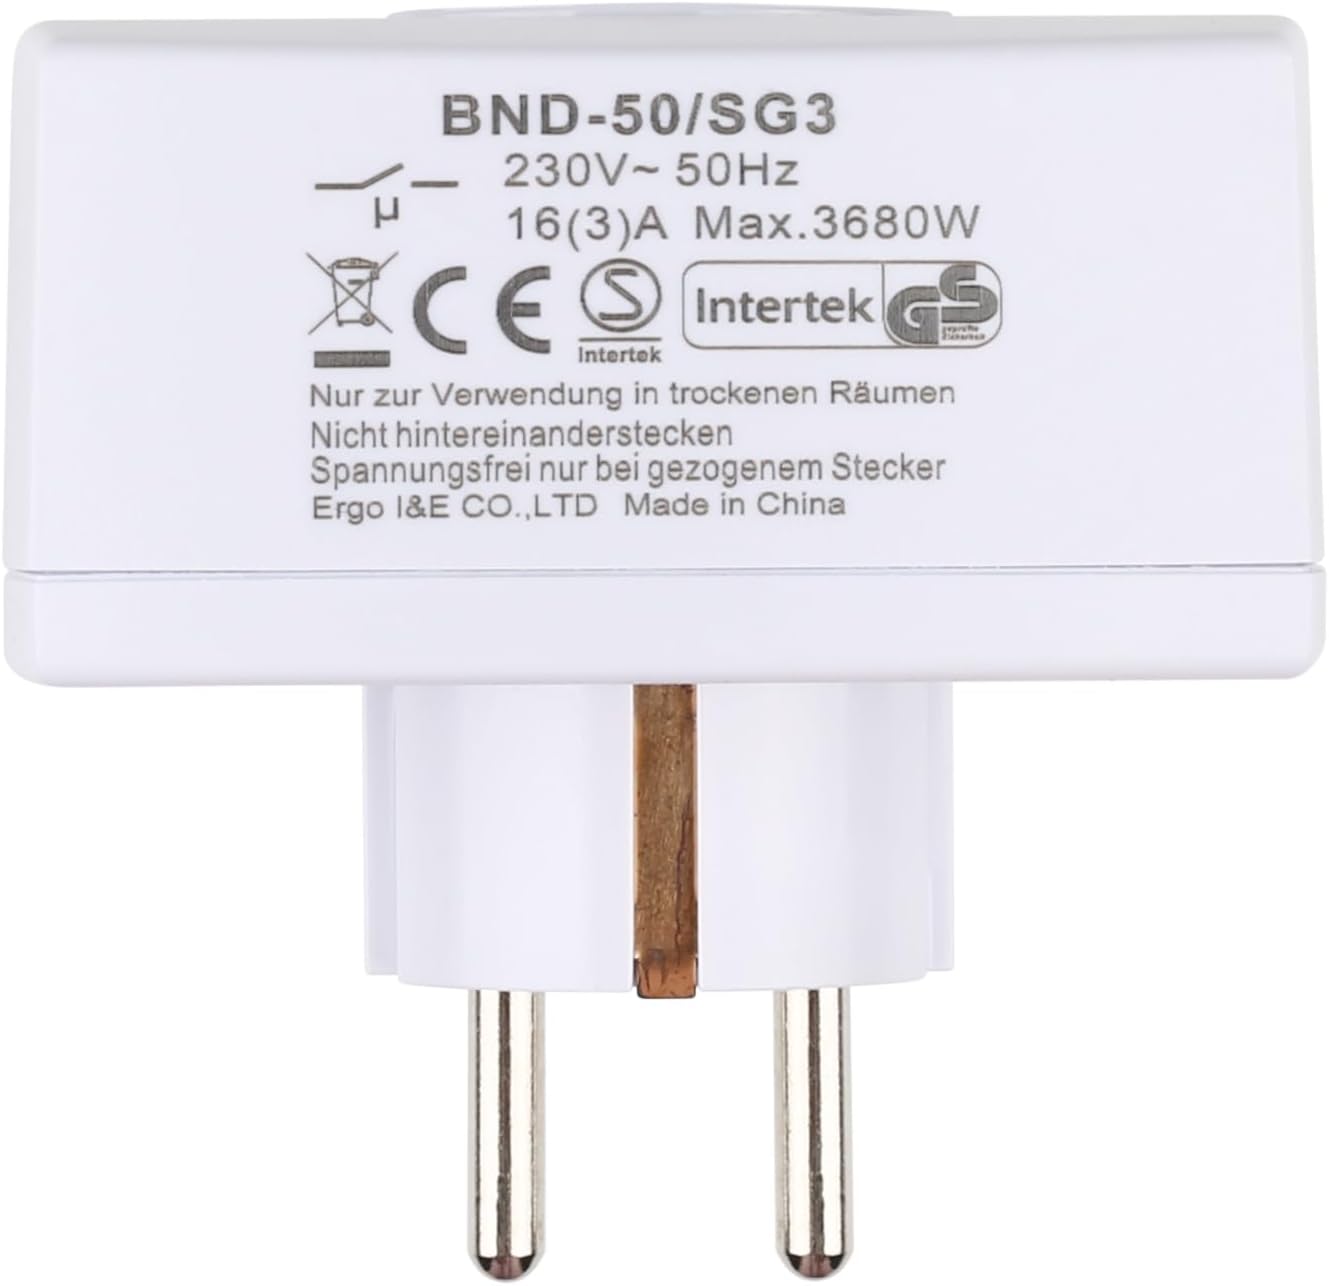
Immagine 8.1: posteriore view of the timer with electrical specifications and certifications.
9. Garanzia e supporto
HBN products are designed for reliability and performance. For warranty information or technical support, please refer to the contact details provided with your purchase or visit the official HBN websito. Conserva la ricevuta d'acquisto come prova d'acquisto.