1. Introduzione
This manual provides detailed instructions for the setup, operation, and maintenance of your Pyle PDWMU211 Dual UHF Wireless Microphone System. This system is designed for clear, distortion-free audio transmission, suitable for various applications including karaoke, conferences, and public speaking. Please read this manual thoroughly before using the product to ensure proper function and longevity.
2. Contenuto della confezione
Verifica che tutti gli articoli elencati di seguito siano inclusi nel pacco. Se alcuni articoli risultano mancanti o danneggiati, contatta l'assistenza clienti.

Descrizione dell'immagine: Un oltreview of the Pyle PDWMU211 system components, including the receiver, two transmitters, two headset microphones, two lavalier microphones, a rechargeable battery, AA batteries, a 3.5mm adapter, and a USB cable.
- Receiver Base (1)
- Beltpack Transmitter (2)
- Headset Microphone (2)
- Lavalier Microphone (2)
- Rechargeable Battery (for Receiver) (1)
- AA Batteries (for Transmitters) (4)
- Adattatore da 3.5 mm (1)
- Cavo di ricarica USB (1)
- Power Cable / Power Adapter (1)
3. Istruzioni per l'installazione
3.1 Configurazione del ricevitore

Descrizione dell'immagine: A diagram illustrating the components of the receiver, including the 6.35mm audio plug, power switch, power/charging indicator, DC 5V charging port, RF signal indicator, antenna, and battery compartment with a rechargeable battery.
- Carica il ricevitore: Insert the rechargeable battery into the receiver's battery compartment. Connect the USB charging cable to the DC 5V charging port on the receiver and plug the other end into a USB power source (e.g., computer, USB wall adapter). The power/charging indicator will illuminate during charging.
- Connetti al sistema audio: Insert the 6.35mm audio plug of the receiver into the microphone input jack of your amplifier, mixer, or audio system. If your system requires a 3.5mm input, use the provided 3.5mm adapter.
- Posizionare l'antenna: Ensure the receiver's antenna is extended and positioned for optimal signal reception.
3.2 Impostazione del trasmettitore

Descrizione dell'immagine: A diagram detailing the bodypack transmitter, showing the volume adjust/ON/OFF button, microphone connector, antenna, LED display, CH button down, CH button up, and the battery compartment requiring two AA batteries.
- Installa le batterie: Open the battery compartment on each beltpack transmitter and insert two AA batteries, observing correct polarity.
- Collegare il microfono: Plug either the headset microphone or the lavalier microphone into the microphone connector on the beltpack transmitter. Secure the connection by screwing the connector into place.
- Wear Transmitter: Attach the beltpack transmitter to your clothing using the integrated clip. Position the microphone appropriately (e.g., headset mic over your head, lavalier mic clipped to your lapel).

Descrizione dell'immagine: Un primo piano view of a hand connecting a microphone cable to the input jack of the Pyle PDWMU211 bodypack transmitter.

Descrizione dell'immagine: A hand inserting two AA batteries into the open battery compartment of the Pyle PDWMU211 bodypack transmitter.
4. Istruzioni per l'uso
4.1 Accensione/Spegnimento
- Ricevitore: Slide the power switch on the receiver to the "ON" position. The power indicator will light up.
- Trasmettitore: Rotate the volume adjust/ON/OFF button on the beltpack transmitter clockwise to turn it on. The LED display will illuminate, showing the current frequency and battery level.
4.2 Selezione della frequenza
The Pyle PDWMU211 system offers up to 8 selectable UHF channels to avoid interference.
- With the transmitter powered on, press the "CH Up" or "CH Down" buttons located inside the battery compartment to cycle through available frequencies.
- Ensure that the transmitter and receiver are set to the same frequency for proper communication. The receiver's RF signal indicator will confirm a successful connection.
4.3 Regolazione del volume
- Trasmettitore: Adjust the output volume of the microphone using the volume adjust/ON/OFF knob on the beltpack transmitter.
- Ricevitore: The receiver base features independent and adjustable channel volume controls. Use these to fine-tune the overall output level to your audio system.
4.4 Operational Range
The system has an operation range of up to 160+ feet. Optimal performance is achieved in open areas with minimal obstructions.
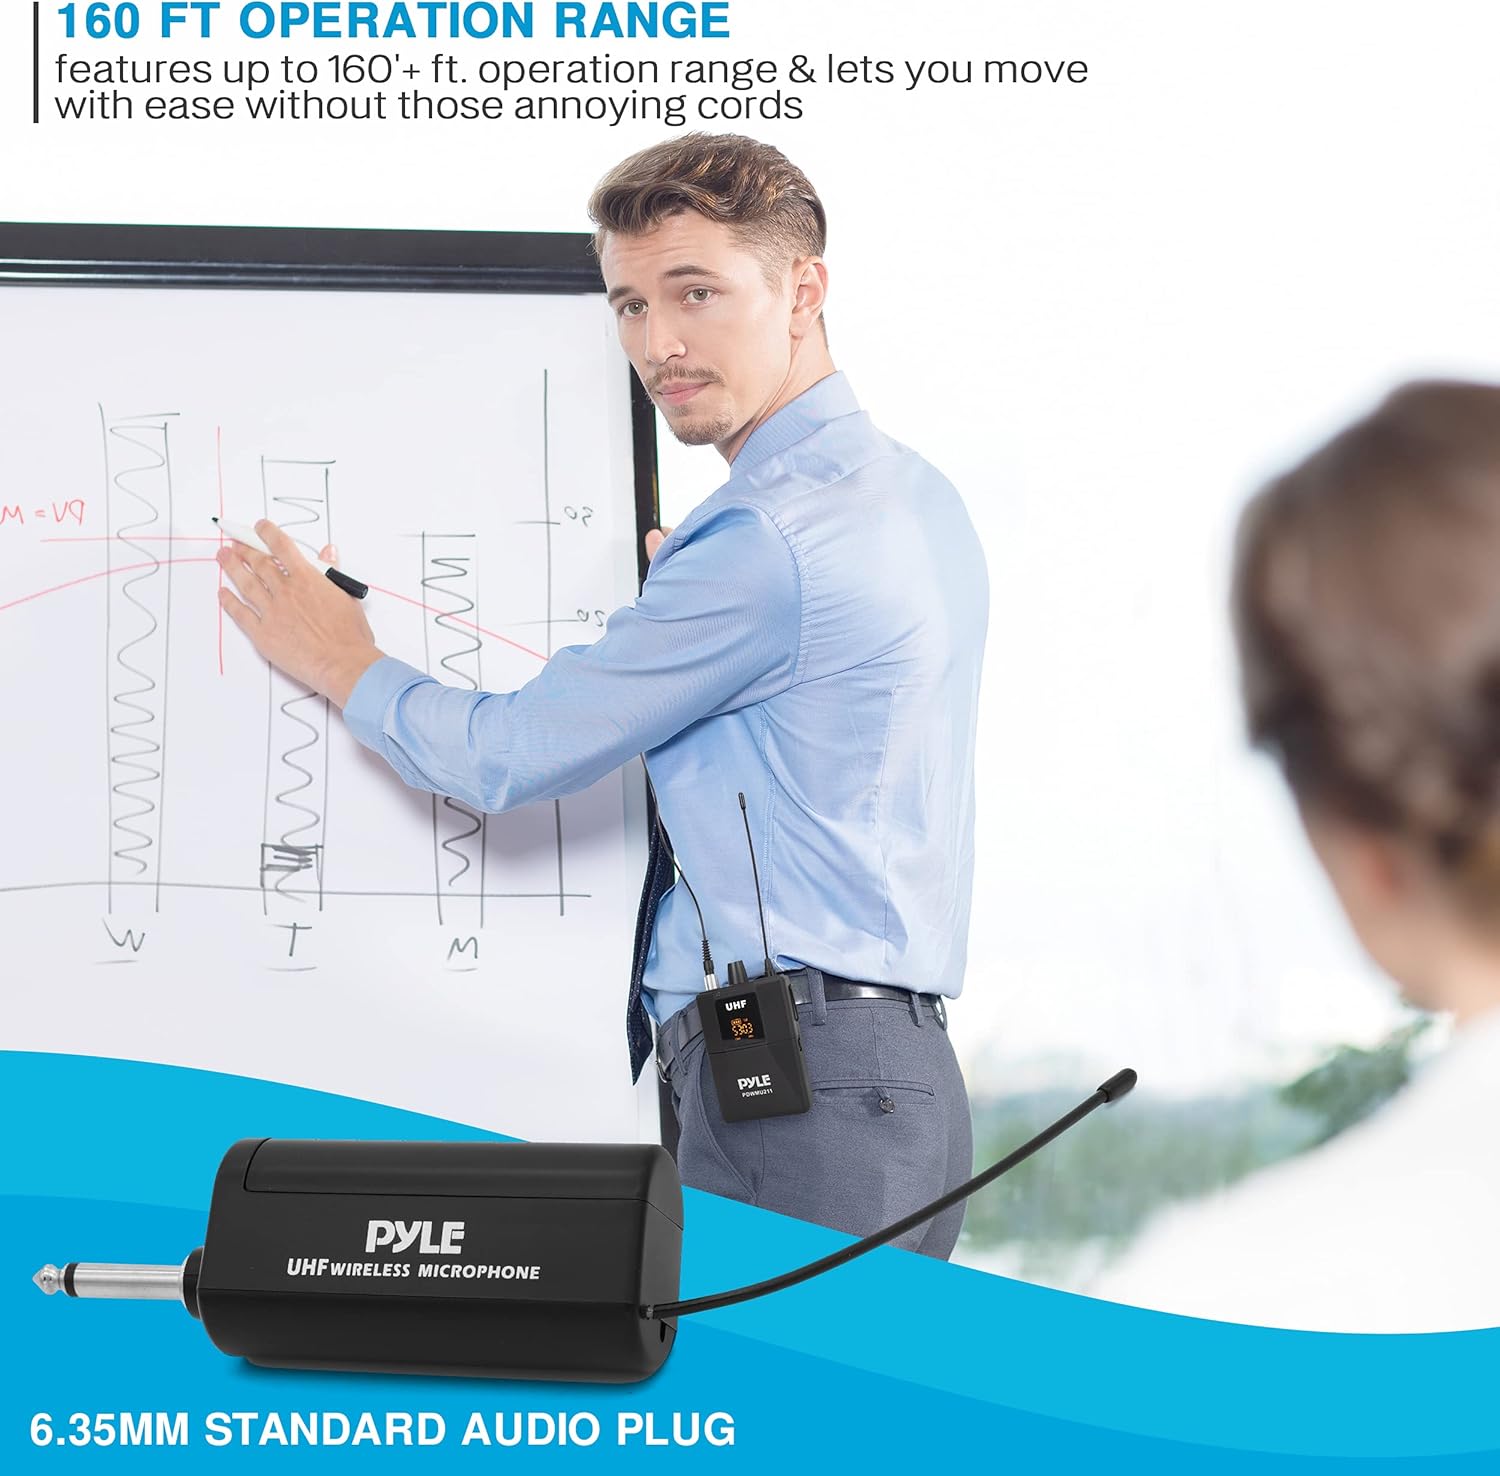
Descrizione dell'immagine: A person wearing a headset microphone and a beltpack transmitter, presenting in a room, illustrating the wireless freedom and operational range of the system.
5. Manutenzione
- Pulizia: Use a soft, dry cloth to clean the surfaces of the receiver and transmitters. Avoid using liquid cleaners or solvents.
- Cura della batteria:
- Remove AA batteries from transmitters if the system will not be used for an extended period to prevent leakage.
- Ensure the receiver's rechargeable battery is fully charged before long storage periods and recharged periodically to maintain battery health.
- Magazzinaggio: Conservare il sistema in un luogo fresco e asciutto, lontano dalla luce solare diretta e da temperature estreme.
6. Risoluzione Dei Problemi
| Problema | Possibile causa | Soluzione |
|---|---|---|
| Nessuna uscita audio |
|
|
| Interferenza o statica |
|
|
| Basso volume |
|
|
7. Specifiche
Specifiche del trasmettitore:
- Uscita RF: >10 dBm
- Tipo di modulazione: FM
- Deviazione massima: ± 40 KHz
- Emissioni spurie: > 55 dBc
- Assorbimento di corrente nominale: <100mA
- Power Supply: 2x AA Batteries
Specifiche del ricevitore:
- Rapporto segnale/rumore: -105dB
- Reiezione bordo su canale: >70dB
- Distorsione armonica totale: <1%
- Livello di uscita audio: 0-300 mV
- Dimensioni: 6.8 x 5.3 x 1.7 pollici
- Power Supply: 110/220V (12-15V Power Adapter) / Rechargeable Battery
Specifiche generali del sistema:
- Sistema microfonico in banda UHF
- Operation Range: Up to 160'+ ft.
- Gamma di frequenza selezionabile: fino a (8) canali
- Audio Output Jack: 1/4"
- Balanced Output Jack: XLR
- Peso dell'articolo: 1.21 libbre
- Dimensioni della confezione: 12.36 x 7.64 x 2.6 pollici
8. Garanzia e supporto
Per informazioni sulla garanzia o supporto tecnico, fare riferimento alla scheda di garanzia inclusa con il prodotto o visitare il sito Web ufficiale Pyle websito. Conserva la ricevuta d'acquisto come prova d'acquisto.
Ufficiale Pyle Websito: www.pyleusa.com