1. Introduzione
The Voxelab Aquila X2 is an open-source FDM (Fused Deposition Modeling) 3D printer designed for both beginners and experienced users. It features a robust metal frame, a removable build plate, and intelligent functions like filament detection and resume printing. This manual provides essential information for safe and effective use of your printer.

Image: The Voxelab Aquila X2 3D Printer with a sampla stampa.
2. Istruzioni di sicurezza
Please read and understand all safety instructions before operating the printer to prevent injury or damage.
- Utilizzare sempre la stampante in un'area ben ventilata.
- Tenere la stampante lontana da materiali infiammabili, fonti di calore e acqua.
- Do not touch the nozzle or heated bed during operation, as they reach high temperatures.
- Tenere i bambini e gli animali domestici lontani dalla stampante durante il funzionamento.
- Garantire l'alimentazione voltage matches your local requirements.
- Non tentare di modificare i componenti elettrici della stampante.
- Scollegare la stampante dalla presa di corrente prima di eseguire qualsiasi operazione di manutenzione o pulizia.
3. Contenuto della confezione
Upon receiving your Voxelab Aquila X2, verify that all components are present and undamaged. The package typically includes:
- Voxelab Aquila X2 3D Printer (partially assembled)
- Filament spool holder
- Cavo di alimentazione
- Cavo USB
- Scheda SD e lettore di schede
- Strumenti per il montaggio e la manutenzione
- Sample filament
- Manuale d'uso (questo documento)
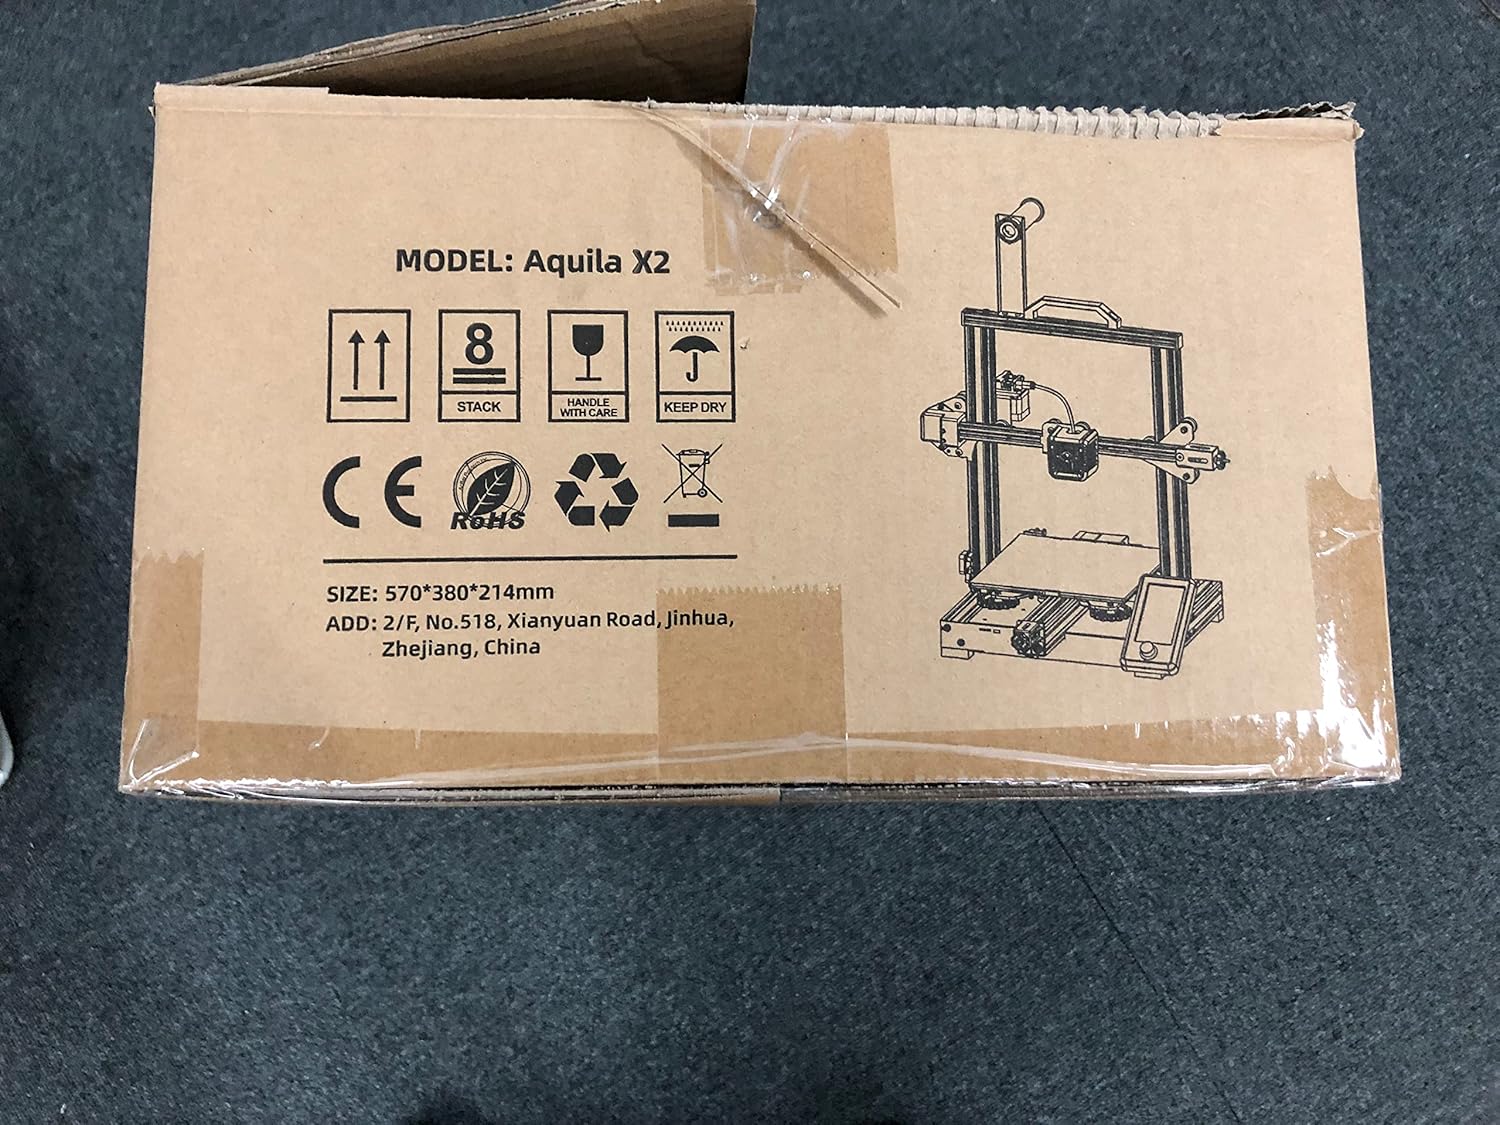
Image: The Voxelab Aquila X2 product packaging.
4. Guida all'installazione
The Aquila X2 comes semi-assembled. Follow these steps to complete the setup:
4.1 Montaggio
- Disimballare i componenti: Rimuovere con cautela tutte le parti dalla confezione.
- Collega Gantry: Secure the gantry to the base using the provided screws. Ensure it is aligned correctly.
- Install Spool Holder: Mount the filament spool holder onto the designated position on the frame.
- Collegare i cavi: Connect all motor, endstop, and hotend cables according to the labels. Double-check connections for security.
- Controllo dell'alimentazione: Verify the power supply switch is set to the correct voltage per la tua regione (115 V o 230 V).
4.2 Livellamento iniziale
Accurate bed leveling is crucial for successful prints.
- Accensione: Accendere la stampante.
- Casa automatica: Navigate to the 'Prepare' menu on the screen and select 'Auto Home'. The nozzle will move to the home position.
- Disabilita gli stepper: Select 'Disable Steppers' from the 'Prepare' menu to move the print head freely.
- Adjust Corners: Move the nozzle to each corner of the print bed. Use a piece of paper between the nozzle and the bed. Adjust the bed leveling knobs until there is slight friction when moving the paper.
- Center Check: Repeat the process for the center of the bed.

Image: Voxelab Aquila X2 3D Printer dimensions.
5. Istruzioni per l'uso
This section covers basic operation, from loading filament to starting your first print.
5.1 Caricamento del filamento
- preriscaldare: On the printer's screen, select 'Prepare' > 'Preheat PLA' (or appropriate filament type).
- Insert Filament: Once the hotend reaches temperature, insert the filament into the filament detection sensor and then into the extruder's input hole.
- Filamento di alimentazione: Gently push the filament until it exits the nozzle. You may need to press the extruder lever to release tension.

Image: The Voxelab Aquila X2 3D Printer in operation, highlighting its features.
5.2 Avvio di una stampa
- Preparare il codice G: Use a slicing software (e.g., Cura, VoxelMaker) to convert your 3D model (.STL, .OBJ) into a G-code file. Salva questo file sulla scheda SD fornita.
- Inserisci la scheda SD: Inserire la scheda SD nello slot per schede della stampante.
- Selezionare File: On the printer's screen, navigate to 'Print' and select your desired G-code file.
- Monitorare la stampa: The printer will begin heating and then start printing. Monitor the first few layers to ensure proper adhesion.

Image: The printer's colorful screen with rotary knob for navigation.
6. Caratteristiche principali
The Voxelab Aquila X2 incorporates several features to enhance your 3D printing experience:
- Filament Detection Sensor: Automatically pauses printing and notifies you when filament runs out or breaks, preventing failed prints and material waste.
- Funzione di ripresa della stampa: In caso di mancanza di correntetage, una volta ripristinata l'alimentazione, la stampante può riprendere a stampare dal punto in cui era stata interrotta.
- Removable Carbon Silicon Crystal Glass Plate: Provides strong adhesion during printing and allows for easy removal of finished prints once cooled. Heats up quickly.
- Ampio volume di costruzione: Offers a generous print area of 220 x 220 x 250 mm for various project sizes.
- Open-Source Technology: Allows for flexible upgrades and modifications, catering to advanced users.
- Funzionamento silenzioso: Designed to operate with noise levels below 50 decibels for a more pleasant printing environment.

Image: Visual representation of the resume printing and filament detection features.

Immagine: Oltreview of key features including all-metal body, high precision, and color screen.
7. Manutenzione
Una manutenzione regolare garantisce prestazioni ottimali e prolunga la durata della stampante.
- Piano di stampa pulito: After each print, allow the bed to cool and then clean it with isopropyl alcohol to remove any residue.
- Ispezione degli ugelli: Controllare periodicamente l'ugello per verificare che non sia ostruito o usurato. Sostituirlo se necessario.
- Lubrificare le parti mobili: Apply a small amount of lithium grease to the Z-axis lead screw and smooth rods every few months.
- Tighten Belts: Assicurarsi che le cinghie degli assi X e Y siano correttamente tese. Devono essere tese ma non eccessivamente.
- Aggiornamenti del firmware: Check the Voxelab websito per eventuali aggiornamenti firmware disponibili per migliorare le prestazioni e aggiungere nuove funzionalità.
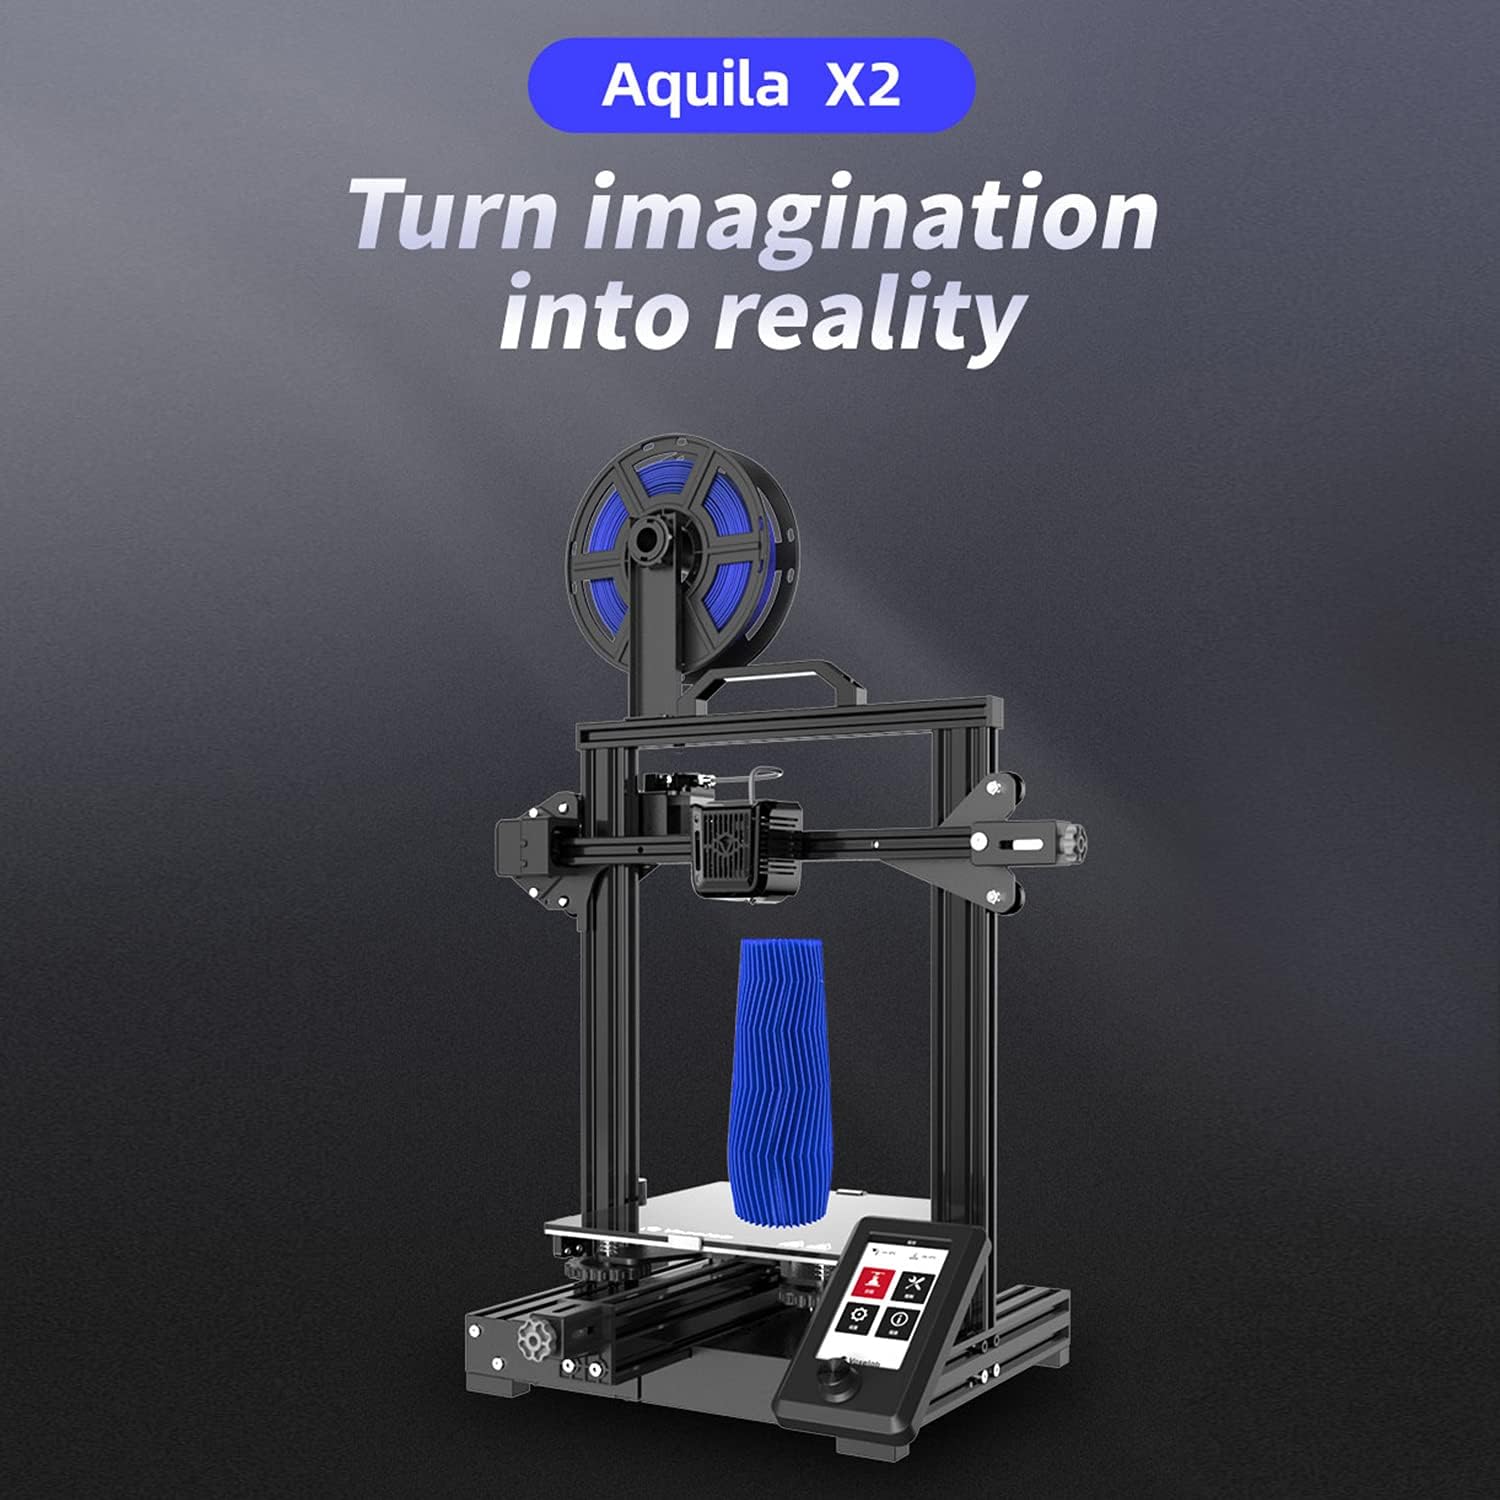
Image: The ultra-flat glass print bed, important for print adhesion and maintenance.
8. Risoluzione Dei Problemi
Fare riferimento a questa sezione per problemi comuni e le loro possibili soluzioni.
- La stampa non si attacca al letto:
Possibili cause: Bed not level, nozzle too far from bed, bed not heated, dirty print surface, incorrect initial layer settings.
Soluzioni: Re-level the bed, adjust Z-offset, ensure bed temperature is appropriate for filament, clean bed with isopropyl alcohol, check slicer settings for initial layer height and speed. - Filamento non estruso:
Possibili cause: Ugello intasato, filamento aggrovigliato, temperatura errata, slittamento dell'ingranaggio dell'estrusore.
Soluzioni: Clean or replace nozzle, untangle filament, ensure hotend temperature is correct for filament, check extruder tension. - Poor Print Quality (Layer Shifts, Gaps):
Possibili cause: Cinghie allentate, stampante instabile, velocità di stampa errata, ugello usurato.
Soluzioni: Tighten X and Y axis belts, ensure printer is on a stable surface, reduce print speed, replace nozzle. - La stampante non si accende:
Possibili cause: Loose power cable, incorrect voltage switch setting, faulty power supply.
Soluzioni: Check power cable connections, verify power supply voltage switch, contact support if issue persists.
9. Specifiche
Detailed technical specifications for the Voxelab Aquila X2 3D Printer:
| Caratteristica | Specificazione |
|---|---|
| Numero estrusore | 1 |
| Diametro estrusore | 0.4 millimetri |
| Max Extruder Temp. | 250 °C |
| Max Platform Temp. | 110 °C |
| Velocità di stampa | ≤180mm/s (50-80mm/s normally) |
| Filamento di supporto | PLA, ABS, PETG |
| Volume di stampa | Dimensioni: 220 x 220 x 250 mm |
| Risoluzione del livello | 0.1-0.4 millimetri |
| Risoluzione di stampa | ±0.2 millimetri |
| Dimensioni del dispositivo | Dimensioni: 473 x 480 x 473 mm |
| Peso netto | 8.2 kg |
| Ingresso volumetage | CA 115/230 V 50/60 Hz |
| Volume di uscitatage | CC 24V |
| Energia | 350 L |
| Ambiente di lavoro | Temperatura: 15-30 °C |

Image: Technical specifications of the Voxelab Aquila X2.
10. Garanzia e supporto
Voxelab provides a 12-month warranty for all 3D printers, along with lifetime technical support and 12-hour professional customer service.
For technical assistance, troubleshooting, or warranty claims, please contact Voxelab customer service through their official websito o il rivenditore presso cui hai acquistato il prodotto.
Voxelab Official Websito: www.voxelab3dp.com