1. Introduzione
This manual provides detailed instructions for the installation, operation, and maintenance of your Cestovet Android 10 Car Radio. Please read this manual thoroughly before using the product to ensure proper functionality and safety. This unit is specifically designed for Honda CRV models manufactured between 2012 and 2016.

Image 1.1: Cestovet Android 10 Car Radio Main Unit
Video 1.1: Prodotto finitoview for Honda CRV 2012-2016 Car Radio. This video provides a general visual overview of the car radio's features and compatibility.
2. Informazioni sulla sicurezza
- Utilizzare sempre il dispositivo in modo responsabile e nel rispetto delle norme locali sul traffico.
- Non tentare di installare o riparare l'unità se non si è qualificati. Rivolgersi a un installatore professionista.
- Evitare l'esposizione prolungata alla luce solare diretta o a temperature estreme.
- Mantenere lo schermo pulito e libero da ostruzioni.
3. Contenuto della confezione
Verifica che tutti gli articoli elencati di seguito siano inclusi nel pacco. Se alcuni articoli risultano mancanti o danneggiati, contatta l'assistenza clienti.

Image 3.1: Package Contents. This image displays the main unit, various cables, and installation tools included with the product.
- Unità principale (display da 10 pollici)
- Cablaggio del cavo di alimentazione
- Cavi USB (x2)
- Antenna GPS
- RCA
- Decoder CanBus
- Microfono esterno
- Cacciavite
- Plastic Removal Tool (Crowbar)
- Manuale dell'utente (questo documento)
4. Configurazione e installazione
Si raccomanda l'installazione da parte di un professionista. Assicurarsi che la batteria del veicolo sia scollegata prima di iniziare l'installazione.
4.1 Controlli pre-installazione
- Conferma la compatibilità del veicolo (Honda CRV 2012-2016).
- Inspect all components for damage.
- Familiarizza con la procedura di rimozione del cruscotto del tuo veicolo.
4.2 Collegamenti di cablaggio
Connect the provided wiring harness to the car radio and then to the vehicle's factory wiring. Ensure all connections are secure. The CanBus decoder should be connected as per the wiring diagram to ensure proper communication with the vehicle's systems, including steering wheel controls.
4.3 Installazione fisica
- Carefully remove the factory radio and dashboard trim.
- Mount the new Cestovet unit into the dashboard opening.
- Secure the unit using appropriate screws or clips.
- Reconnect the vehicle's battery and test the unit before reassembling the dashboard trim.
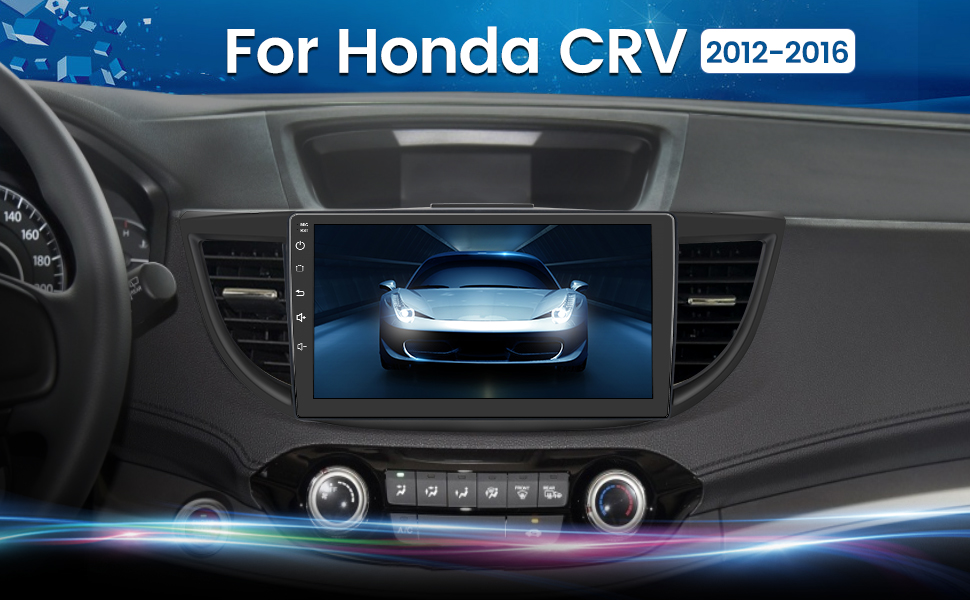
Image 4.1: Installed Car Radio. This image shows the Cestovet Android 10 Car Radio seamlessly integrated into a Honda CRV dashboard.
5. Istruzioni per l'uso
5.1 Funzioni di base
- Accensione/spegnimento: Press and hold the power button on the unit's side panel.
- Controllo del volume: Utilizzare i pulsanti del volume sul pannello laterale o i comandi al volante.
- Pulsante Home: Ritorna alla schermata principale di Android.
- Pulsante Indietro: Passa alla schermata o al menu precedente.
5.2 Carplay e Android Auto
Connect your iPhone or Android phone via a USB cable to enable Carplay or Android Auto functionality. This allows for seamless integration of navigation, music, calls, and messages directly on the car radio's display.
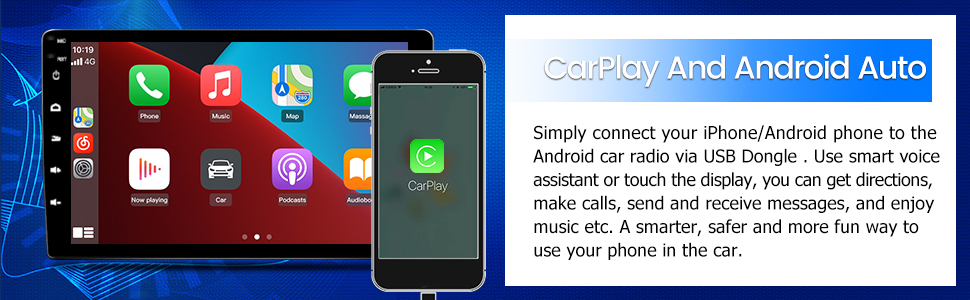
Image 5.1: Carplay and Android Auto. This image illustrates the user interface for Carplay and Android Auto on the car radio's display.
5.3 Connettività Bluetooth
Pair your mobile device via Bluetooth for hands-free calling and audio streaming. Navigate to the Bluetooth settings on the car radio, enable Bluetooth, and search for your device. Select your device from the list to pair.
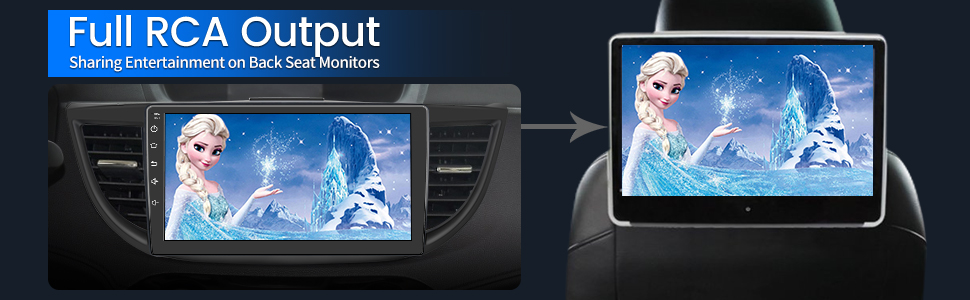
Image 5.2: Bluetooth Music. This image shows the Bluetooth music interface, allowing for wireless audio playback from a paired device.
5.4 Connessione Wi-Fi
Connect the car radio to a WiFi hotspot (e.g., from your smartphone) to access online features, download apps, and browse the internet. Go to Settings > Network & Internet > Wi-Fi, then select your desired network and enter the password.

Image 5.3: WiFi Connection. This image displays the car radio's screen with various app icons, indicating internet access via WiFi.
5.5 Navigazione GPS
The unit supports both online and offline navigation. Ensure the GPS antenna is properly installed for optimal signal reception. Pre-installed maps or downloadable map applications can be used for guidance.
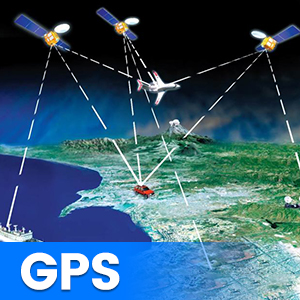
Image 5.4: GPS Functionality. This graphic illustrates the global positioning system (GPS) satellites providing navigation data to the car radio.
5.6 Comandi al volante (SWC)
The unit supports integration with your vehicle's existing steering wheel controls. After installation, you may need to configure the SWC settings in the unit's menu to map the buttons correctly.
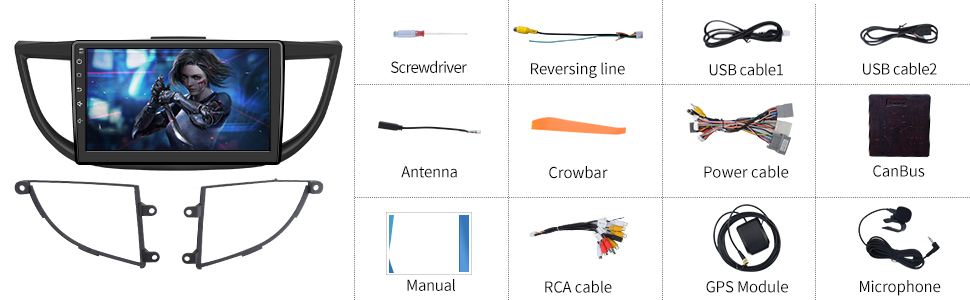
Image 5.5: Steering Wheel Controls. This image shows the on-screen interface for configuring steering wheel controls.
5.7 Posteriore View Supporto della fotocamera
L'autoradio supporta un retrovisoreview camera (sold separately). When a compatible camera is connected and the vehicle is shifted into reverse, the screen will automatically display the camera feed, assisting with parking maneuvers.

Immagine 5.6: posteriore View Support. This graphic demonstrates how the car radio supports a rearview camera, displaying parking guidelines.
5.8 Uscita RCA completa
The unit features full RCA output, allowing you to connect external monitors, such as backseat displays, to share entertainment with passengers.

Image 5.7: Full RCA Output. This image shows video content from the car radio being displayed on a backseat monitor.
6. Manutenzione
- Pulizia dello schermo: Utilizzare un panno morbido e privo di lanugine per pulire delicatamente lo schermo. Evitare detergenti abrasivi o solventi.
- Aggiornamenti software: Periodically check for available software updates through the unit's settings menu or the manufacturer's websito per garantire prestazioni ottimali e accesso a nuove funzionalità.
- Cura generale: Mantenere l'unità libera da polvere e umidità.
7. Risoluzione Dei Problemi
In caso di problemi, fare riferimento ai seguenti problemi comuni e alle relative soluzioni:
| Problema | Possibile soluzione |
|---|---|
| Nessun potere | Controllare i collegamenti dei cavi di alimentazione e la scatola dei fusibili del veicolo. Assicurarsi che l'accensione sia inserita. |
| Nessun suono | Verify speaker connections. Check volume levels and audio output settings. Ensure the amplifier (se esterno) è alimentato. |
| Segnale GPS perso | Assicurarsi che l'antenna GPS sia collegata correttamente e abbia una visuale libera view del cielo. Spostare il veicolo in un'area aperta. |
| Errore di associazione Bluetooth | Assicurati che il Bluetooth sia abilitato su entrambi i dispositivi. Elimina le associazioni precedenti e riprova. Riavvia entrambi i dispositivi. |
| Touch screen non reattivo | Perform a soft reset using the 'RST' button (if available) or power cycle the unit. |
8. Specifiche
Key technical specifications of the Cestovet Android 10 Car Radio:
- Sistema operativo: Androide 10
- Dimensioni dello schermo: 10 pollici
- Risoluzione: 720x1280
- Memoria RAM: 2 GB
- Memoria interna (ROM): 32 GB
- Connettività: Wi-Fi, Bluetooth
- Caratteristiche speciali: Carplay, Android Auto, GPS Navigation, Touchscreen, Steering Wheel Control Support, Rear View Camera Support, DSP (Digital Sound Processor)
- Modalità di uscita audio: Altoparlante, stereo
- Peso dell'articolo: Circa 4.93 libbre
- Dimensioni della confezione: Circa 17.87 x 10.12 x 7.56 pollici
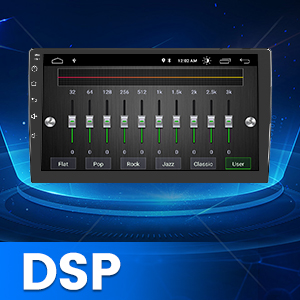
Image 8.1: DSP Functionality. This graphic illustrates the Digital Sound Processor (DSP) for enhanced audio customization.
9. Garanzia e supporto
For warranty information, technical support, or any inquiries regarding your Cestovet Android 10 Car Radio, please refer to the contact information provided at the point of purchase or visit the official Cestovet websito. Conservare la ricevuta d'acquisto come prova d'acquisto per eventuali reclami in garanzia.