
1. Introduzione
This manual provides detailed instructions for the installation, programming, operation, and maintenance of your LaView LV-D01-R Electronic Deadbolt Lock. Please read this guide thoroughly before installation and use to ensure proper function and security.

Figure 1: LaView LV-D01-R Electronic Deadbolt Lock (Exterior and Interior Units)
2. Elenco di controllo pre-installazione
Prima di iniziare l'installazione, assicurati che la tua porta soddisfi le seguenti specifiche:
- Diametro foro porta: 2-1/8 inches (54 mm).
- Entrata: Adjustable to either 2-3/8 inches (60 mm) or 2-3/4 inches (70 mm).
- Diametro foro bordo porta: 1 inch (25 mm).
- Spessore della porta: 1-3/8 inches to 2 inches (35 mm to 50 mm).
If drilling is required, refer to the provided cutout template in your product packaging.

Figure 2: Door Measurement and Component Diagram
3. Guida all'installazione
Seguire questi passaggi per un'installazione corretta:
- Adjust Latch (if necessary): The latch can be adjusted for 2-3/8" (60mm) or 2-3/4" (70mm) backsets. Rotate and pull the backset as instructed to extend the latch if needed.
- Installa fermo: Insert the latch into the door edge hole. Ensure the latch plate is flush with the door edge and secure with screws.
- Installa il gruppo esterno: Posizionare il gruppo tastiera esterno sulla porta, allineando il perno attraverso il fermo.
- Installare la piastra di montaggio: Fissare la piastra di montaggio interna al gruppo esterno utilizzando le viti fornite.
- Collegare i cavi: Carefully connect the cable from the exterior assembly to the interior assembly.
- Installa il gruppo interno: Fissare il gruppo interno alla piastra di montaggio, assicurandosi che il perno del pomolo si innesti correttamente. Fissare con le viti.
- Installa le batterie: Inserire 4 batterie AA nel vano batterie.
- Operazione di prova: Test the lock with the default master code and the physical key to ensure smooth operation.
4. Programmazione e funzionamento
The default master PIN code is 12345678. For security, you will be prompted to change this code before adding any other user codes.
4.1 Modificare il codice principale
Per modificare il codice master:
- Premere **.
- Enter the current master code (default: 12345678).
- Premere #.
- Premere 1.
- Premere #.
- Enter your new master code (4-10 digits).
- Premere #.
- Re-enter your new master code to verify.
- Premere # to store the new master code.
A green indicator light confirms successful setting; a red light indicates failure.
4.2 Add User Codes
You can program up to 20 unique user codes (4-10 digits) for family and friends.
- Premere **.
- Inserisci il codice principale.
- Premere #.
- Premere 2.
- Premere #.
- Enter a new user code (4-10 digits).
- Premere #.
- Re-enter the new user code to verify.
- Premere # to store the user code.
4.3 Add One-Time Codes
One-time codes are useful for temporary access and expire after a single use.
- Premere **.
- Inserisci il codice principale.
- Premere #.
- Premere 7.
- Premere #.
- Enter a new one-time code (4-10 digits).
- Premere #.
- Re-enter the new one-time code to verify.
- Premere # to add the one-time code.
The one-time code will expire after unlocking the lock once.
4.4 Enable/Disable Auto-Lock
The Auto-Lock function automatically locks the door after 30 seconds of inactivity. It is disabled by default.
- To Enable Auto-Lock: Premere ** + Codice Master + # + 51 + #.
- To Disable Auto-Lock: Premere ** + Codice Master + # + 52 + #.

Figure 3: Auto-Lock Feature
4.5 Enable Vacation Mode
Vacation mode provides enhanced security when you are away. If the lock is unlocked by key or thumb turn in this mode, it will beep for 1 minute.
- Premere **.
- Inserisci il codice principale.
- Premere #.
- Premere 6.
- Premere # to enable Vacation Mode.
To disable Vacation Mode, repeat the same steps.
4.6 Sostituzione dei tasti
The lock includes a physical key override for manual access, especially useful if batteries are depleted.

Figure 4: Key Override for Manual Access
5. Manutenzione
5.1 Sostituzione della batteria
The lock is powered by 4 AA batteries. A low battery indicator will alert you when replacement is needed.
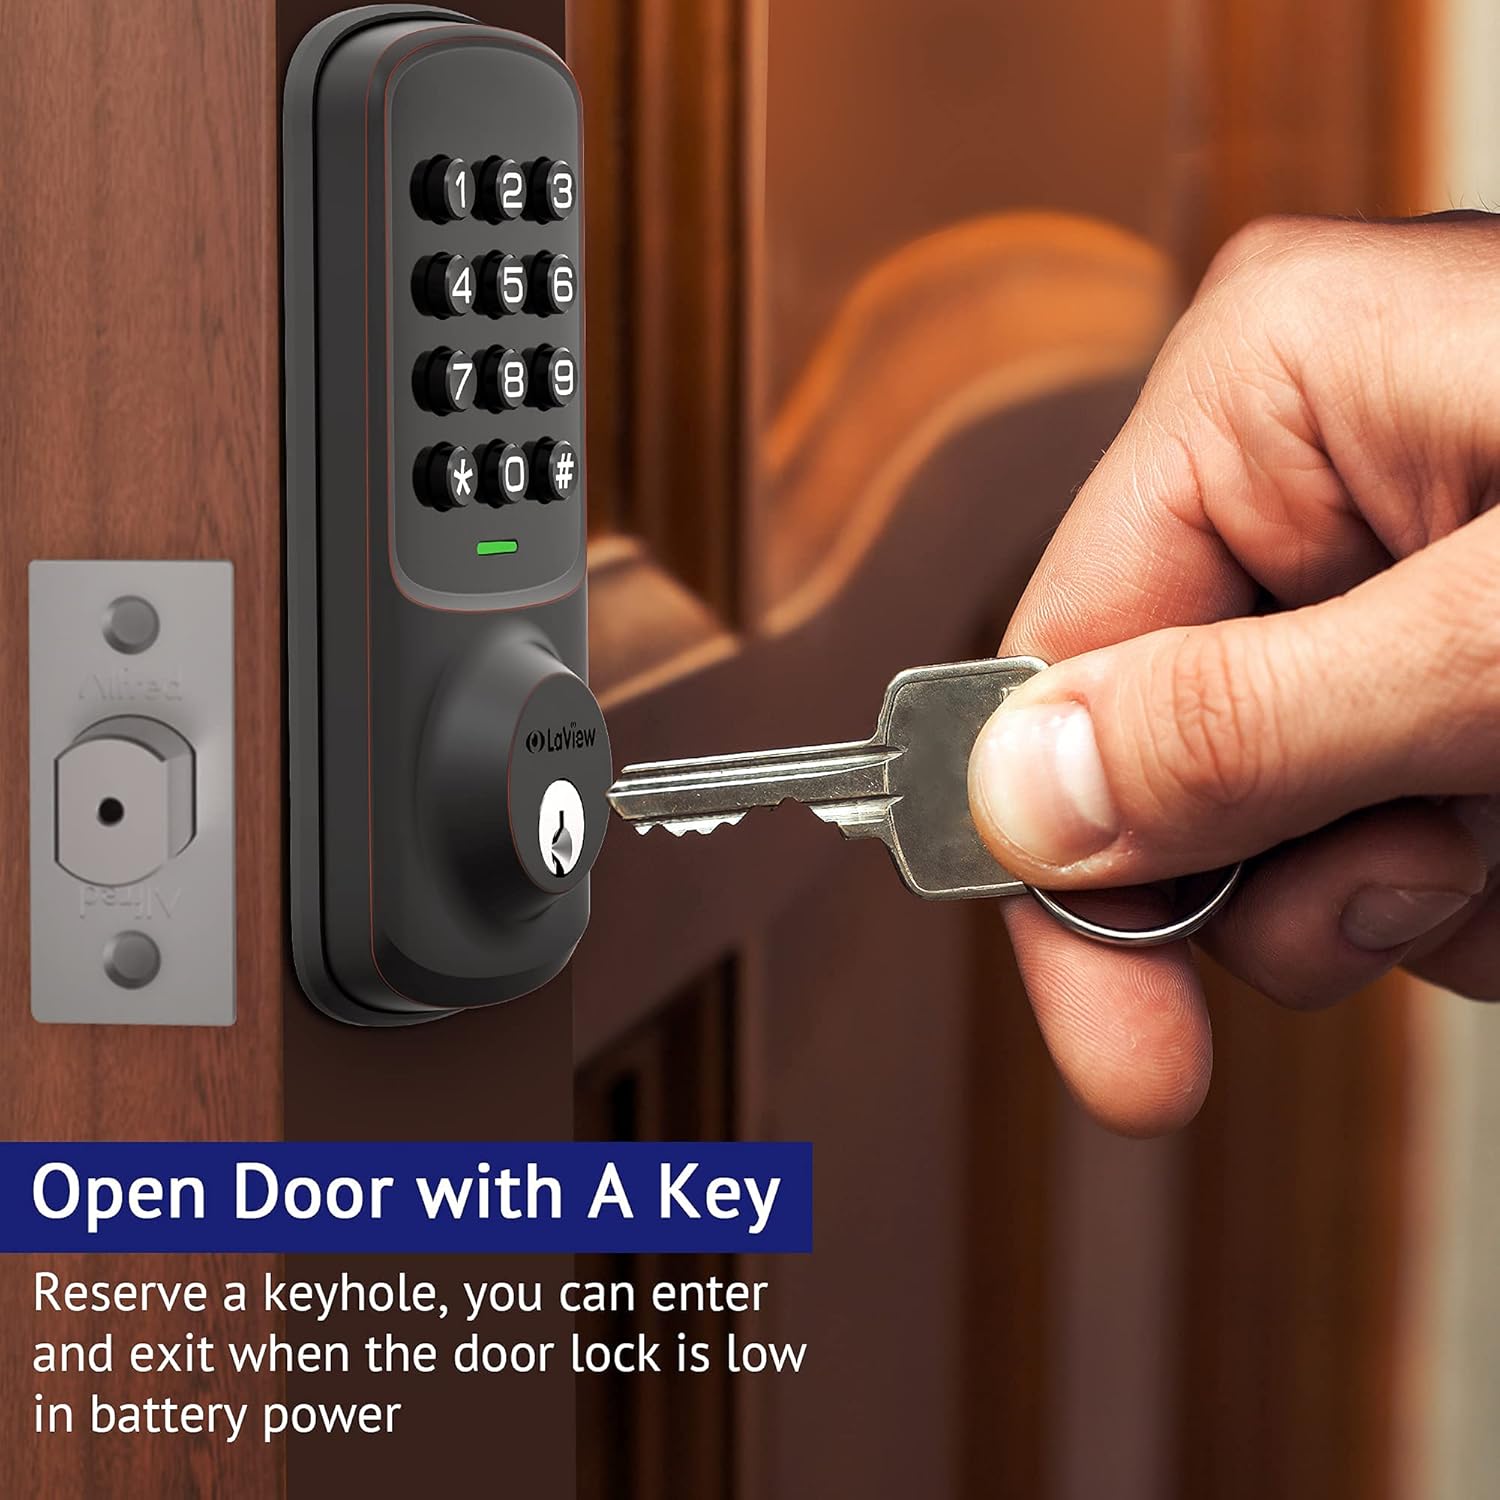
Figura 5: Avviso di batteria scarica
To replace batteries, remove the interior cover, replace the old batteries with new ones, and reattach the cover.
5.2 Pulizia
Pulisci l'esterno della serratura con un panno morbido eamp panno. Evitare detergenti abrasivi o solventi che potrebbero danneggiare la finitura o i componenti elettronici.
6. Specifiche
| Caratteristica | Dettaglio |
|---|---|
| Produttore | LaView |
| Numero di modello | LV-D01-R |
| Dimensioni del prodotto | Dimensioni: 17.78 x 12.7 x 10.16 cm |
| Peso dell'articolo | 454 grammi |
| Colore | Bronzo |
| Materiale | Metallo |
| Tipo di blocco | Tastiera |
| Caratteristiche speciali | Keyless Entry, Auto Lock, 20 User Codes, 1-Touch Motorized Locking |
| Batterie richieste | Sì (4 batterie AA) |
| Componenti inclusi | Backup Key*1, Deadbolt/Latch*1, Exterior Assembly*1, Mounting Plate*1, Strike Screws*2, Strike*1 |
7. Risoluzione Dei Problemi
- Blocco non risponde: Check battery levels. Replace batteries if the low battery indicator is active.
- Inserimento codice errato: Ensure you are pressing the correct sequence and the '#' key after each code entry.
- Setting Failure: If the indicator light flashes red after attempting a setting change, the operation was unsuccessful. Re-attempt the steps carefully.
- Chiave fisica non funzionante: Assicurarsi che la chiave sia completamente inserita e girata correttamente. Verificare che non vi siano ostruzioni nella sede della chiave.
- Auto-Lock Malfunction: Verify that the Auto-Lock function is enabled (refer to section 4.4).
8. Garanzia e supporto
LaView offers lifetime technical support from the date of purchase. For any concerns or assistance, please contact their customer service team:
- Online Phone Calls: Monday to Friday, 9 am to 5 pm PDT.
- 24/7 Online After-Sales Email Service.
Refer to your product packaging or the official LaView websito per dettagli di contatto specifici.