
Introduzione
Welcome and thank you for choosing the EVTSCAN Multifunctional Digital Projection Alarm Clock. This manual provides detailed instructions for the setup, operation, and maintenance of your new device. Please read it carefully before use to ensure proper functionality and to maximize your user experience. Keep this manual for future reference.
Prodotto finitoview
Caratteristiche principali
- Digital Time Projection & Adjustable Angle: Projects time onto walls or ceilings for clear visibility. The projection angle is adjustable for optimal alignment.
- Temperature Display & Voice Time Broadcast: Displays temperature in Celsius or Fahrenheit. A voice feature announces the current time and temperature.
- Dual Alarm with Snooze Function: Allows setting two separate alarms with 5 distinct alarm tones and 60dB volume. Includes a one-button snooze for temporary silence.
- Design compatto: Constructed from durable ABS material, measuring approximately 8 x 8 x 10 cm (3.1 x 3.1 x 3.9 inches).
- Modalità doppia alimentazione: Operates on 3 AAA batteries (not included) or via USB cable (included).
Contenuto della confezione
- 1 x EVTSCAN Digital Projection Alarm Clock
- 1 cavo USB
- 1 x Manuale utente

Immagine: Frontale view of the EVTSCAN Digital Projection Alarm Clock displaying 12:00 and 50°F, with a red projected time above.

Image: Labeled diagram highlighting the projection show, time report, alarm, snooze function, and temperature display areas on the clock.
Informazioni sulla sicurezza
- Non esporre il dispositivo a temperature estreme, alla luce solare diretta o a elevata umidità.
- Evitare di far cadere o sottoporre il dispositivo a forti impatti.
- Non tentare di smontare o modificare l'orologio. Ciò invaliderà la garanzia.
- Use only the specified power sources (3 AAA batteries or the included USB cable).
- Tenere fuori dalla portata dei bambini.
Impostare
Accensione del dispositivo
The alarm clock can be powered by either 3 AAA batteries (not included) or by connecting the included USB cable to a compatible USB power adapter (not included) or port.
Installazione della batteria
- Individuare il vano batterie nella parte inferiore dell'orologio.
- Aprire il coperchio del vano batterie.
- Inserire 3 batterie AAA nuove, assicurandosi della corretta polarità (+/-).
- Chiudere saldamente il coperchio del vano batterie.
Connessione di alimentazione USB
- Connect the small end of the USB cable to the DC 5V port on the back of the clock.
- Connect the larger end of the USB cable to a USB power adapter or a powered USB port.
Nota: When operating on batteries, the projection and backlight display will automatically turn off after approximately 8 seconds to conserve power. For continuous projection and backlight, use USB power.
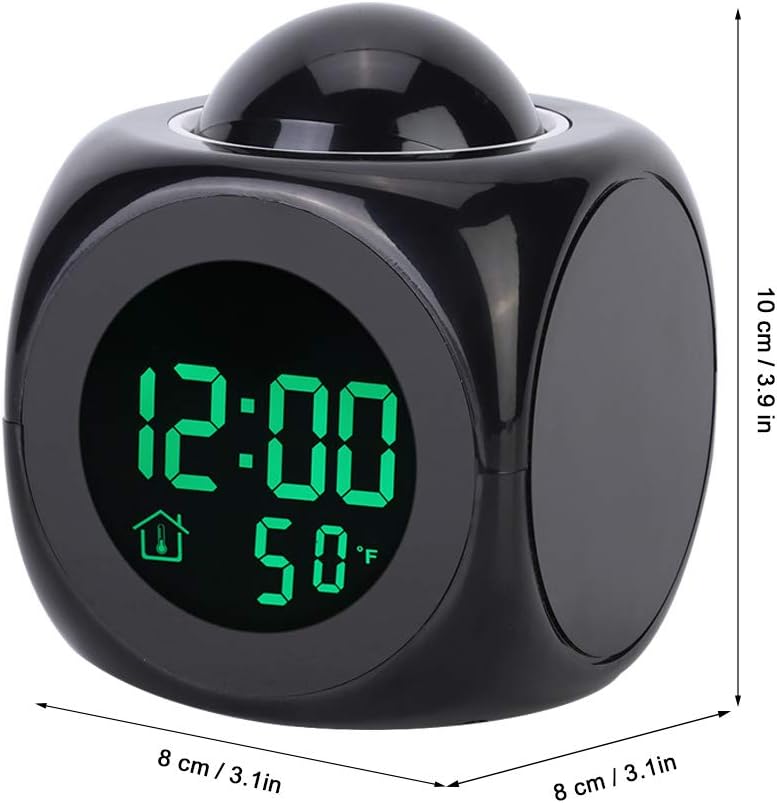
Image: Bottom of the clock showing the battery compartment and function buttons (HR, MIN, MODE, TALKING, SOUND).
Istruzioni per l'uso
Impostazione dell'ora
- Premere il tasto MODALITÀ una volta il pulsante per accedere alla modalità di impostazione dell'ora. Le cifre delle ore lampeggeranno.
- Premere il tasto HR pulsante per regolare l'ora.
- Premere il tasto MINIMO pulsante per regolare i minuti.
- Premere il tasto MODALITÀ button again to confirm and exit time setting.
- Per passare dal formato 12 ore a quello 24 ore, premere il tasto 12/24 button (located in the battery compartment area).
Setting Alarms (Dual Alarm)
L'orologio supporta due sveglie indipendenti.
- Premere il tasto MODALITÀ button twice to enter Alarm 1 setting mode. The alarm hour digits will flash.
- Premere il tasto HR pulsante per regolare l'ora della sveglia.
- Premere il tasto MINIMO pulsante per regolare i minuti della sveglia.
- Premere il tasto MODALITÀ button again to enter Alarm 2 setting mode (if desired) or to confirm Alarm 1.
- Ripetere i passaggi da 2 a 3 per la Sveglia 2.
- Premere il tasto MODALITÀ button again to confirm and exit alarm setting.
- Per attivare o disattivare un allarme, premere il tasto AL button (located on the bottom of the clock). An alarm icon will appear on the display when active.
- To change alarm tones, press the SUONO button (located on the bottom of the clock) while in alarm setting mode. There are 5 alarm tones available.
Funzione snooze
When an alarm sounds, press the large button on top of the clock to activate the snooze function. The alarm will temporarily stop and sound again after 10 minutes.
Funzione di proiezione
To project the current time onto a wall or ceiling, press the large button on top of the clock. The projection will display for approximately 8 seconds when on battery power, or continuously when powered by USB.
The projection lens can be rotated to adjust the angle of the projected time for optimal viewing.
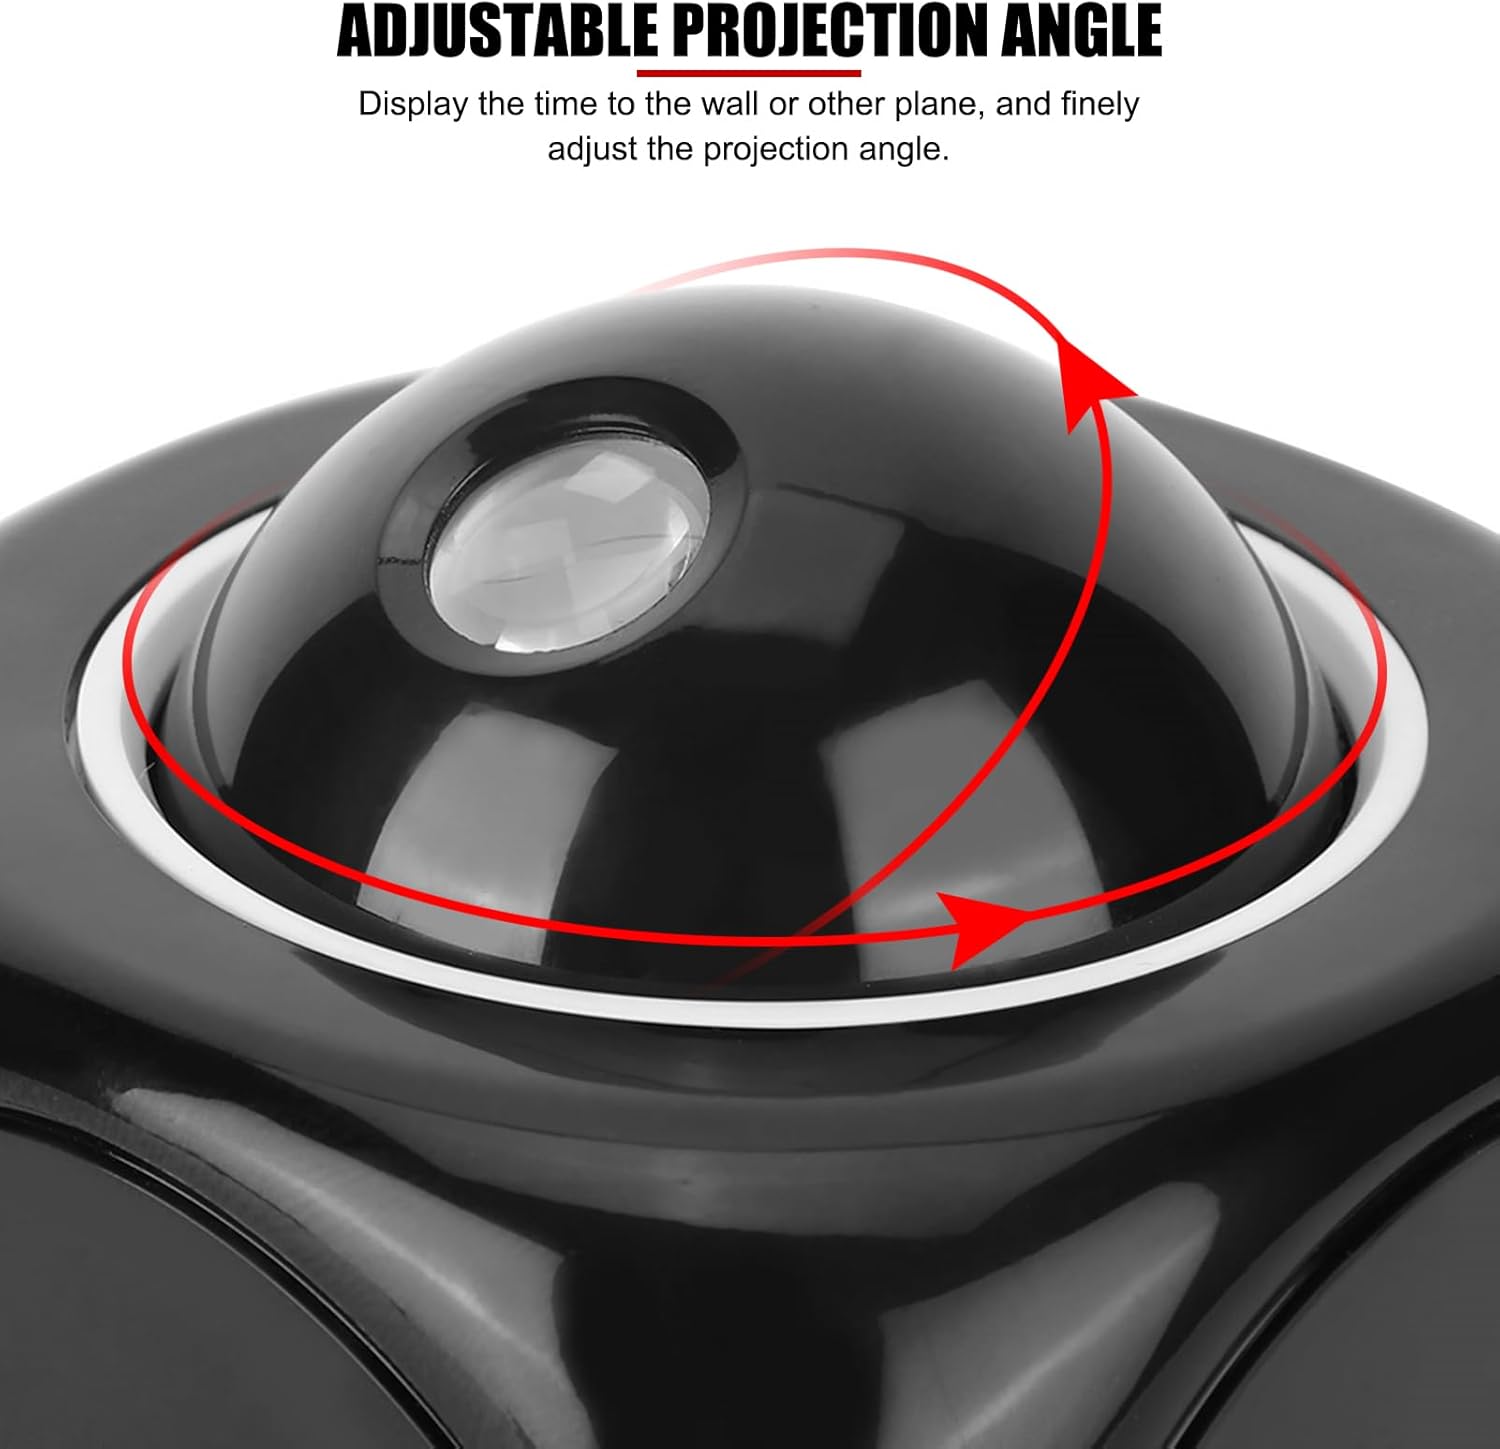
Immagine: in alto view of the clock showing the projection dome with arrows indicating adjustable rotation.
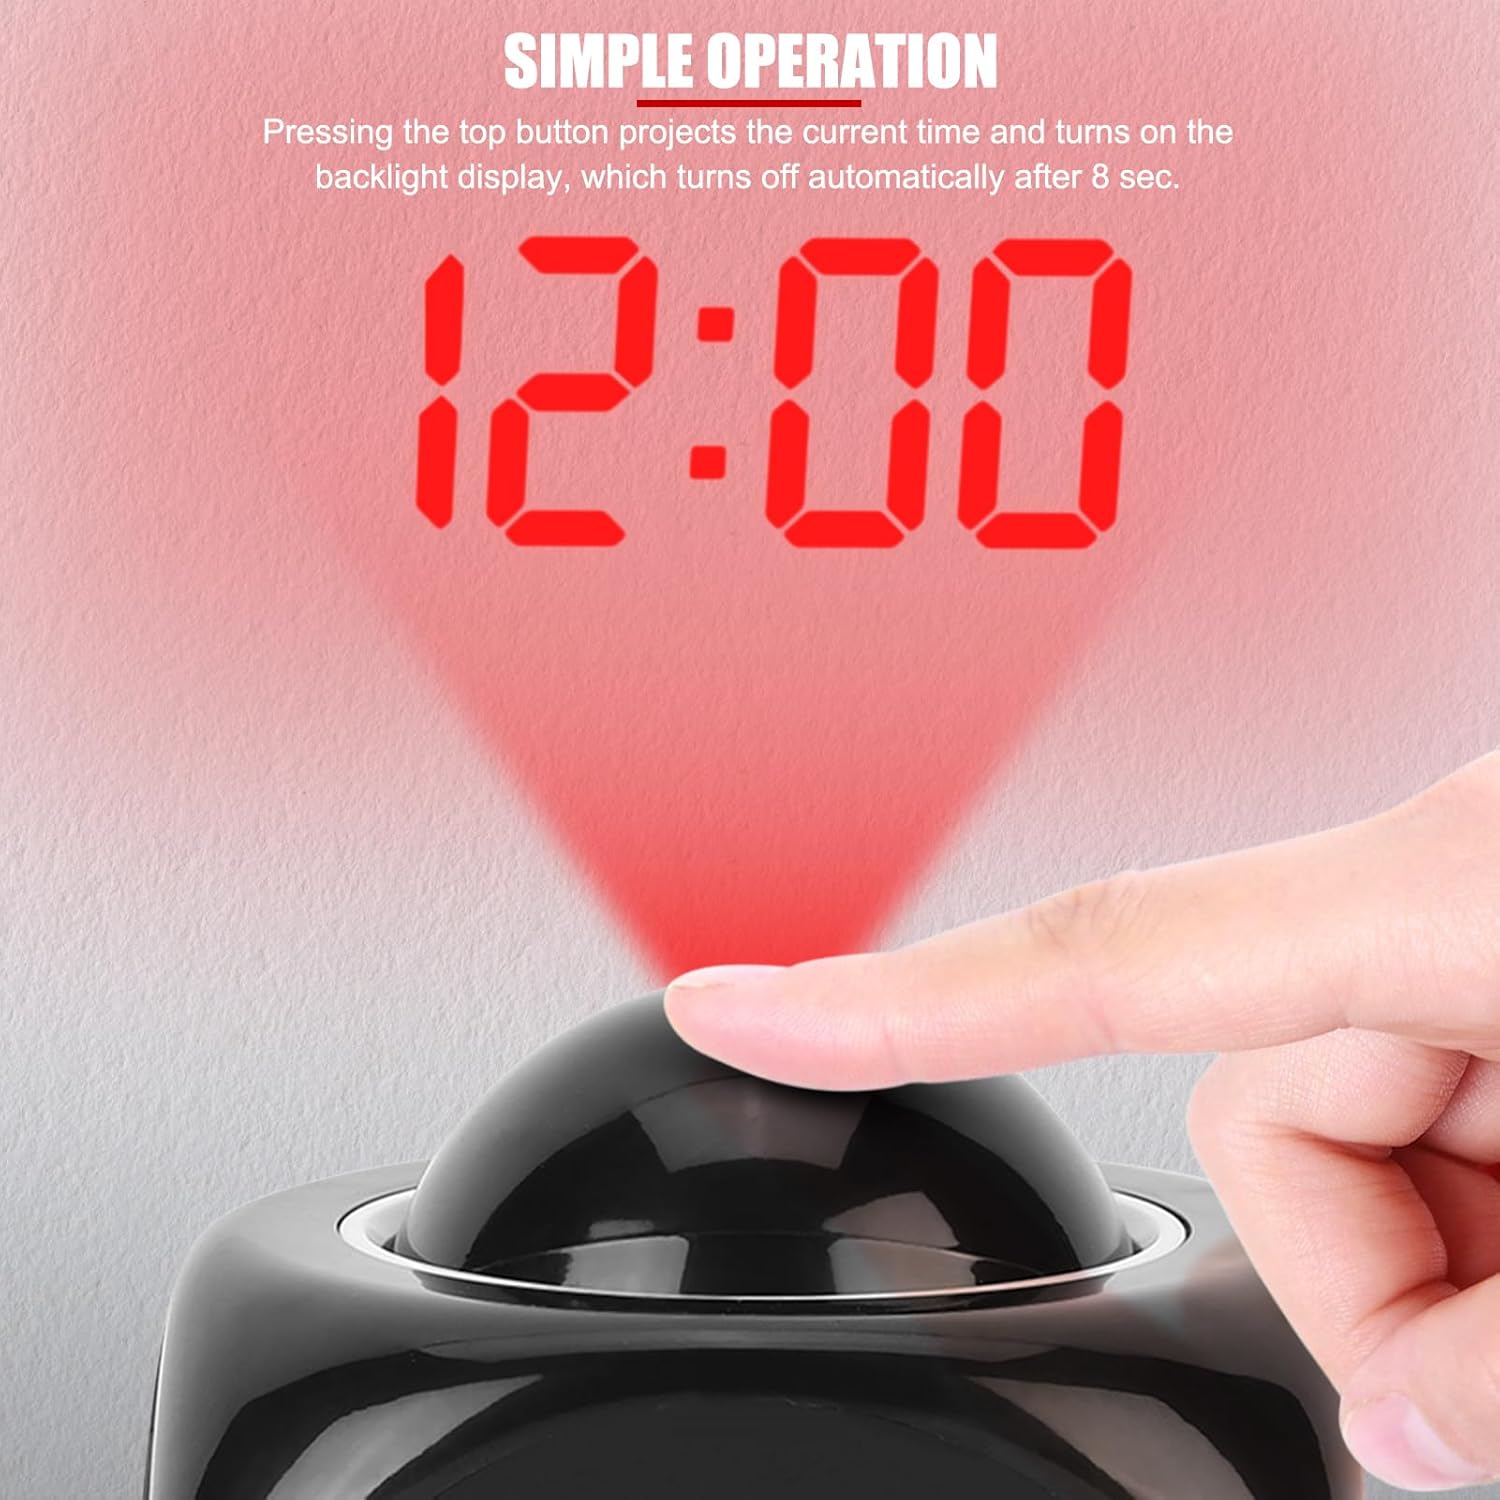
Image: A hand pressing the top button to activate the time projection, showing '12:00' projected in red.

Immagine: Es. multiploamples of the projected time on different surfaces, including a wall and ceiling.
Visualizzazione della temperatura
The clock displays the ambient temperature. To switch between Celsius (°C) and Fahrenheit (°F), press the MINIMO button (located on the bottom of the clock) while the clock is in normal time display mode.

Image: The clock displaying time and temperature, with an inset showing the temperature display in Celsius.
Voice Time Broadcast
To hear the current time and temperature announced, press the PARLA button (located on the bottom of the clock). To turn the voice function ON/OFF, use the switch labeled TALKING ON/OFF (located on the bottom of the clock).
