
1. Introduzione
Thank you for choosing the DynaScan M-6D-V VHF FM Radio. This manual provides detailed instructions for the proper installation, operation, and maintenance of your radio. Please read this manual thoroughly before using the device to ensure optimal performance and safety. The M-6D-V is a robust VHF FM radio designed for reliable communication within the 136-174 MHz frequency range, featuring 200 programmable channels, CTCSS/DCS tones, and various advanced functions.
2. Informazioni sulla sicurezza
Always observe the following safety precautions to prevent fire, injury, or damage to the radio:
- Do not operate the radio in explosive atmospheres (e.g., near flammable gas, dust particles, metallic powders, etc.).
- Non trasmettere senza un'antenna collegata.
- Garantire l'alimentazione voltage matches the radio's requirements (13.8 Vdc). Incorrect voltagpuò danneggiare l'unità.
- Evitare di esporre la radio alla luce solare diretta per periodi prolungati o a temperature estreme.
- Tenere la radio lontana dall'acqua e dall'umidità.
- Do not attempt to open or modify the radio. Repairs should only be performed by qualified technicians.
- Utilizzare solo accessori approvati.
3. Contenuto della confezione
Verificare che tutti gli articoli siano presenti nel pacco:
- DynaScan M-6D-V VHF FM Radio Unit
- Microphone with DTMF keypad
- Cavo di alimentazione CC
- Staffa di fissaggio
- Hardware di montaggio (viti, rondelle)
- Manuale di istruzioni (questo documento)

Image 3.1: Contents of the DynaScan M-6D-V package, including the radio unit, microphone, power cable, and mounting bracket.
4. Prodotto finitoview
The DynaScan M-6D-V is a compact and powerful VHF mobile radio. Familiarize yourself with its main components:
4.1 Unità radio

Immagine 4.1.1: anteriore view of the DynaScan M-6D-V radio unit with the microphone connected. Shows the display, control knobs, and function buttons.
- Pannello frontale: Features an LCD screen, power button, volume/squelch knob, channel selector, and various function buttons (FUN, SET, CAL, H/L, SQL, POW).
- Pannello posteriore: Includes the antenna connector (SO-239 type), DC power input, and external speaker jack (if applicable).
- Radiatore: The ribbed metal casing on the top and sides acts as a heat sink to dissipate heat during transmission.

Immagine 4.1.2: posteriore view of the DynaScan M-6D-V radio unit, highlighting the antenna connector and the extensive heat sink fins.
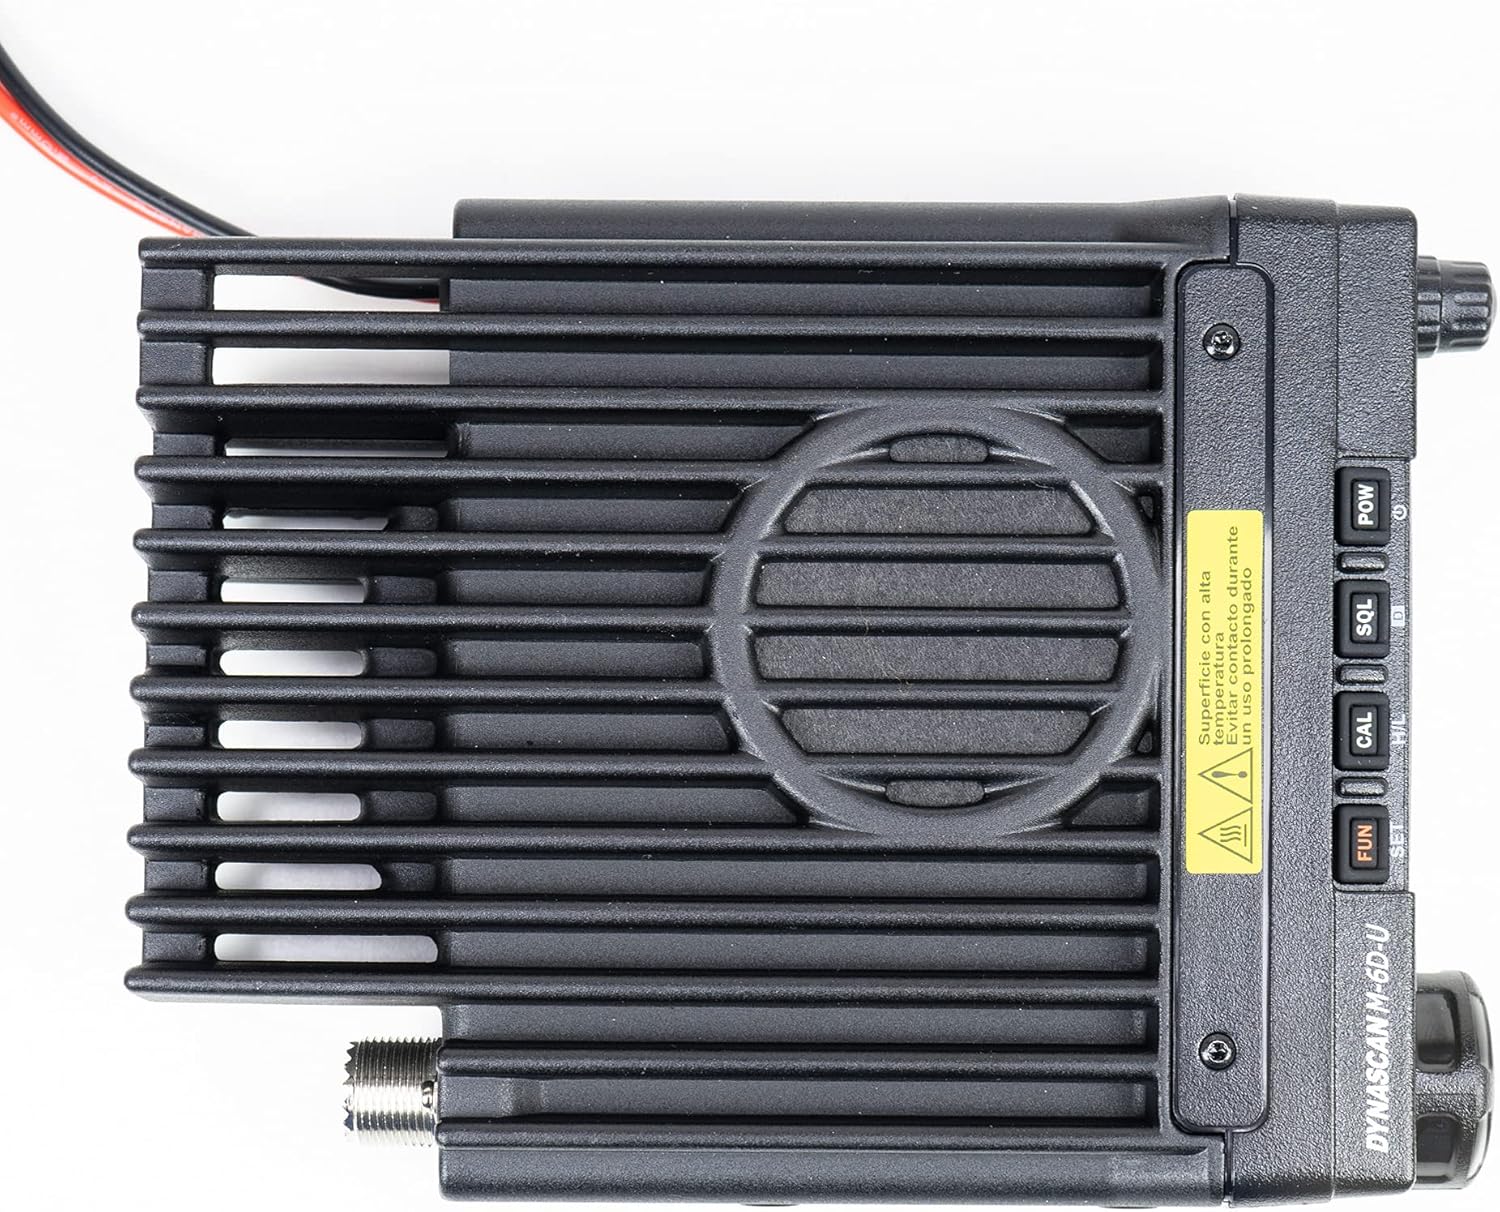
Immagine 4.1.3: In alto view of the DynaScan M-6D-V radio unit, emphasizing the heat sink design for thermal management.
4.2 Microfono

Immagine 4.2.1: Primo piano view of the DynaScan M-6D-V microphone, featuring a full DTMF keypad and function buttons.
The supplied microphone includes a DTMF keypad for direct frequency entry, channel selection, and accessing various functions. It also has a PTT (Push-To-Talk) button on the side.
5. Impostazione
Follow these steps for initial setup of your DynaScan M-6D-V radio:
5.1 Montaggio della radio
- Choose a secure and accessible location for mounting the radio, ensuring adequate ventilation around the heat sink.
- Utilizzare la staffa di montaggio fornita come modello per contrassegnare i punti di foratura.
- Praticare dei fori pilota e fissare la staffa di montaggio utilizzando le viti in dotazione.
- Slide the radio into the bracket and secure it with the bracket screws.
5.2 Collegamento dell'antenna
Connect a suitable VHF antenna (136-174 MHz) to the SO-239 connector on the rear of the radio. Ensure the connection is tight to prevent signal loss and potential damage to the radio's final amplificatore stage.
5.3 Collegamento dell'alimentazione
- Connect the supplied DC power cable to the power input on the rear of the radio.
- Connect the red wire to the positive (+) terminal of a 13.8 Vdc power supply and the black wire to the negative (-) terminal.
- Ensure the power supply can provide sufficient current for the radio's maximum output power (60W).
- Attenzione: Incorrect polarity or insufficient power supply can damage the radio.
5.4 Collegamento del microfono
Plug the microphone's RJ-45 connector into the corresponding jack on the front panel of the radio.
6. Istruzioni per l'uso
6.1 Accensione/spegnimento e controllo del volume
- Accensione: Premere e tenere premuto il tasto prigioniero di guerra pulsante sul pannello frontale.
- Spegni: Premere e tenere premuto il tasto prigioniero di guerra di nuovo il pulsante.
- Volume: Rotate the outer knob (Volume) on the front panel clockwise to increase volume, counter-clockwise to decrease.
6.2 Regolazione dello squelch
The squelch function mutes the speaker when no signal is received, eliminating background noise.
- Adjust Squelch: Rotate the inner knob (Squelch) on the front panel. Turn it clockwise until the background noise disappears. Turn it counter-clockwise to open the squelch and hear all signals, including noise.
6.3 Selezione del canale e della frequenza
The radio supports both VFO (Variable Frequency Oscillator) mode for direct frequency input and Memory Channel mode for pre-programmed channels.
- Cambia modalità: Premere il tasto VFO/MR button on the microphone or the corresponding function on the front panel.
- Modalità VFO: Use the channel selector knob on the front panel or the microphone keypad to enter frequencies directly.
- Memory Channel Mode: Rotate the channel selector knob to cycle through the 200 programmable channels.
6.4 gradi di frequenza
The frequency step determines the increment when tuning. Available steps are 12.5 KHz, 20 KHz, and 25 KHz.
- Change Step: Refer to the programming software manual or the radio's menu system for step adjustment.
6.5 Toni CTCSS/DCS
CTCSS (Continuous Tone-Coded Squelch System) and DCS (Digital Coded Squelch) tones are used to filter unwanted signals and allow private group communication. The radio supports 50 CTCSS and 1024 DCS codes.
- Impostazione dei toni: Access the menu system (usually via the DIVERTIMENTO or IMPOSTATO button) to select and set the desired CTCSS or DCS codes for both transmit and receive.
6.6 Scansione
The scanning function allows the radio to automatically search for active signals across frequencies or memory channels.
- Activate Scan: Premere il tasto SCN button on the microphone or the corresponding function on the front panel.
- Stop Scan: Premere SCN again or the PTT button.
6.7 Time Out Timer (TOT)
The TOT feature prevents excessively long transmissions by automatically stopping transmission after a pre-set time. This protects the radio from overheating and ensures fair use of the channel.
- Setting TOT: The TOT duration is typically configured via the programming software.
6.8 Busy Channel Lockout (BCL)
BCL prevents transmission on a channel that is already in use, avoiding interference with ongoing conversations.
- Enable/Disable BCL: This feature is usually enabled or disabled through the radio's menu or programming software.
6.9 Selezione potenza alta/bassa
The radio offers selectable transmit power levels (Hi/Low) to conserve battery power and reduce interference when full power is not required.
- Switch Power: Premere il tasto H / L button on the front panel or microphone. The display will indicate the current power setting.
6.10 Altre caratteristiche
- Scrambler: Provides basic voice privacy. Activation is typically via a menu setting or a dedicated function key.
- Parla in giro: Allows direct communication between two radios on a repeater output frequency, bypassing the repeater.
- DTMF Lock: Locks the DTMF keypad on the microphone to prevent accidental key presses.
- Compander: Compresses the audio signal during transmission and expands it during reception, improving audio clarity in noisy environments.
- Display alfanumerico: The LCD screen displays channel names, frequencies, and status icons.
- Programmable by Software: Advanced settings, channel programming, and feature customization are performed using dedicated PC software and a programming cable (sold separately).
7. Manutenzione
Proper maintenance ensures the longevity and reliable operation of your radio.
- Pulizia: Utilizzare un panno morbido e asciutto per pulire l'esterno della radio. Per lo sporco ostinato, un panno leggermenteamp cloth with mild soap can be used, followed by a dry cloth. Do not use harsh chemicals or solvents.
- Antenna: Regularly check the antenna connection for tightness and ensure the antenna itself is in good condition.
- Cavo di alimentazione: Inspect the power cable for any signs of damage or fraying.
- Magazzinaggio: Quando non viene utilizzata per lunghi periodi, conservare la radio in un luogo asciutto e fresco, lontano dalla luce solare diretta e da temperature estreme.
8. Risoluzione Dei Problemi
If you encounter issues with your DynaScan M-6D-V, refer to the following common problems and solutions:
| Problema | Possibile causa | Soluzione |
|---|---|---|
| Nessun potere | Power cable disconnected; Blown fuse; Incorrect power supply voltage. | Check power cable connection; Replace fuse (if applicable); Verify power supply is 13.8 Vdc. |
| Nessun suono dall'altoparlante | Volume too low; Squelch set too high; External speaker connected. | Increase volume; Adjust squelch level; Check external speaker connection or disconnect it. |
| Impossibile trasmettere o ricevere | Antenna not connected; Incorrect frequency/channel; CTCSS/DCS mismatch; BCL enabled. | Connect antenna; Verify frequency/channel; Check CTCSS/DCS settings; Disable BCL. |
| Scarsa qualità audio | Weak signal; Antenna issue; Compander setting. | Check antenna and connections; Adjust squelch; Try enabling/disabling compander. |
If the problem persists after trying these solutions, please contact DynaScan customer support or a qualified service technician.
9. Specifiche
| Caratteristica | Valore |
|---|---|
| Gamma di frequenza | 136 - 174 MHz (VHF) |
| Numero di canali | 200 |
| Codici di sicurezza | 1024 DCS / 50 CTCSS |
| Passo di frequenza | 12.5 / 20 / 25 KHz |
| Alimentazione elettrica | 13.8 Vdc |
| Temperatura di esercizio | da -20 a +60 gradi C |
| Umidità massima | 90% |
| Potenza di uscita | 60W |
| Potenza di uscita audio | 2W |
| Peso | 1550 grammi (1.55 kg) |
| Dimensioni (L x A x P) | Dimensioni: 190 x 145 x 27 mm |
| Display | LCD Alphanumeric |
| Caratteristiche | Scrambler, Talk Around, Scanning, TOT, BCL, Squelch, Hi/Low Power, Programmable by software, DTMF Lock, Transmit Indicator, Compander |
10. Garanzia e supporto
DynaScan products are manufactured to high-quality standards. For specific warranty terms and conditions, please refer to the warranty card included with your product or visit the official DynaScan website. For technical support, service, or inquiries, please contact your authorized DynaScan dealer or customer service representative.