Introduzione
This user manual provides detailed instructions for the installation, operation, maintenance, and troubleshooting of your Xprinter XP-K200L 80mm Thermal Receipt Printer. Please read this manual thoroughly before using the printer to ensure proper function and to extend the product's lifespan. Keep this manual for future reference.
Informazioni sulla sicurezza
- Utilizzare sempre l'adattatore di alimentazione fornito con la stampante.
- Non esporre la stampante all'acqua o all'umidità.
- Evitare di posizionare la stampante alla luce diretta del sole o vicino a fonti di calore.
- Garantire una ventilazione adeguata attorno alla stampante.
- Non tentare di smontare o riparare la stampante da soli. Contattare personale di assistenza qualificato.
- Tenere fuori dalla portata dei bambini.
Contenuto della confezione
Si prega di controllare il contenuto della confezione al momento del disimballaggio. Se qualche articolo risulta mancante o danneggiato, contattare il rivenditore.
- Xprinter XP-K200L Thermal Receipt Printer
- Adattatore di alimentazione
- Cavo di alimentazione
- Cavo USB
- Rotolo di carta termica (rotolo iniziale)
- Cavo per cassetto contanti
- Manuale dell'utente (questo documento)
Prodotto finitoview
Familiarize yourself with the main components of your Xprinter XP-K200L thermal receipt printer.

Figura 1: lato view of the Xprinter XP-K200L thermal receipt printer. On the right, the power switch is visible, and on the left, a button to open the paper cover is present.
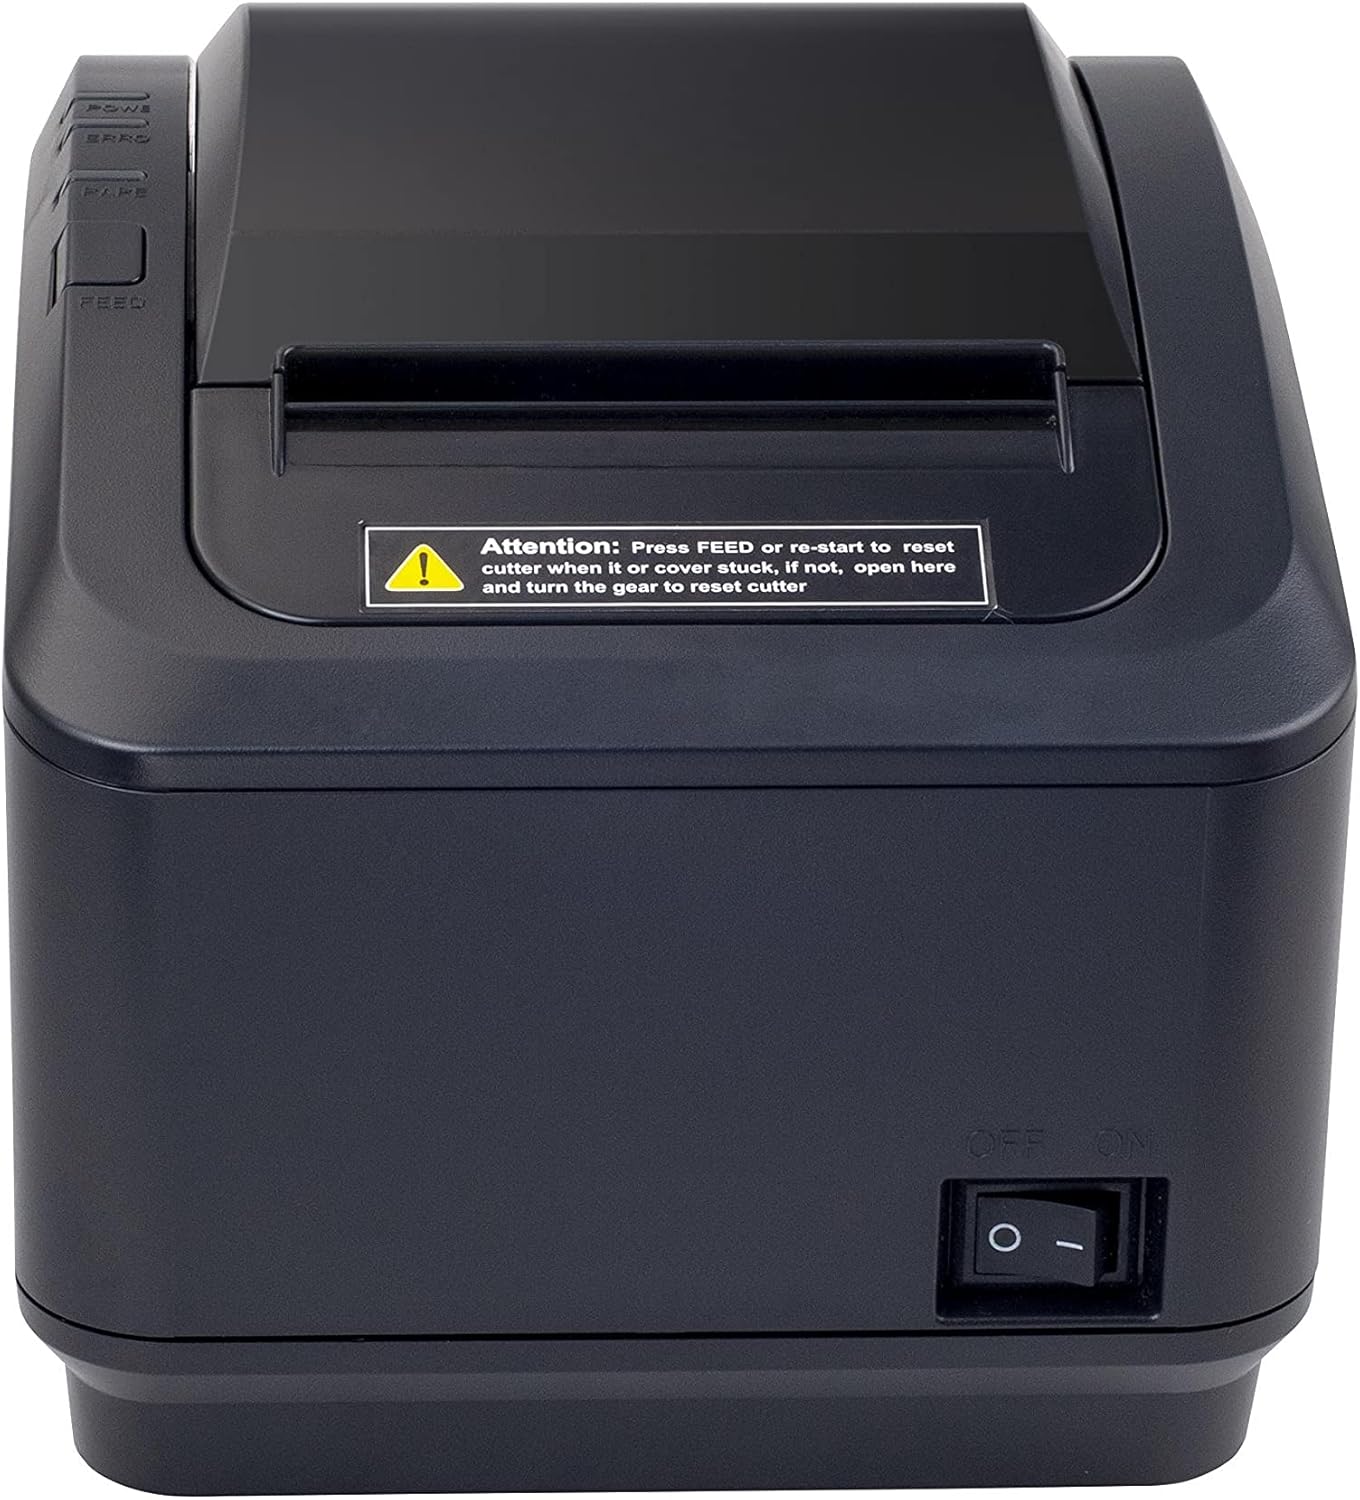
Figura 2: Un fronte view of the Xprinter XP-K200L thermal receipt printer. The paper output slot is at the top, and below it are control buttons for functions like feed and error reset. A warning label is also visible.

Figure 3: This image displays the Xprinter XP-K200L thermal receipt printer with its top cover open, showing the internal compartment where the thermal paper roll is loaded. The print head mechanism is also visible.
Impostare
1. Collegamento dell'alimentazione
- Ensure the printer's power switch is in the SPENTO posizione.
- Collegare l'adattatore di alimentazione alla porta di alimentazione della stampante.
- Collegare il cavo di alimentazione a una presa elettrica idonea.
2. Caricamento della carta termica
- Press the cover open button (refer to Figure 1) to open the top cover of the printer.
- Insert a new 80mm thermal paper roll into the compartment, ensuring the paper feeds from the bottom and the leading edge extends slightly out of the printer.
- Close the top cover firmly until it clicks into place. Ensure there is no slack in the paper roll.
3. Connessione a un computer/rete
The XP-K200L printer supports both USB and LAN (Ethernet) connectivity.
Connessione USB:
- Collegare un'estremità del cavo USB alla porta USB della stampante.
- Collegare l'altra estremità del cavo USB a una porta USB disponibile sul computer.
- Install the printer drivers. Drivers are typically provided on a CD or can be downloaded from the manufacturer's websito. Seguire le istruzioni sullo schermo per l'installazione.
Connessione LAN (Ethernet):
- Connect one end of an Ethernet cable to the printer's LAN port.
- Collega l'altra estremità del cavo Ethernet al router o allo switch di rete.
- Configure the printer's network settings (e.g., IP address) if necessary. This usually involves printing a self-test page to get the current IP address and then accessing the printer's web interface or using a utility tool provided by the manufacturer.
- Install the printer drivers on your computer, selecting the network connection option during setup.
4. Connecting a Cash Drawer
- Connect the cash drawer cable to the dedicated cash drawer port on the printer.
- Ensure your POS software is configured to send commands to open the cash drawer via the printer.
Istruzioni per l'uso
Accensione/spegnimento
- To power on the printer, flip the power switch (refer to Figure 1) to the ON posizione.
- To power off the printer, flip the power switch to the SPENTO posizione.
Stampa di base
Once the printer is connected and drivers are installed, you can print receipts from your POS software or any application that supports printing.
- Ensure the printer is powered on and has paper loaded.
- Dall'applicazione, seleziona l'opzione di stampa.
- Choose the "Xprinter XP-K200L" from the list of available printers.
- Confirm print settings and click "Print".
Self-Test Page
To print a self-test page, which provides information about the printer's settings and status:
- Ensure the printer is powered off and the paper roll is loaded.
- Premere e tenere premuto il tasto FORAGGIO pulsante.
- Mentre si tiene premuto il FORAGGIO button, turn the power switch to ON.
- Rilasciare il FORAGGIO button after the printer starts printing.
Manutenzione
Pulizia della stampante
- Testina di stampa: Utilizzare un batuffolo di cotone leggermenteampened with isopropyl alcohol to gently wipe the thermal print head. Allow it to dry completely before use. Clean regularly to ensure print quality.
- Taglierina: If the cutter becomes jammed or dirty, carefully clean it with a soft brush or cloth.
- Esterno: Pulire l'esterno della stampante con un panno morbido e asciutto. Non utilizzare detergenti abrasivi o solventi.
Sostituzione della carta termica
When the paper roll is depleted or near its end, replace it following the steps in the "Loading Thermal Paper" section under Setup.
Risoluzione dei problemi
| Problema | Possibile causa | Soluzione |
|---|---|---|
| La stampante non si accende. | Power cord or adapter not connected properly; power outlet issue. | Controllare tutti i collegamenti elettrici. Provare una presa di corrente diversa. |
| Nessuna stampa. | No paper; paper loaded incorrectly; printer offline; driver issue; incorrect connection. | Load paper correctly. Check printer status. Reinstall drivers. Verify USB/LAN connection. |
| Qualità di stampa scadente. | Dirty print head; low quality thermal paper. | Clean the print head (see Maintenance). Use recommended thermal paper. |
| Paper jam or cutter error. | Paper loaded incorrectly; debris in cutter mechanism. | As per printer label: Premere FORAGGIO or re-start to reset cutter. If the issue persists, open the top cover and carefully turn the gear to reset the cutter mechanism. Ensure paper is loaded correctly and remove any obstructions. |
| Il cassetto contanti non si apre. | Cable not connected; POS software not configured. | Check cash drawer cable connection. Verify POS software settings for cash drawer trigger. |
Specifiche
| Caratteristica | Dettaglio |
|---|---|
| Marca | Stampante X |
| Nome del modello | XP-K200L |
| Tecnologia della stampante | Termico |
| Tecnologia di connettività | USB, LAN (Ethernet) |
| Caratteristiche speciali | Pronto per la rete |
| Colore | Nero |
| Uscita della stampante | Monocromo |
| Peso dell'articolo | 1.5 kg |
| Dimensioni del prodotto (PxLxA) | Dimensioni: 19.5 cm x 14 cm x 13.8 cm |
| Compatible OS/Controller Type | Android (and typically Windows/Linux via drivers) |
| Stampa Media | Plain Thermal Paper |
| Stampa a colori | Nero |
| Risoluzione | 576 x 512 dots per inch (or dots per line) |
| Max Print Resolution B/W | 576 dpi |
| Funzioni aggiuntive della stampante | Solo stampa |
| Metodo di controllo | Remoto |
| Dimensione massima del supporto | 80 millimetri |
| Formato della carta | 79.5 millimetri |
| Energia | 60 watt |
| Componenti inclusi | Power adapter, Cash drawer cable |
| Serie | XP-K |
| Usi specifici | Restaurants, bars, cinemas, garages, transportation, hospitals, clinics |
| Porte USB totali | 1 |
Garanzia e supporto
For warranty information and technical support, please refer to the documentation provided with your purchase or contact your vendor directly. Keep your proof of purchase for warranty claims.
For driver downloads and further support resources, visit the official Xprinter websito.