
1. Introduzione
Thank you for choosing the Sunco 5/6 Inch LED Gimbal Retrofit Recessed Downlight. This manual provides essential information for the safe installation, operation, and maintenance of your new lighting fixture. Please read these instructions thoroughly before installation and retain them for future reference.
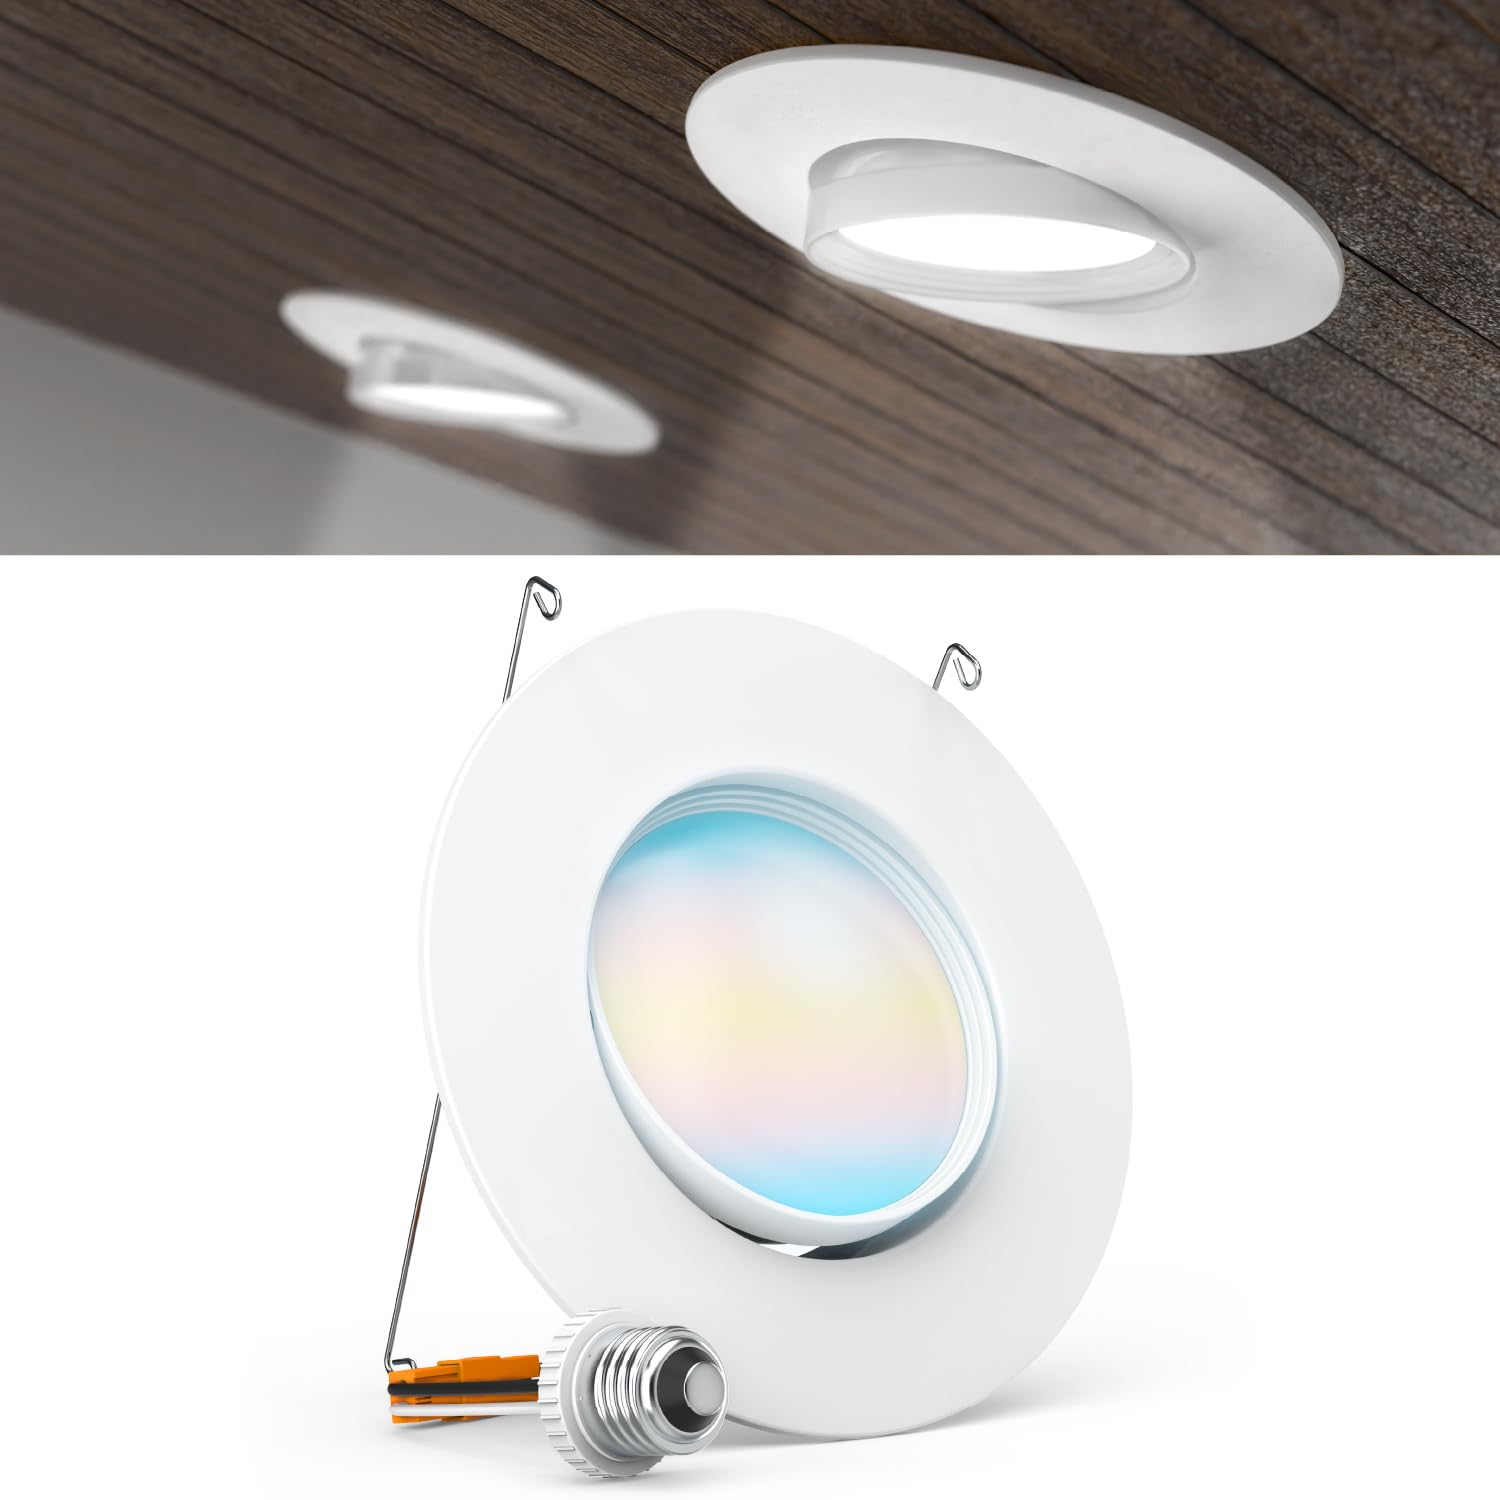
Figure 1: Sunco 5/6 Inch LED Gimbal Retrofit Downlight
2. Importanti istruzioni di sicurezza
WARNING: Risk of fire or electric shock. Installation requires knowledge of luminaires electrical systems. If not qualified, do not attempt installation. Contact a qualified electrician.
- Prima dell'installazione o della manutenzione, disattivare l'alimentazione elettrica tramite l'interruttore automatico.
- Garantire la fornitura voltage è 120 V CA, 60 Hz.
- Non praticare o modificare fori aperti in un contenitore di cavi o componenti elettrici durante l'installazione del kit.
- Questo apparecchio è adatto per damp locations. Do not use in areas with direct water exposure.
- Per evitare danni o abrasioni ai cavi, non esporli a bordi di lamiere o altri oggetti taglienti.
- Questo dispositivo non è destinato all'uso in prossimità delle uscite di emergenza.
- Assicurarsi che tutti i collegamenti siano sicuri e adeguatamente isolati.
3. Contenuto della confezione
Dopo aver aperto la confezione, verificare che tutti i componenti siano presenti e integri:
- 1 x Sunco 5/6 Inch LED Gimbal Retrofit Recessed Downlight
- 1 x E26 Adapter
- 1 x TP24 Connector
- Guida all'installazione (questo documento)
4. Specifiche del prodotto
| Caratteristica | Specificazione |
|---|---|
| Marca | Illuminazione Sunco |
| Numero di modello | Modello DL_G56-12W-27K_5K |
| Misurare | 5/6 pollice |
| Colore | Bianco |
| Materiale | Policarbonato |
| Cosatage | 12 Watt (equivalenti a 60 W) |
| Luminosità | 800 lumen |
| Voltage | 120 Volt |
| Temperatura del colore (CCT) | Selezionabile: 2700K, 3000K, 3500K, 4000K, 5000K |
| Dimmerabile | Yes (10%-96% dimming range) |
| Regolazione del giunto cardanico | 40° Tilt, 350° Swivel |
| Damp Valutato | SÌ |
| Certificazioni | UL, Energy Star, FCC, RoHS |
| Durata | 50,000 ore |
| Dimensioni (L x P x A) | 7.3 cm L x 3.5 cm P x 7.3 cm A |

Figure 2: Product Dimensions and Certifications
5. Configurazione e installazione
5.1 Prima di iniziare
- Assicurarsi che l'interruttore automatico sia spento.
- Confirm your existing recessed can is either 5-inch or 6-inch.
- Gather necessary tools: screwdriver, wire strippers (if needed).
5.2 Installazione passo passo
The Sunco Gimbal Downlight is designed for fast and easy installation into existing 5-inch or 6-inch recessed cans.
- Prepare the Recessed Can: Remove the existing bulb and trim from your recessed can. Ensure the wiring inside the can is accessible.
- Seleziona la temperatura del colore (CCT): Before installation, locate the CCT slider switch on the back of the downlight. Choose your desired color temperature (2700K, 3000K, 3500K, 4000K, or 5000K). This setting can be changed later if needed.
- Connetti alimentazione: Your downlight comes with both an E26 adapter and a TP24 connector. Choose the appropriate connector for your recessed can.

Figure 4: E26 Adapter and TP24 Connector
- For E26 Socket: Screw the E26 adapter into the existing E26 socket in the recessed can. Then, connect the downlight's wire to the adapter's connector.
- Per il connettore TP24: If your can has a TP24 connector, simply plug the downlight's connector directly into it.
- Inserire il Downlight: Gently push the downlight into the recessed can. The spring clips on the sides of the fixture will secure it firmly in place. Ensure the trim sits flush with the ceiling.
- Ripristina alimentazione: Riattivare l'alimentazione tramite l'interruttore automatico.

Figure 3: Selectable Color Temperature Switch
5.3 Video di installazione
Sopraview | 5/6" Gimbal Baffle Selectable
Questo video fornisce una panoramica completaview of the 5/6 inch gimbal baffle selectable downlight, including its features and installation process.
Sopraview | High Lumen Retrofit Lights
Guarda questo video per un overview of Sunco's high lumen retrofit lights, demonstrating their ease of installation and various applications.
6. Istruzioni per l'uso
6.1 Adjusting Light Direction (Gimbal)
The gimbal feature allows you to direct the light beam precisely where needed. This is ideal for accent lighting, highlighting artwork, or improving task lighting.
- Inclinazione: Gently push the inner light module to tilt it up to 40 degrees in any direction.
- Girevole: The entire inner light module can be swiveled up to 350 degrees to adjust the beam angle.
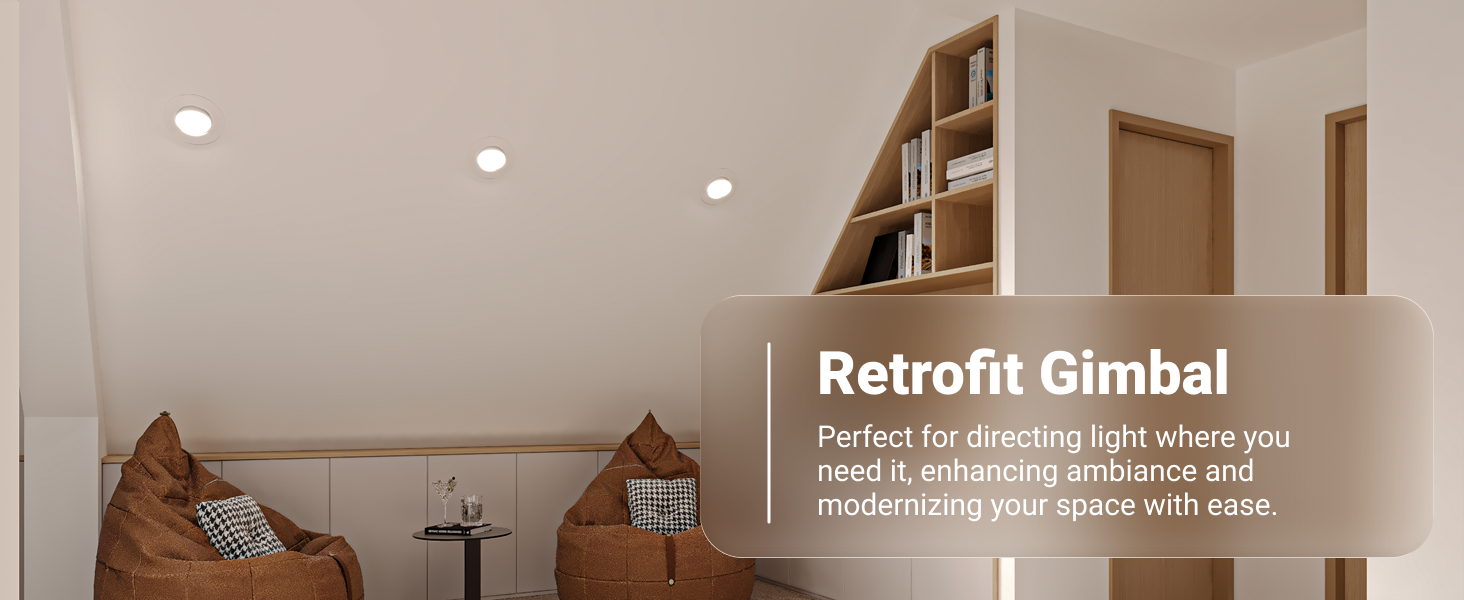
Figure 5: Adjusting the Gimbal Light Direction
6.2 Funzione di oscuramento
This downlight is dimmable, allowing you to adjust the light output from 10% to 96% with compatible LED dimmers. Ensure you use an LED-compatible dimmer switch for optimal performance and to avoid flickering or damage.
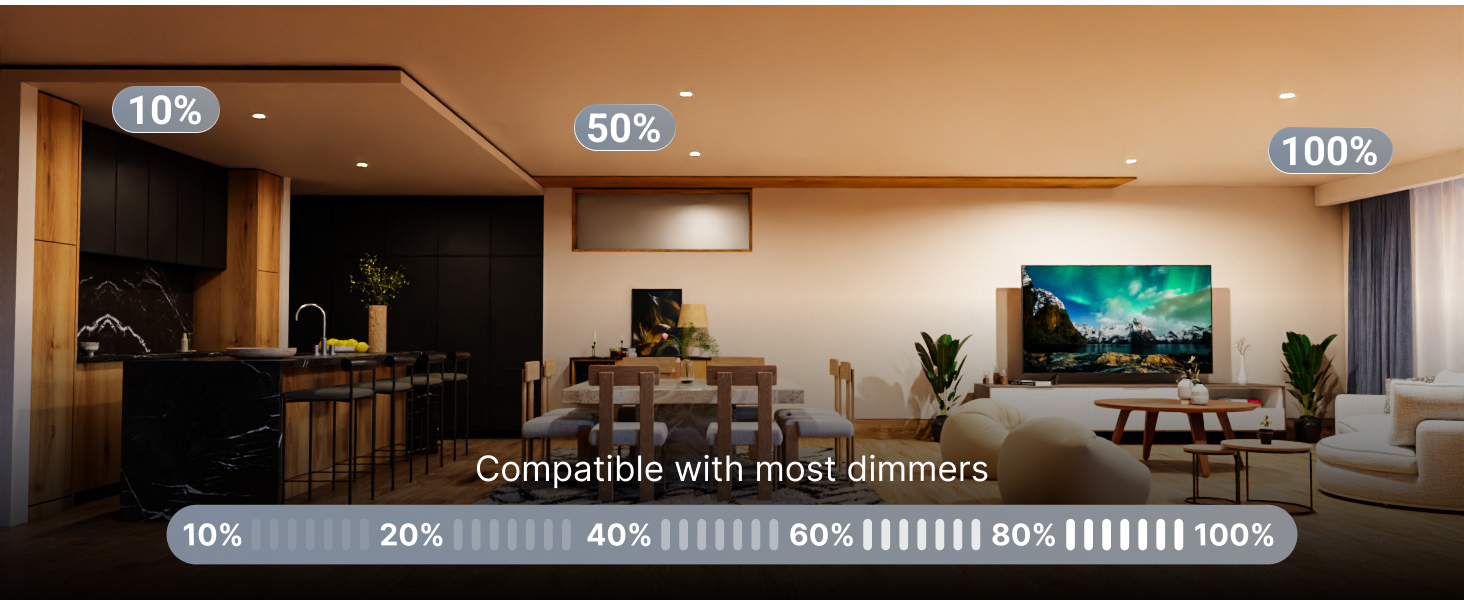
Figure 6: Dimmable Lighting for Various Ambiance
7. Cura e manutenzione
To ensure the longevity and optimal performance of your Sunco LED Gimbal Downlight, follow these simple maintenance guidelines:
- Pulizia: Assicurarsi che l'alimentazione sia spenta prima di pulire. Utilizzare un panno morbido, asciutto o leggermenteamp panno per pulire la superficie dell'apparecchio. Evitare detergenti abrasivi, solventi o prodotti chimici aggressivi, poiché possono danneggiare la finitura o i componenti elettrici.
- Nessuna parte riparabile dall'utente: The LED light source is integrated and not user-replaceable. Do not attempt to open or repair the fixture.
- Ispezione: Periodically check the fixture for any signs of damage or loose connections. If any issues are found, turn off power and consult a qualified electrician.
8. Guida alla risoluzione dei problemi
If you encounter any issues with your downlight, refer to the table below for common problems and solutions:
| Problema | Possibile causa | Soluzione |
|---|---|---|
| La luce non si accende | Nessuna alimentazione Collegamento del cablaggio allentato Interruttore difettoso | Controllare l'interruttore automatico e l'interruttore a parete. Assicurarsi che tutti i collegamenti elettrici siano ben saldi (prima spegnere l'alimentazione). Provare l'interruttore con un altro dispositivo. |
| La luce tremola o si attenua in modo incoerente | Interruttore dimmer incompatibile Cablaggio allentato Voltage fluttuazioni | Ensure an LED-compatible dimmer is used. Controllare i collegamenti elettrici (prima spegnere l'alimentazione). Consultare un elettricista se voltagI problemi persistono. |
| Temperatura colore non corretta | Interruttore CCT impostato in modo errato | Turn off power, adjust the CCT slider switch on the back of the fixture to the desired setting. |
| Light is not flush with ceiling | Spring clips not fully engaged Obstruction in can | Gently push the fixture further into the can until clips engage. Check for any debris or wires obstructing the fit. |
9. Garanzia e assistenza clienti
9.1 Informazioni sulla garanzia
Sunco Lighting fornisce un Garanzia del produttore di 7 anni for this product, covering defects in materials and workmanship under normal use. This warranty is valid from the date of purchase. Please retain your proof of purchase for warranty claims.
9.2 Assistenza clienti
For technical assistance, warranty claims, or any questions regarding your Sunco LED Gimbal Retrofit Recessed Downlight, please contact Sunco Lighting customer support. Our knowledgeable specialists are available to assist you.
Informazioni sui contatti:
- Visitare il Negozio di illuminazione Sunco su Amazon per ulteriori informazioni.
- Fare riferimento al sito ufficiale Sunco Lighting websito per i dettagli di contatto diretto.