
Introduzione
This user manual provides comprehensive instructions for the installation, operation, and maintenance of your Thinkware X1000 Dual Channel Dash Cam. The X1000 is designed to record high-quality video footage from both the front and rear of your vehicle, offering enhanced security and peace of mind. Please read this manual thoroughly before using the device to ensure proper functionality and safety.
Cosa c'è nella scatola
Verificare che tutti i componenti siano presenti nella confezione:
- 2K QHD Main Unit (Front Dash Cam)
- 2K QHD Rear Cam
- Scheda MicroSD da 32 GB
- Cavo di cablaggio
- Windshield Mount with 3M Tape
- (Optional: GPS Antenna, 12V Power Cable, Adhesive Wire Clips, Spare Mounting Tape, CS Info - may vary by package)

Image: Components included with the Thinkware X1000 Dash Cam system.
Prodotto finitoview
The Thinkware X1000 is a high-performance dual-channel dash cam system. Key features include:
- Registrazione Dual 2K QHD: Cattura immagini chiare e dettagliatetage from both front and rear cameras (2560 x 1440 resolution).
- Sony STARVIS IMX335 Sensor: Ensures sharp video quality even in low-light conditions.
- Night Vision 3.0 with Real DOL HDR: Advanced technology for improved visibility and color accuracy at night.
- Touchscreen IPS da 3.5": Fornisce in diretta view, playback, and easy access to settings directly on the device.
- Sensore G: Rileva automaticamente gli impatti e salva footage in una cartella protetta.
- Anti-File Corruzione: Safeguards recorded video files sulla scheda microSD.
- Smart Parking Surveillance Suite: Includes motion and impact detection, Time Lapse, and Energy Saving 2.0 modes (requires hardwiring).
- Sistema avanzato di assistenza alla guida (ADAS): Provides alerts for Lane Departure, Forward Collision, and Front Vehicle Departure (requires optional GPS antenna).

Image: The Thinkware X1000 Dash Cam system, showing the main unit, rear camera, and hardwiring cable.

Immagine: Primo piano frontale view of the Thinkware X1000 main unit, highlighting the QHD recorder lens.
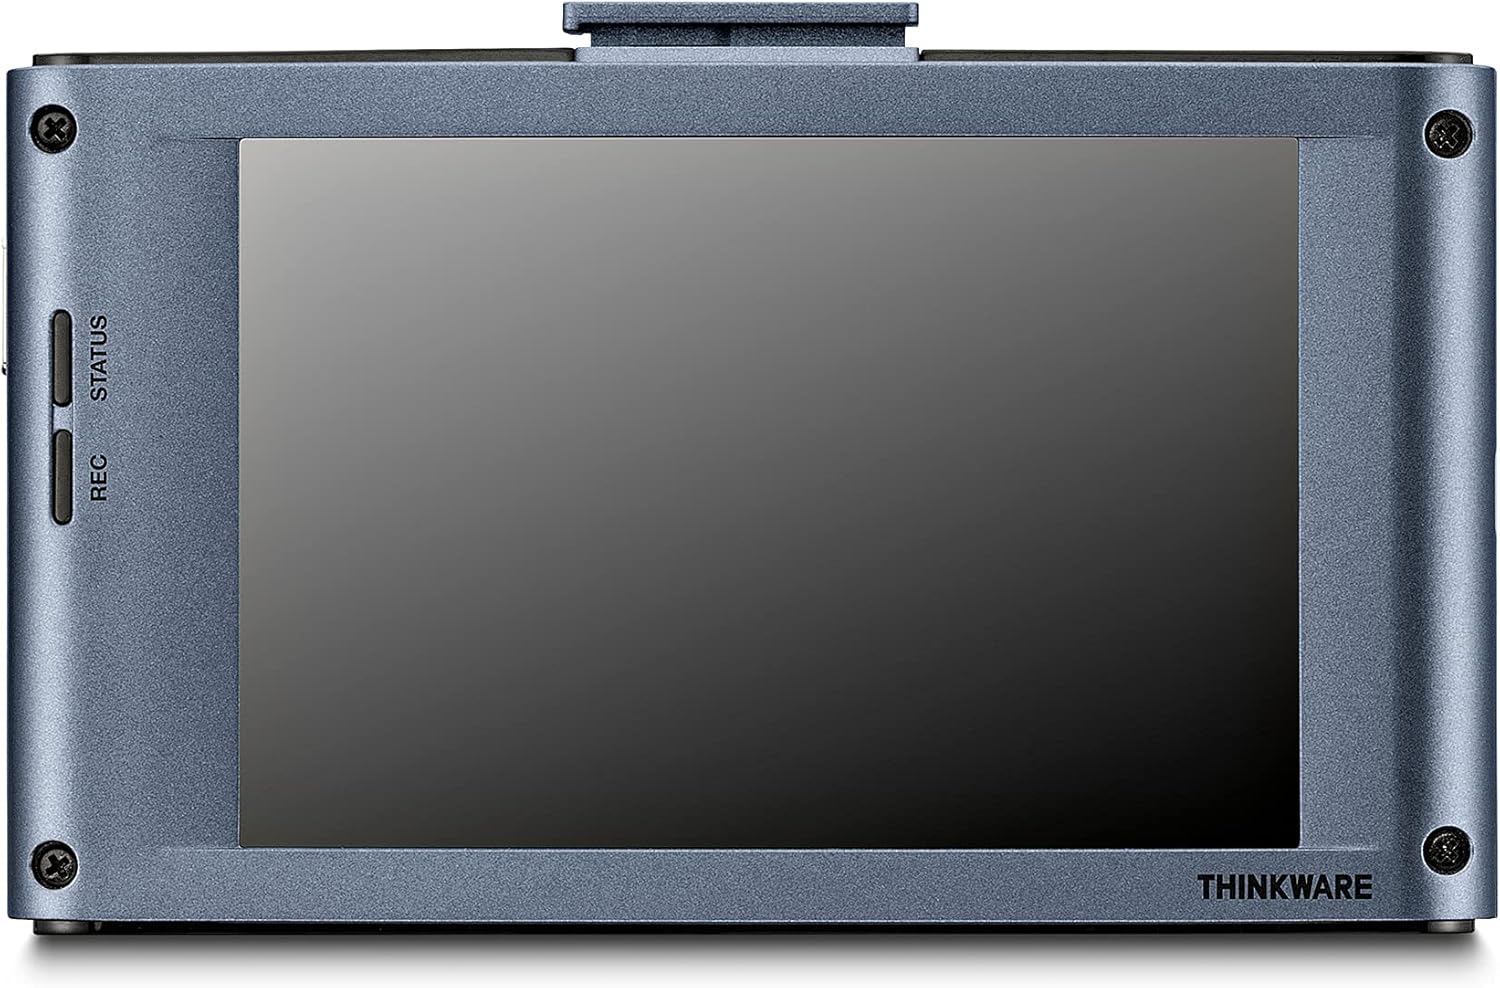
Immagine: Posteriore view of the Thinkware X1000 main unit, displaying its 3.5-inch IPS touchscreen.
Configurazione e installazione
1. Preparare la scheda MicroSD
Before first use, it is recommended to format the included 32GB MicroSD card using the dash cam's menu or the Thinkware PC Viewer software. This ensures optimal performance and compatibility.
2. Montare la Dash Cam anteriore
- Pulisci la zona del parabrezza dove verrà montata la dash cam. Assicurati che sia priva di polvere e grasso.
- Attach the 3M adhesive tape to the windshield mount.
- Peel off the protective film from the adhesive tape and firmly press the mount onto the windshield, ideally behind the rearview specchio per una visuale libera view. Hold for at least 30 seconds.
- Slide the main unit onto the mounted bracket.
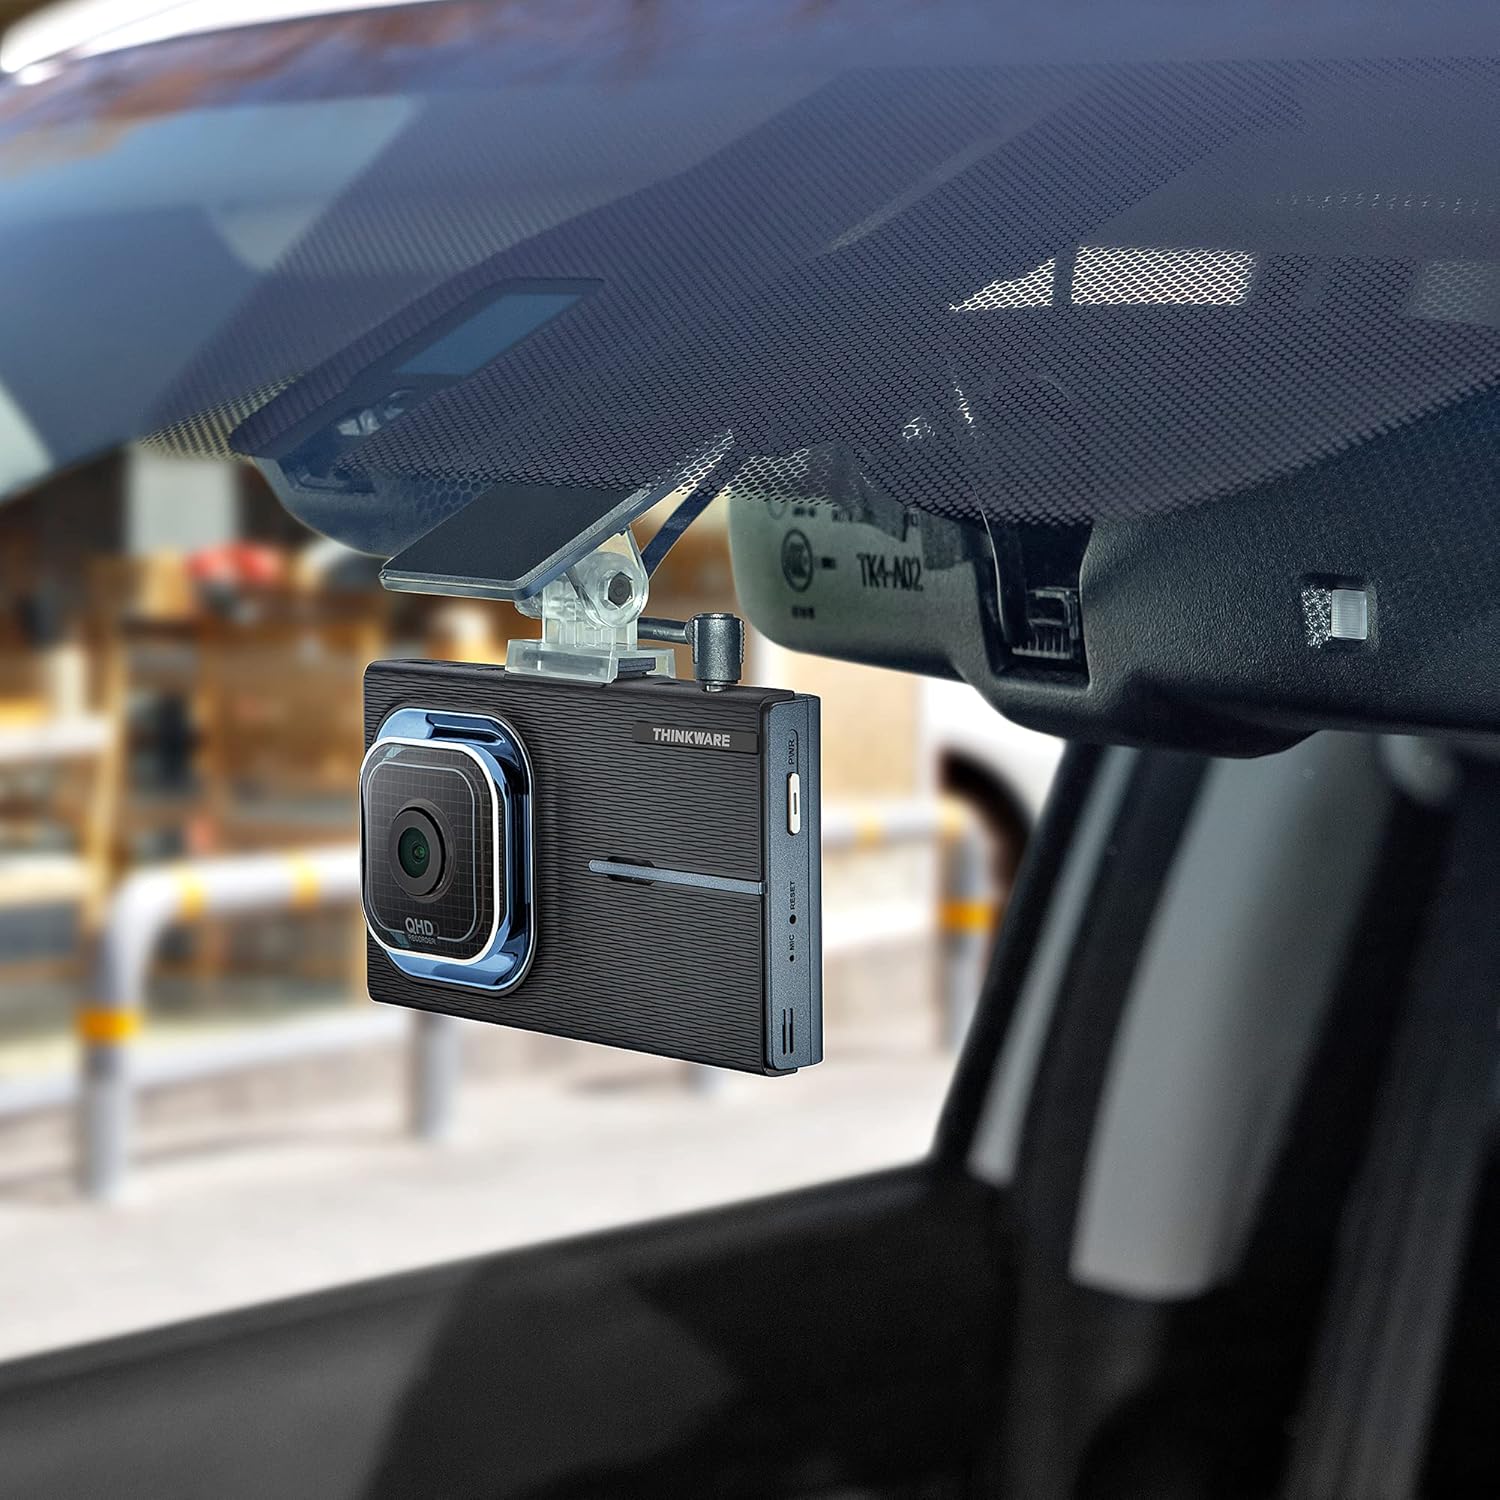
Image: The Thinkware X1000 main unit installed on a vehicle's windshield, positioned discreetly behind the rearview specchio.
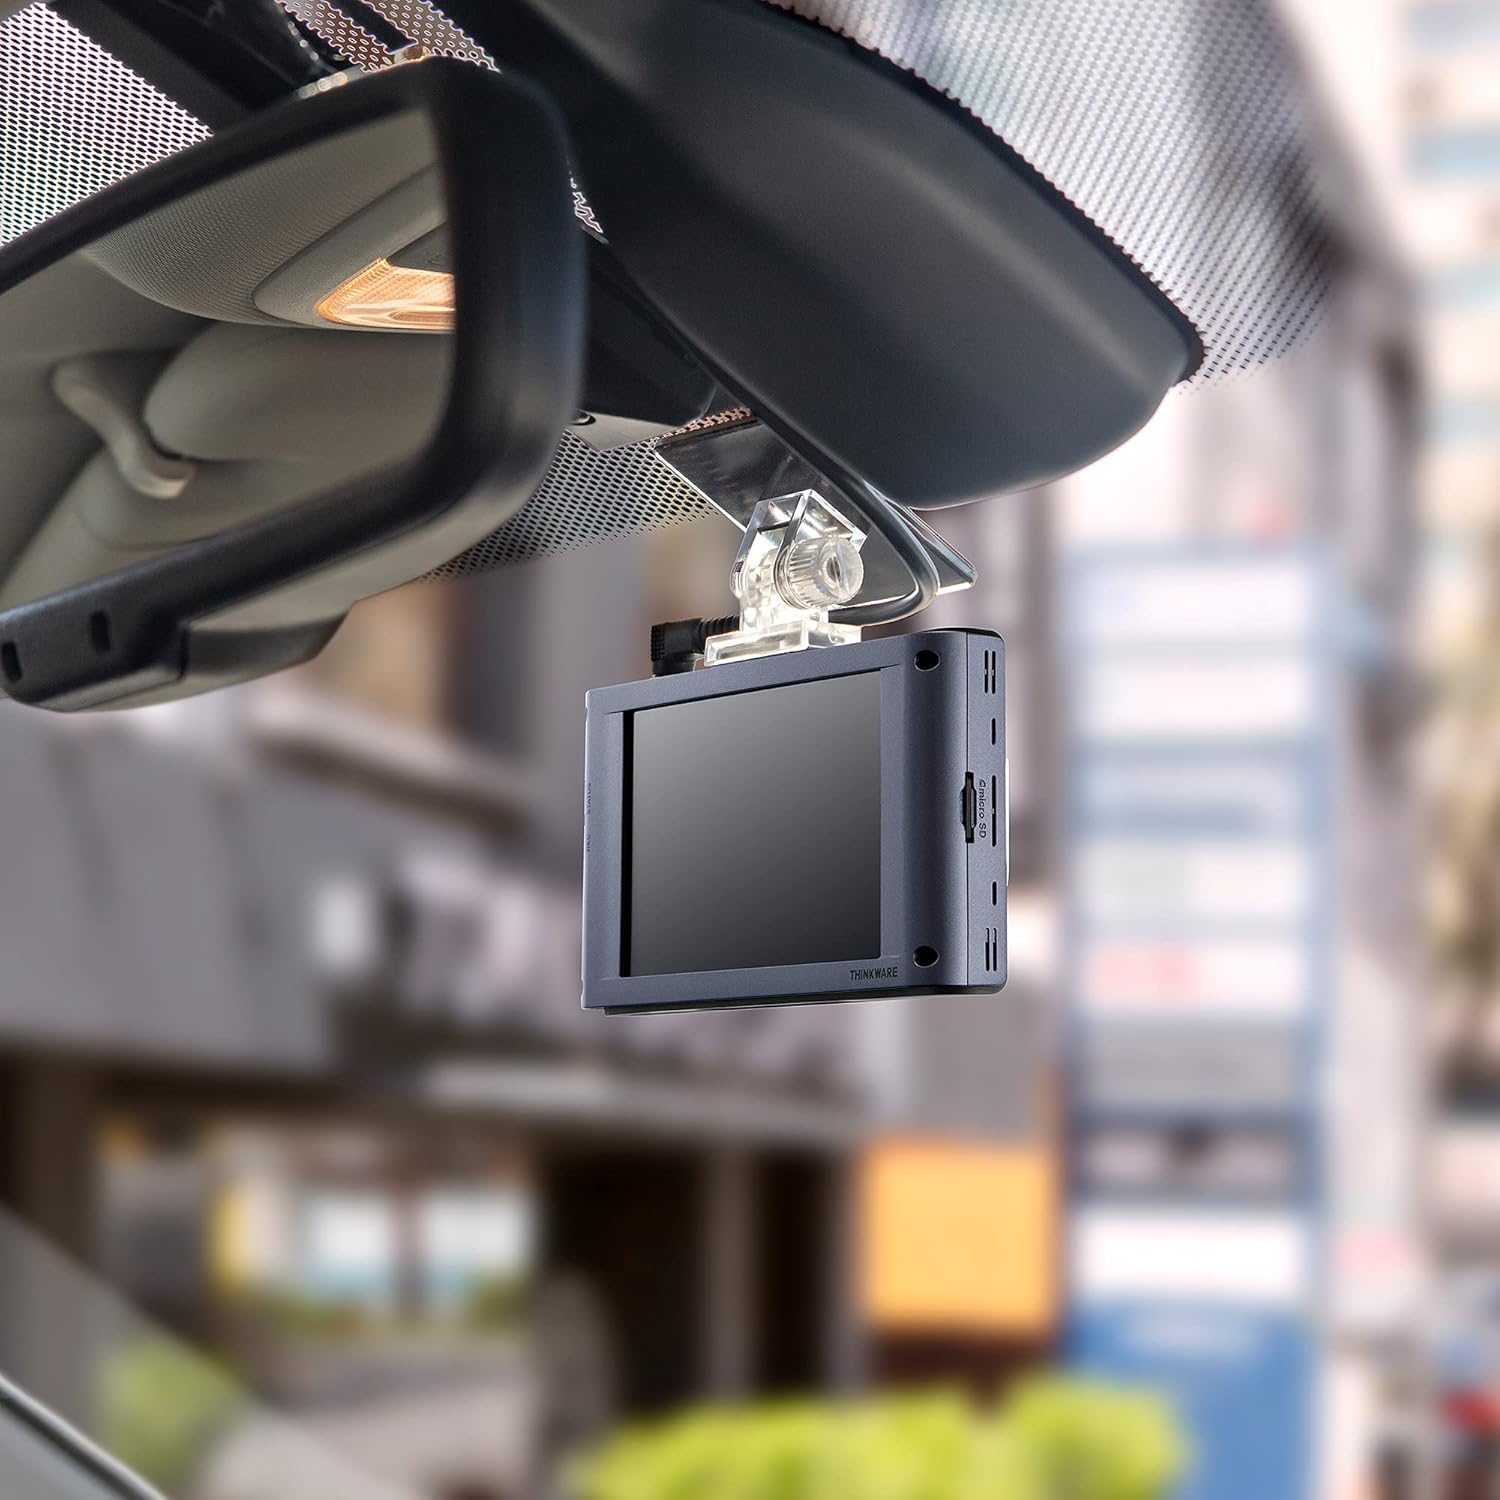
Immagine: Interno view of the Thinkware X1000 Dash Cam mounted on the windshield, displaying its screen.
3. Installare la telecamera posteriore
- Montare la telecamera posteriore sul lunotto posteriore, assicurandosi che la visuale sia chiara view.
- Connect the rear camera cable to the rear camera and route it neatly along the vehicle's headliner and A-pillars to the main unit.
- Plug the rear camera cable into the appropriate port on the main unit (usually labeled "V-IN" or "REAR CAM").
4. Power Connection (Hardwiring)
The X1000 includes a hardwiring cable for continuous power and parking surveillance features. Professional installation is recommended for hardwiring.
- Connect the yellow wire (BATT) to a constant power fuse (always on).
- Connect the red wire (ACC) to an accessory power fuse (on when ignition is on).
- Connect the black wire (GND) to a metal ground point on the vehicle chassis.
- Plug the hardwiring cable into the DC-IN port on the main unit.
Alternatively, a 12V power cable (cigarette lighter adapter) can be used for basic recording, but parking surveillance features will not be available.

Immagine: in alto view of the Thinkware X1000 main unit, illustrating the various connection ports for power, GPS, and the rear camera.
5. Optional GPS Antenna Installation
If you have the optional GPS antenna, connect it to the GPS port on the main unit. This enables speed logging, route tracking, and ADAS features.
Istruzioni per l'uso
Accensione/spegnimento
- The dash cam will automatically power on when the vehicle's ignition is turned on (if hardwired) or when connected to a 12V power source.
- To manually power off, press and hold the PWR button on the side of the unit.
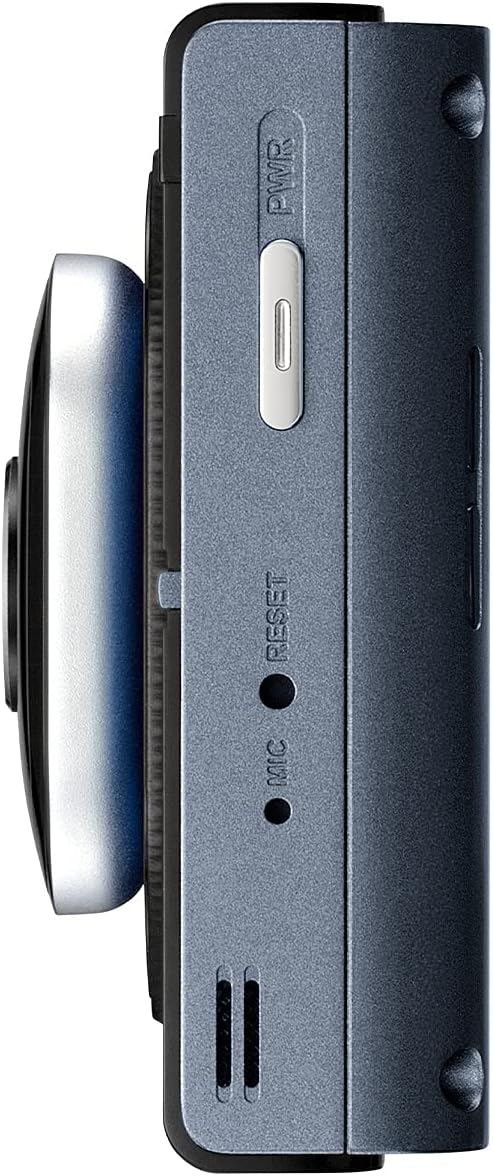
Immagine: Lato view of the Thinkware X1000 main unit, indicating the power button and reset pinhole.
Modalità di registrazione
The X1000 supports various recording modes:
- Registrazione continua: Records automatically when the vehicle is in operation. Footage viene salvato in segmenti da 1 minuto.
- Registrazione dell'incidente: Attivato dal sensore G al momento dell'impatto. Questi files are saved in a separate, protected folder and are not overwritten by continuous recording.
- Registrazione manuale: Press the REC button to manually initiate an event recording.
Utilizzo del touchscreen
The 3.5-inch IPS touchscreen allows for easy control:
- Vivere View: Visualizza foo in tempo realetage dalle telecamere anteriore e posteriore.
- Riproduzione: Review recorded videos directly on the device. Navigate through folders (Continuous, Incident, Manual, Parking).
- Impostazioni: Access and adjust various settings such as recording quality, G-sensor sensitivity, parking mode options, and ADAS settings.

Image: Visual comparison demonstrating the superior viewing angles of an IPS panel compared to a standard panel, as featured on the X1000's touchscreen.
Modalità di sorveglianza del parcheggio
When hardwired, the X1000 offers advanced parking surveillance features to protect your vehicle while parked:
- Rilevamento del movimento: Records 20-second video clips when motion is detected around the vehicle.
- Rilevamento impatto: Records 20-second video clips when an impact is detected while parked.
- Registrazione temporizzata: Records continuously at 2 frames per second, compressing hours of footage in minuti.
- Energy Saving 2.0: Extends parking coverage by putting the dash cam into a low-power standby mode, waking up to record only when an impact is detected.

Image: Depiction of the dash cam's parking surveillance mode, showing motion detection in a parking environment.

Image: A battery indicator symbolizing the energy-saving feature of the parking surveillance mode, designed to extend recording time.
Sistema avanzato di assistenza alla guida (ADAS)
With the optional GPS antenna, the X1000 provides ADAS features to enhance driving safety:
- Sistema di avviso di deviazione dalla corsia (LDWS): Ti avvisa se il tuo veicolo esce dalla corsia.
- Sistema di avviso di collisione frontale (FCWS): Ti avvisa di una collisione imminente con il veicolo che precede.
- Avviso di allontanamento del veicolo anteriore (FVDW): Notifies you when the vehicle in front starts to move from a standstill.

Image: A visual representation of the Advanced Driver Assistance System (ADAS) in action, showing alerts for lane departures and potential forward collisions.
Manutenzione
- Gestione della scheda MicroSD: Regularly format the microSD card (e.g., once a month) to prevent data corruption and ensure optimal recording performance. The X1000 features Anti-File Corruption technology, but periodic formatting is still recommended.
- Pulizia: Use a soft, dry cloth to clean the dash cam lens and touchscreen. Avoid abrasive cleaners or solvents.
- Aggiornamenti del firmware: Check the Thinkware webperiodicamente per gli aggiornamenti del firmware, per garantire che la tua dash cam abbia le ultime funzionalità e correzioni di bug.

Immagine: Lato view of the Thinkware X1000 main unit, highlighting the microSD card slot for easy access and maintenance.

Image: A conceptual image representing the Anti-File Corruption technology, which protects recorded video files on the memory card from data loss.
Risoluzione dei problemi
| Problema | Possibile causa | Soluzione |
|---|---|---|
| La dash cam non si accende. | Loose power connection, vehicle power issue, faulty cable. | Check all power cable connections. Ensure vehicle's ignition is on if using ACC power. Test with a different power source if possible. |
| La registrazione si interrompe o footage è corrotto. | MicroSD card error, card full, incompatible card, card wear. | Format the microSD card. Try a new, high-quality microSD card. Ensure the card is Class 10 or higher. |
| Lo schermo è vuoto o non risponde. | Problema software, problema di alimentazione. | Perform a soft reset using the reset pinhole (refer to side view image). Ensure stable power supply. |
| La modalità parcheggio non funziona. | Not hardwired, incorrect hardwiring, low vehicle battery. | Ensure the dash cam is correctly hardwired to constant and accessory power. Check vehicle battery voltage. |
| ADAS features not active. | GPS antenna not connected or faulty, ADAS settings disabled. | Ensure the optional GPS antenna is securely connected. Enable ADAS features in the dash cam settings. |
Specifiche
| Caratteristica | Dettaglio |
|---|---|
| Nome del modello | TW-X1000D32H |
| Dimensioni del prodotto | 3.9 x 0.9 x 1.3 pollici |
| Peso dell'articolo | 1.25 libbre |
| Risoluzione di acquisizione video | Front: 2K QHD (2560x1440p), Rear: 2K QHD (2560x1440p) |
| Campo di View | 156 gradi (grandangolo) |
| Sensore | Sony STARVIS IMX335 |
| Display | Schermo IPS touchscreen da 3.5" |
| Tecnologia di connettività | USB (per la connessione al PC) |
| Caratteristiche speciali | Night Vision 3.0, Real DOL HDR, G-Sensor, Anti-File Corruption, Smart Parking Surveillance Suite (Motion/Impact Detection, Time Lapse, Energy Saving 2.0), ADAS (LDWS, FCWS, FVDW - with optional GPS) |
| Componenti inclusi | Main Unit, Rear Cam, 32GB MicroSD Card, Hardwiring Cable, Windshield Mount with 3M Tape |
| Tipo di montaggio | Supporto adesivo |
| Colore | Nero |
Informazioni sulla sicurezza
- Do not install the dash cam in a location that obstructs the driver's view o interferisce con l'attivazione dell'airbag.
- Ensure all cables are routed safely and do not interfere with vehicle controls.
- Evitare di esporre il dispositivo a temperature estreme, alla luce solare diretta per periodi prolungati o a umidità eccessiva.
- Non tentare di smontare o modificare il dispositivo. Ciò invaliderà la garanzia e potrebbe causare danni.
- Use only genuine Thinkware accessories and power cables.
Garanzia e supporto
For warranty information and technical support, please refer to the documentation included with your product or visit the official THINKWARE webluogo. Puoi anche visitare il THINKWARE Store on Amazon per ulteriori risorse e informazioni di contatto.
The product is sold by THINKWARE USA, ensuring official support channels are available.