
1. Importanti istruzioni di sicurezza
Please read these instructions carefully before using the appliance to prevent damage, fire, or injury. Keep this manual for future reference.
- Assicurarsi sempre che l'apparecchio sia posizionato su una superficie stabile e resistente al calore.
- Non immergere l'apparecchio, il cavo o la spina in acqua o altri liquidi.
- Scollegare l'apparecchio dalla presa quando non è in uso, prima di montare o smontare parti e prima della pulizia.
- Non utilizzare alcun apparecchio con un cavo o una spina danneggiati oppure dopo che l'apparecchio stesso non funziona correttamente o è stato danneggiato in qualsiasi modo.
- Keep children away from the appliance during operation. The surface can become hot.
- Non utilizzare accessori non consigliati dal produttore.
- Questo apparecchio è destinato esclusivamente all'uso domestico.
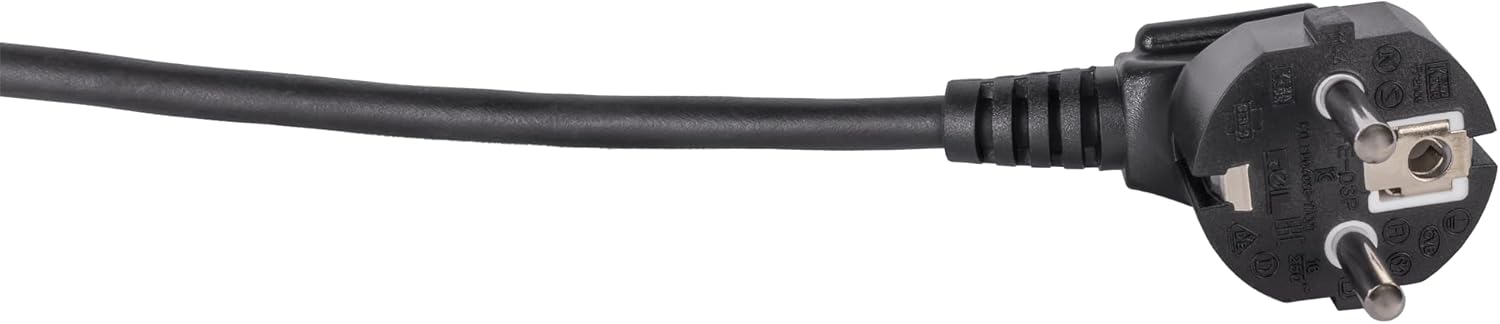
Image: Standard European power plug. Ensure the plug is fully inserted into a grounded outlet.
2. Prodotto finitoview
2.1 Componenti
The Steba BM 3 Bread Maker includes the following main components:
- Main Unit with Control Panel and Display
- Removable Baking Pan with Non-stick Coating
- Pala per impastare
- Tazza di misurazione
- Cucchiaio dosatore
- Gancio per rimuovere la pala impastatrice
- Coperchio con Viewing finestra

Immagine: Frontale view of the Steba BM 3 Bread Maker, showing its compact design.
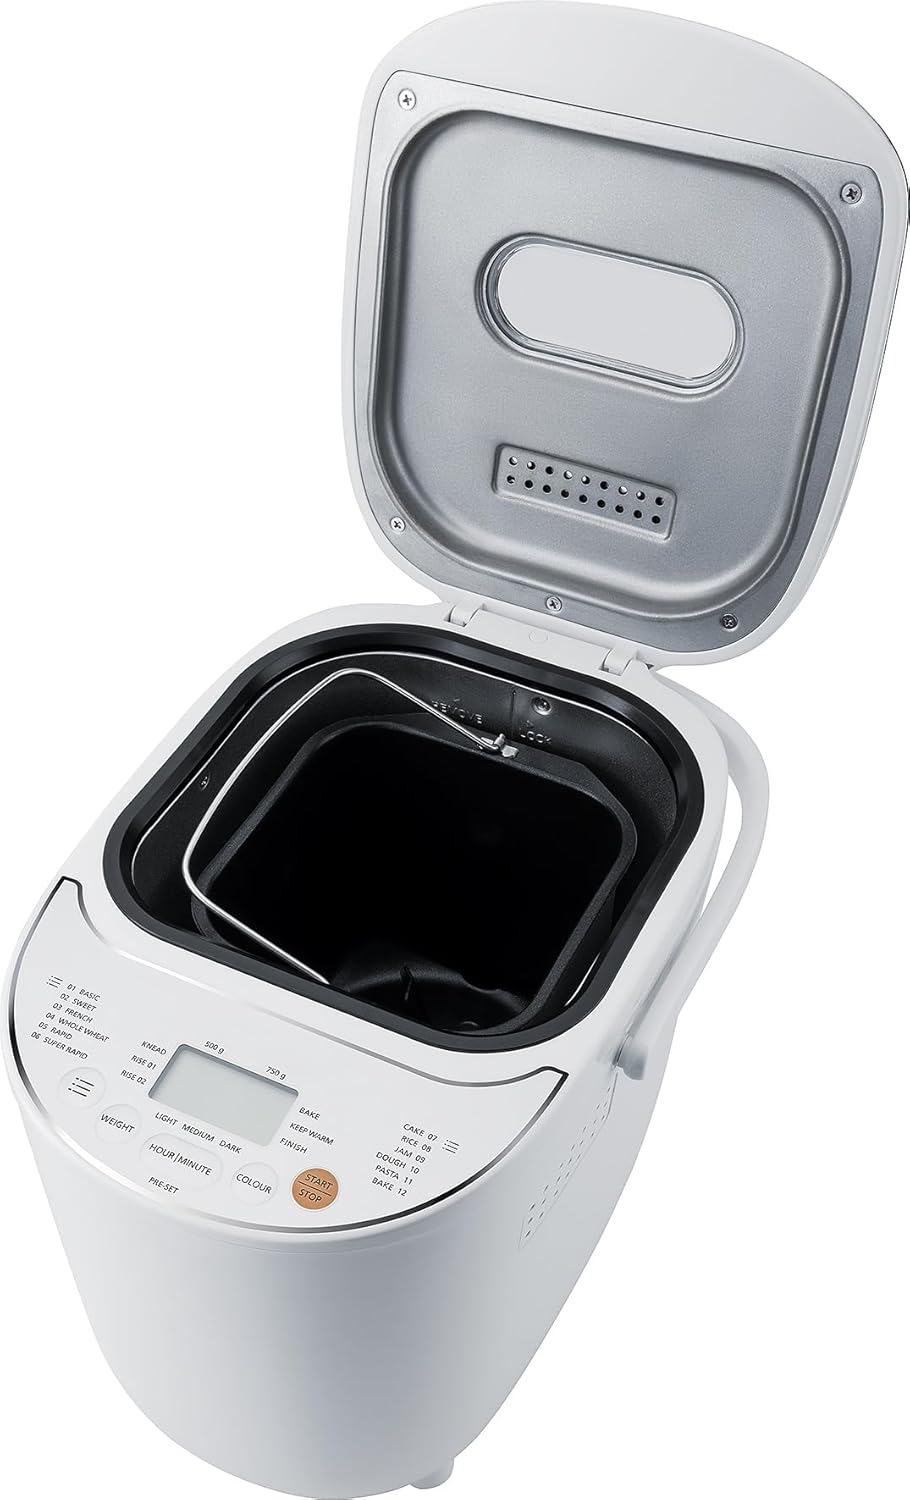
Image: The bread maker with its lid open, revealing the removable baking pan inside.
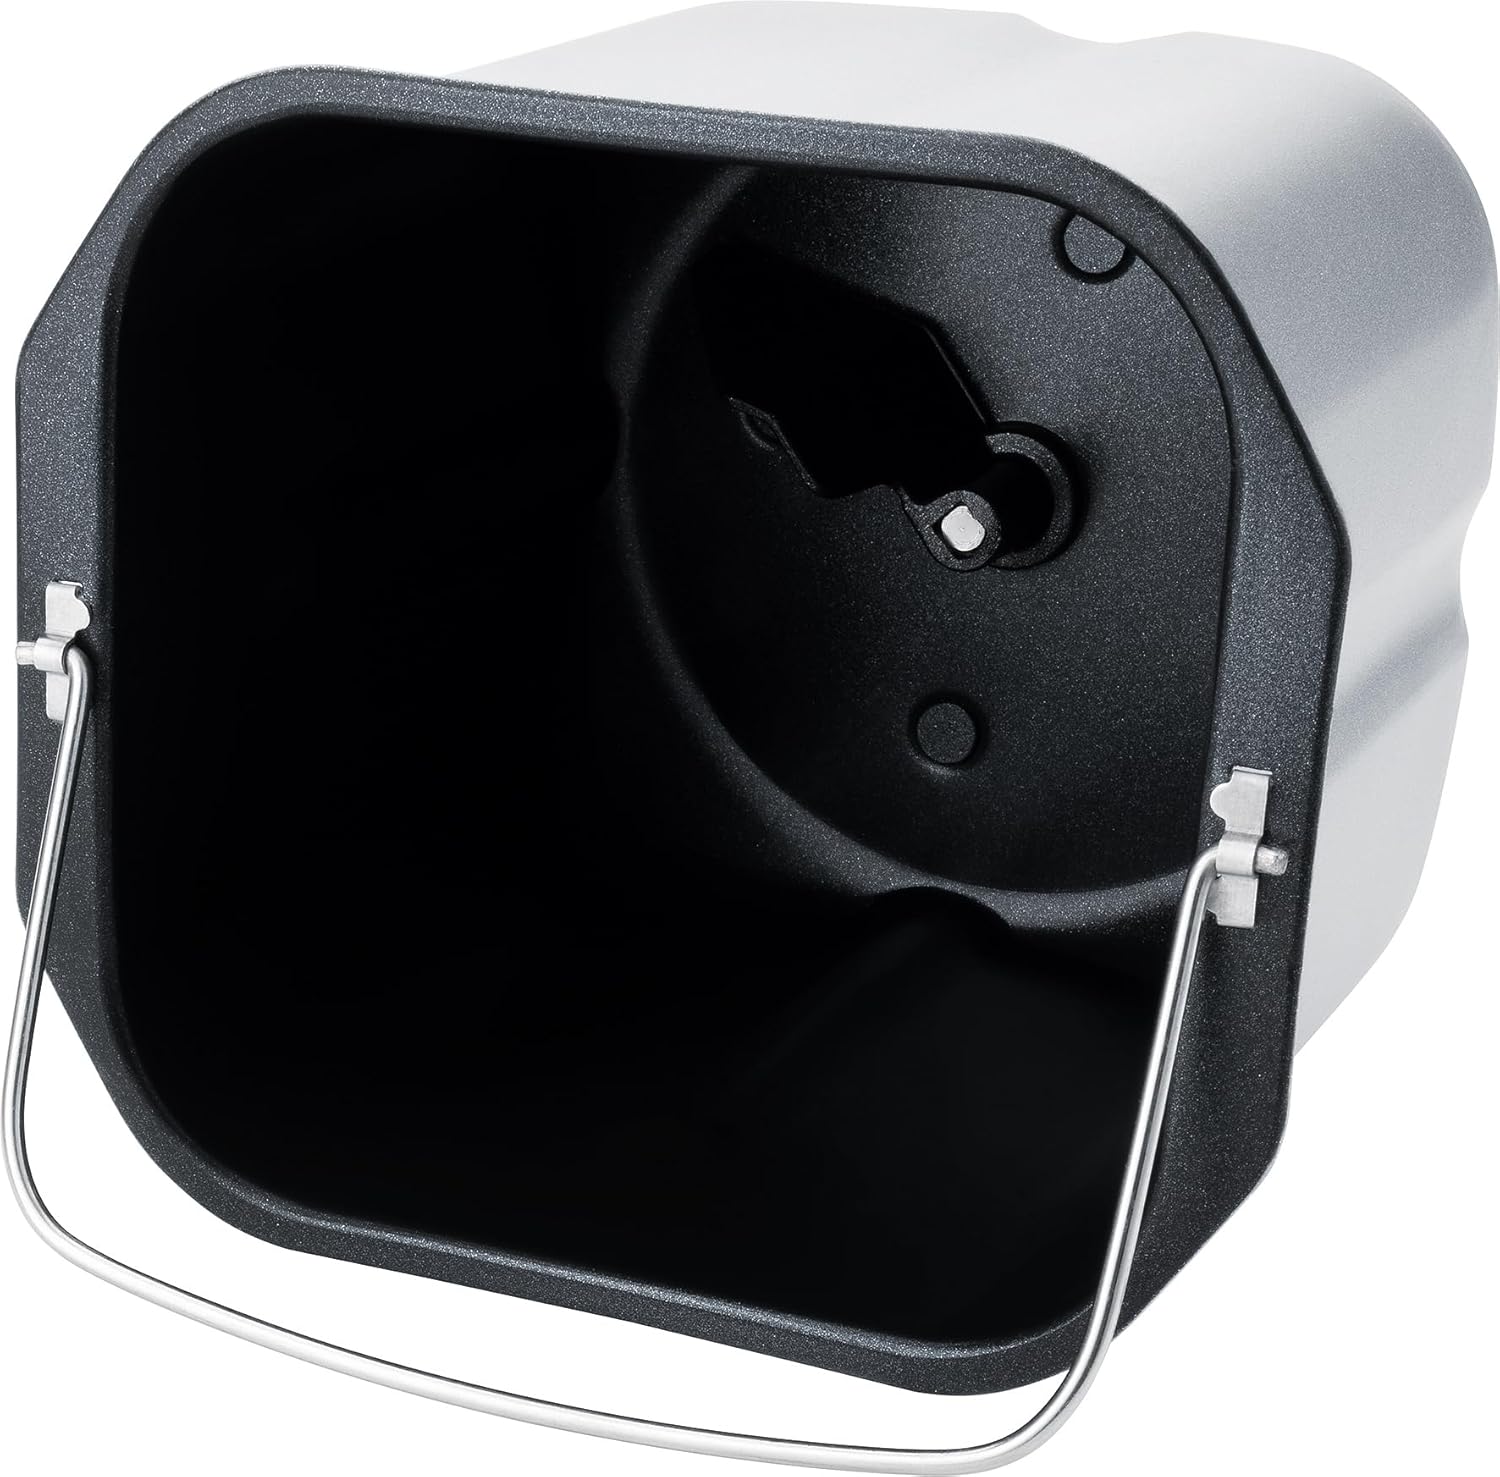
Immagine: dettagliata view of the non-stick baking pan with the kneading paddle shaft.

Image: Included accessories: a measuring cup, a double-sided measuring spoon, and a hook for removing the kneading paddle.
2.2 Pannello di controllo e display
The intuitive Touch-Control panel allows for easy program selection and setting adjustments.

Image: Close-up of the control panel, showing the digital display, program list, and control buttons for weight, time, color, and start/stop.
Controlli chiave:
- Display: Shows selected program, time, and settings.
- Selezione del programma: Choose from 12 automatic programs (Basic, Sweet, French, Whole Wheat, Rapid, Super Rapid, Cake, Rice, Jam, Dough, Pasta, Bake).
- Weight Button: Adjust bread weight (500g or 750g).
- Colour Button: Select crust browning level (Light, Medium, Dark).
- Hour/Minute (Pre-set) Buttons: Set delay timer for up to 13 hours.
- Pulsante di avvio/arresto: Initiate or cancel a program.
3. Configurazione e primo utilizzo
3.1 Disimballaggio
- Estrarre con cautela la macchina per il pane e tutti gli accessori dalla confezione.
- Rimuovere eventuali pellicole o adesivi protettivi dall'apparecchio.
- Wash the baking pan, kneading paddle, measuring cup, and spoon in warm, soapy water. Rinse thoroughly and dry completely. The main unit should only be wiped with a damp stoffa.
3.2 Uso iniziale
- Place the bread maker on a clean, dry, and stable surface.
- Insert the baking pan into the main unit and twist it clockwise until it locks into place.
- Attach the kneading paddle onto the shaft inside the baking pan.
- For the first use, it is recommended to run a short 'Bake' cycle (Program 12) without ingredients for about 10 minutes to burn off any manufacturing residues. Ensure good ventilation during this process.
- Allow the appliance to cool down completely before cleaning and proceeding with actual baking.
4. Funzionamento
4.1 Fasi base per la panificazione
- Aggiungere gli ingredienti: Follow a recipe and add liquid ingredients first, then dry ingredients, and finally yeast. Ensure yeast does not come into direct contact with liquids or salt.
- Seleziona programma: Plug in the bread maker. The default program (usually 'Basic') will appear on the display. Press the 'Program' button repeatedly to cycle through the 12 available programs until your desired program is selected.
- Imposta peso: Press the 'Weight' button to choose between 500g or 750g loaf size, if applicable for the selected program.
- Set Crust Colour: Press the 'Colour' button to select Light, Medium, or Dark crust.
- Inizia la cottura: Press the 'Start/Stop' button. The bread maker will begin the selected program.
- Completamento: Once the program finishes, the bread maker will beep and automatically switch to a 1-hour 'Keep Warm' function.
- Rimuovere il pane: Unplug the appliance. Using oven mitts, carefully remove the baking pan by twisting it counter-clockwise and lifting it out. Invert the pan to release the bread onto a wire rack to cool. If the kneading paddle remains in the bread, use the provided hook to remove it.
4.2 Funzione timer di ritardo
The delay timer allows you to set the bread maker to finish baking at a later time, up to 13 hours. This is ideal for fresh bread in the morning.
- Aggiungere tutti gli ingredienti nella teglia.
- Select your desired program, weight, and crust colour.
- Press the 'Hour' and 'Minute' buttons to set the desired delay time. The displayed time includes the baking cycle duration.
- Press 'Start/Stop'. The timer will count down, and the bread maker will start automatically when the delay time expires.
Nota: Do not use the delay timer with recipes containing highly perishable ingredients like milk, eggs, or fresh fruit, as they may spoil.

Image: An assortment of various types of freshly baked bread, illustrating the potential output of the bread maker.
5. Manutenzione e pulizia
Una pulizia e una manutenzione adeguate garantiscono la longevità e le prestazioni ottimali della vostra macchina per il pane.
5.1 Pulizia
- Scollegare sempre l'apparecchio e lasciarlo raffreddare completamente prima di pulirlo.
- Teglia e pala impastatrice: These parts are non-stick and should be washed by hand with warm, soapy water. Avoid abrasive cleaners or scouring pads that could damage the non-stick coating. Rinse thoroughly and dry completely.
- Unità principale: Pulisci l'esterno della macchina per il pane con un panno morbido eamp panno. Non utilizzare prodotti chimici aggressivi né immergere l'unità in acqua.
- Coperchio: Il coperchio può essere pulito con un pannoamp stoffa. Il viewSe necessario, la finestra può essere pulita con un detergente delicato per vetri.
5.2 Conservazione
Store the bread maker in a dry, clean place, away from direct sunlight and out of reach of children.
6. Risoluzione Dei Problemi
Se riscontri problemi con la tua macchina per il pane, fai riferimento ai seguenti problemi comuni e alle relative soluzioni:
| Problema | Possibile causa | Soluzione |
|---|---|---|
| Il pane non lievita | Lievito scaduto, temperatura dell'acqua errata, troppo sale/zucchero, programma sbagliato. | Check yeast expiry, use lukewarm water, ensure correct ingredient ratios, select appropriate program. |
| Il pane è troppo denso | Too much flour, not enough liquid, yeast issue. | Measure ingredients precisely, ensure proper liquid-to-flour ratio, check yeast activity. |
| La pala impastatrice è incastrata nel pane | Evento normale. | Dopo che il pane si è leggermente raffreddato, rimuovere con cautela la paletta utilizzando il gancio in dotazione. |
| L'apparecchio non si avvia | Not plugged in, program not selected, 'Start/Stop' not pressed. | Ensure power connection, select a program, press 'Start/Stop'. |
7. Specifiche
Technical details for the Steba BM 3 Bread Maker:
- Numero modello: 188300
- Marca: Steba
- Voltage: 230 Volt
- Cosatage: 540 Watt
- Capacità: Fino a 750 grammi
- Dimensioni del prodotto (P x L x A): 34P x 27.5L x 24A cm
- Peso dell'articolo: 4 chilogrammi
- Materiale: Plastica
- Numero di programmi: 12
- Istruzioni per la cura: Hand wash only (for removable parts)
- Disponibilità di pezzi di ricambio UE: 2 anni

Image: Diagram showing the dimensions of the Steba BM 3 Bread Maker: 34 cm depth, 27.5 cm width, and 24 cm height.
8. Garanzia e supporto
Per reclami in garanzia, supporto tecnico o richieste di assistenza, contattare direttamente il rivenditore o il produttore. Conservare la prova d'acquisto per la convalida della garanzia.