1. Introduzione e oltreview
This manual provides essential information for the safe and effective operation, maintenance, and troubleshooting of your Arrow Electric Staple Gun Kit, Model T50ACDKITAM. This corded electric stapler is designed for various fastening tasks, including upholstery, carpentry, decorating, screen repair, and craft projects. It is compatible with Arrow T50 staples in 1/4" (6mm), 3/8" (10mm), and 1/2" (12mm) sizes.

Figure 1: Arrow Electric Staple Gun Kit, including the stapler and boxes of T50 staples.
2. Informazioni sulla sicurezza
Always prioritize safety when operating power tools. Read and understand all safety instructions before use.
- Meccanismo di sicurezza del contatto: The stapler features a contact safety mechanism at the nail outlet. The tool will only fire when the nose is pressed firmly against the work surface.
- Funzionamento a doppio interruttore: For safety and to prevent accidental triggering, you must first press the "On" switch, then press the trigger to shoot staples.
- Dissipazione del calore: Multiple air vents are designed for heat dissipation to protect the tool and your hand during extended use.
- Protezione degli occhi: Always wear appropriate eye protection (safety glasses) when operating the stapler.
- Scollegare quando non in uso: Disconnect the power cord from the outlet when loading staples, clearing jams, or when the tool is not in use.
- Pezzo sicuro: Ensure your workpiece is stable and secure before stapling to prevent movement and potential injury.

Figure 2: The two-switch safety mechanism: power switch and trigger.
3. Componenti del prodotto
Familiarize yourself with the main components of your Arrow Electric Staple Gun:

Figure 3: Key components of the Arrow Electric Staple Gun, including Air Vents, Trigger, Power Cord, On/Off Switch, Contact Safety, Motor Drive Technology, and Quick Release Magazine.
- Prese d'aria: Located on the top and sides, these help dissipate heat.
- Grilletto: Premendolo, attiva il meccanismo di pinzatura.
- Cavo di alimentazione: Provides continuous power to the tool. The 8-foot cord offers extended reach.
- Interruttore On/Off: Controls the main power to the stapler.
- Contact Safety: Located at the front of the tool, this must be depressed against the workpiece for the stapler to fire.
- Motor Drive Technology: Internal mechanism for powerful and consistent stapling.
- Caricatore a sgancio rapido: Allows for easy loading and unloading of staples.
4. Impostazione
4.1. Caricamento dei punti metallici
The Arrow Electric Staple Gun features a convenient bottom-loading staple magazine.
- Assicurarsi che la cucitrice sia scollegata dalla presa di corrente.
- Press the black button located at the rear of the stapler to release the magazine.
- Pull out the magazine completely.
- Insert a strip of Arrow T50 staples into the magazine with the staple crowns facing down.
- Push the magazine back into the stapler until it clicks securely into place.

Figure 4: Step-by-step guide for loading staples into the magazine.
The low staple indicator window allows you to monitor the staple level and know when the magazine is nearing empty.

Figure 5: The low staple indicator window.
5. Funzionamento
5.1. Using the Staple Gun
Once staples are loaded and the tool is plugged in:
- Turn on the stapler using the On/Off switch.
- Place the nose of the stapler firmly against the work surface where you wish to place a staple. Ensure the contact safety mechanism is fully depressed.
- Press the trigger to fire a staple. The quick-release mechanism ensures smooth and fast stapling.
- For very hard surfaces, firing recoil may interfere with staple penetration. Enhance driving power by firmly placing your other hand on top of the stapler to apply additional downward pressure.
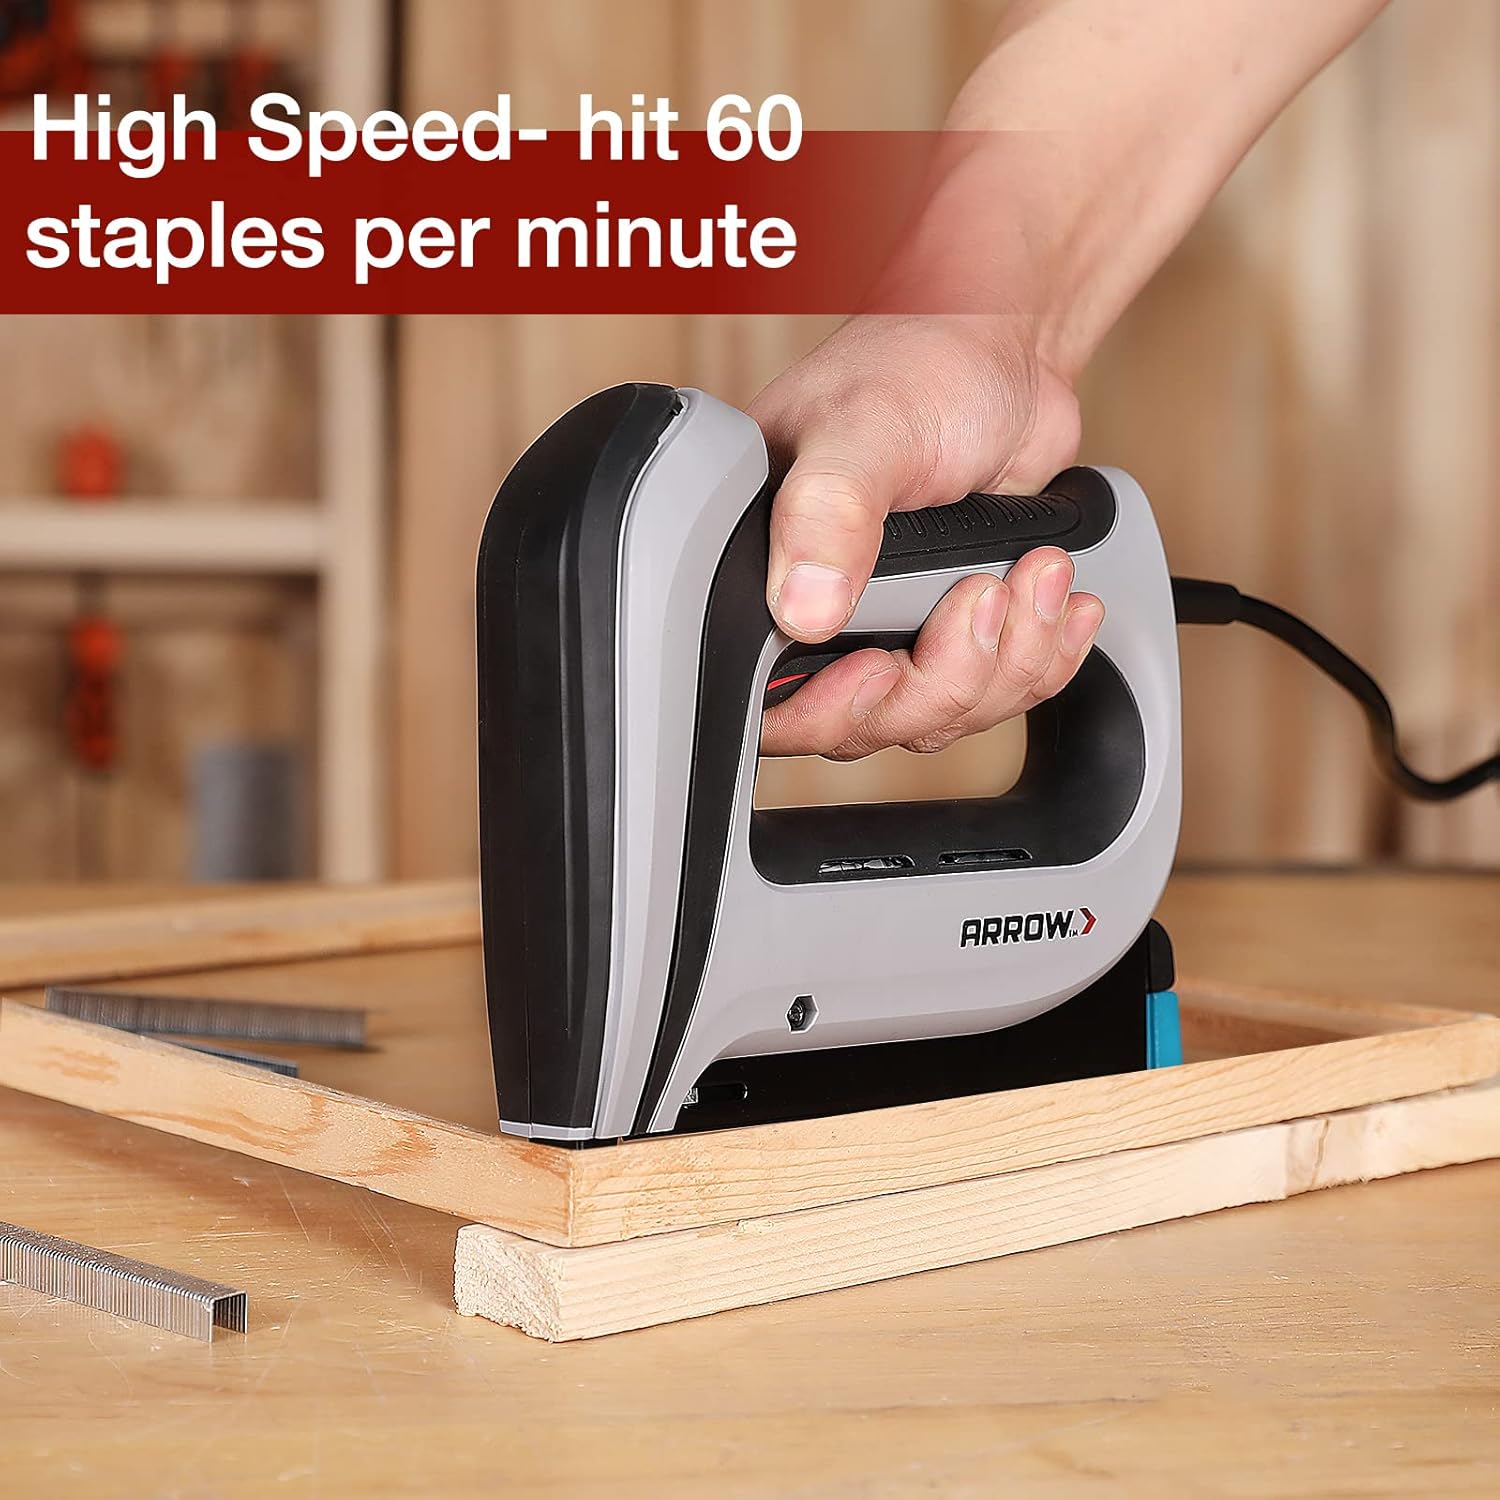
Figure 6: The stapler can fire up to 60 staples per minute for high efficiency.

Figure 7: Applying additional pressure for optimal staple penetration on hard surfaces.
5.2. Applicazioni
The Arrow T50ACD electric stapler is versatile and suitable for a wide range of projects:
- Tappezzeria
- Carpenteria
- Decorazione
- Riparazione dello schermo
- Cable Fixing
- Progetti artigianali
- General Repair and Professional Uses

Figura 8: Esamples of the staple gun in use for various projects.
6. Manutenzione
Proper maintenance ensures the longevity and optimal performance of your stapler.
- Pulizia: Mantenere l'utensile pulito e privo di polvere e detriti. Utilizzare un panno asciutto per pulire l'esterno. Non utilizzare solventi o prodotti chimici aggressivi.
- Rivista Staple: Periodically check the staple magazine for any obstructions or bent parts. Ensure it slides smoothly.
- Ispezione del cavo: Regularly inspect the power cord for any signs of damage, cuts, or fraying. If damaged, discontinue use and have it repaired by a qualified technician.
- Magazzinaggio: Store the stapler in a dry, clean place away from direct sunlight and extreme temperatures.
7. Risoluzione Dei Problemi
If you encounter issues with your stapler, refer to the following common troubleshooting steps:
| Problema | Possibile causa | Soluzione |
|---|---|---|
| La spillatrice non spara |
|
|
| Graffette non completamente inserite |
|
|
| Graffette piegate o non funzionanti |
|
|
8. Specifiche
Detailed specifications for the Arrow Electric Staple Gun Kit, Model T50ACDKITAM:
- Numero modello: T50ACDKITAM
- Marca: Fermaglio a freccia
- Fonte di energia: Elettrico con cavo
- Tipo di punto: Arrow T50 Staples
- Compatible Staple Lengths: 1/4" (6 mm), 3/8" (10 mm), 1/2" (12 mm)
- Included Staples: 3750 pieces (1250 each of 1/4", 3/8", 1/2")
- Velocità di fuoco: Up to 60 staples per minute
- Lunghezza del cavo: 8 piedi
- Peso dell'articolo: Circa 4.44 libbre (2.01 kg)
- Dimensioni del prodotto: Circa 7.25 x 6.62 x 0.04 pollici (18.4 x 16.8 x 0.1 cm)
- Colore: Red, Blue, Black, Grey
- Produttore: Hang Zhou Great Star Industrial Co.,LTD
- Data prima disponibilità: 9 agosto 2021
8.1. Staple Compatibility and Wood Types
The following table illustrates the recommended staple leg lengths for various wood types:

Figure 9: Strength of the Staple Gun: Recommended staple sizes for different wood types.

Figure 10: The kit includes 3750 genuine Arrow T50 staples in three common sizes.
9. Garanzia e supporto
For warranty information, technical support, or to purchase replacement parts, please contact Arrow Fastener customer service. Refer to the product packaging or the official Arrow Fastener websito per i dettagli di contatto e i termini di garanzia più aggiornati.
Puoi anche visitare il Arrow Fastener Store per ulteriori informazioni e supporto sul prodotto.