
Introduzione
Thank you for choosing the PHILIPS Alpina Compact Portable Handheld Steam Cleaner. This appliance is designed for effective and hygienic cleaning and disinfection of various surfaces using only steam, eliminating the need for chemical detergents. Its compact and lightweight design makes it easy to handle and store. Please read this manual thoroughly before first use to ensure safe operation and optimal performance.
Informazioni importanti sulla sicurezza
AVVERTIMENTO: La mancata osservanza di queste istruzioni di sicurezza potrebbe causare incendi, scosse elettriche o altre lesioni o danni.
- Leggere attentamente tutte le istruzioni prima di utilizzare l'apparecchio.
- Do not open the water tank cap while the unit is pressurized or hot. Allow the unit to cool down completely before refilling or opening the cap.
- Tenere l'apparecchio fuori dalla portata dei bambini e degli animali domestici.
- Utilizzare solo acqua distillata o demineralizzata per prevenire l'accumulo di minerali e prolungare la durata dell'apparecchio.
- Never direct steam at people, animals, or electrical appliances. Steam is extremely hot and can cause severe burns.
- Non immergere l'apparecchio, il cavo di alimentazione o la spina in acqua o altri liquidi.
- Always unplug the appliance from the power outlet before filling, emptying, or cleaning, and when not in use.
- Non utilizzare l'apparecchio se il cavo o la spina sono danneggiati, se l'apparecchio non funziona correttamente, è caduto o è stato danneggiato in qualsiasi modo.
- Utilizzare solo gli accessori consigliati dal produttore.
Prodotto finitoview e componenti
The PHILIPS Alpina Steam Cleaner comes with a variety of attachments to tackle different cleaning tasks.

The main unit of the PHILIPS Alpina handheld steam cleaner, shown actively steaming a white shirt to remove wrinkles and sanitize.
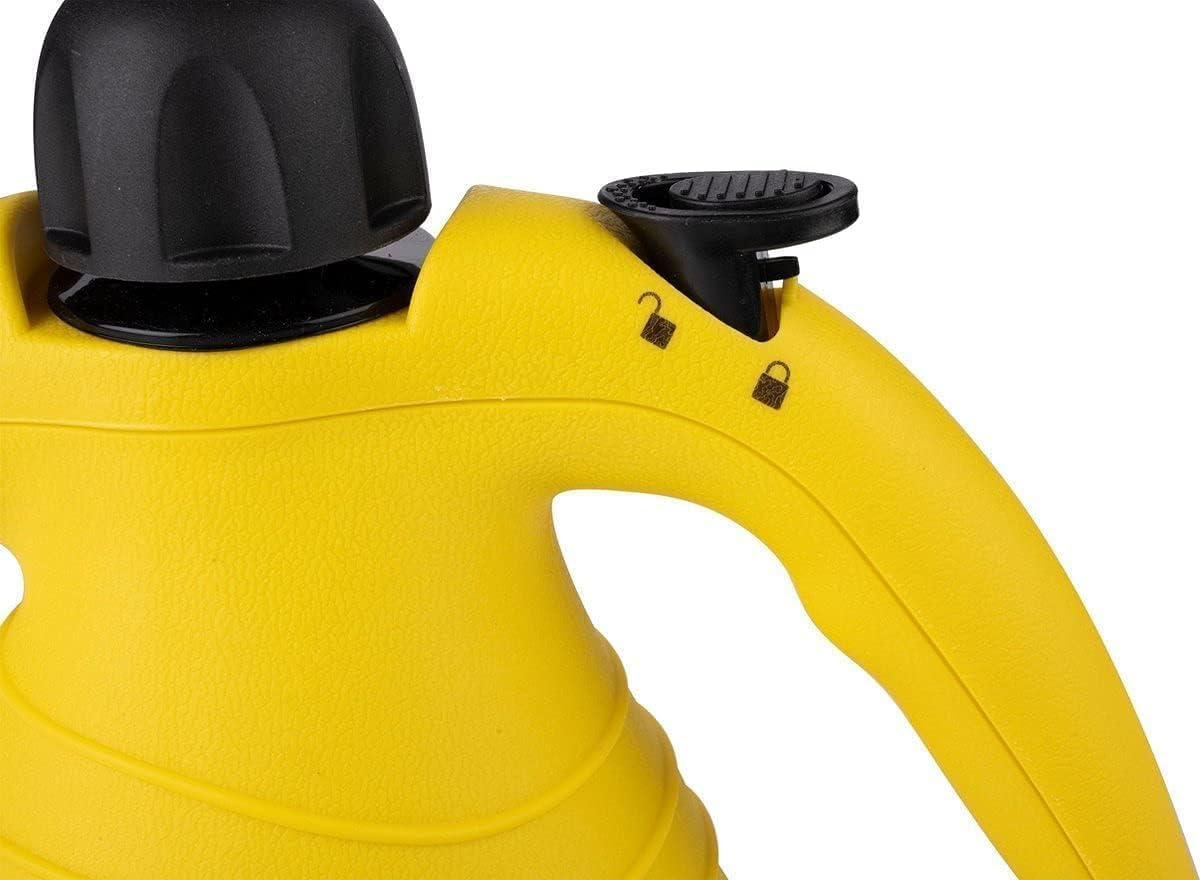
Un primo piano view of the steam cleaner's handle, highlighting the safety lock mechanism for secure operation.

Illustration of filling the steam cleaner's water tank with water using the included funnel.
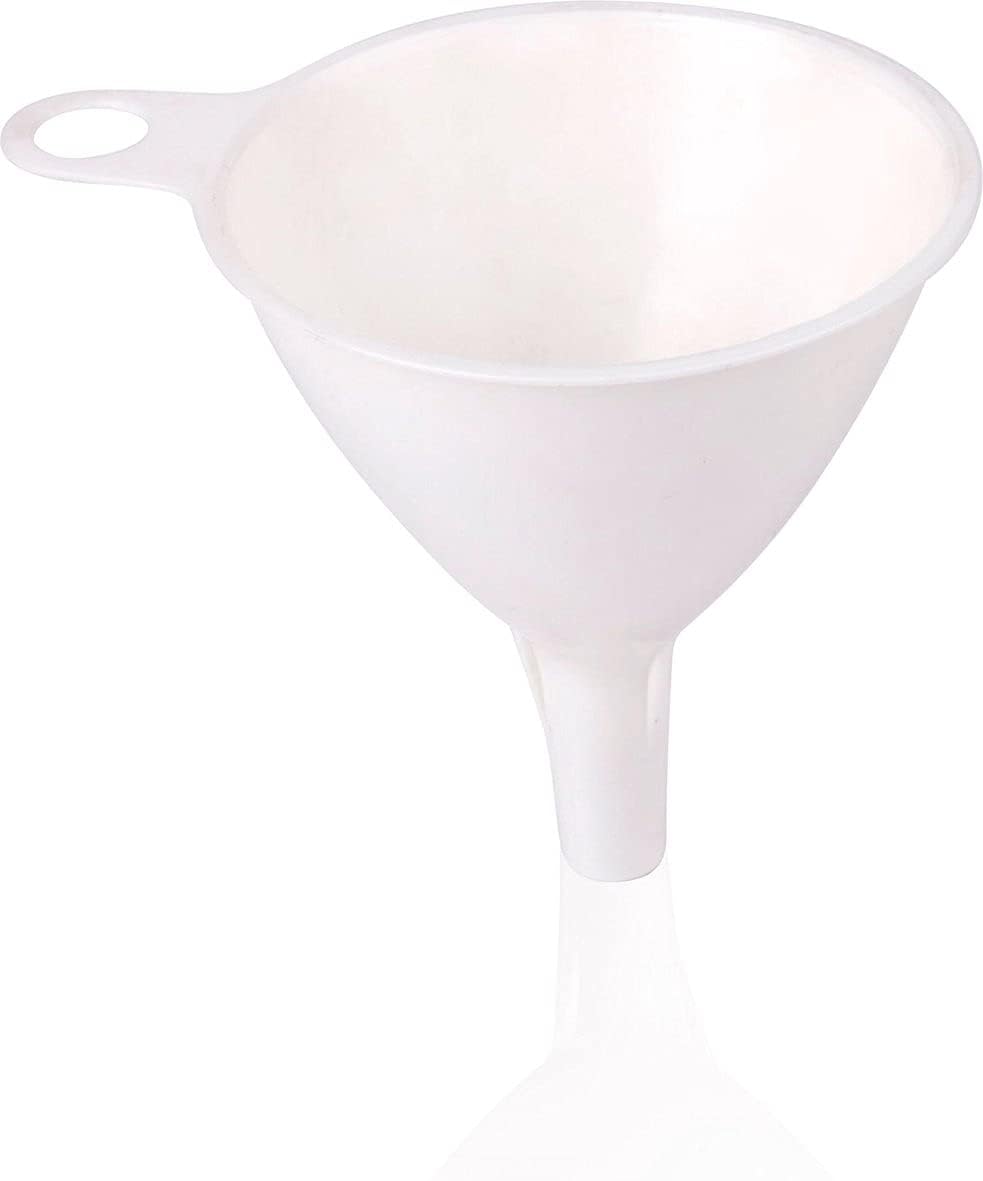
The white plastic funnel, essential for safely and easily filling the steam cleaner's water tank.
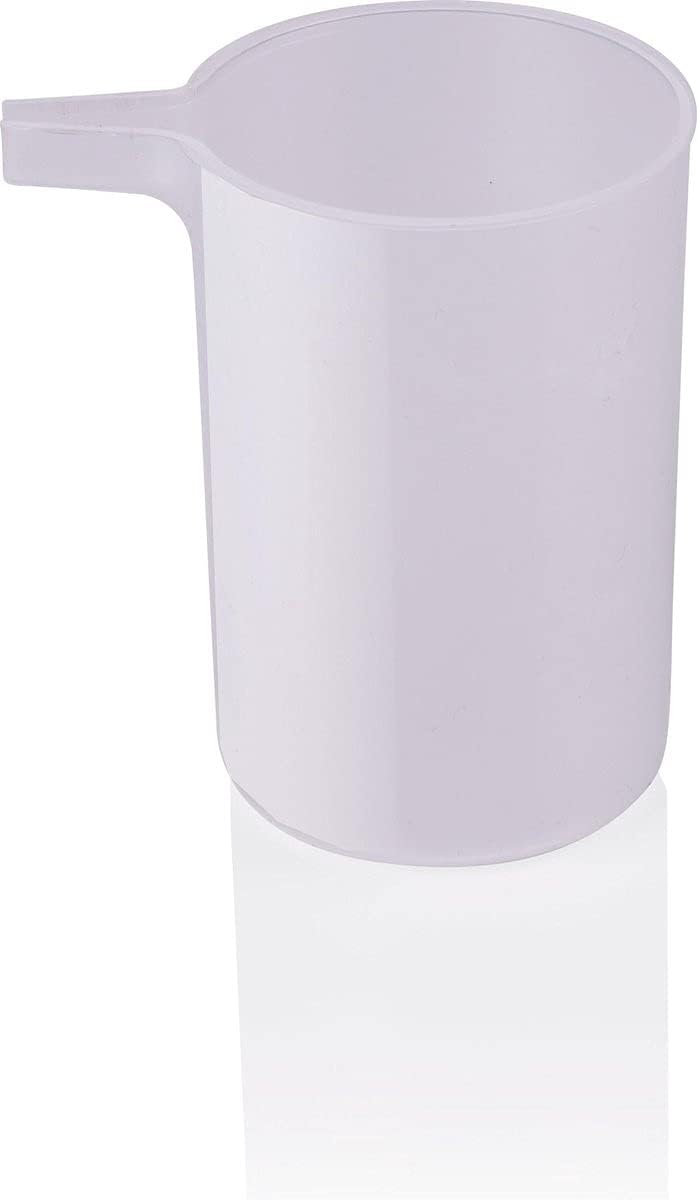
The measuring cup, used to ensure the correct amount of water is added to the steam cleaner.
Accessori inclusi:
- Short Spray Nozzle: For concentrated steam on small areas.
- Round Brush Nozzle: For scrubbing stubborn dirt with steam.
- Curved Spray Nozzle: For reaching difficult angles and tight spaces.
- Ugello a spruzzo lungo: For extended reach and focused steam.
- Extended Nozzle Head: Provides additional length for various tasks.
- General Spray Nozzle: Versatile nozzle for general cleaning.
- Window/Door Nozzle: For streak-free cleaning of glass and smooth surfaces.
- Rivestimento in tessuto: Used with the window/door nozzle for steaming garments and upholstery.
- Imbuto: For safe and easy water filling.
- Misurino: Per una misurazione precisa dell'acqua.

The short nozzle and round brush attachment, ideal for focused cleaning and scrubbing.
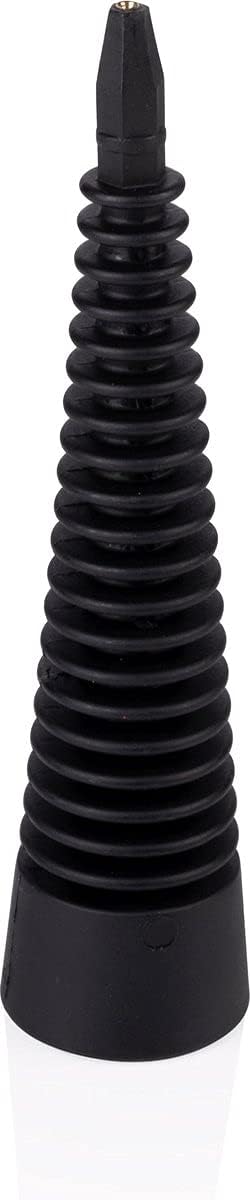
The long nozzle attachment, providing extended reach for various cleaning tasks.

The window and door cleaning nozzle, designed for efficient cleaning of glass and smooth surfaces.

The fabric cover, used in conjunction with the window/door nozzle for steaming clothes and upholstery.

The flexible extension hose, allowing for greater reach and maneuverability during cleaning.
Impostare
- Disimballare: Carefully remove all components from the packaging. Ensure all accessories listed in the "Product Overview" sono presenti.
- Riempire il serbatoio dell'acqua:
- Assicurarsi che l'apparecchio sia scollegato e completamente freddo.
- Unscrew the safety cap on top of the unit by pressing down and turning counter-clockwise.
- Using the provided measuring cup and funnel, carefully pour up to 360 ml of distilled or demineralized water into the tank. Do not overfill.
- Replace the safety cap, pressing down and turning clockwise until securely tightened.
- Allega accessorio: Select the appropriate cleaning attachment for your task and securely connect it to the nozzle of the steam cleaner. Ensure it clicks into place or is firmly twisted on.
- Accensione: Plug the power cord into a grounded electrical outlet (220-240V ~ 50Hz). The indicator light will illuminate, signaling that the unit is heating up.
- Tempo di riscaldamento: Allow approximately 3 minutes for the steam cleaner to reach its operating temperature and build sufficient steam pressure. The indicator light may turn off or change color when ready, depending on the model.
Istruzioni per l'uso
Once the steam cleaner is ready, you can begin cleaning.
- Unlock Steam Trigger: If your model has a safety lock on the steam trigger, slide it to the "unlocked" position.
- Applica Steam: Point the nozzle at the surface to be cleaned and press the steam trigger. Steam will be released. For best results, hold the nozzle close to the surface.
- Tecniche di pulizia:
- General Cleaning (Kitchen/Bathroom): Use the general spray nozzle or round brush for countertops, sinks, tiles, and grout. Move the nozzle slowly over the surface.
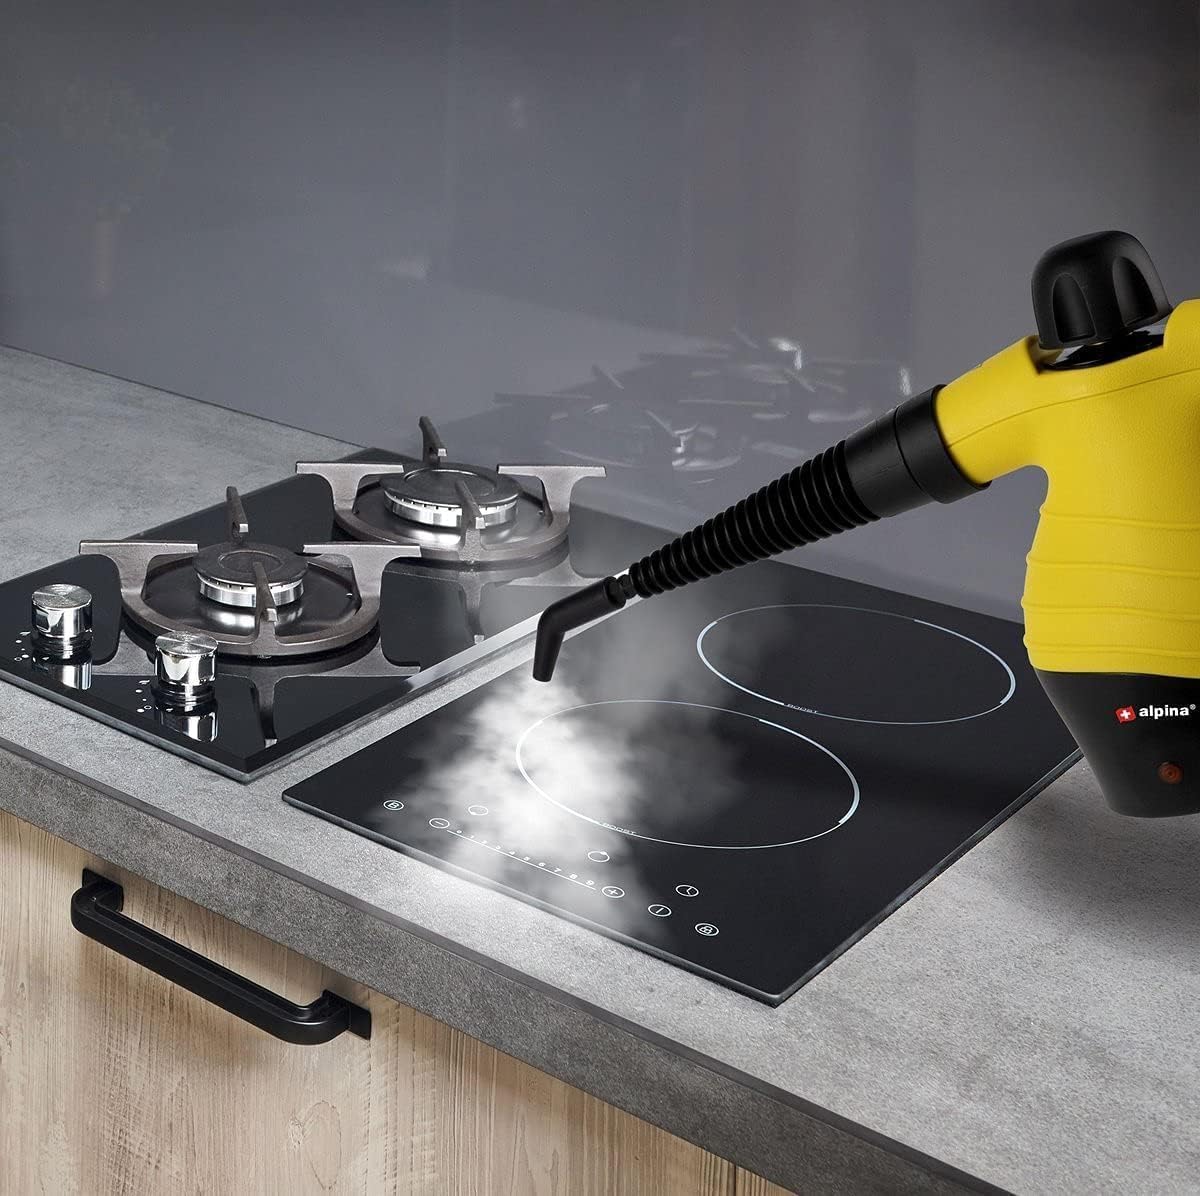
The steam cleaner effectively cleaning a kitchen stovetop, demonstrating its use on hard surfaces.
- Finestre/Vetri: Attach the window/door nozzle. Spray steam onto the glass, then use the squeegee blade to wipe away moisture and dirt. For stubborn spots, pre-steam the area.
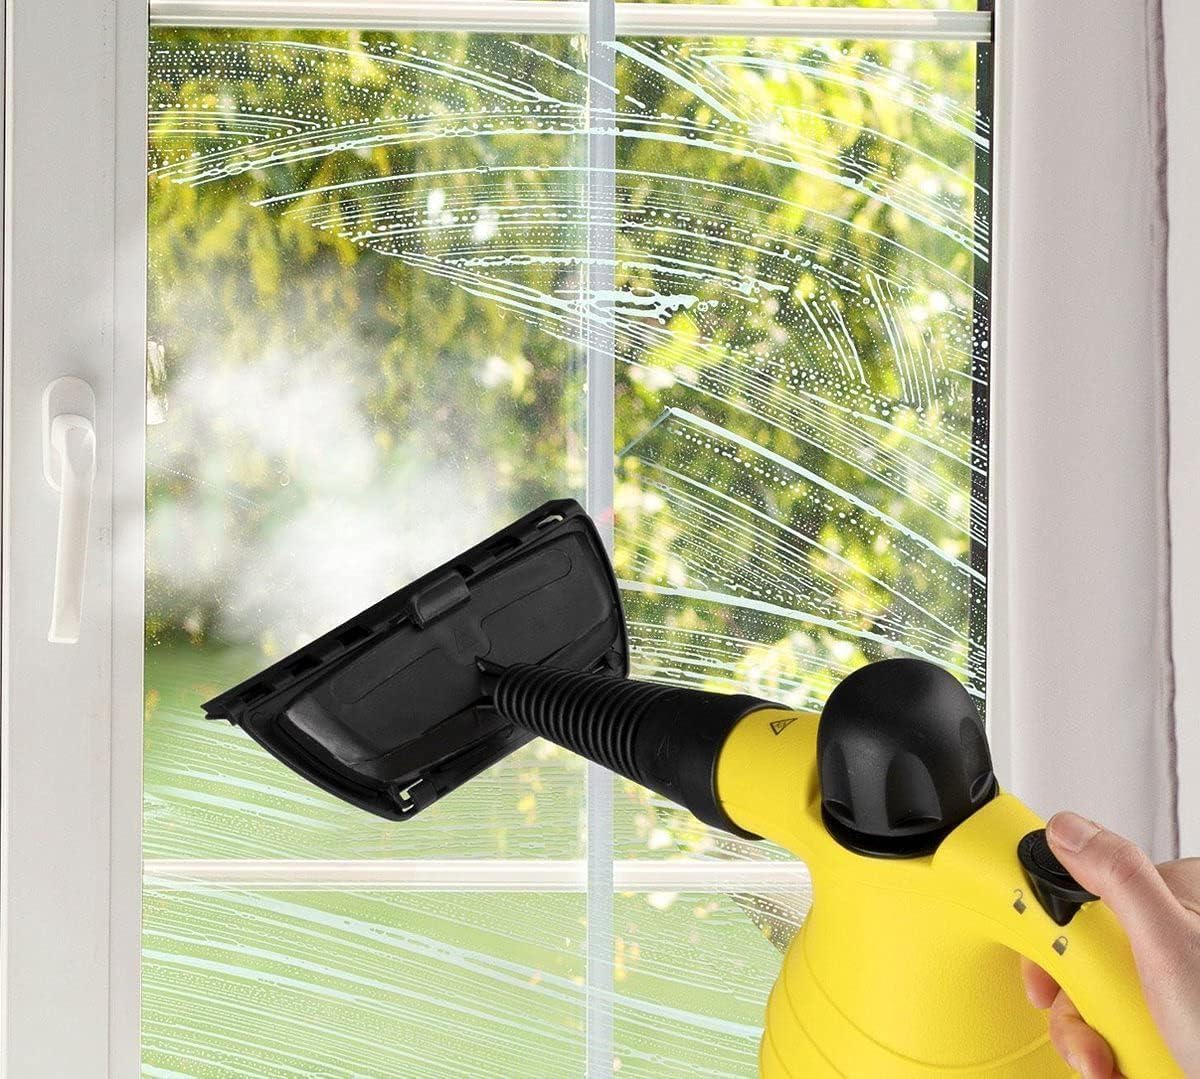
Cleaning a window with the steam cleaner and its dedicated window attachment, showing effective streak-free cleaning.
- Stiratura a vapore degli indumenti: Attach the fabric cover over the window/door nozzle. Hold the nozzle a few inches from the fabric and move it up and down to release wrinkles and refresh garments.
The steam cleaner in action, smoothing wrinkles from a white shirt using the fabric cover attachment.
- Aree difficili da raggiungere: Use the curved spray nozzle or the long spray nozzle for corners, crevices, and other difficult spots. The extension hose can provide additional flexibility.
- General Cleaning (Kitchen/Bathroom): Use the general spray nozzle or round brush for countertops, sinks, tiles, and grout. Move the nozzle slowly over the surface.
- Pulisci con un panno: After steaming, wipe the surface with a clean, dry cloth to remove loosened dirt and moisture.
- Ricarica: If steam production decreases significantly or stops, the water tank may be empty. Unplug the unit, allow it to cool completely, and then refill as per the "Setup" instructions.
- Fine: When cleaning is complete, release any remaining steam pressure, unplug the appliance, and allow it to cool down before storing.
Manutenzione
Regular maintenance ensures the longevity and optimal performance of your steam cleaner. Always ensure the appliance is unplugged and cool before performing any maintenance.
- Serbatoio dell'acqua vuoto: After each use, or before long-term storage, carefully unscrew the safety cap (when cool) and empty any remaining water from the tank.
- Accessori puliti: Wash removable accessories with warm, soapy water and rinse thoroughly. Allow them to air dry completely before storing.
- Pulisci l'esterno: Pulisci l'esterno dell'unità principale con un pannoamp panno. Non usare detergenti abrasivi o solventi.
- Decalcificazione (consigliata ogni mese): Se si nota una riduzione dell'emissione di vapore o residui minerali, potrebbe essere necessario procedere alla decalcificazione.
- Mescolare una soluzione composta da parti uguali di aceto bianco e acqua.
- Versare la soluzione nel serbatoio dell'acqua (non superare la linea di riempimento massimo).
- Lasciare riposare per 30 minuti/un'ora (non riscaldare).
- Empty the solution and rinse the tank thoroughly with fresh water several times.
- Run a tank of fresh water through the unit to flush out any remaining vinegar smell.
- Magazzinaggio: Conservare il pulitore a vapore e i suoi accessori in un luogo fresco e asciutto, lontano dalla luce solare diretta e da temperature estreme.
Risoluzione dei problemi
| Problema | Possibile causa | Soluzione |
|---|---|---|
| Niente vapore o pochissimo vapore. |
|
|
| Perdita d'acqua dall'ugello. |
|
|
| Indicator light not on. |
|
|
If the problem persists after trying these solutions, please contact customer support. Do not attempt to repair the appliance yourself.
Specifiche
| Caratteristica | Dettaglio |
|---|---|
| Numero di modello | 8711252252858 |
| Consumo energetico | 900 - 1050 W |
| Voltage | 220-240V ~ 50Hz |
| Capacità del serbatoio dell'acqua | 360 ml |
| Pressione del vapore | 2.5 - 3.5 bar |
| Uscita continua di vapore | 30 g/min |
| Tempo di riscaldamento | Circa 3 minuti |
| Dimensioni del prodotto (L x P x A) | Dimensioni: 12 x 22 x 27 cm |
| Peso dell'articolo | 1.9 chilogrammi |
| Caratteristiche speciali | Compact, Portable, Detergent-free cleaning |
| Superficie consigliata | Floor, Window, Kitchen, Bathroom |
Garanzia e supporto
This PHILIPS Alpina Steam Cleaner comes with a Garanzia di 2 anni dalla data di acquisto. Conservare la prova d'acquisto per eventuali reclami in garanzia.
For technical support, warranty service, or questions regarding your product, please contact PHILIPS customer service. Refer to the contact information provided with your purchase documentation or visit the official PHILIPS websito per la tua regione.
Visit the PHILIPS Brand Store on Amazon per maggiori informazioni e prodotti.