
1. Introduzione
Thank you for choosing the DELTACO ARM-0350 Flat Screen Mount. This monitor arm is designed to provide a flexible and ergonomic solution for mounting your flat screen display, optimizing your workspace. Its short arm design is ideal for small spaces and allows for multiple flush monitors. The mount supports VESA standards 75x75mm and 100x100mm.
This manual provides detailed instructions for installation, operation, and maintenance of your monitor arm. Please read it thoroughly before installation and keep it for future reference.
2. Informazioni sulla sicurezza
- Ensure all components are present and undamaged before installation. Do not use if any parts are missing or defective.
- Questo prodotto è destinato esclusivamente all'uso in ambienti interni.
- Do not exceed the maximum weight capacity of the mount (not specified in product data, but generally important for monitor mounts).
- Always use appropriate safety equipment during installation.
- Tighten all screws firmly but do not overtighten to avoid stripping threads or damaging components.
- In caso di dubbi sull'installazione, consultare un professionista qualificato.
3. Contenuto della confezione
Verifica che tutti i seguenti componenti siano inclusi nel pacchetto:
- Gruppo braccio monitor
- Scrivania Clamp Base
- Grommet Mount Base (alternative mounting option)
- Piastra VESA
- Kit hardware (viti, rondelle, distanziali)
- Allen Keys for adjustment
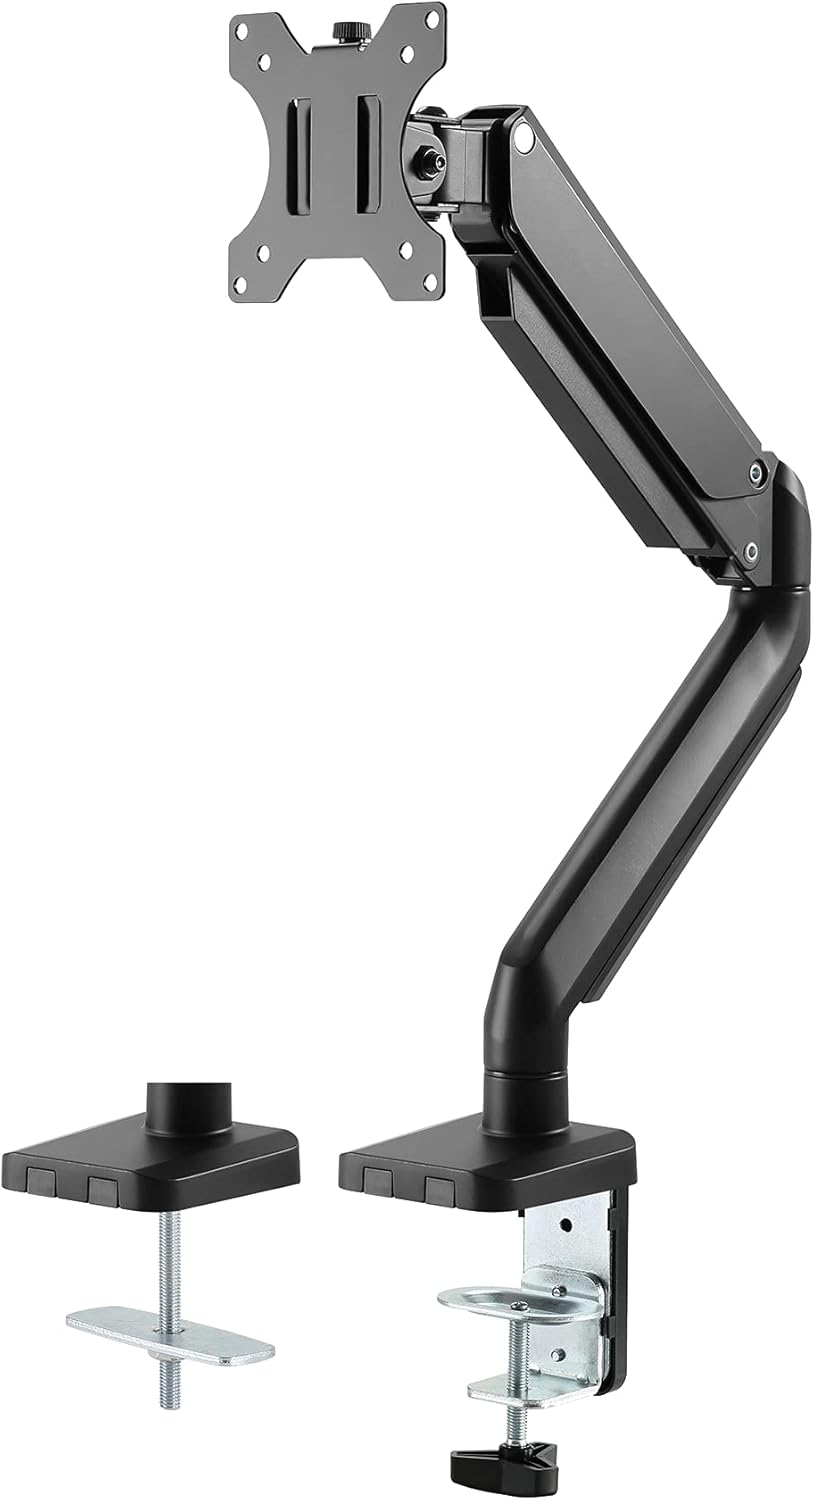
Immagine: Oltreview of the monitor mount components, including the desk clamp and grommet mount options.
4. Configurazione e installazione
4.1. Prepara il tuo spazio di lavoro
Clear your desk or mounting surface of any obstructions. Ensure the surface is sturdy enough to support the weight of the monitor arm and your monitor.
4.2. Assemble the Desk Clamp o montaggio ad occhiello
Choose between the desk clamp or grommet mount option based on your desk setup.
- Scrivania Clamp: Allega il clamp base to the main pole. Secure it to the edge of your desk by tightening the knob until it is firm.
- Supporto passacavo: If your desk has a grommet hole, feed the pole through the hole and secure it from underneath with the provided plate and nut.

Image: The monitor arm assembled with the desk clamp, showing its robust design.
4.3. Attach the Monitor Arm to the Desk Base
Slide the monitor arm onto the pole of the desk clamp or grommet mount. Ensure it is seated securely. You may need to tighten a set screw to fix its height on the pole.
4.4. Attach the VESA Plate to Your Monitor
Align the VESA plate with the mounting holes on the back of your monitor. Use the appropriate screws and spacers from the hardware kit to secure the plate to your monitor. Ensure the screws are tightened firmly.
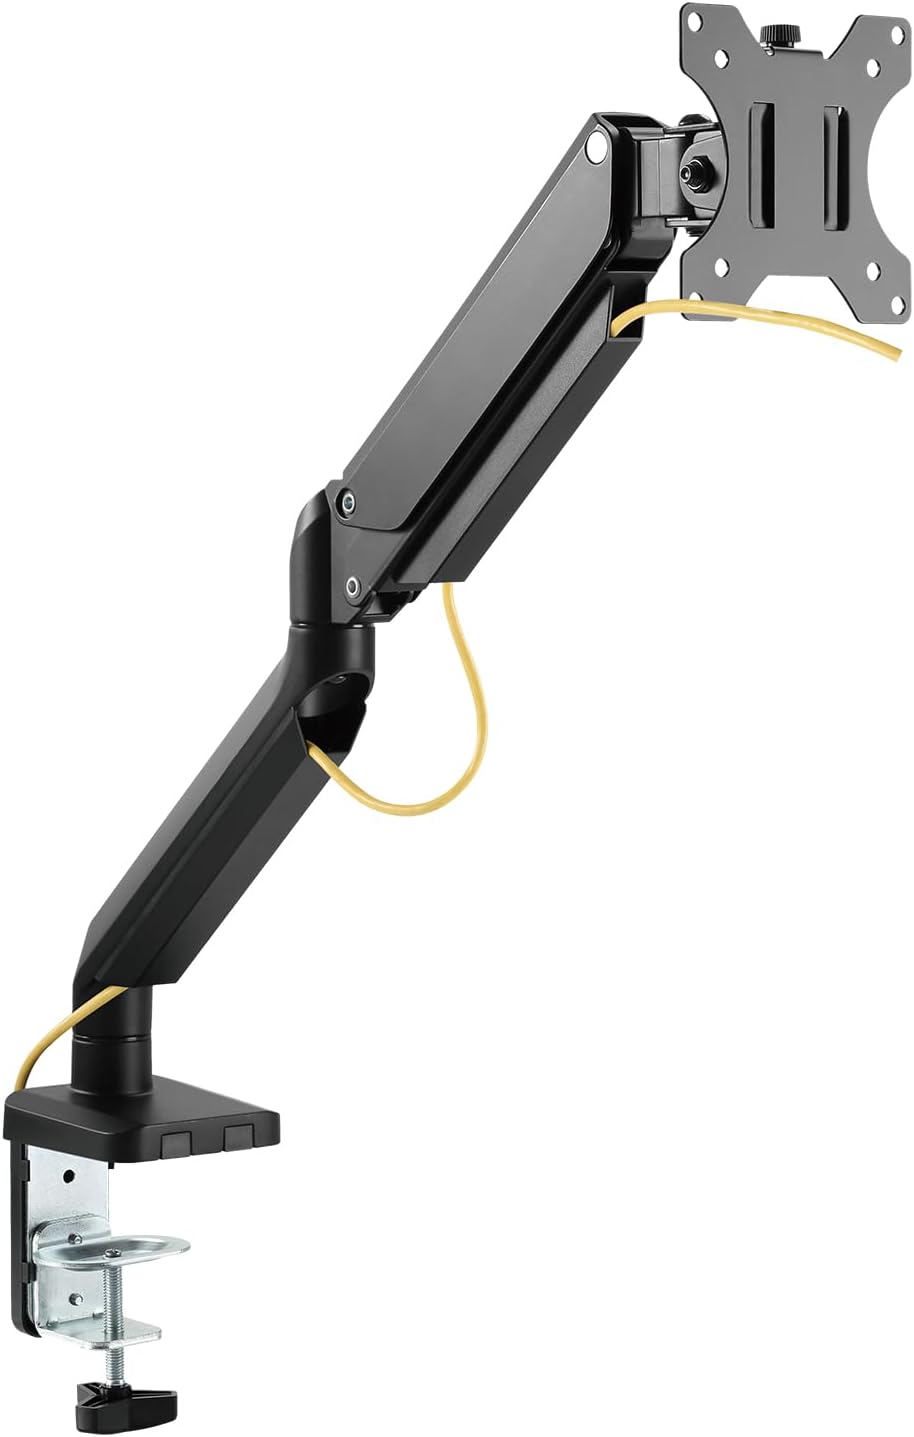
Image: The VESA plate, ready to be attached to the monitor.
4.5. Mount the Monitor to the Arm
Carefully slide the monitor (with the attached VESA plate) onto the VESA head of the monitor arm. Ensure it clicks into place or is secured with the locking screw, if applicable.

Image: A monitor mounted on the arm, viewed di lato.
4.6. Gestione dei cavi
Route your monitor cables (power, video) through the integrated cable management channels on the arm. This helps maintain a tidy workspace and prevents cable damage.

Immagine: Example of cable routing through the arm's management channels.
5. Istruzioni per l'uso
5.1. Regolazione della posizione del monitor
The ARM-0350 allows for various adjustments to achieve optimal viewangoli di inclinazione:
- Regolazione dell'altezza: Move the arm up or down along the pole.
- Inclinazione: Tilt your monitor up or down (Maximum Tilt Angle: 15 Degrees).
- Girevole: Swivel your monitor left or right.
- Rotazione: Rotate your monitor from landscape to portrait orientation.

Image: The monitor arm showing its flexible tilt and swivel capabilities.
5.2. Adjusting Gas Spring Tension
If your monitor does not stay in the desired vertical position, you may need to adjust the gas spring tension. Use the provided Allen key to turn the adjustment screw located on the arm joint. Turn clockwise to increase tension for heavier monitors, and counter-clockwise to decrease tension for lighter monitors.
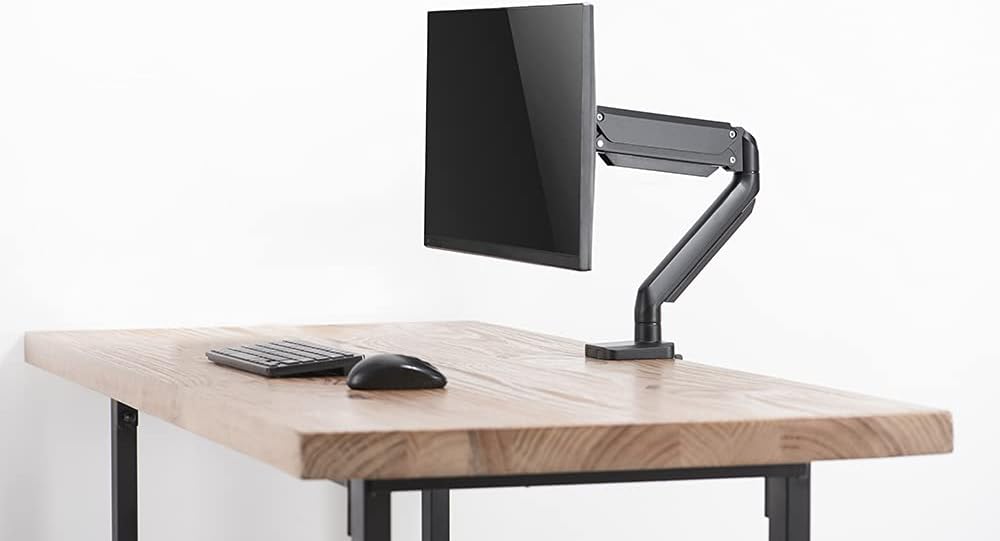
Image: Adjusting the gas spring tension with an Allen key.
6. Manutenzione
- Pulizia: Pulire la superficie del braccio del monitor con un panno morbido eamp stoffa. Evitare l'uso di detergenti o solventi abrasivi.
- Controllare le connessioni: Controllare periodicamente tutte le viti e i collegamenti per assicurarsi che siano ben serrati e sicuri. Serrare nuovamente se necessario.
- Lubrificazione: The gas spring mechanism is generally maintenance-free. Do not attempt to lubricate internal components.
7. Risoluzione Dei Problemi
| Problema | Possibile causa | Soluzione |
|---|---|---|
| Monitor sags or does not hold position | La tensione della molla a gas è troppo bassa per il peso del monitor. | Increase gas spring tension using the Allen key (refer to Section 5.2). |
| Monitor is difficult to move | La tensione della molla a gas è troppo elevata per il peso del monitor. | Decrease gas spring tension using the Allen key (refer to Section 5.2). |
| Il monte sembra instabile | Scrivania clamp/grommet mount is not tightened sufficiently. | Assicurare la scrivaniaamp o il supporto passacavo sia fissato saldamente alla scrivania. |
| VESA plate does not fit monitor | Monitor VESA pattern is not 75x75mm or 100x100mm. | Verify your monitor's VESA compatibility. This mount supports 75x75mm and 100x100mm. |
8. Specifiche
| Caratteristica | Specificazione |
|---|---|
| Marca | DELTACO |
| Numero di modello | ARM-0350 |
| Colore | Nero |
| Materiale | Metallo |
| Peso dell'articolo | 7.35 libbre |
| Dimensioni del prodotto | 19.49 x 4.49 x 23.23 pollici |
| Tipo di montaggio | Scrivania Clamp / Supporto passacavo |
| Tipo di movimento | Tilt, Swivel, Rotate |
| Dimensione massima compatibile | 32 pollici |
| Dimensione minima compatibile | 17 pollici |
| Dispositivi compatibili | Monitor |
| Angolo di inclinazione massimo | 15 gradi |
| Compatibilità VESA | 75x75mm, 100x100mm |
9. Garanzia e supporto
For warranty information and technical support, please refer to the documentation provided with your purchase or visit the official DELTACO websito. Conservare la prova d'acquisto per eventuali reclami in garanzia.
If you encounter any issues not covered in this manual, please contact DELTACO customer support for assistance.