
1. Informazioni sulla sicurezza
Please read and understand all safety information before operating this digital multimeter. Failure to follow these instructions may result in electric shock, fire, or damage to the device.
- Prima di effettuare qualsiasi misurazione, assicurarsi sempre che il multimetro sia impostato sulla funzione e sull'intervallo corretti.
- Non superare i valori massimi di input specificati per ciascuna funzione.
- Prestare attenzione quando si lavora con voltagsuperiori a 30 V CA RMS, 42 V di picco o 60 V CC, poiché rappresentano un rischio di scossa elettrica.
- Controllare i puntali per verificare la presenza di eventuali danni prima di ogni utilizzo. Non utilizzarli se l'isolamento è compromesso.
- AVVERTIMENTO: Before opening the case for battery or fuse replacement, always remove the test leads from the object being measured and disconnect from any power source to avoid electric shock.
- This device features F0.5A/600V fuse overload protection. Replace fuses only with specified types and ratings.
2. Prodotto finitoview
The ANENG AN101 is a portable digital multimeter designed for measuring AC voltage, AC current, DC voltage, DC current, and resistance. It features an easy-to-read LCD display with 1999 counts and supports both automatic and manual ranging for versatile use in various electrical and electronic applications.
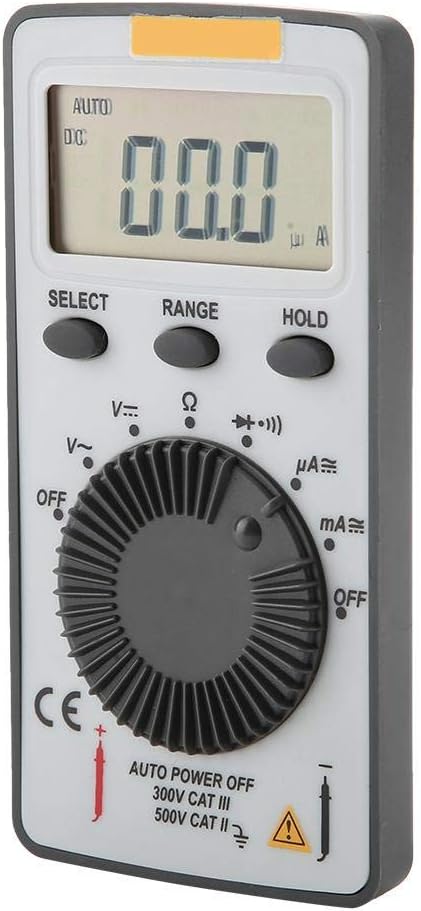
Figura 2.1: Fronte view of the ANENG AN101 Digital Multimeter. This image displays the device's LCD screen, the central rotary function dial, and the 'SELECT', 'RANGE', and 'HOLD' buttons.
3. Impostazione
3.1 Installazione della batteria
- Assicurarsi che il multimetro sia spento e scollegare tutti i puntali di prova.
- Individuare il vano batteria sul retro del dispositivo.
- Utilizzare un cacciavite per aprire il coperchio del vano batteria.
- Insert two 3V CR2032 batteries, observing the correct polarity.
- Riposizionare il coperchio del vano batteria e fissarlo con la vite.

Figura 3.1: Indietro view of the ANENG AN101 Digital Multimeter. This image shows the battery compartment cover and a safety warning regarding opening the case.
3.2 Collegamento dei puntali di prova
- Insert the red test lead into the 'VΩmA' input jack.
- Inserire il puntale di prova nero nel jack di ingresso 'COM'.
- Ensure the connections are firm before proceeding with measurements.
4. Istruzioni per l'uso
4.1 Accensione/spegnimento
Rotate the central dial from 'OFF' to any measurement function to power on the device. To power off, rotate the dial back to 'OFF'. The multimeter also features an auto power-off function to conserve battery life.
4.2 Selezione della funzione
Turn the rotary dial to select the desired measurement function (e.g., DC Voltage (V=), AC Voltage (V~), Resistance (Ω), DC Current (μA=, mA=), AC Current (μA~, mA~)).
4.3 Range Selection (Auto/Manual)
The AN101 supports both automatic and manual ranging. In auto-ranging mode, the meter automatically selects the best range for the measurement. Press the 'RANGE' button to switch between auto and manual ranging. In manual mode, press 'RANGE' repeatedly to cycle through available ranges.
4.4 Misurazione del volume CCtage
- Set the rotary dial to 'V='.
- Collegare il puntale di prova rosso al lato positivo del circuito e il puntale di prova nero al lato negativo.
- Leggi il vol.tage value on the LCD display. The polarity will be indicated automatically.
4.5 Misurazione del volume CAtage
- Set the rotary dial to 'V~'.
- Collegare i puntali di prova attraverso la tensione CAtage fonte.
- Leggi il vol.tage valore sul display LCD.
4.6 Misurazione della corrente continua
- Set the rotary dial to 'μA=' or 'mA=' depending on the expected current.
- AVVERTIMENTO: To measure current, the multimeter must be connected in series with the circuit. Do not connect it in parallel across a voltage fonte.
- Break the circuit and connect the multimeter in series, ensuring the red lead is towards the higher potential and the black lead towards the lower potential.
- Leggere il valore corrente sul display LCD.
4.7 Misurazione della corrente alternata
- Set the rotary dial to 'μA~' or 'mA~'.
- AVVERTIMENTO: Collegare il multimetro in serie al circuito.
- Break the circuit and connect the multimeter in series.
- Leggere il valore corrente sul display LCD.
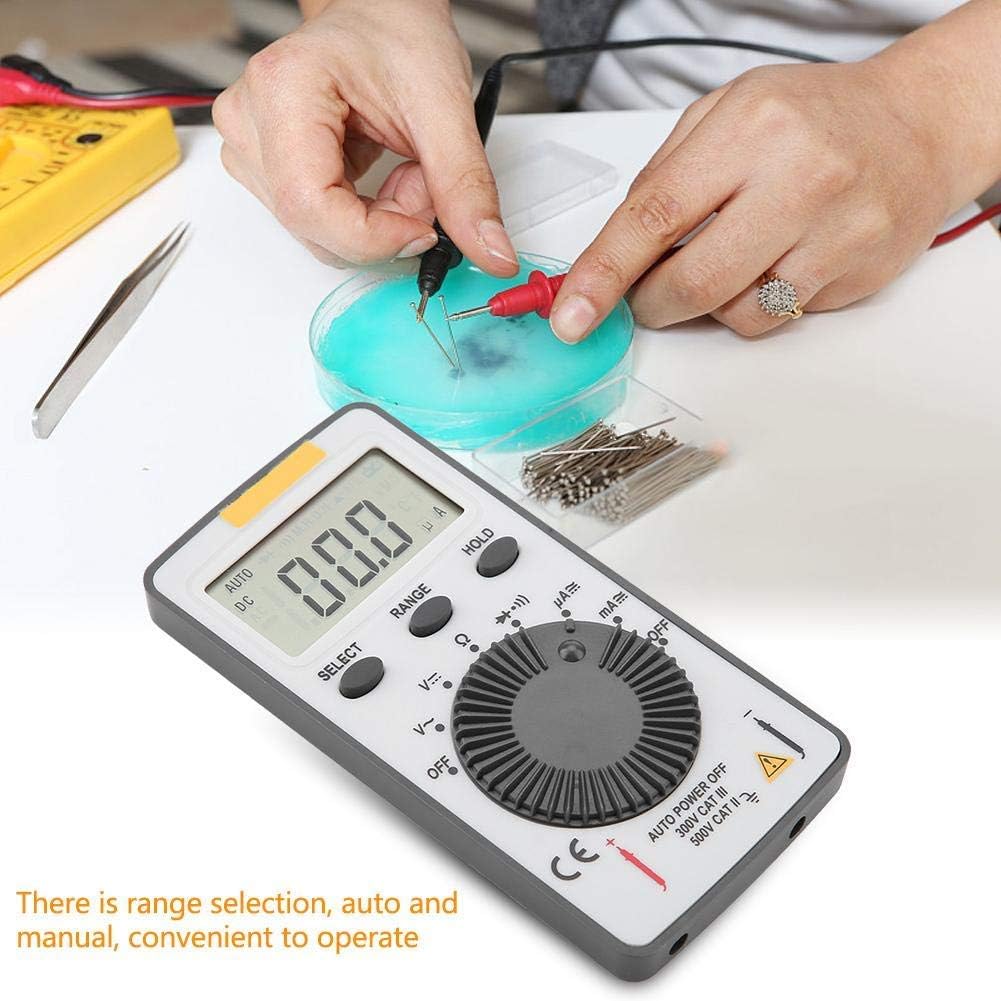
Figure 4.1: The ANENG AN101 Digital Multimeter in use, demonstrating its application for measuring electrical components. The image highlights the ease of operation with auto and manual range selection.
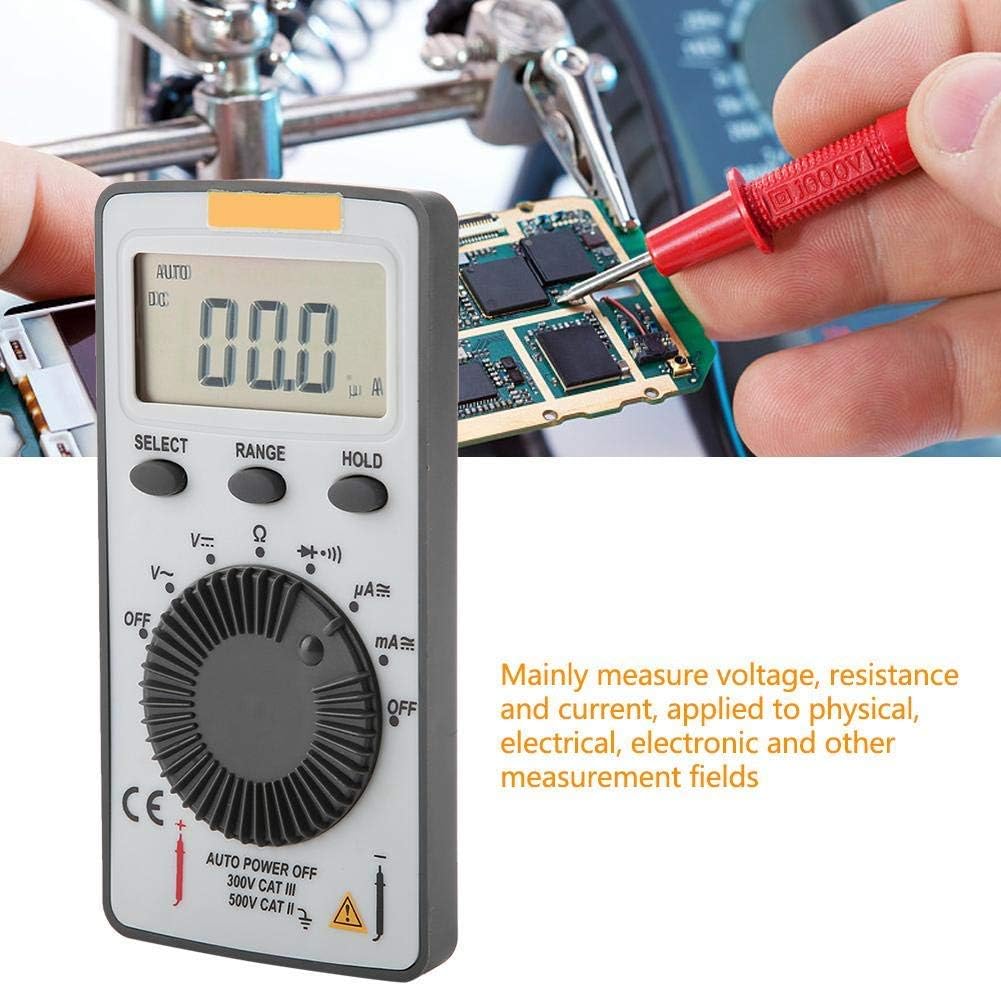
Figure 4.2: The ANENG AN101 Digital Multimeter being used to measure voltage or current on a circuit board. This illustrates its primary function in physical, electrical, and electronic measurement fields.
4.8 Funzione di attesa
Premere il pulsante 'HOLD' per bloccare la lettura corrente sul display. Premerlo nuovamente per disattivare la funzione di blocco e riprendere le misurazioni in tempo reale.
5. Manutenzione
5.1 Pulizia
Wipe the device with a dry, soft cloth. Do not use abrasive cleaners or solvents. Keep the device free from dust and moisture.
5.2 Sostituzione della batteria
When the battery indicator appears on the display, replace the batteries as described in Section 3.1. Always use two new 3V CR2032 batteries.
5.3 Sostituzione del fusibile
If the current measurement functions stop working, the fuse may need replacement. Refer to the safety warnings in Section 1 before attempting to open the case. Replace the fuse only with a F0.5A/600V type.
6. Risoluzione Dei Problemi
- Nessuna visualizzazione: Controllare l'installazione delle batterie e assicurarsi che non siano scariche.
- "OL" visualizzato: This indicates an over-range condition. Either the measured value exceeds the selected range, or the circuit is open (for resistance/current measurements). Select a higher range or check circuit continuity.
- Letture errate: Ensure test leads are properly connected, the correct function and range are selected, and the circuit connections are secure.
- Misurazione della corrente non funzionante: Controllare il fusibile come descritto nella Sezione 5.3.
7. Specifiche
| Caratteristica | Specificazione |
|---|---|
| Marca | ANENG |
| Modello | AN101 |
| Display | LCD, 1999 Counts |
| Frequenza di aggiornamento | 2 volte / secondo |
| Dimensioni LCD | 40 * 20 millimetri |
| Indicazione di polarità | Automatic '-' |
| Indicazione fuori scala | 'OL' |
| Selezione della gamma | Auto o Manuale |
| Temperatura di esercizio | 0℃ to 40℃, Relative Humidity: <80% RH |
| Temperatura di conservazione | -10℃ to 50℃, Relative Humidity: <85% RH |
| Tipo di batteria | 2 * 3V, CR2032 size (not included) |
| Volume DCtage Impedenza di ingresso | 10 MΩ |
| Volume DCtage Protezione da sovraccarico | 600 V CC/CA RMS |
| Massimo Vol. DCtage Ingresso | 600V CC |
| DC Current Overload Protection | F0.5A / 600V Fuse |
| Max. DC Current Input | 500mA |
| AC Current Overload Protection | F0.5A / 600V Fuse |
| Max. AC Current Input | 500mA |
| AC Current Frequency Range | 40Hz - 400Hz |
| Volume ACtage Impedenza di ingresso | 10 MΩ |
| Volume ACtage Gamma di frequenza | 40Hz - 400Hz |
| Volume ACtage Protezione da sovraccarico | 600 V CC/CA RMS |
| Massimo AC Voltage Ingresso | 600 V CA RMS |
| Peso | Circa 102 g / 3.6 once |
| Dimensioni | Approx. 110 * 55 * 10 mm / 4.3 * 2.2 * 0.4 in |
| Contenuto della confezione | 1 * Digital Multimeter, 2 * Test Leads |

Figure 7.1: Dimensions of the ANENG AN101 Digital Multimeter, showing its compact size for portability.
8. Garanzia e supporto
Per informazioni sulla garanzia e sull'assistenza tecnica, consultare la documentazione fornita al momento dell'acquisto o contattare il rivenditore. Conservare la ricevuta d'acquisto come prova d'acquisto.