
1. Introduzione
Grazie per l'acquistoasing the ETA ETA121090010 Galateo Microwave Oven. This manual provides essential information for the safe and efficient use of your appliance. Please read these instructions carefully before use and retain them for future reference.
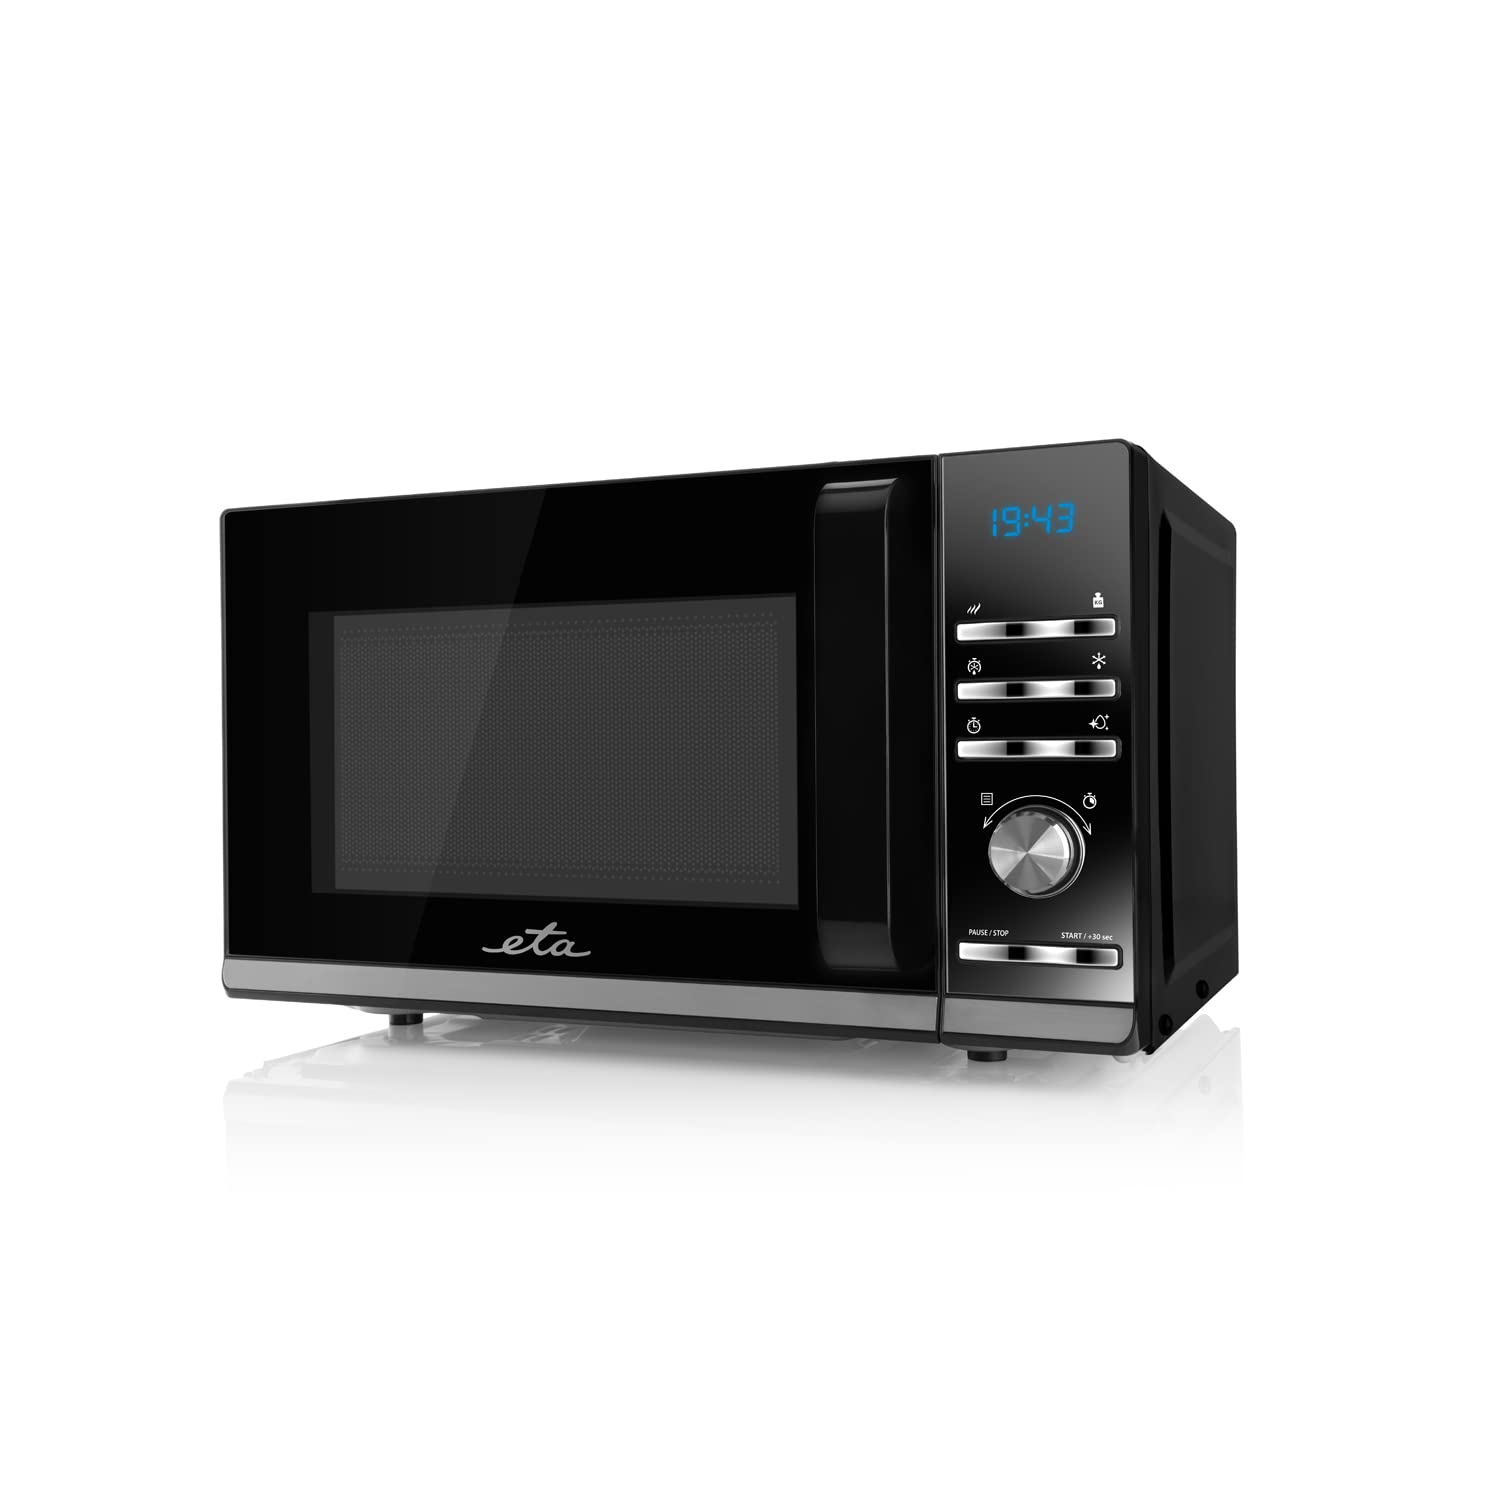
Immagine 1.1: anteriore view of the ETA ETA121090010 Galateo Microwave Oven. The appliance features a black finish with a glass door and a control panel on the right side.
2. Importanti istruzioni di sicurezza
Quando si utilizzano apparecchi elettrici, seguire sempre le precauzioni di sicurezza di base per ridurre il rischio di incendi, scosse elettriche, lesioni personali o esposizione a un'eccessiva energia a microonde.
- Leggere tutte le istruzioni prima di utilizzare l'apparecchio.
- Non tentare di far funzionare il forno con lo sportello aperto, poiché ciò potrebbe causare un'esposizione dannosa all'energia delle microonde.
- Non posizionare alcun oggetto tra la parte anteriore del forno e lo sportello e non lasciare che residui di sporco o detergente si accumulino sulle superfici di tenuta.
- Non azionare il forno se è danneggiato. È particolarmente importante che la porta del forno si chiuda correttamente e che non vi siano danni a: (1) porta (piegata), (2) cerniere e chiavistelli (rotte o allentate), (3) guarnizioni e superfici di tenuta della porta.
- Il forno non deve essere riparato o regolato da nessuno, eccetto personale di assistenza adeguatamente qualificato.
- Assicurarsi che l'apparecchio sia adeguatamente messo a terra.
- Non utilizzare prodotti chimici o vapori corrosivi in questo apparecchio.
- Questo apparecchio è destinato esclusivamente all'uso domestico.
3. Configurazione e installazione
3.1 Disimballaggio
Carefully remove the microwave oven from its packaging. Retain the packaging materials for future transport or disposal. Check the appliance for any signs of damage. If any damage is found, do not operate the oven and contact your retailer.
3.2 Posizionamento
Place the microwave oven on a flat, stable surface that can support its weight. Ensure there is adequate ventilation around the appliance. Maintain a minimum clearance of 10 cm (4 inches) at the rear and sides, and 30 cm (12 inches) above the oven for proper airflow.
3.3 Collegamento elettrico
Collegare il cavo di alimentazione a una presa elettrica con messa a terra. Assicurarsi che il volumetage la frequenza dell'alimentazione elettrica corrispondano alle specifiche indicate sull'etichetta dei dati nominali dell'apparecchio.

Image 3.1: The microwave oven showing approximate dimensions: 46 cm width, 26 cm height, and 36 cm depth. These dimensions are crucial for proper placement and ventilation.
4. Istruzioni per l'uso
The ETA Galateo microwave oven features an intuitive control panel with buttons and a rotary knob for easy operation.

Immagine 4.1: Dettagliata view of the control panel, featuring a digital display, function buttons, and a central rotary knob for time and power adjustments. Buttons include power level, defrost, timer, and start/pause controls.
4.1 Cottura di base al microonde
- Disporre il cibo in un contenitore adatto al microonde sul piatto girevole.
- Chiudere bene lo sportello del forno.
- Press the "Microwave Power" button (indicated by wavy lines) to select the desired power level (5 levels available).
- Ruotare la manopola per impostare il tempo di cottura (fino a 95 minuti).
- Press the "START / +30 sec" button to begin cooking.
4.2 Sbrinamento
The oven offers 3 defrost settings for various food types.
- Mettere il cibo congelato nel forno.
- Press the "Defrost" button (indicated by a snowflake icon) to cycle through the 3 available defrost settings.
- Use the rotary knob to adjust the weight or time as required by the selected defrost program.
- Press the "START / +30 sec" button to begin defrosting.
4.3 Quick Start / +30 Seconds
Pressing the "START / +30 sec" button once will start cooking at full power for 30 seconds. Each subsequent press will add 30 seconds to the cooking time.
4.4 Pause / Stop
Press the "PAUSE / STOP" button once to pause cooking. Press it twice to cancel the current program and return to standby mode.
4.5 Automatic Cleaning and Disinfection Function
This model includes an automatic cleaning and disinfection function. Refer to the specific instructions in the full manual for details on how to activate and use this feature effectively.
5. Manutenzione e pulizia
Una pulizia regolare e una corretta manutenzione garantiranno la longevità e il funzionamento efficiente del tuo forno a microonde.
- Pulizia interna: After each use, wipe the interior of the oven with a damp cloth to remove food splatters. For stubborn stains, use a mild detergent or a microwave-safe cleaner. Never use abrasive cleaners or scouring pads.
- Pulizia esterna: Pulire le superfici esterne con un panno morbido eamp stoffa. Evitare l'uso di prodotti chimici o solventi aggressivi.
- Porta e guarnizioni: Pulire regolarmente la porta, le guarnizioni della porta e le parti adiacenti con un panno umido.amp cloth to remove any spills or residue. This helps maintain a proper seal.
- giradischi: The glass turntable and roller ring can be removed for cleaning. Wash them in warm, soapy water or in a dishwasher. Ensure they are completely dry before placing them back in the oven.
- Odori: To remove odors, combine a cup of water with several lemon slices or a tablespoon of vinegar in a microwave-safe bowl. Heat on high for 5-7 minutes, then let it stand in the oven for a few minutes before wiping the interior.
- Spegni: Prima di pulire il forno a microonde, scollegarlo sempre dalla presa di corrente.
6. Risoluzione Dei Problemi
Se riscontri problemi con il tuo forno a microonde, consulta la tabella seguente per i problemi più comuni e le relative soluzioni.
| Problema | Possibile causa | Soluzione |
|---|---|---|
| Il forno non si avvia. | Cavo di alimentazione non collegato. Sportello non chiuso correttamente. Fusibile bruciato o interruttore automatico scattato. | Assicurarsi che il cavo di alimentazione sia collegato saldamente. Chiudere bene lo sportello. Controllare il fusibile/interruttore automatico domestico. |
| Il cibo non si riscalda. | Incorrect power level or cooking time set. Microwave-safe dish not used. | Adjust power level and cooking time. Use only microwave-safe cookware. |
| Scintille all'interno del forno. | Metal or foil in the oven. Food residue on oven walls. | Remove any metal objects. Clean the oven interior thoroughly. |
| Il piatto girevole non gira. | Turntable not correctly placed. Roller ring dirty or obstructed. | Ensure turntable and roller ring are correctly positioned and clean. |
Se il problema persiste dopo aver provato queste soluzioni, contattare personale di assistenza qualificato.
7. Specifiche tecniche
| Caratteristica | Dettaglio |
|---|---|
| Marca | Arrivo previsto |
| Numero di modello | ETA121090010 |
| Tipo di prodotto | Forno a microonde |
| Colore | Nero |
| Capacità | 20 litri |
| Potenza del microonde | 700 L |
| Livelli di potenza | 5 |
| Impostazioni di sbrinamento | 3 |
| Maximum Timer | 95 minuti |
| Caratteristiche speciali | Turntable, Automatic Cleaning and Disinfection Function |
| Dispositivo di input | Pulsanti, manopola rotante |
| Dimensioni del prodotto (L x A x P) | Circa. 46 cm x 26 cm x 36 cm |
| Peso | 250 grammi Note: The weight of 250g appears to be an error in the source data. Actual microwave oven weight is typically much higher. |
| ASIN | B09M6X85WW |

Immagine 7.1: Passoview of the microwave oven highlighting its key features: 700W microwave power, 5 power levels, 3 defrost settings, timer up to 95 minutes, automatic cleaning and disinfection function, and 20-liter volume.
8. Garanzia e supporto
Specific warranty information for the ETA ETA121090010 Galateo Microwave Oven is not provided within this manual. For details regarding warranty coverage, terms, and conditions, please refer to the warranty card included with your product or contact ETA customer support directly.
For technical support, service, or spare parts, please visit the official ETA website or contact their authorized service centers. Always provide your model number (ETA121090010) when seeking support.