
1. Introduzione
The Lorex LR-DL5 RFID Coded Card Access System is designed to provide secure and convenient access control for various indoor environments such as offices and apartments. This device supports both password entry and RFID card/keyfob access, offering flexibility and enhanced security. It is capable of managing up to 1000 unique user cards or keyfobs.
This manual provides detailed instructions for the installation, operation, and maintenance of your LR-DL5 access system. Please read this manual thoroughly before installation and use to ensure proper functionality and safety.
2. Informazioni sulla sicurezza
- Ensure the power supply is disconnected before installation or maintenance to prevent electrical shock.
- This device is designed for indoor use only. Avoid exposure to moisture, direct sunlight, or extreme temperatures.
- L'installazione deve essere eseguita da un elettricista o da un tecnico qualificato.
- Utilizzare solo l'alimentatore da 12 V CC specificato.
- Non tentare di smontare o modificare il dispositivo, poiché ciò invaliderebbe la garanzia e potrebbe causare danni o lesioni.
3. Contenuto della confezione
Si prega di controllare il contenuto della confezione per assicurarsi che siano presenti tutti gli articoli:
- Lorex LR-DL5 RFID Coded Card Access System Unit
- 100 x Magnetic Keyfobs
- Viti di montaggio e tasselli
- Manuale dell'utente (questo documento)
4. Specifiche
| Caratteristica | Specificazione |
|---|---|
| Modello | LR-DL5 |
| Metodi di accesso | Password, RFID Card/Keyfob |
| Capacità dell'utente | Up to 1000 cards/keyfobs |
| Alimentazione elettrica | 12 V CC |
| Temperatura di esercizio | Temperatura: da 0°C a 45°C |
| Dimensioni (L x P x A) | Dimensioni: 120 mm x 80 mm x 22 mm |
| Uscita relè | NO/NC Dry Contact |
| Materiale | Plastica |
| Installazione | Montaggio in superficie |
5. Configurazione e installazione
The Lorex LR-DL5 is designed for easy surface-mount installation. Ensure you have the necessary tools (drill, screwdriver, wire strippers) and follow these steps:
- Scegli una posizione: Select an indoor location near the door where the access system will be used. Ensure it is protected from moisture and direct sunlight.
- Montare il dispositivo:
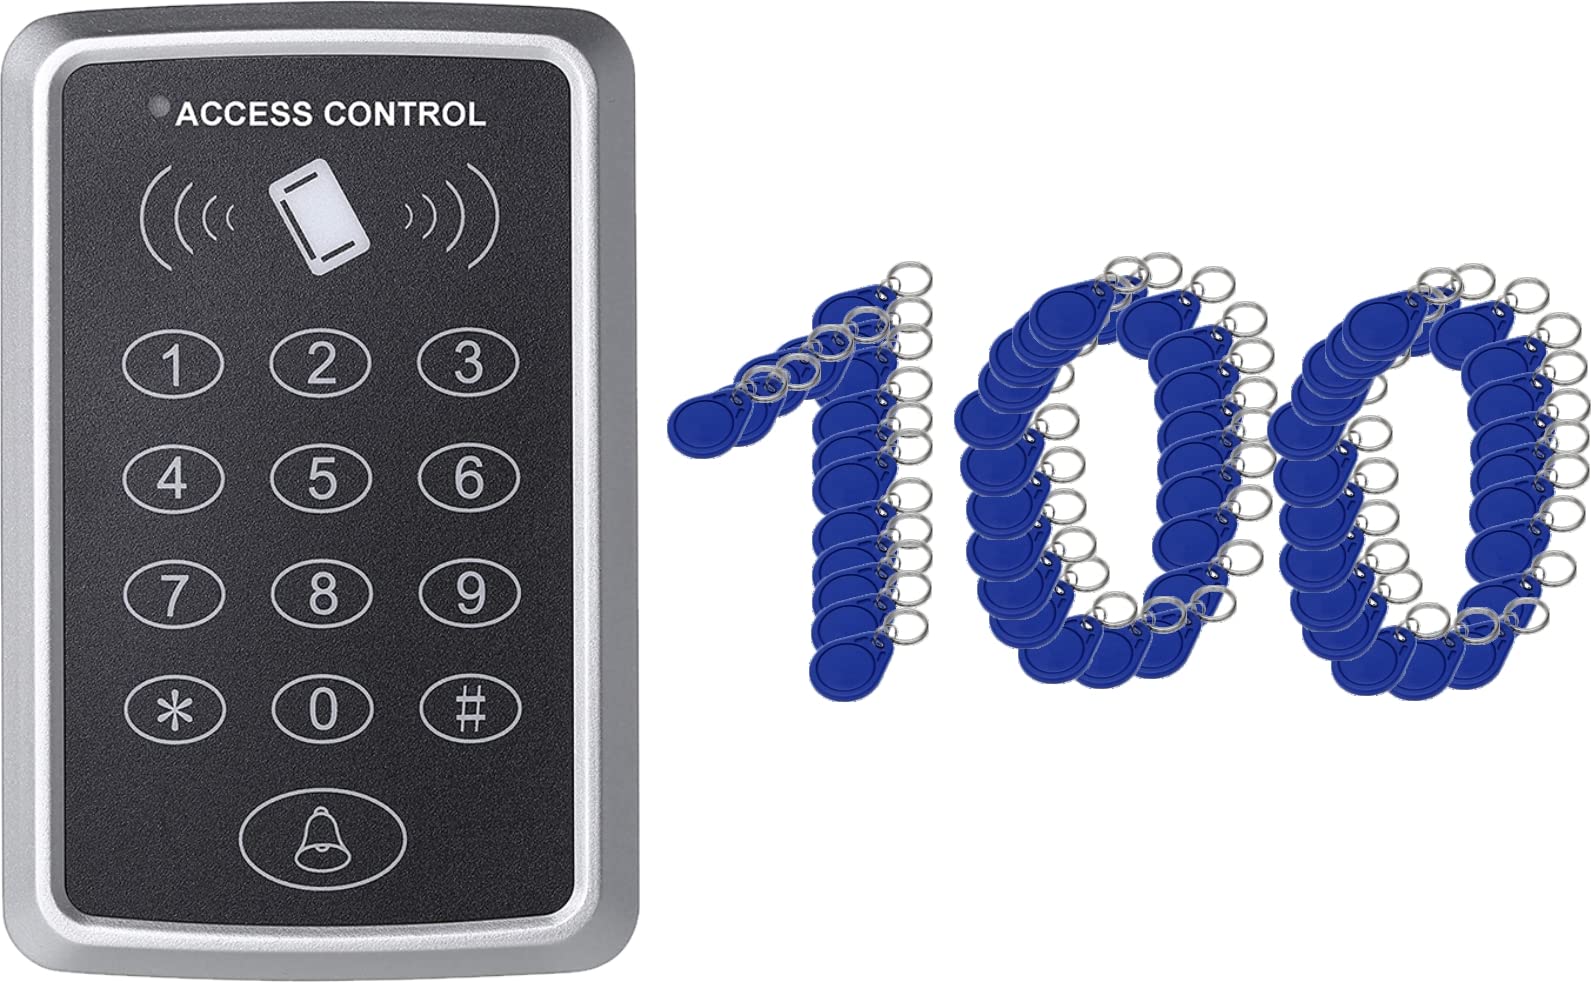
Image: The Lorex LR-DL5 unit, a grey plastic device with a keypad and card reader, mounted on a wall.
Mark the drilling points on the wall using the device as a template. Drill holes, insert wall plugs, and secure the device to the wall using the provided screws. - Cablaggio: Connect the 12VDC power supply to the designated power terminals. Connect the NO (Normally Open) or NC (Normally Closed) relay outputs to your electric door strike or automatic door opener, depending on your lock type. Refer to the wiring diagram provided with your specific lock mechanism.
- Accensione iniziale: Once all connections are secure, connect the 12VDC power supply. The device will power on, and an indicator light will confirm it is ready for programming.
6. Istruzioni per l'uso
The LR-DL5 offers both password and RFID card/keyfob access. Below are the basic operating procedures.
6.1. Modalità di programmazione
To enter programming mode, press # followed by the master password (default is 123456). The indicator light will change, confirming entry into programming mode.
6.2. Changing the Master Password
- Entra nella modalità di programmazione.
- Premere 0.
- Enter your new 6-digit master password.
- Premere # per confermare.
- Uscire dalla modalità di programmazione premendo *.
6.3. Adding User Cards/Keyfobs
You can add up to 1000 user cards or keyfobs.
- Entra nella modalità di programmazione.
- Premere 1.
- Present the RFID card/keyfob to the reader. The device will beep to confirm successful addition.
- Repeat for additional cards.
- Uscire dalla modalità di programmazione premendo *.
6.4. Adding User Passwords
- Entra nella modalità di programmazione.
- Premere 2.
- Enter a 4-6 digit user password.
- Premere # per confermare.
- Repeat for additional passwords.
- Uscire dalla modalità di programmazione premendo *.
6.5. Deleting User Cards/Keyfobs
- Entra nella modalità di programmazione.
- Premere 3.
- Present the RFID card/keyfob to be deleted to the reader. The device will beep to confirm deletion.
- Repeat for additional cards.
- Uscire dalla modalità di programmazione premendo *.
6.6. Eliminazione delle password utente
- Entra nella modalità di programmazione.
- Premere 4.
- Enter the 4-6 digit user password to be deleted.
- Premere # per confermare.
- Repeat for additional passwords.
- Uscire dalla modalità di programmazione premendo *.
6.7. Adjusting Relay Time
The relay pull-in time (how long the door remains unlocked) can be adjusted.
- Entra nella modalità di programmazione.
- Premere 5.
- Enter the desired time in seconds (e.g., 03 per 3 secondi).
- Premere # per confermare.
- Uscire dalla modalità di programmazione premendo *.
7. Manutenzione
- Pulizia: Pulire il dispositivo con un panno morbido e asciutto. Non utilizzare detergenti abrasivi o solventi.
- Ispezione: Periodically check the wiring for any signs of damage or loose connections.
- Aggiornamenti software: No user-performable software updates are available for this model.
8. Risoluzione Dei Problemi
| Problema | Possibile causa | Soluzione |
|---|---|---|
| Il dispositivo non si accende. | Nessuna alimentazione o volume erratotage. | Check 12VDC power connection. Ensure power adapter is working. |
| La porta non si apre con una tessera/password valida. | Incorrect wiring to door strike, card/password not programmed, or relay time too short. | Verify wiring connections. Ensure card/password is correctly added. Adjust relay time if necessary. |
| Impossibile accedere alla modalità di programmazione. | Incorrect master password. | Ensure you are using the correct master password. Default is 123456. |
| Keyfobs not working. | Keyfobs not programmed or faulty. | Ensure keyfobs are correctly added to the system. Test with a known working keyfob. |
9. Garanzia e supporto
For warranty information and technical support, please refer to the documentation provided at the time of purchase or contact your local Lorex distributor. Keep your purchase receipt as proof of purchase for warranty claims.
Produttore: Lorex
Prima data disponibile: 3 gennaio 2022