
1. Introduzione
This manual provides essential information for the safe and effective operation, maintenance, and troubleshooting of your TOTAL TR111226 12mm 2200W Router. Please read this manual thoroughly before using the tool to ensure proper handling and to prevent injury or damage.
The TOTAL TR111226 Router is a powerful tool designed for shaping and cutting wood. It features a premium 2200W motor, variable speed control, and an impact-resistant plastic base, making it suitable for various woodworking applications including manual straight cuts, guide cutting, and handle cutting.
2. Istruzioni di sicurezza
ATTENZIONE: seguire sempre le precauzioni di sicurezza di base per ridurre il rischio di incendi, scosse elettriche e lesioni personali.
- Sicurezza dell'area di lavoro: Mantenete l'area di lavoro pulita e ben illuminata. Aree disordinate o buie possono favorire incidenti. Non utilizzate utensili elettrici in atmosfere esplosive, ad esempio in presenza di liquidi, gas o polveri infiammabili.
- Sicurezza elettrica: Power tool plugs must match the outlet. Never modify the plug in any way. Do not expose power tools to rain or wet conditions. Avoid body contact with earthed or grounded surfaces.
- Sicurezza personale: Always wear eye protection, dust mask, non-skid safety shoes, and hearing protection when operating the router. Dress properly; avoid loose clothing or jewelry.
- Uso e cura dello strumento: Non forzare l'utensile elettrico. Utilizzare l'utensile elettrico corretto per l'applicazione desiderata. Scollegare la spina dalla presa di corrente prima di effettuare qualsiasi regolazione, sostituire accessori o riporre l'utensile elettrico.
- Manutenzione: Mantenere gli utensili elettrici. Verificare il disallineamento o il bloccaggio delle parti mobili, la rottura delle parti e qualsiasi altra condizione che possa influire sul funzionamento dell'utensile elettrico.
3. Componenti del prodotto
Familiarize yourself with the main components of your TOTAL TR111226 Router:
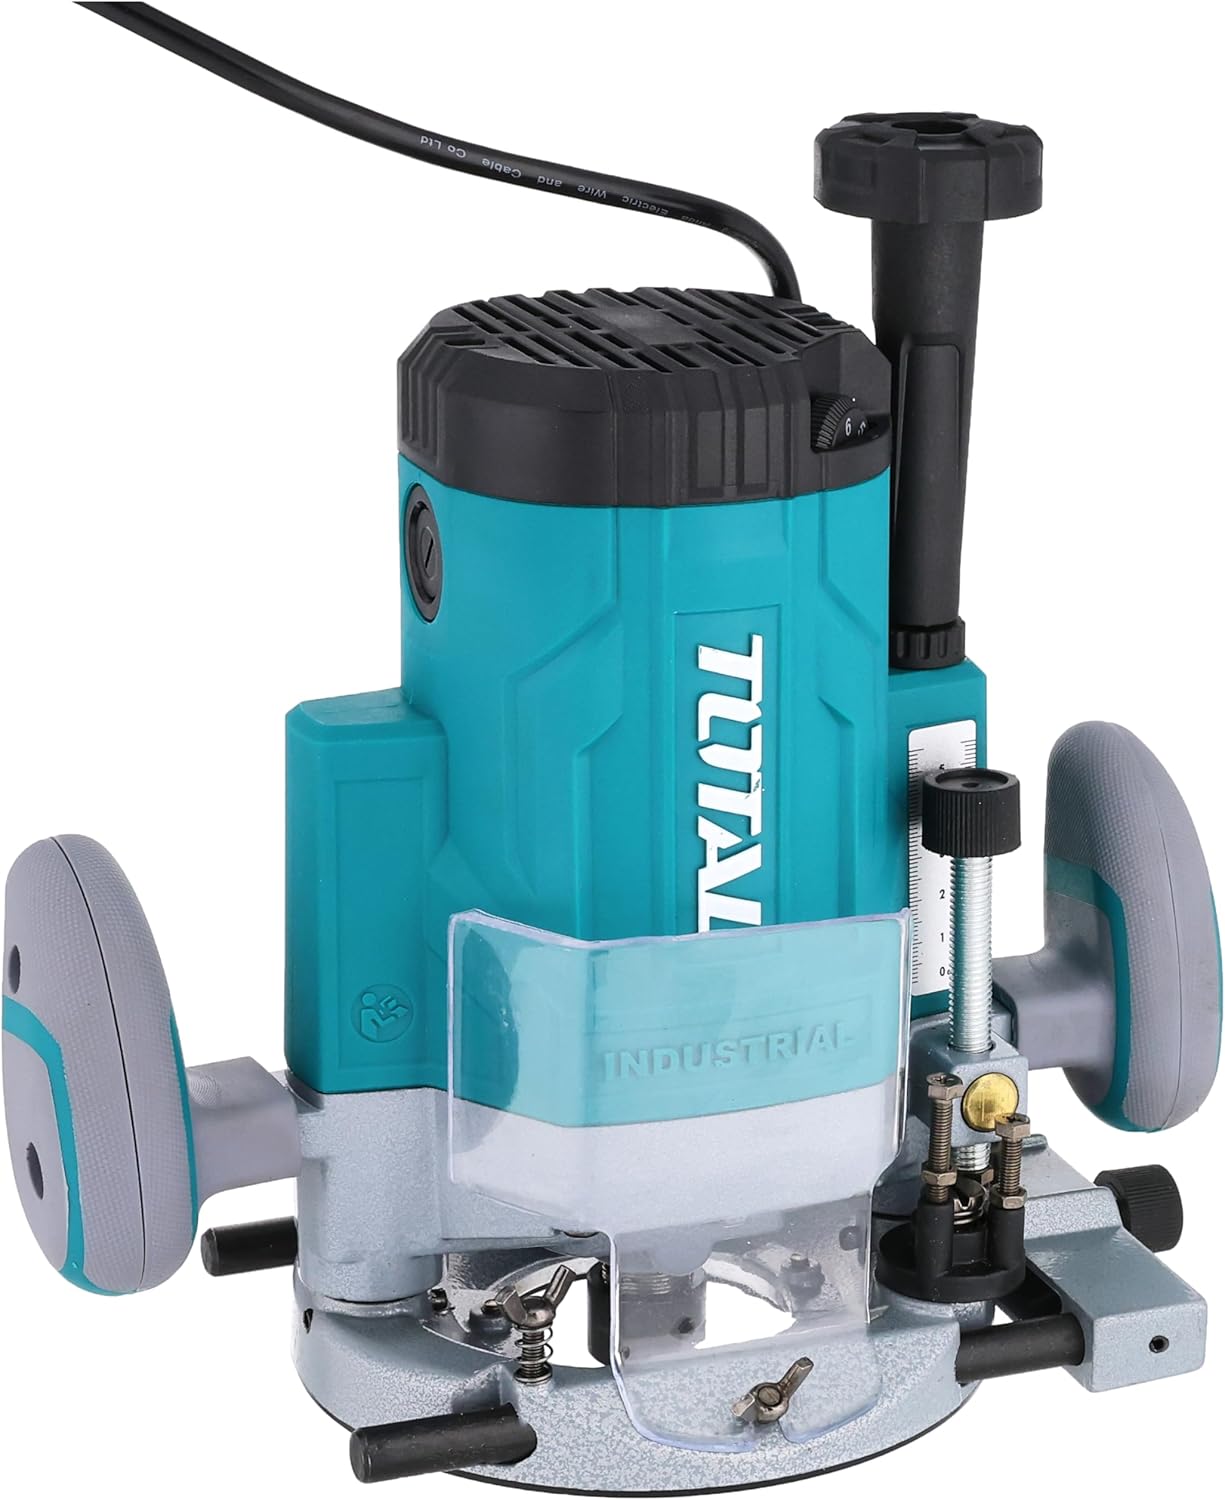
Figura 3.1: Davanti view of the TOTAL TR111226 Router, showing the main body, handles, and base. This image highlights the overall design and primary components of the tool.

Figura 3.2: Avvicinamento view of the router's depth adjustment mechanism. This shows the threaded rod and locking knob used to precisely set the cutting depth.

Figura 3.3: Posteriore view of the router, displaying the power cord entry point and the product's identification label with technical specifications.
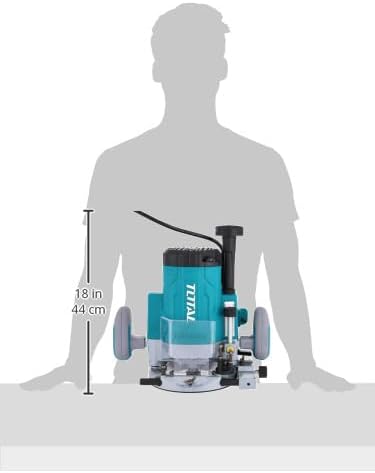
Figura 3.4: Image illustrating the approximate dimensions of the router, providing a visual reference for its size relative to a person.
4. Impostazione
4.1 Disimballaggio
Carefully remove the router and all accessories from the packaging. Inspect the tool for any signs of damage during transit. Retain the packaging for future storage or transport.
Installazione a 4.2 bit
- Assicurarsi che il router sia scollegato dalla fonte di alimentazione.
- Allentare il dado della pinza utilizzando la chiave in dotazione.
- Insert the desired router bit into the collet, ensuring it is seated fully but not bottomed out.
- Serrare saldamente il dado della pinza con la chiave. Non serrare eccessivamente.
4.3 Regolazione della profondità
The router features a precise depth adjustment mechanism:
- Posizionare la fresatrice su una superficie piana con la punta desiderata installata.
- Allentare la manopola di blocco della profondità.
- Lower the motor until the bit touches the surface.
- Adjust the depth fine-tuning knob or scale to achieve the desired cutting depth.
- Tighten the depth lock knob securely to prevent movement during operation.
4.4 Collegamento all'alimentazione
Ensure the router's power switch is in the OFF position before plugging it into a suitable power outlet. The router operates on a corded electric power source.
5. Istruzioni per l'uso
5.1 Funzionamento di base
- Hold the router firmly with both hands on the handles.
- Assicurarsi che il pezzo sia saldamente clamped.
- Press the lock-off switch (if present) and then the power switch to start the motor. Allow the motor to reach full speed before engaging the workpiece.
- Slowly lower the router bit into the workpiece, guiding the tool smoothly along the desired path.
- To stop, release the power switch. Wait for the bit to come to a complete stop before lifting the router from the workpiece.
5.2 Controllo della velocità variabile
The router features variable speed settings to match the bit and material. Adjust the speed dial or control to the appropriate setting before starting the cut. Lower speeds are generally used for larger bits, harder materials, or when more control is needed. Higher speeds are suitable for smaller bits and softer materials.
5.3 Tecniche di taglio
- Tagli dritti: Use a straight edge guide or fence to ensure accurate straight cuts.
- Guide Cutting: For curved or intricate cuts, use appropriate templates and guide bushings.
- Edge Profiling: For decorative edges, select the appropriate profiling bit and make multiple shallow passes if necessary.
6. Manutenzione
Una manutenzione regolare garantisce la longevità e le prestazioni ottimali del router.
6.1 Pulizia
- Scollegare sempre lo strumento prima della pulizia.
- Clean the router regularly with a soft, damp stoffa. Non utilizzare prodotti chimici aggressivi o detergenti abrasivi.
- Use compressed air to clear dust and debris from the motor vents and collet area.
6.2 Bit Care
- Keep router bits sharp and clean. Dull bits can cause kickback and poor cut quality.
- Conservare le punte in una custodia protettiva per evitare di danneggiare i bordi taglienti.
6.3 Conservazione
When not in use, store the router in a dry, secure place out of reach of children. Protect it from direct sunlight and extreme temperatures.
7. Risoluzione Dei Problemi
Questa sezione affronta i problemi più comuni che potresti riscontrare con il tuo router.
| Problema | Possibile causa | Soluzione |
|---|---|---|
| Il router non si avvia | Nessuna alimentazione Interruttore di alimentazione OFF Lock-off switch not engaged | Controllare la presa di corrente e il cavo Accendere l'interruttore di alimentazione Engage lock-off switch before pressing power switch |
| Scarsa qualità del taglio / Legna che brucia | Un po' noioso Velocità di avanzamento errata Impostazione della velocità errata | Sostituire o affilare la punta Adjust feed rate (slower for harder materials) Adjust speed setting (lower for larger bits/harder materials) |
| Vibrazione eccessiva | Loose bit Pezzo danneggiato Squilibrio motorio | Assicurarsi che la punta sia ben serrata Sostituire la punta danneggiata Contact customer support if motor imbalance persists |
| Depth adjustment slips | Depth lock knob not tightened Detriti nel meccanismo | Tighten depth lock knob firmly Clean depth adjustment mechanism |
Se riscontri problemi non elencati qui o se le soluzioni non risolvono il problema, contatta l'assistenza clienti TOTAL.
8. Specifiche
Key technical specifications for the TOTAL TR111226 Router:
| Caratteristica | Specificazione |
|---|---|
| Numero di modello | TR111226 |
| Fonte di alimentazione | Elettrico con cavo |
| Potenza in ingresso | 2200W |
| Dimensioni del colletto | 12mm |
| Peso dell'articolo | 4 kg (8.818 libbre) |
| Dimensioni del prodotto | Dimensioni: 10 x 20 x 37 cm |
| Tipo di base | Fisso |
| Materiale | Plastica, legno |
| Potenza | 3 CV |
9. Garanzia e supporto
TOTAL products are manufactured to high-quality standards. For information regarding the standard product warranty, please refer to the warranty card included with your purchase or visit the official TOTAL website. Extended warranty options may also be available from third-party providers.
For technical support, spare parts, or service inquiries, please contact TOTAL customer service through their official channels. Always provide your product model number (TR111226) and serial number when seeking support.