
Introduzione
The ESKY Scale 300 V2 Flybarless RTF (Ready To Fly) RC Electric Helicopter is designed for remote control enthusiasts of all skill levels. This model features a robust and sleek design, incorporating advanced technology such as a flybarless rotor head and a 6-axis gyroscope for enhanced stability and performance. Its compact size and impressive maneuverability make it an excellent choice for both indoor and outdoor flight. This manual provides comprehensive instructions for the safe and effective setup, operation, and maintenance of your ESKY Scale 300 V2 helicopter.
Precauzioni di sicurezza
Always prioritize safety when operating your RC helicopter. Failure to follow these guidelines may result in injury or damage to the product or property.
- Leggi il manuale: Thoroughly read and understand this entire instruction manual before operating the helicopter.
- Ambiente operativo: Operate the helicopter in open, clear areas, away from people, animals, buildings, power lines, and other obstacles. Avoid flying in windy conditions.
- Età consigliata: This product is recommended for users aged 14 months and older. Adult supervision is advised for younger users.
- Sicurezza della batteria:
- Utilizzare solo la batteria LiPo e il caricabatterie specificati.
- Non sovraccaricare o scaricare eccessivamente la batteria.
- Non lasciare mai le batterie in carica incustodite.
- Conservare le batterie in un luogo fresco e asciutto, lontano dalla luce solare diretta e da fonti di calore.
- Se la batteria si gonfia, si fora o si danneggia, interromperne immediatamente l'uso e smaltirla correttamente.
- Pale del rotore: The rotor blades spin at high speeds and can cause serious injury. Keep hands, face, and loose clothing away from the rotating blades.
- Controllo pre-volo: Always perform a pre-flight check to ensure all components are securely attached and functioning correctly.
- Arresto di emergenza: Familiarize yourself with the throttle cut/emergency stop function on the transmitter.
Contenuto della confezione
Verifica che tutti gli articoli elencati di seguito siano inclusi nel tuo pacchetto:
- 1 x ESKY Scale 300 V2 Helicopter (Mode 1)
- 1 x 2.4 GHz 4-Channel Transmitter
- 1 x 2S 7.4V 320mAh LiPo Battery
- 1 x Caricabatterie USB
- 1 x Spare Main and Tail Rotor Set
- 1 x Tool Set (Screwdriver and Hex Wrench)
- 1 x Manuale di istruzioni
Nota: 4 x AA batteries are required for the transmitter and are not included in the package.
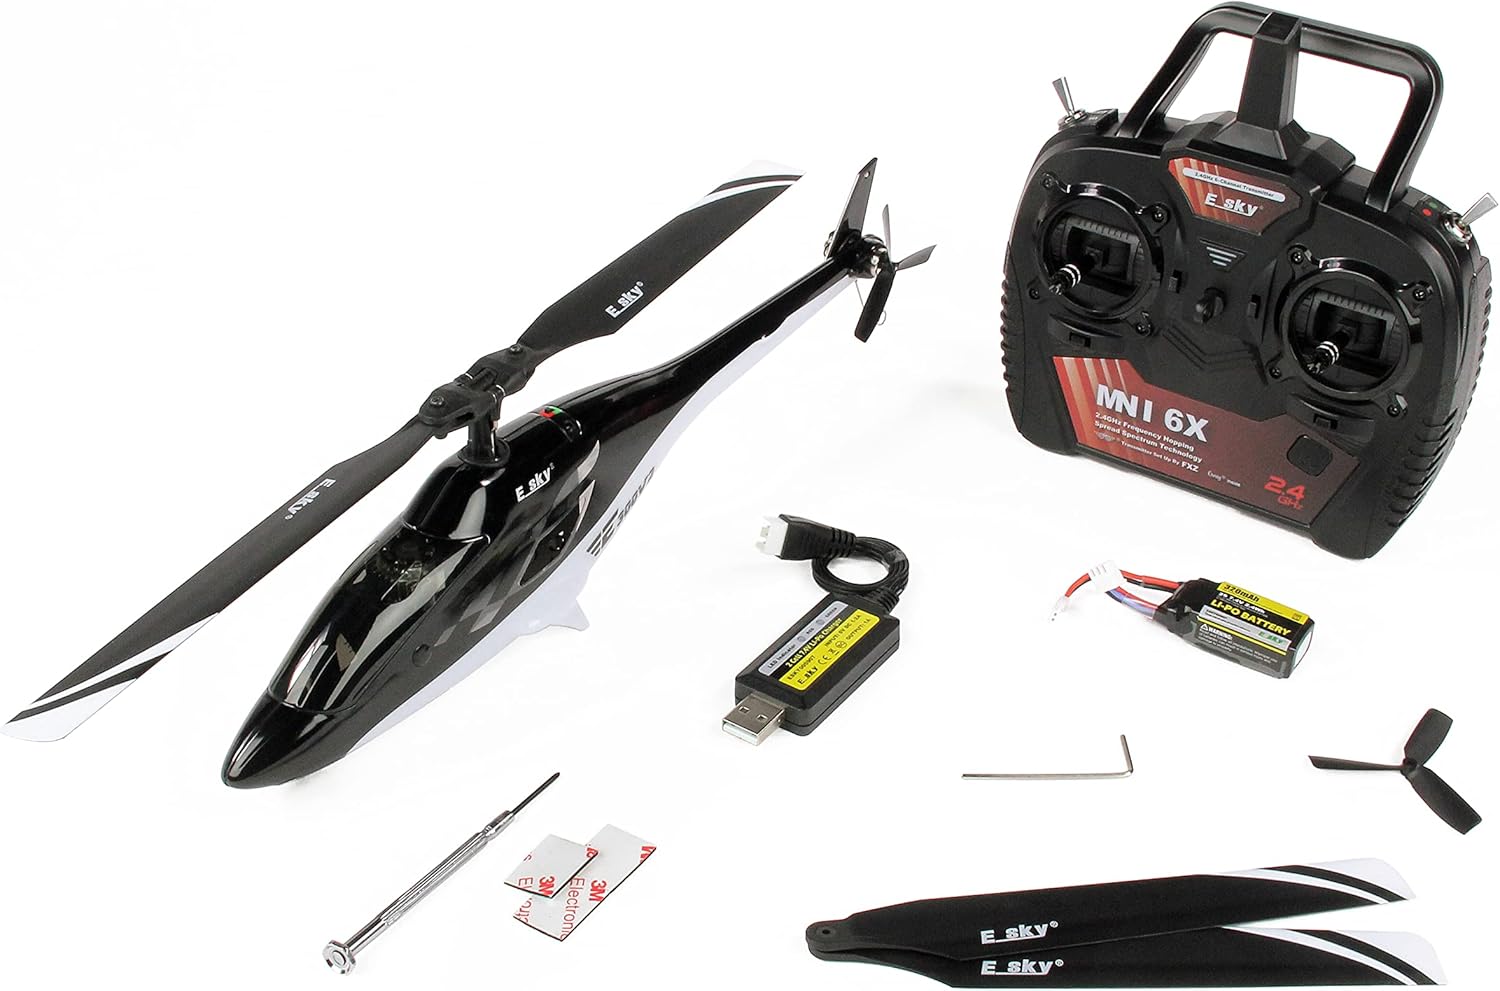
Image: The ESKY Scale 300 V2 helicopter laid out with its accompanying accessories, including the transmitter, battery, charger, spare blades, and tools.
Impostare
1. Ricarica della batteria di volo
The included 2S 7.4V 320mAh LiPo battery must be fully charged before first use. Use only the provided USB charger.
- Connect the USB charger to a compatible USB power source (e.g., computer USB port, USB wall adapter).
- Connect the LiPo battery to the charger. Ensure the polarity is correct.
- The charger's indicator light will show the charging status (refer to charger's specific light indications for full charge).
- Una volta completamente carica, scollegare la batteria dal caricabatterie. Non sovraccaricarla.
2. Installazione delle batterie del trasmettitore
Open the battery compartment on the back of the 2.4 GHz transmitter and insert 4 AA batteries, observing the correct polarity. Close the compartment securely.
3. Installing the Flight Battery in the Helicopter
Carefully open the battery hatch on the helicopter's fuselage. Insert the charged LiPo battery into the compartment and secure it, ensuring wires are not pinched. Connect the battery to the helicopter's power connector.

Immagine: A view of the ESKY Scale 300 V2 helicopter's battery compartment, showing the LiPo battery securely placed inside.
4. Collegamento del trasmettitore all'elicottero
Your helicopter and transmitter are typically pre-bound from the factory. If re-binding is necessary, follow these general steps:
- Assicurarsi che il trasmettitore sia SPENTO e che la batteria dell'elicottero sia scollegata.
- Accendere il trasmettitore.
- Connect the helicopter battery. The helicopter's indicator light will flash.
- Press and hold the bind button on the transmitter (if available) or follow the specific binding sequence outlined in the separate transmitter manual.
- Once bound, the helicopter's indicator light will become solid.
Istruzioni per l'uso
Controlli pre-volo
- Assicurarsi che la batteria di volo sia completamente carica e installata saldamente.
- Verify transmitter batteries are installed and the transmitter is powered on.
- Check that all rotor blades (main and tail) are securely attached and free from damage.
- Confirm that the flight area is clear of obstacles, people, and animals.
Basic Flight Controls (Mode 1)
| Transmitter Stick | Movimento | Helicopter Action |
|---|---|---|
| Right Stick (Vertical) | Su/Giù | Acceleratore (Ascensione/Discesa) |
| Right Stick (Horizontal) | Sinistra/Destra | Rudder (Yaw Left/Right) |
| Left Stick (Vertical) | Su/Giù | Elevator (Pitch Forward/Backward) |
| Left Stick (Horizontal) | Sinistra/Destra | Aileron (Roll Left/Right) |
The ESKY Scale 300 V2 operates in Mode 1, where throttle and rudder are on the right stick, and elevator and aileron are on the left stick.
Take-off, Hovering, and Landing
- Decollare: Place the helicopter on a flat, level surface. Slowly increase the throttle until the helicopter lifts off the ground. Make small, precise adjustments to maintain stability.
- in bilico: Once airborne, adjust the throttle to maintain a constant altitude. Use the elevator and aileron sticks for minor positional corrections to keep the helicopter stable in the air.
- Landing: Slowly decrease the throttle while maintaining control with the other sticks. Aim for a gentle descent onto a flat surface. Once landed, immediately reduce throttle to zero.
Caratteristiche speciali
- Stabilizzazione giroscopica a 6 assi: The integrated 6-axis gyroscope provides excellent flight stability, making it easier for beginners to control.
- Anti-Panic Switch: This feature helps stabilize the helicopter if you lose control. Refer to your transmitter manual for the exact button and operation.
- Dual Rate Switch: Adjusts the sensitivity of the controls. Use lower rates for beginners for smoother, less aggressive control, and higher rates for experienced pilots for more agile maneuvers.
- Luci LED: Bright LED lights aid in orientation during flight, especially in low-light conditions.

Image: The ESKY Scale 300 V2 helicopter, showcasing its sleek black and white fuselage and main rotor blades, ready for flight.
Manutenzione
Una manutenzione regolare garantisce la longevità e le prestazioni ottimali del tuo elicottero.
- Pulizia: After each flight, gently wipe down the helicopter with a soft, dry cloth to remove dust and debris. Avoid using water or solvents.
- Ispezione delle pale del rotore: Regularly inspect the main and tail rotor blades for any cracks, chips, or deformation. Replace damaged blades immediately using the provided spare set or genuine Esky parts.
- Ispezione del motore e degli ingranaggi: Check the motors and gears for any signs of wear or obstruction. Ensure smooth rotation of all moving parts.
- Cura della batteria:
- Do not store LiPo batteries fully charged or fully discharged for extended periods. Store them at a "storage charge" (around 3.8V per cell).
- If the helicopter will not be used for a long time, disconnect the battery from the helicopter.
- Serraggio delle viti: Controllare periodicamente tutte le viti e gli elementi di fissaggio per assicurarsi che siano ben serrati. Non serrare eccessivamente.

Immagine: Un dettaglio view of the helicopter's flybarless rotor head assembly, showing the main rotor attachment points.
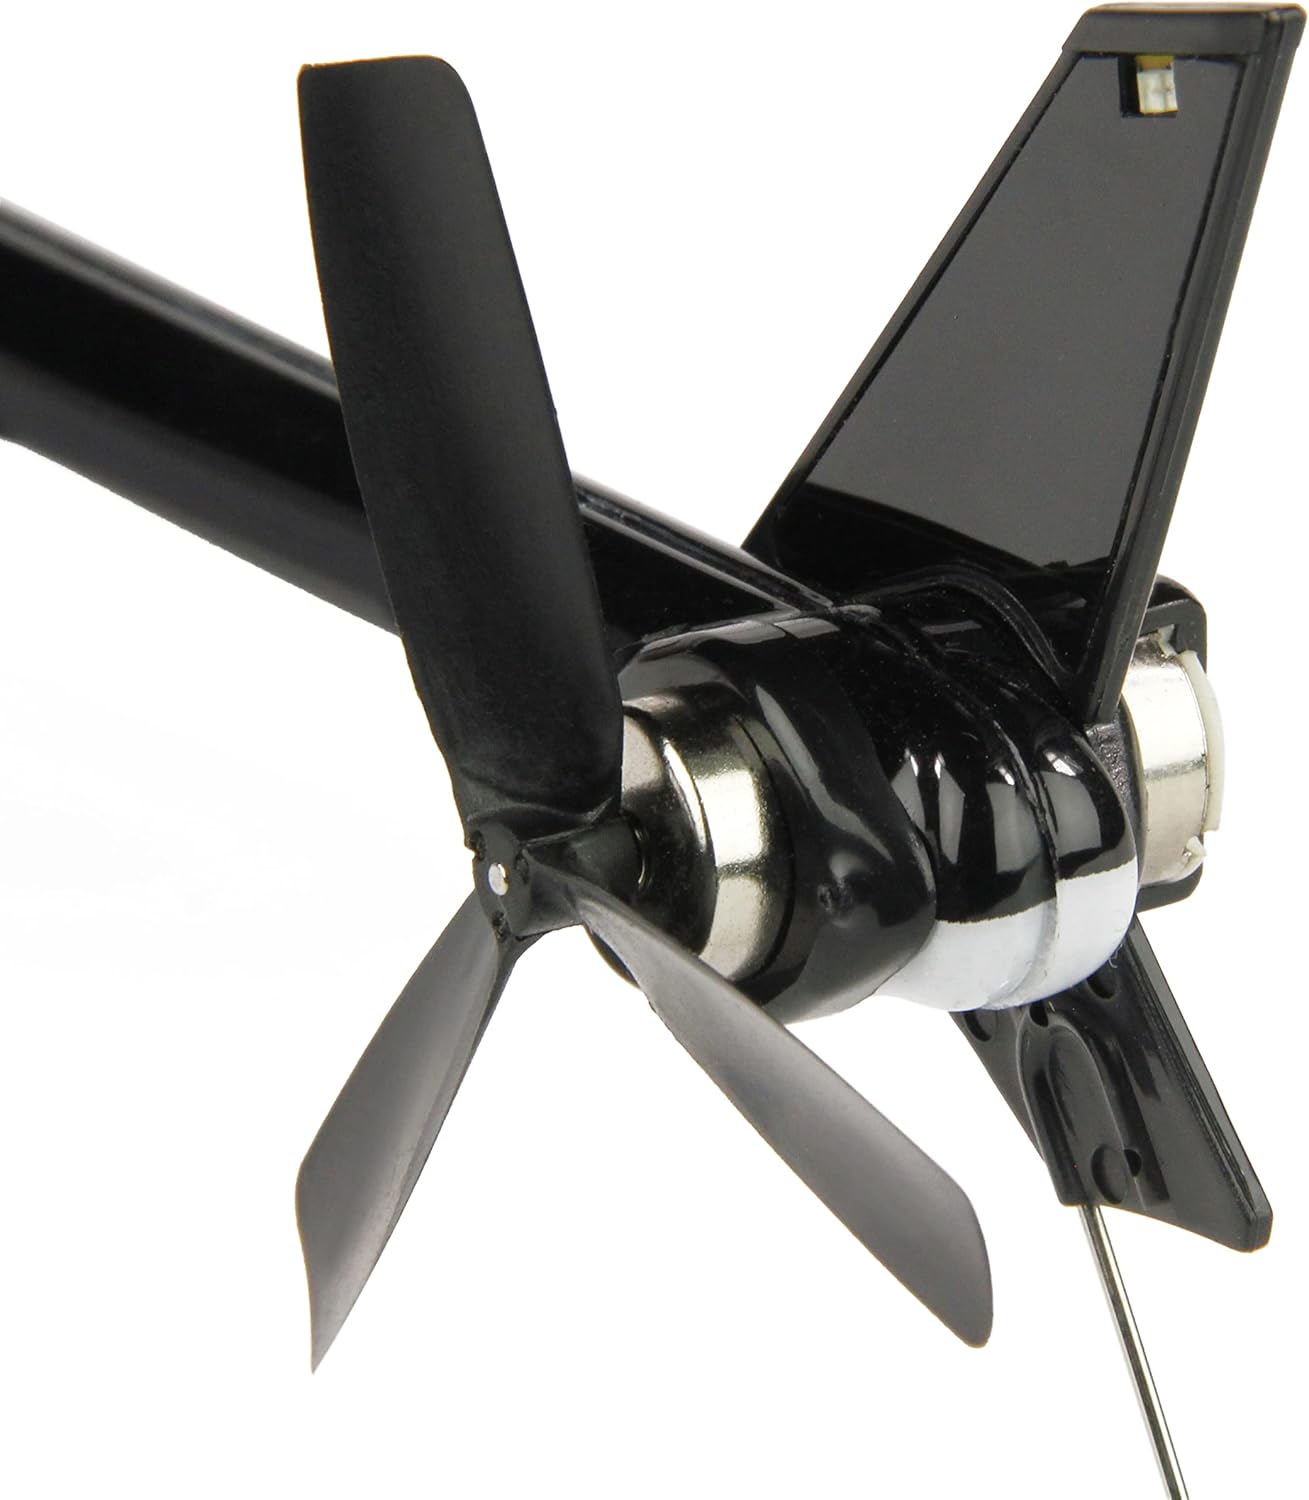
Image: A close-up shot of the helicopter's tail rotor, highlighting its design and connection to the tail boom.
Risoluzione dei problemi
Fare riferimento a questa sezione per problemi comuni e le loro possibili soluzioni.
| Problema | Possibile causa | Soluzione |
|---|---|---|
| L'elicottero non si accende. | Battery not connected or discharged; Transmitter not powered on; Loose connection. | Ensure flight battery is charged and connected. Turn on transmitter. Check all connections. |
| L'elicottero è instabile o va alla deriva. | Uncalibrated gyro; Damaged rotor blades; Wind interference. | Perform gyro calibration (refer to transmitter manual). Inspect and replace damaged blades. Fly in calm conditions. |
| Nessuna risposta dai controlli. | Not bound to transmitter; Transmitter batteries low/dead; Out of range. | Re-bind helicopter and transmitter. Replace transmitter batteries. Ensure you are within operating range. |
| Breve tempo di volo. | Batteria non completamente carica; Degrado della batteria; Volo aggressivo. | Ensure battery is fully charged. Consider replacing old batteries. Practice smoother flight. |
Specifiche
| Caratteristica | Dettaglio |
|---|---|
| Nome del modello | 300 V2 (Mode 1) |
| Marca | Esky |
| Tipo di prodotto | RC Electric Helicopter |
| Tipo di rotore | Flybarless |
| Stabilizzazione | Giroscopio ad asse 6 |
| Tempo di volo | Circa 5-7 minuti |
| Tipo di batteria | 2S 7.4V 320mAh LiPo (Included) |
| Batterie del trasmettitore | 4 x AA (non inclusi) |
| Caratteristiche speciali | Flashing Light, Portable, Dual Rate Switch, Anti-Panic Switch |
| Età consigliata | 14 mesi e oltre |
| Peso dell'articolo | 1.2 chilogrammi |
Garanzia e supporto
For warranty information, technical support, or inquiries regarding spare parts, please contact the retailer or manufacturer directly. Keep your proof of purchase for any warranty claims.
You may also find support and community resources via the following links:

Image: The retail packaging box for the ESKY Scale 300 V2 helicopter, displaying product features and QR codes for support.