1. Introduzione
Thank you for choosing the NEEWER TP-M200 Heavy Duty Video Tripod. This manual provides essential information for the safe and effective use of your tripod. Please read these instructions carefully before operation and retain them for future reference. This tripod is designed for stability and smooth camera movements, suitable for various photography and videography applications with DSLR cameras and camcorders.
2. Prodotto finitoview E componenti
The NEEWER TP-M200 tripod features a robust aluminum alloy construction, a 360° fluid drag head, and a quick release plate for versatile camera mounting. Key components include:
- Fluid Drag Head: Allows for smooth 360° horizontal panning and -70° to +90° vertical tilting.
- Piastra a sgancio rapido: Equipped with 1/4" and 3/8" screws for broad compatibility with various cameras and camcorders.
- Flip Locks: Securely extend and retract the tripod legs for height adjustment.
- 70mm Bowl Base: Provides stability and allows for quick leveling on uneven surfaces.
- Mid-Level Spreader: Enhances stability and allows for precise leg angle adjustments.
- Double Tube Metal Legs: Heavy-duty design for durability and stability.
- Livella a bolla: Integrated to ensure the tripod is perfectly balanced.
- Piedini in gomma antiscivolo: Provides secure footing on various terrains.

Figure 1: Key structural components including the 70mm bowl base, mid-level spreader, and double tube metal legs.
3. Specifiche
| Marca | PIÙ NUOVI |
| Nome del modello | TP-M200 |
| Tipo di materiale | Lega di alluminio |
| Altezza massima | 200 cm (79 pollici) |
| Altezza minima | 88 cm (34.6 pollici) |
| Dimensioni piegate | 91 cm (35.8 pollici) |
| Peso dell'articolo | 5.64 chilogrammi |
| Limite di peso | 8 chilogrammi (17.6 libbre) |
| Tipo di testa | Testa fluida |
| Sezioni delle gambe | 3 |
| Dispositivi compatibili | DSLR Cameras, Camcorders, Handheld Cameras, Mirrorless Cameras, Telephoto Lens Cameras, Camera Sliders |
4. Impostazione
4.1 Apertura del treppiede
- Posizionare il treppiede su una superficie piana e stabile.
- Rilasciare i blocchi delle gambe su ciascuna gamba.
- Extend the legs to the desired height. Ensure all leg sections are fully extended or retracted evenly for optimal stability.
- Securely fasten all flip locks to prevent accidental collapse.

Figure 2: Adjustable height mechanism using flip locks, showing various height configurations from 35.8 inches (91cm) folded to 78.7 inches (200cm) fully extended.
4.2 Collegamento della fotocamera
- Individuare la piastra a sgancio rapido sulla testa fluida.
- Press the QR plate release button and slide the quick release plate out.
- Attach the quick release plate to the bottom of your camera or camcorder using the appropriate 1/4" or 3/8" screw. Ensure it is tightened securely.
- Slide the camera with the attached quick release plate back into the fluid head until it clicks into place.
- Tighten the QR plate locking knob to prevent any movement.

Figura 3: dettagliata view of the quick release plate mechanism and fluid head controls.
4.3 Livellamento del treppiede
- Adjust the tripod legs until the built-in bubble level indicates a level position.
- For fine adjustments, the 70mm bowl base allows for minor leveling without adjusting the legs. Loosen the bowl base locking knob, adjust the head until level, and then re-tighten the knob.
5. Istruzioni per l'uso
5.1 Panoramica e inclinazione
- Movimento della padella: Loosen the pan locking knob to allow horizontal rotation (360°). Tighten the knob to lock the head in position.
- Movimento di inclinazione: Loosen the tilt locking knob to allow vertical movement (-70° to +90°). Tighten the knob to secure the desired tilt angle.
- Use the fluid head handle for smooth and controlled movements.

Figure 4: Demonstrates the 360° panoramic rotation and vertical tilt range of the fluid head.
5.2 Capacità di carico
The tripod has a maximum load capacity of 8 kg (17.6 lbs). Do not exceed this weight limit to ensure stability and prevent damage to the tripod or your equipment.
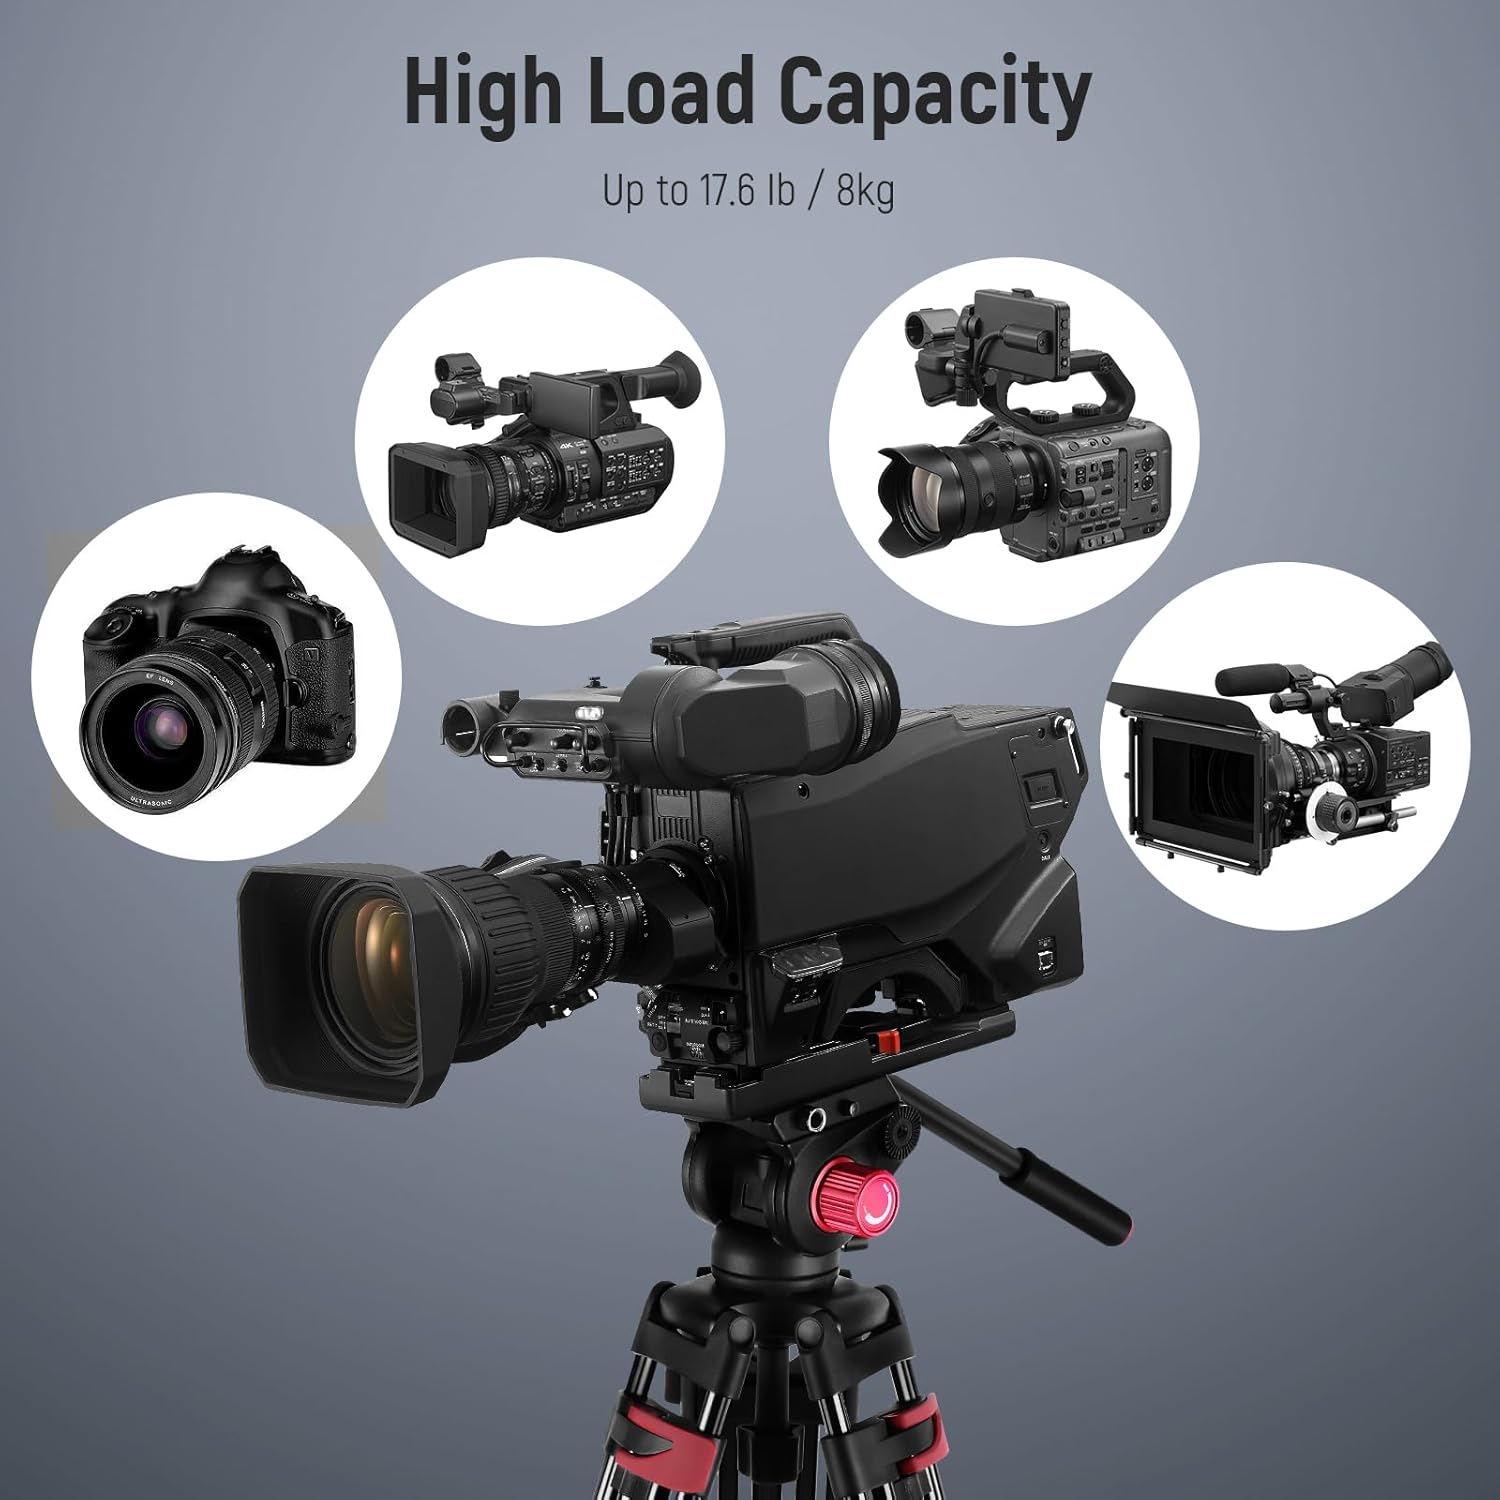
Figure 5: The tripod supports a variety of cameras and camcorders up to its maximum load capacity.
5.3 Compatibilità
The quick release plate features both 1/4" and 3/8" mounting screws, making it compatible with a wide range of photography and videography equipment, including:
- Fotocamere DSLR
- Fotocamere Mirrorless
- Fotocamere portatili
- Telephoto Lens Cameras
- Professional Video Cameras
- Camera Sliders

Figure 6: The tripod's quick release plate offers wide compatibility with 1/4" and 3/8" screws.
6. Manutenzione
Una corretta manutenzione garantisce la longevità e le prestazioni ottimali del treppiede.
- Pulizia: Pulire il treppiede con un panno morbido e asciutto dopo ogni utilizzo. Per lo sporco ostinato, utilizzare un panno leggermenteamp panno e sapone neutro, quindi asciugare accuratamente. Evitare prodotti chimici aggressivi.
- Lubrificazione: Periodically check moving parts for smooth operation. If any part feels stiff, apply a small amount of silicone-based lubricant to the joints and locks. Do not over-lubricate.
- Magazzinaggio: Store the tripod in its included carrying bag in a cool, dry place, away from direct sunlight and extreme temperatures.
- Ispezione: Regularly inspect all screws, knobs, and leg locks for tightness and wear. Tighten any loose components and replace worn parts as necessary.
7. Risoluzione Dei Problemi
If you encounter issues with your NEEWER TP-M200 tripod, refer to the following common problems and solutions:
| Problema | Possibile causa | Soluzione |
|---|---|---|
| Il treppiede è instabile o traballante. | Leg locks not fully tightened; uneven surface; weight exceeding capacity. | Ensure all leg locks are securely fastened. Adjust legs for a level surface using the bubble level. Verify camera weight is within the 8kg limit. |
| I movimenti fluidi della testa sono rigidi o a scatti. | Pan/tilt locking knobs are too tight; lack of lubrication; dirt in mechanism. | Loosen pan/tilt locking knobs slightly. Clean the head and apply a small amount of silicone lubricant if necessary. |
| Quick release plate does not attach securely. | QR plate not fully inserted; locking knob not tightened; obstruction. | Ensure the QR plate is fully seated and clicks into place. Tighten the QR plate locking knob firmly. Check for any debris obstructing the plate slot. |
| Le gambe non si estendono o si ritraggono agevolmente. | Dirt or debris in leg sections; worn leg locks. | Clean leg sections thoroughly. Inspect leg locks for damage and replace if necessary. |
8. Garanzia e supporto
This NEEWER TP-M200 tripod comes with a Garanzia del produttore di 1 anno dalla data di acquisto. Questa garanzia copre difetti di materiali e lavorazione in condizioni di normale utilizzo.
For warranty claims, technical support, or any inquiries regarding your product, please contact NEEWER customer service through the retailer where you purchased the product or visit the official NEEWER websito per le informazioni di contatto.
Conservare la prova d'acquisto per la convalida della garanzia.