Introduzione
Thank you for choosing the EUG Auto Focus Smart Projector. This manual provides essential information for setting up, operating, and maintaining your projector to ensure optimal performance and longevity. Please read this manual thoroughly before using the product and retain it for future reference.
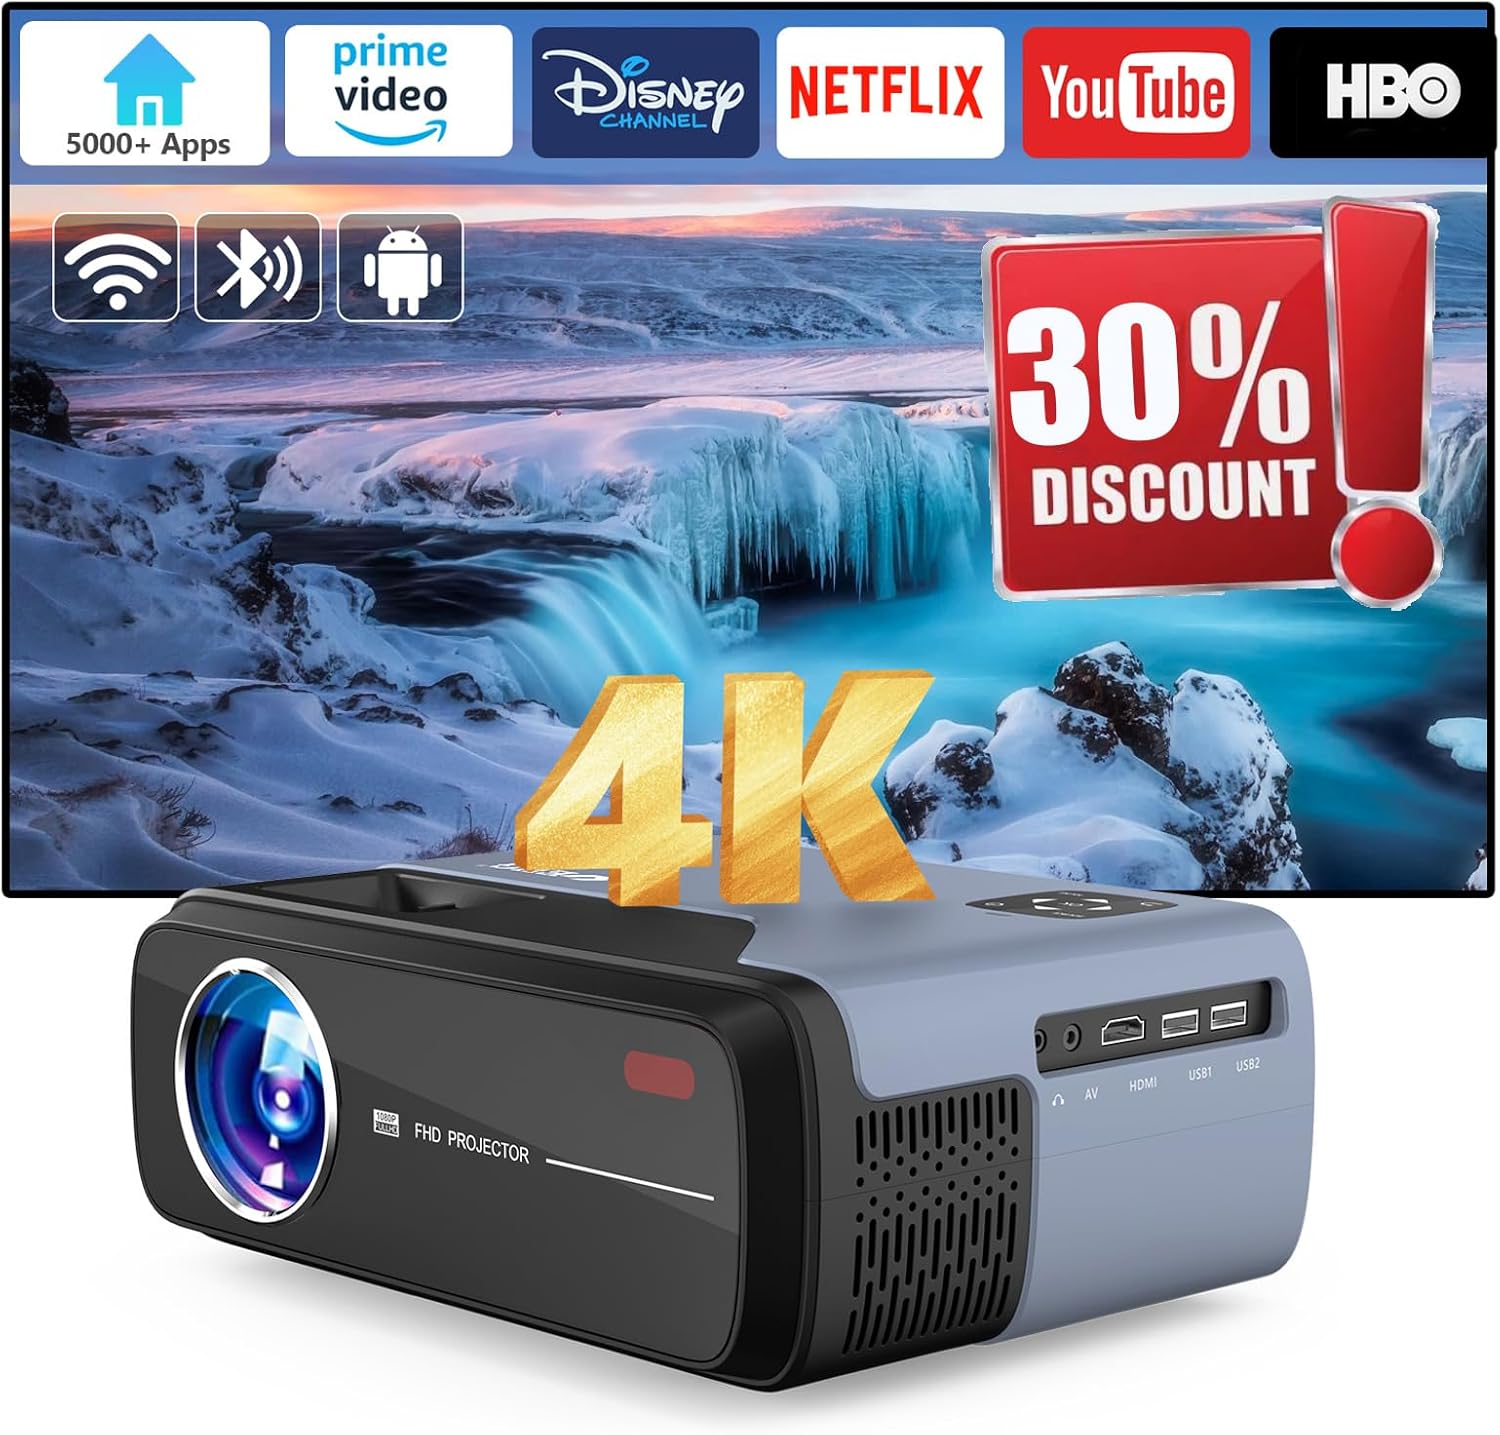
Image: The EUG Auto Focus Smart Projector, showcasing its sleek design and connectivity ports.
Informazioni sulla sicurezza
Per prevenire incendi o scosse elettriche, non esporre l'apparecchio a pioggia o umidità. Non aprire il mobile. Per l'assistenza, rivolgersi esclusivamente a personale qualificato.
- Garantire una ventilazione adeguata intorno al proiettore.
- Non ostruire le aperture di ventilazione.
- Utilizzare solo il cavo di alimentazione fornito con il proiettore.
- Evitare l'esposizione diretta degli occhi alla lente del proiettore quando lamp è acceso.
- Keep the projector away from water and high humidity environments.
Cosa c'è nella scatola
Verificare che tutti gli articoli siano presenti al momento dell'apertura della confezione:
- EUG Auto Focus Smart Projector
- Cavo HDMI
- Cavo di alimentazione
- Manuale dell'utente (questo documento)
- Telecomando
Prodotto finitoview
Componenti e porte
Familiarizza con le varie parti del tuo proiettore:

Immagine: Posteriore view of the projector highlighting various input/output ports including HDMI, USB, AV, and audio out.
- Lente: Proietta l'immagine sullo schermo.
- Sensore di messa a fuoco: Utilizzato per la regolazione automatica della messa a fuoco.
- Aperture di ventilazione: Essential for heat dissipation. Do not block.
- Pannello di controllo: Manual buttons for basic operations.
- Porte HDMI: Connect to devices like laptops, gaming consoles, or TV sticks.
- Porte USB: Connect USB drives for media playback or firmware updates.
- Porta AV: Collegati ai dispositivi più vecchi tramite un cavo AV.
- Uscita audio (jack da 3.5 mm): Collegare altoparlanti esterni o cuffie.
- Potenza in ingresso: Collegare il cavo di alimentazione.
Impostare
1. Posizionamento
Position the projector on a stable, flat surface or mount it to the ceiling. Ensure the lens is perpendicular to the projection surface for the best image quality. The projection distance affects the screen size.

Image: Diagram illustrating recommended projection distances for various screen sizes, from 35 inches at 3.8 feet to 200 inches at 13 feet.
2. Collegamento elettrico
Connect the supplied power cord to the projector's power input and then to a power outlet.
3. Initial Power On and Auto-Correction
Press the power button on the projector or remote control. The projector will automatically perform auto-focus and 6D keystone correction to provide a clear, rectangular image within approximately 3 seconds. This feature automatically detects environmental changes and adjusts the image.

Image: Visual representation of auto keystone correction, 4P keystone, and horizontal/vertical keystone adjustments, along with the zoom function.
4. Network Connection (Wi-Fi 6)
Navigate to the settings menu on the projector's interface. Select 'Network' or 'Wi-Fi' and choose your desired network. Enter the password if prompted. The projector supports both 2.4GHz and 5GHz Wi-Fi 6 for stable and fast transmission.
5. Connessione Bluetooth
To connect external Bluetooth devices like speakers or headphones, go to the Bluetooth settings. Enable Bluetooth and select your device from the list to pair. The projector features upgraded Bluetooth 5.3 for efficient audio transmission.
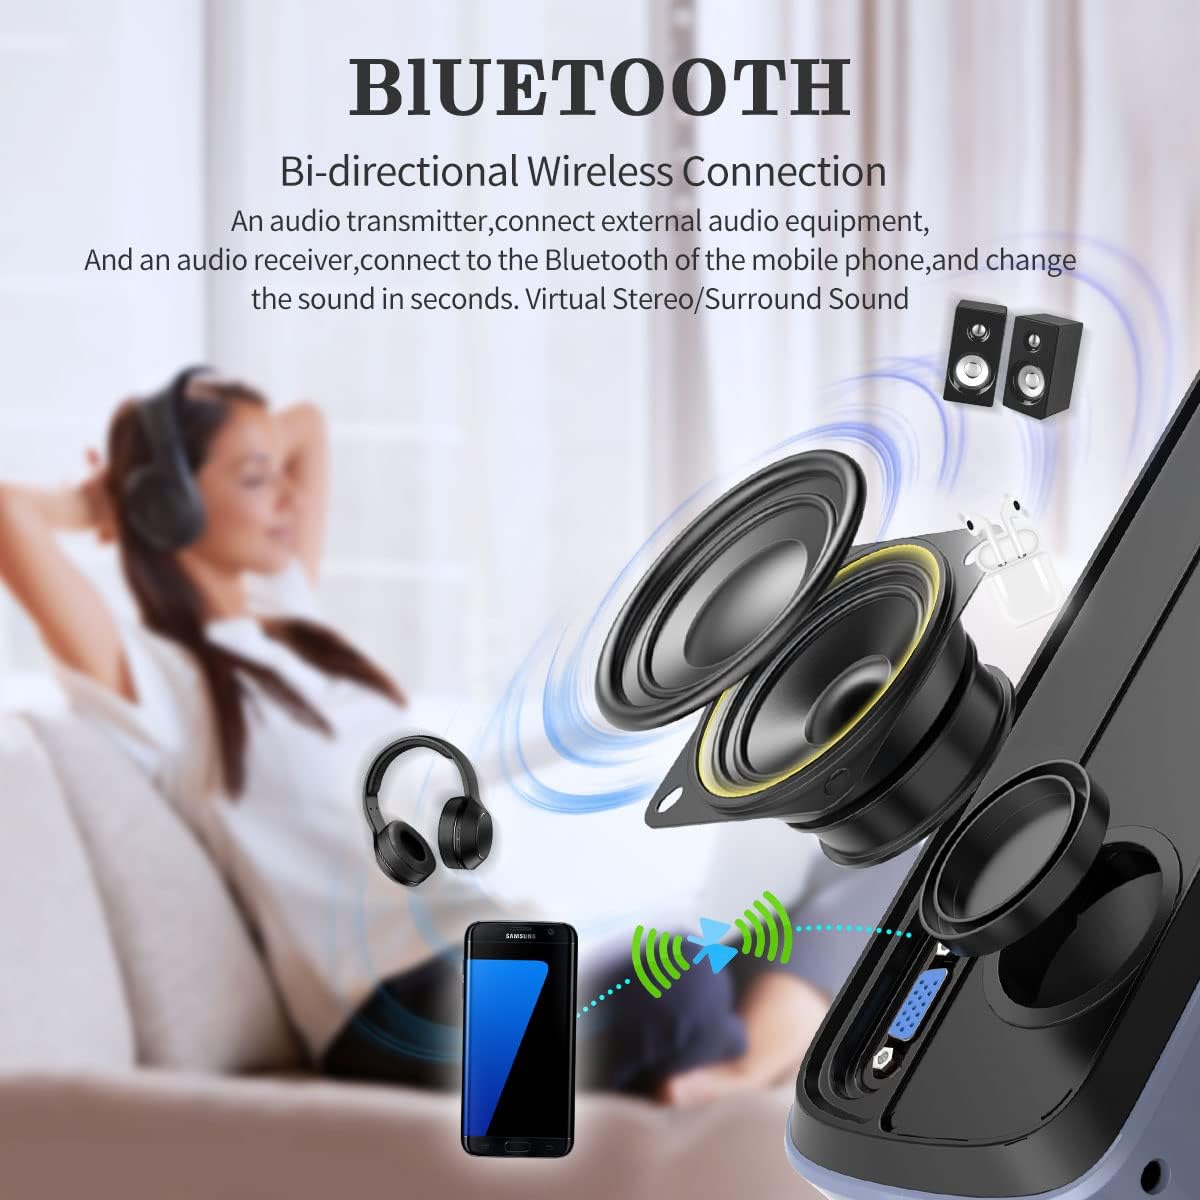
Image: Diagram illustrating the bi-directional Bluetooth connection, showing the projector connecting to headphones and external speakers, and also functioning as a Bluetooth speaker for a phone.
Istruzioni per l'uso
1. Navigazione e funzioni intelligenti
The projector runs on Android 11 with integrated Google TV, providing access to officially licensed apps like Netflix, YouTube, and Prime Video. Use the remote control to navigate the interface. Google Voice Control is also available for hands-free operation.

Image: A visual representation of the Android TV OS interface, displaying various streaming and entertainment app icons, powered by a MediaTek chip.
2. Collegamento di dispositivi esterni
The projector is equipped with VGA, AV, USB, and HDMI ports for versatile connectivity. Use the appropriate cable to connect your device (e.g., laptop, game console, TV stick, phone) to the projector. Select the correct input source from the projector's menu.
Image: A diagram showing various devices that can be connected to the projector, including TV Box, Fire Stick, Game Console, Camera, DVD, Speaker/Headset, Phone/Tablet, and Laptop/PC.
3. Mirroring dello schermo
The projector supports Airplay and Miracast for mirroring content from your Android or iOS devices. Ensure both the projector and your device are connected to the same Wi-Fi network. Select the screen mirroring option on the projector and follow the instructions on your device.

Image: Illustration of multi-screen sharing capabilities, including Airplay, Miracast, and DLNA, demonstrating how a smartphone can be turned into a large screen display.
4. Regolazione delle impostazioni
- Funzione zoom: Adjust the image size from 50% to 100% without moving the projector. Access this feature through the settings menu.
- Impostazioni immagine: Adjust brightness, contrast, color, and sharpness to optimize your viewesperienza di acquisizione.
- Impostazioni audio: Control volume, audio output, and sound modes. The projector has built-in 30W HiFi dual speakers with Dolby Audio & DTS-HD support.
Manutenzione
1. Pulizia
- Lente: Utilizzare un panno morbido e privo di lanugine, specificamente progettato per lenti ottiche. Non utilizzare detergenti abrasivi.
- Esterno: Pulire l'esterno del proiettore con un panno morbido e asciutto. Per macchie ostinate, strofinare leggermenteampimmergi il panno nell'acqua.
- Ventilazione: Periodically check and gently clean the ventilation openings to ensure proper airflow and heat dissipation.
2. Conservazione
When not in use for extended periods, store the projector in a cool, dry place, away from direct sunlight and excessive dust. Use the original packaging or a protective case if available.
Risoluzione dei problemi
| Problema | Soluzione |
|---|---|
| Nessuna immagine proiettata | Ensure the power cord is securely connected. Check if the correct input source is selected. Verify the lens cap is removed. |
| L'immagine è sfocata | Allow the auto-focus to complete. If still blurry, manually adjust focus if an option is available, or ensure the projector is within optimal projection distance. |
| L'immagine è distorta (trapezio) | Ensure the projector is placed perpendicular to the screen. The 6D keystone correction should automatically adjust; if not, check keystone settings in the menu. |
| Nessun suono | Check the volume level on the projector and the connected source. Ensure external speakers are properly connected and powered on if used. Verify audio output settings. |
| Il telecomando non funziona | Controllare le batterie del telecomando. Assicurarsi che non vi siano ostacoli tra il telecomando e il ricevitore IR del proiettore. |
| Problemi di connessione Wi-Fi | Ensure the Wi-Fi password is correct. Restart the projector and your router. Try connecting to a different Wi-Fi band (2.4GHz or 5GHz). |
Specifiche
| Caratteristica | Dettaglio |
|---|---|
| Marca | UEG |
| Numero di modello | FBA-US1-700D+AB-M |
| Risoluzione dello schermo | 3840 x 2160 (supporto 4K) |
| Risoluzione nativa | Formato: 1080p |
| Luminosità | 950 ANSI Lumen |
| Rapporto di contrasto | 9000:1 |
| Sistema operativo | Android 11 with Google TV |
| Memoria interna | 32 GB |
| Connettività | Wi-Fi 6 (2.4GHz/5GHz), Bluetooth 5.3, HDMI (x2), USB (x2), AV, 3.5mm Audio Jack |
| Caratteristiche speciali | Auto Focus, 6D Keystone Correction, Auto Obstacle Avoidance, Auto Screen Alignment, Google Voice Control, Game Mode (60Hz refresh rate, 20ms latency) |
| Altoparlanti | 30W HiFi Dual Speakers (Dolby Audio & DTS-HD support) |
| Diagonale dello schermo visibile | Fino a 200 pollici / 508 cm |
| Peso dell'articolo | 4.4 libbre |
| Colore | Blu |
Garanzia e supporto
For warranty information and technical support, please refer to the warranty card included with your product or visit the official EUG websito. Conservare la ricevuta d'acquisto come prova d'acquisto per eventuali reclami in garanzia.
For further assistance, you may contact EUG customer service through their official channels.