
1. Introduzione
The TecTake 801019 Solar Shower is designed to provide a refreshing outdoor showering experience using solar energy. Its special plastic column material efficiently stores solar energy to heat the water in the 35-liter reservoir. This shower features a swivel rain shower head, a continuously adjustable single-lever mixer for temperature control, and a foot tap for convenience. This manual provides essential information for safe installation, operation, and maintenance of your solar shower.

Image 1.1: The TecTake 801019 Solar Shower unit.
2. Istruzioni di sicurezza
Please read and understand all safety instructions before installing and operating the solar shower. Failure to follow these instructions may result in injury or damage to the product.
- Installazione: Ensure the shower is installed on a stable, level surface capable of supporting the weight of the shower when full of water (approximately 43.7 kg). Use the provided mounting hardware to secure the base firmly to the ground.
- Temperatura dell'acqua: Water heated by solar energy can reach high temperatures. Always test the water temperature with your hand before showering to prevent scalding. Adjust the mixer lever to achieve a comfortable temperature.
- Pressione dell'acqua: The recommended water pressure is 3.5 bar. Do not exceed this pressure to avoid damage to the shower unit or hose connections.
- Drenaggio: Ensure proper drainage is available at the installation site to prevent water accumulation and potential slipping hazards.
- winterization: In freezing temperatures, completely drain the solar shower to prevent damage from ice expansion. Disconnect the water supply and open all taps to ensure all water is removed.
- Bambini e animali domestici: Keep children and pets away from the shower during operation, especially when water is hot. Supervise children when they are near the shower.
- Manutenzione: Regularly inspect the shower for any signs of wear, leaks, or damage. Do not use abrasive cleaners or harsh chemicals that could damage the surface or internal components.
3. Contenuto della confezione
Prima di iniziare il montaggio, verificare che tutti i componenti siano presenti e integri. La confezione deve contenere:
- Solar Shower Unit (column with integrated tank, shower head, mixer, foot tap)
- Mounting Hardware (bolts, washers, anchors)
- Manuale di istruzioni

Image 3.1: Included mounting hardware.
4. Configurazione e installazione
Follow these steps for proper installation of your solar shower:
- Scegli la posizione: Select a sunny, level, and stable location for the shower. The area should have good drainage.
- Base sicura: Position the shower base and mark the drilling points. Drill holes and secure the shower to the ground using the provided mounting hardware (bolts, washers, anchors). Ensure the shower is firmly fixed and does not wobble.
- Collegare l'alimentazione idrica: Connect a standard garden hose (1/2" connection) to the inlet at the base of the shower. Ensure the connection is tight to prevent leaks.

Image 4.1: Water hose connection point.
- Riempire il serbatoio: Slowly turn on the water supply. The shower column will begin to fill with water. Once the tank is full, water will flow from the shower head. Turn off the water supply once the tank is full.
- Riscaldamento solare: Allow the shower to sit in direct sunlight for several hours to heat the water. The heating time will vary depending on sunlight intensity and ambient temperature.
5. Istruzioni per l'uso
Using your TecTake Solar Shower is straightforward:
- Regola la temperatura dell'acqua: Use the single-lever mixer to control the water flow and temperature. Move the lever to mix hot water from the tank with cold water from the supply hose until the desired temperature is reached. Always test the water temperature before stepping under the shower.

Image 5.1: Single-lever mixer for temperature control.
- Regolazione soffione doccia: The rain shower head features a 360° swivel ball joint, allowing you to adjust its angle for optimal comfort.

Image 5.2: Adjustable shower head.
- Foot Tap: Use the lower tap for rinsing feet or filling a watering can. This tap provides cold water directly from the garden hose supply.
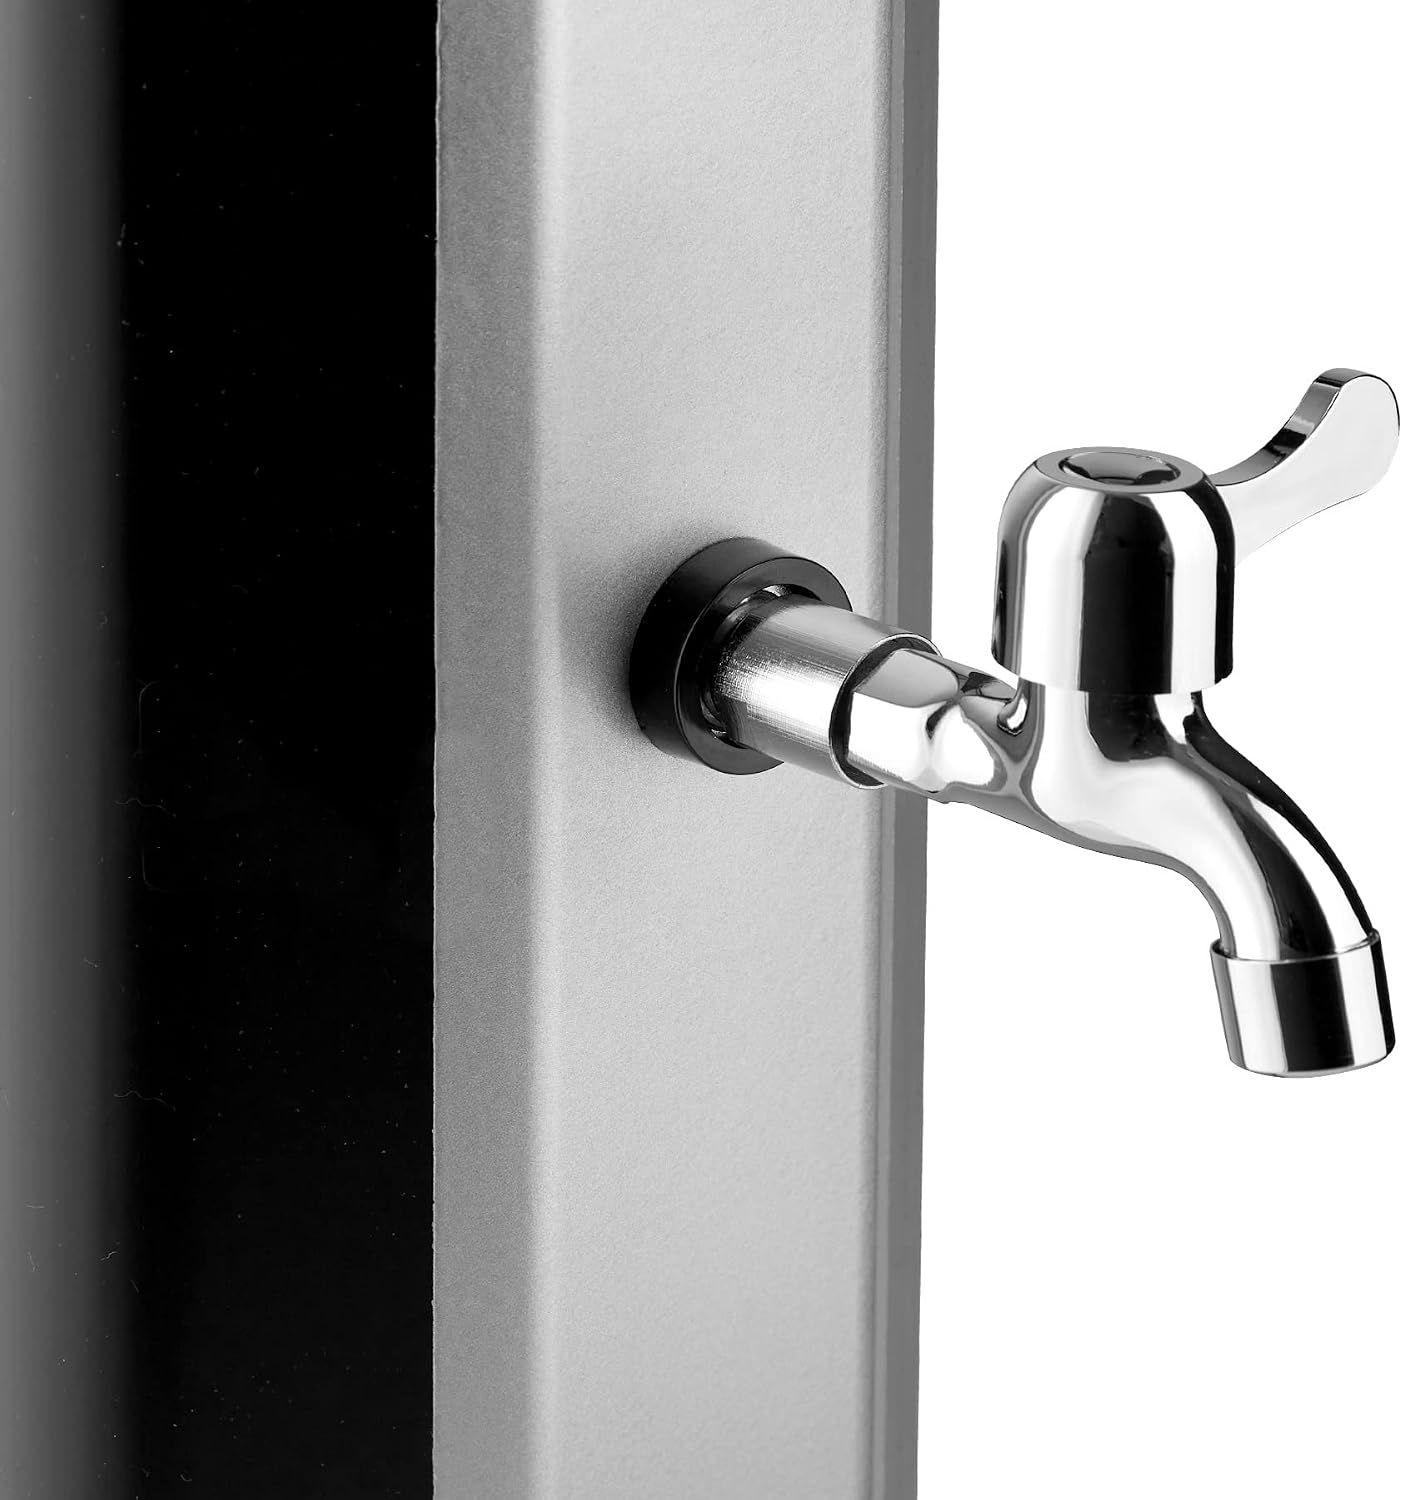
Image 5.3: Foot tap for rinsing feet.
6. Manutenzione
Regular maintenance ensures the longevity and optimal performance of your solar shower.
- Pulizia: Clean the exterior of the shower with a soft cloth and mild soap. Avoid abrasive materials or harsh chemicals that could scratch or damage the surface.
- Decalcificazione: If you notice reduced water flow from the shower head, it may be due to limescale buildup. The shower head can typically be unscrewed and cleaned with a descaling solution suitable for plastics and chrome.
- Rimessaggio invernale: Before the first frost, completely drain all water from the shower. Disconnect the garden hose and open both the mixer lever and the foot tap to ensure no water remains in the tank or pipes. Store the shower in a frost-free location if possible, or cover it to protect it from extreme weather.
- Ispezione delle perdite: Periodically check all connections for leaks. Tighten any loose fittings as necessary.
7. Risoluzione Dei Problemi
Ecco le soluzioni ai problemi più comuni che potresti riscontrare:
- Niente acqua calda:
- Ensure the shower has been in direct sunlight for sufficient time.
- Check if the mixer lever is correctly positioned to allow hot water flow.
- Bassa pressione dell'acqua:
- Verify that the garden hose is fully open and not kinked.
- Check for blockages in the shower head or taps due to limescale.
- Ensure your household water pressure meets the recommended 3.5 bar.
- Perdite nei collegamenti:
- Tighten all hose connections and fittings.
- Check rubber seals and O-rings for damage and replace if necessary.
- Water Drains Slowly from Foot Tap:
- Ensure the foot tap is fully open.
- Check for any obstructions in the foot tap mechanism.
8. Specifiche
Detailed technical specifications for the TecTake 801019 Solar Shower:
| Caratteristica | Specificazione |
|---|---|
| Numero di modello | 404474 |
| Dimensioni totali (L x P x A) | Circa. 18 x 44.5 x 217 cm |
| Capacità del serbatoio dell'acqua | ca. 35 litri |
| Diametro del soffione della doccia a pioggia | Circa 15 cm |
| Column Dimensions (L x W) | Circa. 17 x 13 cm |
| Dimensioni base (L x P) | Circa. 18 x 14.5 cm |
| Pressione dell'acqua consigliata | 3.5 barre |
| Collegamento del tubo flessibile | 1/2 inch garden hose |
| Shower Head Height (from ground) | Circa 194 cm |
| Foot Tap Height (from ground) | Circa 38.5 cm |
| Peso | Circa 8.7 kg |
| Materiali | PVC, ABS plastic, Brass, EPDM plastic, Steel |

Image 8.1: Dimensional drawing of the solar shower.
9. Garanzia e supporto
Information regarding specific warranty terms and customer support contact details is not provided in the product description. Please refer to your purchase documentation or contact the retailer for warranty claims and technical assistance.