1. Introduzione
The Vacmaster VK1620SWC is a powerful and versatile 1600W 20L wet and dry vacuum cleaner designed for various cleaning tasks in workshops, homes, and vehicles. It features a robust stainless steel tank, HEPA 13 filtration, and functions for dry vacuuming, wet vacuuming, blowing, and even carpet/upholstery washing. This manual provides essential information for safe operation, assembly, maintenance, and troubleshooting to ensure optimal performance and longevity of your appliance.
2. Istruzioni di sicurezza
AVVERTENZA: leggere tutte le avvertenze e le istruzioni di sicurezza prima di utilizzare questo apparecchio.
- Always unplug the vacuum cleaner from the power outlet before cleaning, servicing, or performing any maintenance.
- Non aspirare liquidi infiammabili o combustibili, ceneri calde o oggetti appuntiti.
- Tenere mani, piedi, indumenti larghi e capelli lontani dalle aperture e dalle parti mobili.
- Non utilizzare l'aspirapolvere se il cavo o la spina sono danneggiati.
- Questo apparecchio non è destinato all'uso da parte di persone con ridotte capacità fisiche, sensoriali o mentali, o prive di esperienza e conoscenza, a meno che non siano supervisionate o istruite.
- Ensure all filters are correctly installed for the intended operation (dry or wet).
- Do not immerse the motor head in water.
3. Contenuto della confezione
Disimballare con cura tutti gli articoli e assicurarsi di aver ricevuto i seguenti componenti:
- Vacmaster VK1620SWC Wet & Dry Vacuum Cleaner Unit
- Tubo flessibile
- Extension Wands (typically 2-3 pieces)
- Bocchetta per pavimenti (per uso asciutto e bagnato)
- Strumento per fessure
- Upholstery/Brush Tool
- Filtro HEPA
- Prefiltro lavabile
- Foam Filter (for wet vacuuming, usually pre-installed or separate)
- Manuale di istruzioni

Image: All components included with the Vacmaster VK1620SWC vacuum cleaner.
4. Assemblaggio
Per assemblare l'aspirapolvere prima del primo utilizzo, seguire questi passaggi:
- Montare le ruote: If not pre-assembled, attach the caster wheels to the base of the tank by pushing them firmly into their sockets until they click into place.
- Secure the Motor Head: Place the motor head onto the tank, ensuring it is properly aligned. Secure it with the side latches.
- Collegare il tubo: Insert the flexible hose into the suction inlet on the front of the tank. Twist clockwise to secure it.
- Attach Extension Wands and Nozzles: Connect the desired extension wands to the hose handle, then attach the appropriate nozzle (floor nozzle, crevice tool, etc.) for your cleaning task.
5. Istruzioni per l'uso
5.1. Aspirazione a secco
For dry vacuuming, ensure the HEPA filter and washable pre-filter are correctly installed over the float cage. These filters capture dust and debris, protecting the motor.
- Assicurarsi che il serbatoio sia vuoto e pulito.
- Install the HEPA filter and washable pre-filter.
- Connect the hose, extension wands, and dry floor nozzle or other suitable attachment.
- Collegare il cavo di alimentazione a una presa elettrica idonea.
- Portare l'interruttore di alimentazione in posizione 'ON'.
- Iniziare ad aspirare i detriti asciutti.
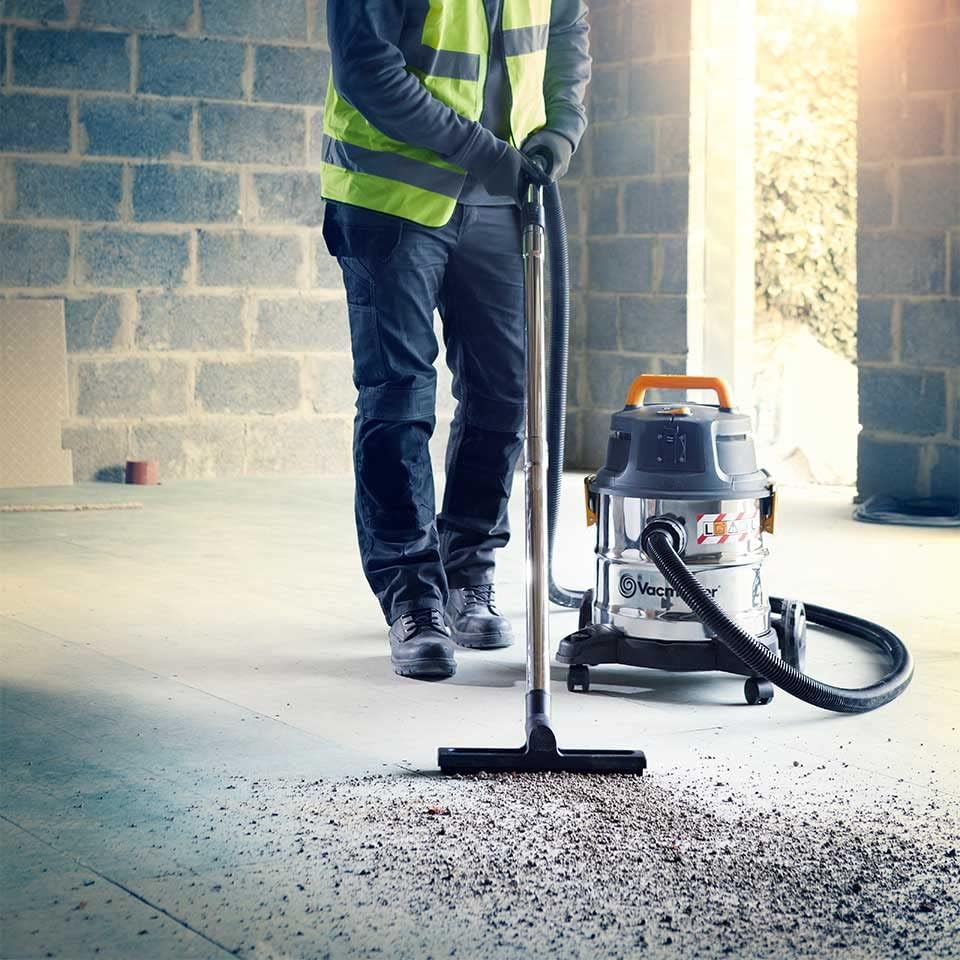
Image: Dry vacuuming operation on a workshop floor.

Image: Using the crevice tool for detailed dry cleaning.
5.2. Aspirazione a umido
For wet vacuuming, the HEPA filter and washable pre-filter must be removed. Only the foam filter should be in place over the float cage to protect the motor from liquids.
- Assicurarsi che il serbatoio sia vuoto e pulito.
- Remove the HEPA filter and washable pre-filter.
- Ensure the foam filter is properly installed over the float cage.
- Connect the hose, extension wands, and wet floor nozzle or other suitable attachment.
- Collegare il cavo di alimentazione a una presa elettrica idonea.
- Portare l'interruttore di alimentazione in posizione 'ON'.
- Begin vacuuming liquids. The float mechanism will automatically shut off suction when the tank is full.

Image: Wet vacuuming a liquid spill on a hard surface.
5.3. Funzione di soffiaggio
The vacuum cleaner can also be used as a powerful blower for clearing debris from driveways, workshops, or inflating items.
- Assicurarsi che il serbatoio sia vuoto e pulito.
- Rimuovere il tubo flessibile dall'ingresso di aspirazione.
- Insert the hose into the blowing port located on the motor head. Twist clockwise to secure.
- Collegare il cavo di alimentazione a una presa elettrica idonea.
- Portare l'interruttore di alimentazione in posizione 'ON'.
- Dirigere il tubo in modo che soffi aria secondo necessità.

Image: Using the blower function to clear debris.
5.4. Washing/Extraction Function (Carpet & Upholstery Cleaning)
This model features a washing function for thorough cleaning of carpets, upholstery, and car interiors by applying cleaning solution and then extracting the dirty water.
- Preparazione: Ensure the tank is empty and clean. Remove dry filters (HEPA, washable pre-filter) and ensure only the foam filter is in place.
- Riempire il serbatoio della soluzione: Locate the separate solution tank (if applicable, or fill the main tank with diluted cleaning solution as per detergent instructions).
- Attach Washing Nozzle: Connect the appropriate washing/upholstery nozzle to the hose.
- Applica la soluzione: Turn on the vacuum. If there's a separate pump switch for solution, activate it. Spray the cleaning solution onto the surface to be cleaned. Allow it to penetrate for a few minutes as per detergent instructions.
- Estrarre l'acqua sporca: Move the nozzle slowly over the treated area, applying downward pressure to extract the dirty water and foam into the main tank. Overlap strokes slightly.
- Risciacquo (facoltativo): For best results, you may rinse the area by repeating the extraction process with clean water in the solution tank.
- Serbatoio vuoto: Once cleaning is complete or the tank is full of dirty water, turn off the vacuum and empty the tank.
6. Manutenzione e pulizia
Regular maintenance ensures the longevity and efficiency of your Vacmaster vacuum cleaner.
6.1. Svuotamento del serbatoio
- Per detriti secchi: Unlatch the motor head and lift it off. Carefully remove the filter assembly. Dispose of the collected dry debris from the tank.
- For Liquids: Unlatch the motor head and lift it off. Carefully pour out the collected liquid from the tank into a drain.
- Rinse the tank with clean water after each use, especially after wet vacuuming or washing.
6.2. Pulizia e sostituzione del filtro
- HEPA Filter & Washable Pre-filter: For dry use, these filters can be cleaned by tapping them gently to dislodge dust or by rinsing them under running water. Allow them to air dry completely before re-installation. Replace if damaged or suction significantly decreases after cleaning.
- Filtro in schiuma: For wet use, the foam filter should be rinsed with water after each use and allowed to air dry.

Image: Removing the HEPA filter for cleaning.
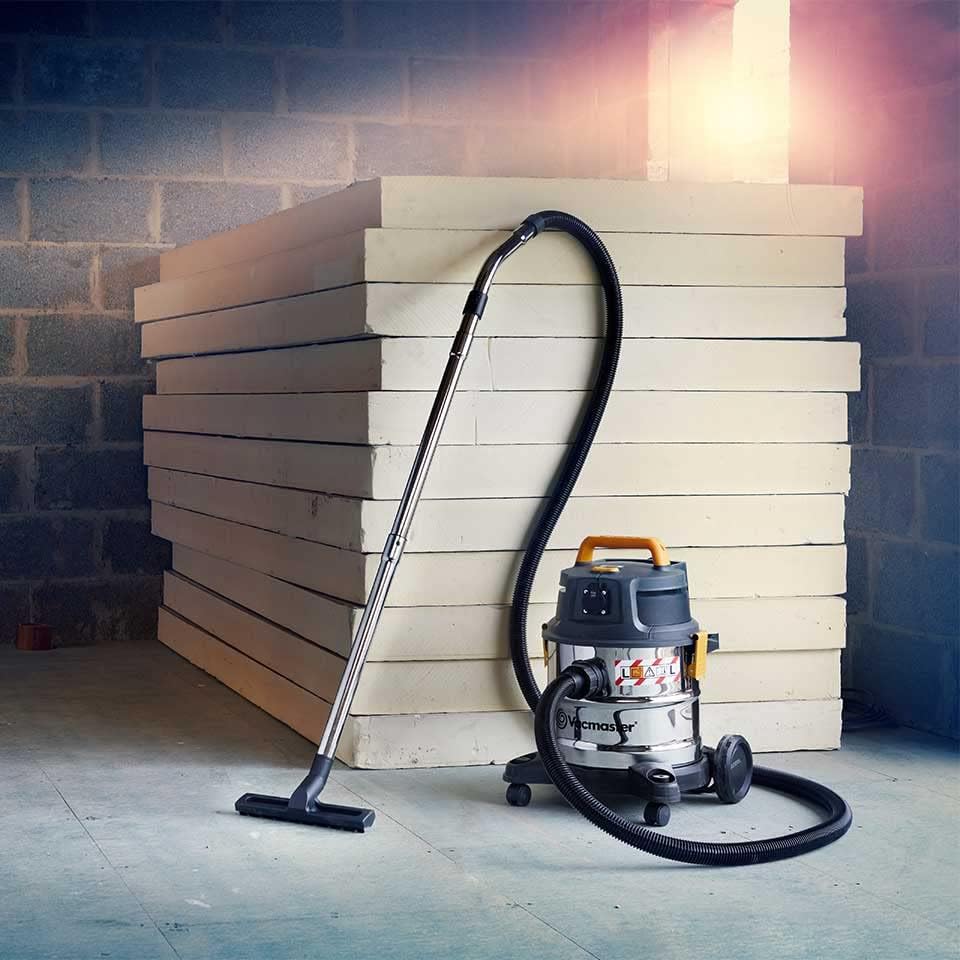
Image: Adjusting the filter bag for optimal performance.
6.3. Pulizia del tubo flessibile e degli accessori
Rinse the hose and all accessories with water to remove any debris or residue. Ensure they are dry before storing.

Image: On-board accessory storage for convenience.
7. Risoluzione Dei Problemi
Se riscontri problemi con l'aspirapolvere, consulta la tabella seguente per i problemi più comuni e le relative soluzioni.
| Problema | Possibile causa | Soluzione |
|---|---|---|
| L'aspirapolvere non si accende. | Nessuna alimentazione; Cavo/spina di alimentazione danneggiati; Interruttore difettoso. | Check power outlet; Inspect cord/plug for damage; Contact customer support. |
| Bassa potenza di aspirazione. | Tubo/ugello intasato; Serbatoio pieno; Filtro sporco/intasato; Installazione del filtro non corretta. | Clear blockages; Empty tank; Clean/replace filters; Ensure filters are correctly seated. |
| Il motore si surriscalda e si spegne. | Clogged filter; Blocked hose; Prolonged heavy use. | Clean/replace filter; Clear blockages; Allow unit to cool down before restarting. |
| Perdite d'acqua durante l'aspirazione di liquidi. | Tank not properly sealed; Damaged tank/gasket. | Ensure motor head latches are secure; Inspect tank and gasket for damage. |
8. Specifiche
| Caratteristica | Dettaglio |
|---|---|
| Numero di modello | VK1620SWC |
| Energia | 1600W |
| Capacità del serbatoio | 20 litri |
| Dimensioni del prodotto | Dimensioni: 50 x 42 x 56 cm |
| Peso del prodotto | 6 chilogrammi |
| Fattore di forma | Contenitore |
| Composizione del materiale | Acciaio inossidabile |
| Tipo di filtro | HEPA Filter, Washable Pre-filter |
| Caratteristica speciale | HEPA, Wet/Dry, Blowing, Washing Function |
| Assemblaggio richiesto | No (assemblaggio minimo per la configurazione iniziale) |
| Senza fili | NO |
9. Garanzia e assistenza clienti
Your Vacmaster VK1620SWC Wet & Dry Vacuum Cleaner comes with a Garanzia di due anni dalla data di acquisto, coprendo difetti di materiali e fabbricazione in condizioni di normale utilizzo. Si prega di conservare la prova d'acquisto per eventuali reclami in garanzia.
For technical assistance, warranty claims, or to order replacement parts, please contact Vacmaster Customer Support. Refer to the Vacmaster official websito o nella documentazione di acquisto per i dettagli di contatto specifici per la tua regione.