Introduzione
The ASPERX AX260 Jump Starter with Air Compressor is a versatile emergency tool designed for automotive and outdoor use. It combines a powerful jump starter, a smart tire inflator, a portable power bank, and a multi-mode LED flashlight into one compact device. This manual provides essential information for safe and effective operation, maintenance, and troubleshooting.

Figure 1: ASPERX AX260 Jump Starter with Air Compressor and included accessories.
Contenuto della confezione
Si prega di verificare che tutti gli articoli siano inclusi nel pacco:
- 1 x ASPERX AX260 Jump Starter with Air Compressor
- 1 x cavo Smart Jumper
- 1 x cavo di ricarica da USB-A a USB-C
- 1 x Borsa per il trasporto
- 1 x tubo della pompa
- 3 x ugelli dell'aria (per vari gonfiabili)
- 1 x Manuale utente

Figure 2: All components included in the ASPERX AX260 package.
Caratteristiche del prodotto
Jump Starter Function
The AX260 provides a powerful 3000A peak current, capable of starting 12V vehicles with up to 10L gas or 8L diesel engines. It features Force Start technology for completely exhausted batteries and operates in extreme temperatures (-4°F to 140°F).
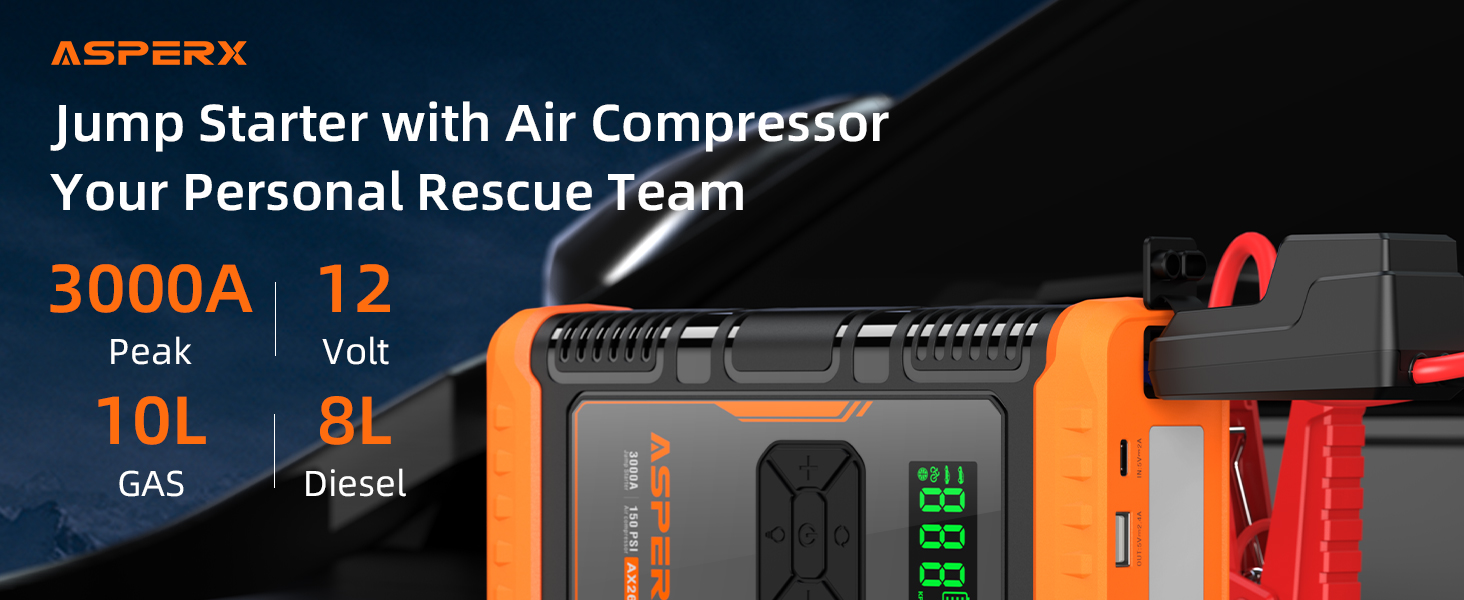
Figura 3: Guida visiva per l'avviamento di emergenza di un veicolo.
Funzione del compressore d'aria
Equipped with a smart 150PSI air compressor, the AX260 offers intelligent preset, pressure detection, and auto-shutoff functions. It delivers 35L/min inflation speed and includes 4 preset modes (SUV, Car/Motorcycle, Bike, Ball, Custom) with 3 different nozzles for various inflation needs. The LCD screen displays real-time pressure with ±1 PSI accuracy.

Figure 4: The air compressor function in action, demonstrating speed and smart features.

Figure 5: Step-by-step guide for using the tire inflator.
Funzione Power Bank
The device doubles as a 44Wh power bank, allowing you to charge your electronic devices via the included USB-A to USB-C cable.

Figure 6: The AX260 functioning as a portable power bank.
Funzione torcia
The integrated 3-mode LED flashlight provides illumination for various situations, including standard light, SOS modes, and emergency strobe.

Figure 7: The multi-mode flashlight providing illumination.
Caratteristiche di sicurezza
The ASPERX AX260 has passed authoritative certifications (UL2743/CE/RoHS) and incorporates a ten-fold protection design, including anti-spark, anti-reverse connection, and anti-overheating mechanisms, ensuring user and engine safety.

Figure 8: Safety certifications and built-in protection features.
Impostare
- Carica iniziale: Upon first receiving the jump starter, fully charge it using the provided USB-A to USB-C cable and a compatible USB adapter. Even if the battery indicator shows full, a complete initial charge is recommended for optimal performance.
- Collegare il cavo di collegamento: Insert the smart plug of the jumper cable into the jump starter's engine start port. The indicator light on the smart clamp lampeggerà alternativamente in rosso e verde.
- Collegare il tubo dell'aria: Screw the pump tube into the air intake port on the device.
Istruzioni per l'uso
Come avviare il tuo veicolo
- Assicurarsi che l'avviatore di emergenza sia sufficientemente carico (si consiglia oltre il 75%).
- Collegare il cl rossoamp al terminale positivo (+) della batteria dell'auto e al terminale nero clamp to the negative (-) terminal. The indicator light on the smart clamp dovrebbe diventare verde fisso.
- If the light is flashing green, press the 'BOOST' button on the smart clamp until it turns solid green.
- Avviare immediatamente il veicolo.
- Once the vehicle starts, remove the jumper cable from the car battery within 30 seconds.
Note: If the vehicle does not start successfully, wait for 60 seconds and then repeat the above steps. Do not connect the two clamps together, as this may damage the product.
How to Use the Air Compressor
- Ensure the pump tube is securely screwed into the device's air intake port.
- Connect the appropriate air nozzle to the item you wish to inflate (tire, ball, etc.).
- Press and hold the power button to turn on the device. The LCD screen will display the current pressure.
- Press the 'M' (Mode) button to select the desired inflation mode (SUV, Car/Motorcycle, Bike, Ball, or Custom).
- Use the '+' or '-' buttons to adjust the target pressure.
- Press the 'Start/Stop' button to begin inflation. The compressor will automatically stop once the target pressure is reached.
Note: Avoid continuous use of the air pump for more than 10 minutes. If it becomes hot, allow it to cool down for a few minutes before resuming use.
Come utilizzare la torcia elettrica
- Tieni premuto il pulsante di accensione per accendere il dispositivo.
- Press the flashlight button (light bulb icon) to cycle through the 3 modes: standard light, SOS mode, and emergency strobe.
- Press the flashlight button again to turn off the light.
Manutenzione
- Fully charge the jump starter every 3 to 6 months to maintain battery health.
- Conservare il dispositivo in un luogo fresco e asciutto, lontano dalla luce solare diretta e dall'umidità.
- Pulisci il dispositivo con un panno morbido e asciutto. Evita l'uso di prodotti chimici aggressivi o abrasivi.
- Ensure the air pump function is not used continuously for more than 10 minutes to prevent overheating.
Risoluzione dei problemi
| Problema | Possibile causa | Soluzione |
|---|---|---|
| L'avviatore di emergenza non si accende | Batteria scarica | Caricare completamente il dispositivo. |
| cl . intelligenteamp flashing red/green | Incorrect connection or battery issue | Ensure correct polarity (+ to +, - to -). If issue persists, battery may be too low or faulty. Press BOOST button if needed. |
| Il compressore d'aria non si gonfia | Hose not connected properly / Target PSI already reached | Check hose connection. Verify target PSI. |
| Device overheating during air pump use | Funzionamento continuo | Allow device to cool down for a few minutes before resuming. |
Specifiche
| Caratteristica | Dettaglio |
|---|---|
| Modello | AX260 |
| Capacità della batteria | 44.4 Wh |
| Corrente di picco | 3000A |
| Corrente di avviamento | 500A (2s) |
| Gas Engine Capacity | Fino a 10L |
| Diesel Engine Capacity | Fino a 8L |
| Gamma di pressione di gonfiaggio | 4-150 PSI |
| Temperatura di esercizio | -20°C a 60°C (-4°F a 140°F) |
| Ingresso USB-C | 5V/2A |
| Uscita USB-A | 5V/2.4A, 9V/2A, 12V/1.5A |
| Dimensioni | 10 x 5.94 x 4.25 pollici |
| Peso | 3.41 libbre |
Garanzia e supporto
ASPERX offers a 24-Month comprehensive Protection Plan covering defects in materials and workmanship. For any questions, concerns, or technical assistance, please contact our customer support team. We provide lifetime technical support.
Contact: Please refer to the user manual for specific contact information or visit the official AsperX websito per i dettagli del supporto.
Video ufficiali dei prodotti
AsperX Jump Starter with Air Compressor
Video 1: Un overview of the ASPERX Jump Starter with Air Compressor, showcasinle sue caratteristiche e il suo design.
Asperx AX260 Jump Starter Air Compressor
Video 2: A detailed demonstration of the AX260's jump-starting and air compression capabilities.
Dual Use? AsperX Jump Starter with Air Compressor
Video 3: Highlighting the dual functionality of the jump starter and air compressor.
Unboxing ASPERX Jump Starter with Air Compressor
Video 4: An unboxing video showing the contents and initial impressions of the ASPERX AX260.
Why I always keep one of these in my car
Video 5: A user's perspective on the convenience and utility of keeping the ASPERX AX260 in their vehicle for emergencies.
Let me list everything this jump starter can offer you!
Video 6: Una revisione completaview of the ASPERX AX260's various features and benefits.