
COTLIN HX-160BR
COTLIN 24-Inch Built-in Outdoor Refrigerator User Manual
Model: HX-160BR
1. Introduzione
This manual provides essential information for the safe and efficient operation of your COTLIN 24-inch Built-in Outdoor Refrigerator. Please read all instructions carefully before installation and use, and retain this manual for future reference.
2. Informazioni sulla sicurezza
La tua sicurezza e quella degli altri sono molto importanti. Abbiamo fornito molti messaggi di sicurezza importanti in questo manuale e sul tuo elettrodomestico. Leggi e rispetta sempre tutti i messaggi di sicurezza.
- Sicurezza elettrica: Assicurarsi che l'apparecchio sia collegato a una presa con messa a terra. Non utilizzare prolunghe.
- Refrigerante infiammabile: This appliance uses R600a refrigerant, which is flammable. Handle with care and ensure proper ventilation.
- Ventilazione: Do not block any ventilation openings on the appliance or in the built-in structure.
- Sicurezza dei bambini: Sorvegliare i bambini per assicurarsi che non giochino con l'apparecchio.
- Disposizione: Smaltire l'apparecchio secondo le normative locali sui refrigeranti infiammabili.
3. Configurazione e installazione
3.1 Disimballaggio
Carefully remove all packaging materials, including foam and adhesive tape. Inspect the refrigerator for any shipping damage. Keep packaging materials away from children.
3.2 Posizionamento
This refrigerator is designed for both built-in under-counter and freestanding applications, suitable for indoor or outdoor use. Ensure the installation location has adequate ventilation and is protected from direct sunlight and extreme weather conditions.

Image: The refrigerator integrated into an outdoor kitchen counter, demonstrating its suitability for outdoor environments.
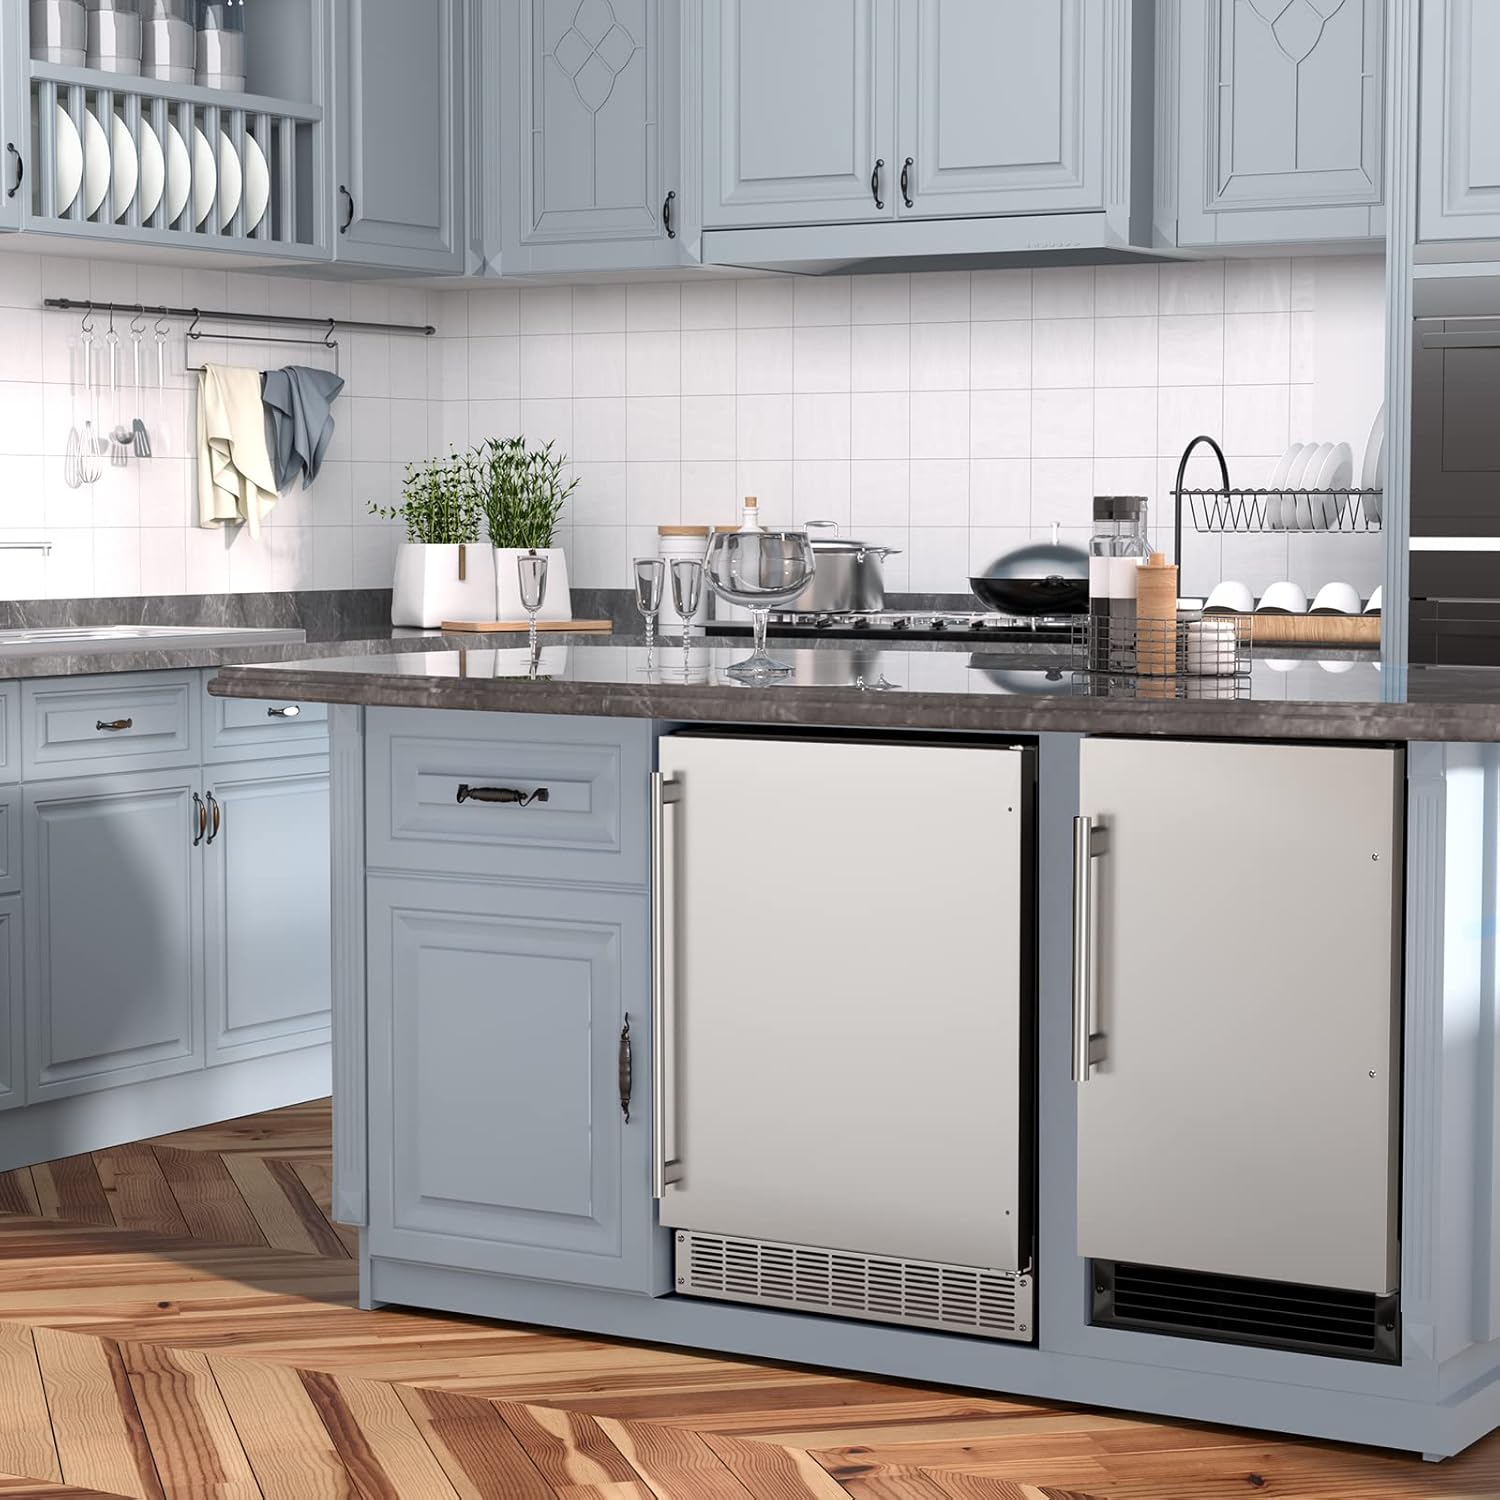
Image: The refrigerator seamlessly installed under an indoor kitchen counter, highlighting its versatility for indoor use.
For built-in installation, ensure the cutout dimensions are 24 inches (W) x 24 inches (D) x 34.6 inches (H). Allow sufficient clearance for proper ventilation, especially at the front vent.

Image: A diagram illustrating the required cutout dimensions for built-in installation, including clearances for the back and sides.
3.3 Collegamento elettrico
Connect the refrigerator to a dedicated 115V AC, 60Hz, 15A grounded electrical outlet. Do not use a two-prong adapter or an extension cord. If the power cord is damaged, it must be replaced by a qualified service technician.
3.4 Inversione della porta
The door and hinge are reversible, allowing you to choose between left or right-hand opening. Refer to the detailed instructions in the separate door reversal guide (if provided) or contact customer support for assistance. This process typically involves removing the top hinge, transferring the door, and reattaching hinges on the opposite side.
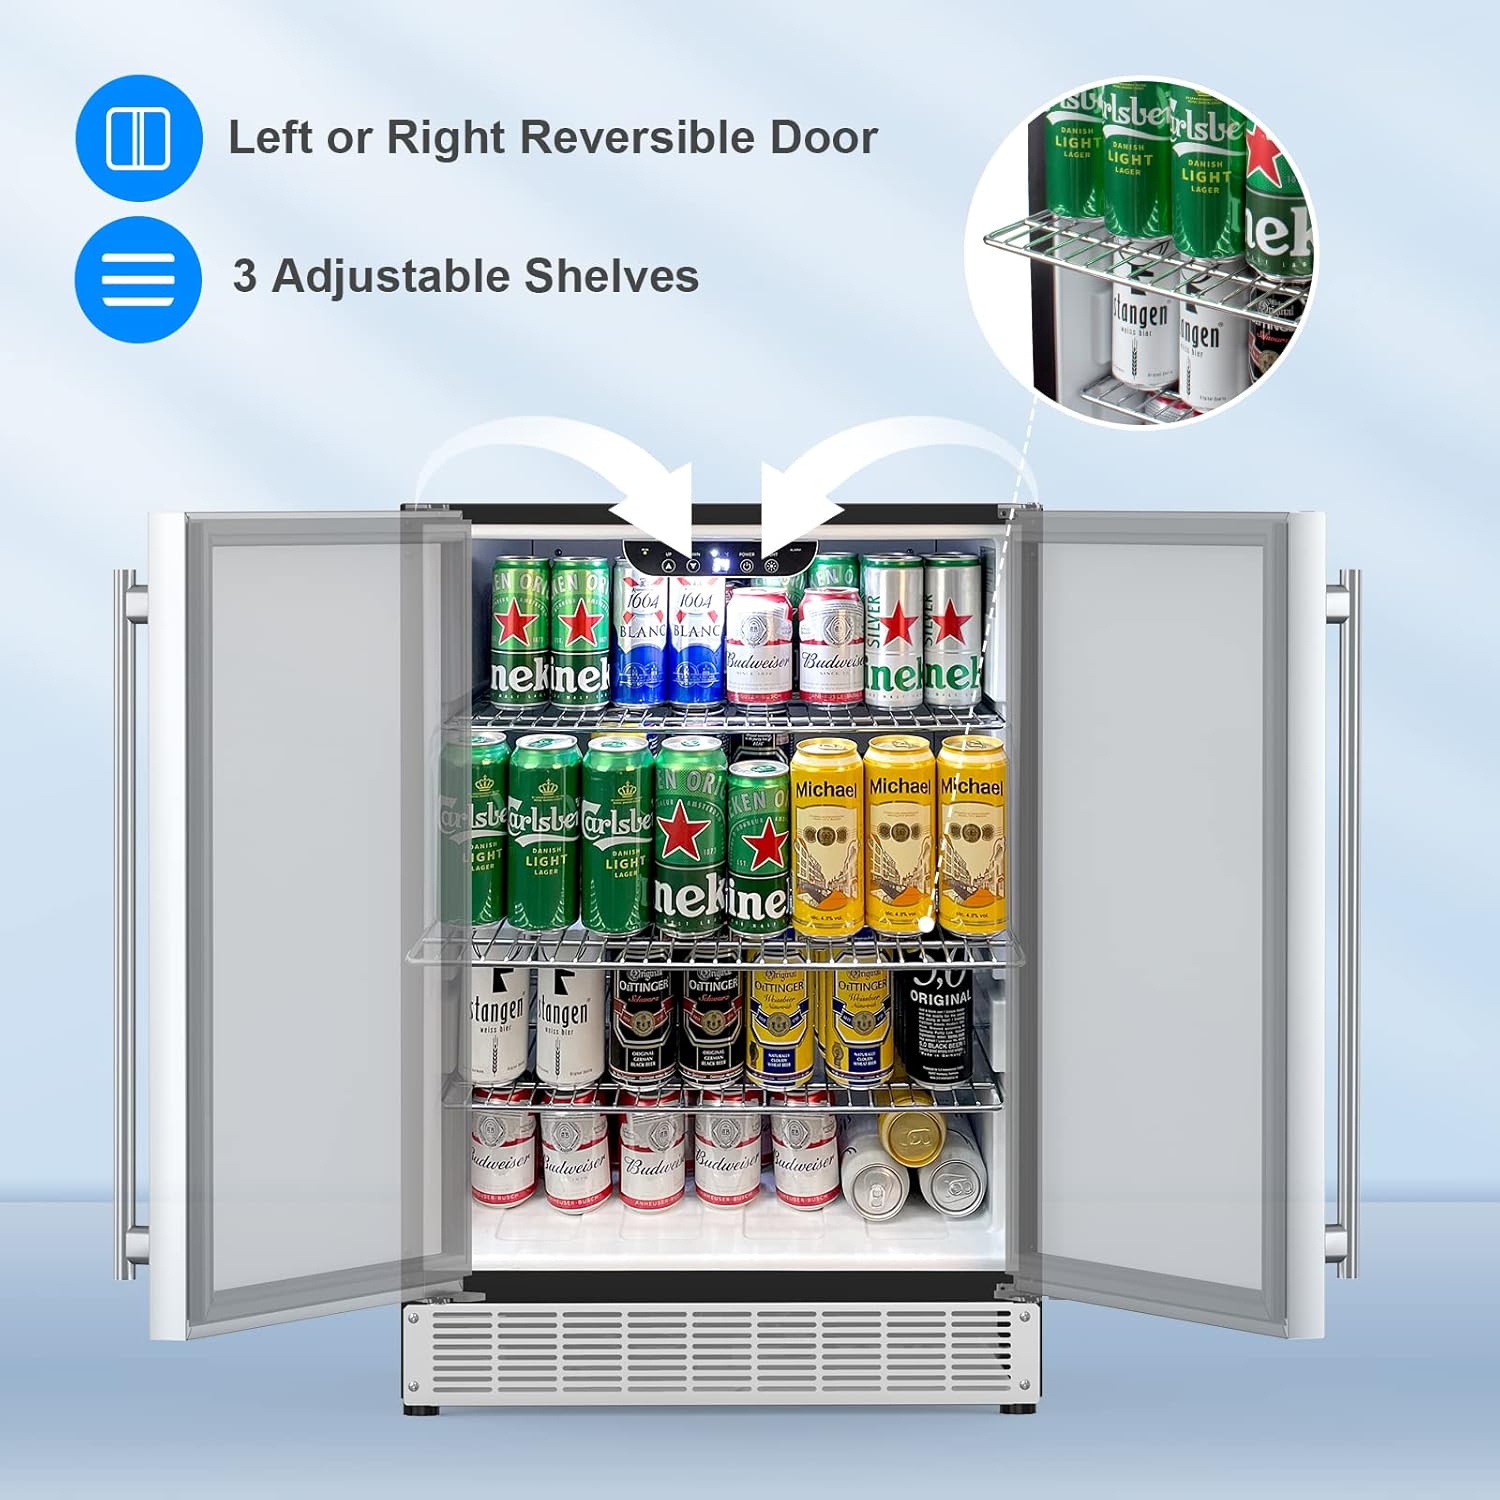
Image: The refrigerator interior with arrows demonstrating the reversible door feature and the flexibility of adjustable shelves.
3.5 Installazione dello scaffale
Your refrigerator comes with 3 adjustable wire shelves. These can be positioned at various heights to accommodate different sizes of beverages and food items. To adjust, simply lift the shelf, pull it out, and reinsert it into the desired slots.

Image: The refrigerator interior displaying various configurations of adjustable shelves to fit different beverage sizes.
4. Istruzioni per l'uso
4.1 Avvio iniziale
After installation, allow the refrigerator to stand upright for at least 2-4 hours before plugging it in. This allows the refrigerant to settle. Once plugged in, let the unit run for several hours to reach its set temperature before loading it with items.
4.2 Controllo della temperatura
The refrigerator features a digital temperature display and controls located inside the unit. The temperature range is adjustable from 34°F to 65°F (1°C to 18°C). Use the "UP" and "DOWN" buttons to set your desired temperature. The display will show the current internal temperature.
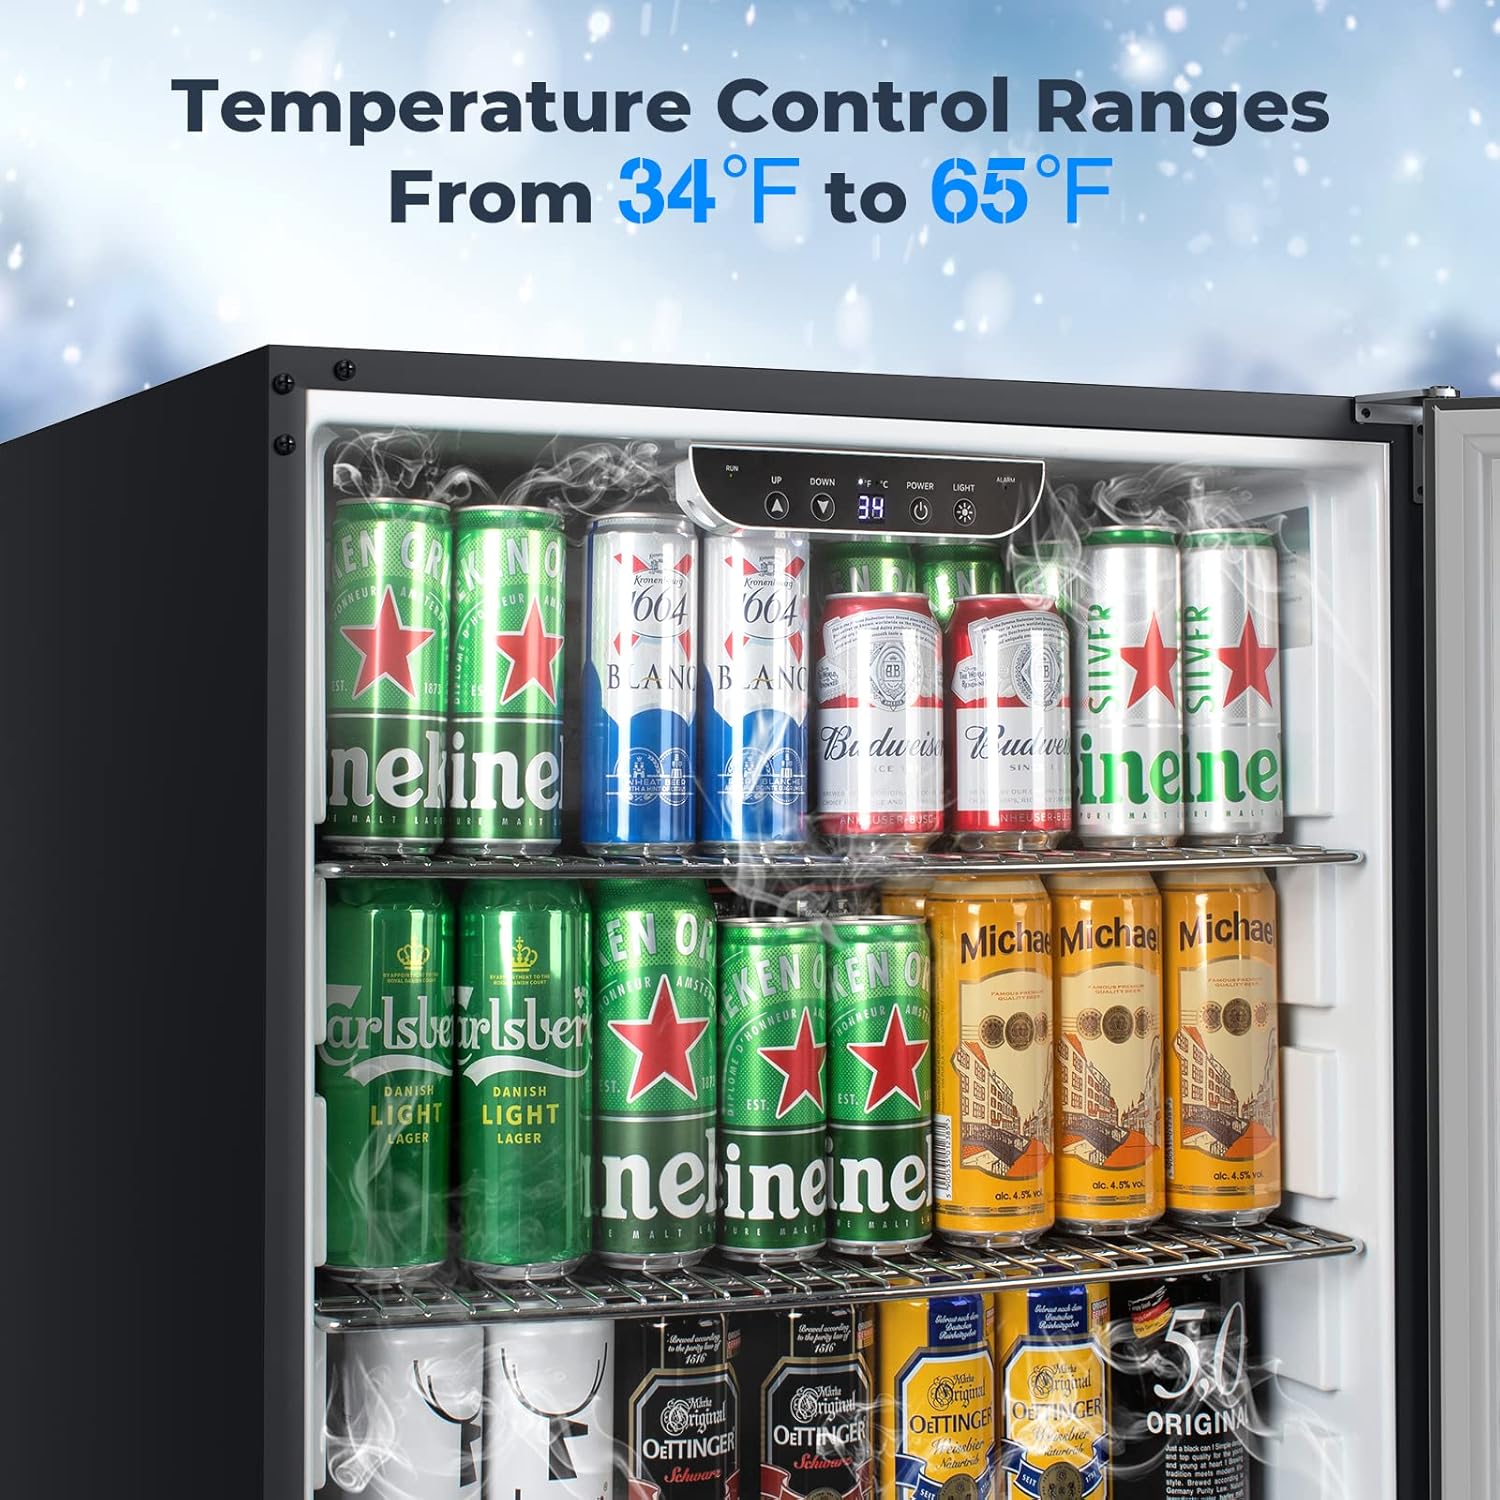
Immagine: Un dettaglio view of the internal digital control panel, showing temperature display and adjustment buttons.
4.3 Illuminazione a LED
The interior LED lighting automatically turns on when the door is opened, providing clear visibility of contents. There may also be a manual light control button on the panel.
4.4 Loading Capacity
The 5.4 Cu.Ft capacity can hold up to 175 standard 12 oz cans. Arrange items to allow for proper air circulation, which helps maintain consistent temperatures.

Image: The refrigerator interior fully stocked with various beverage cans, demonstrating its large storage capacity.
5. Manutenzione
5.1 Sbrinamento automatico
This appliance features an automatic defrost system, which minimizes ice buildup. During the defrost cycle, frost on the evaporator will melt and drain into a drip tray, where it evaporates. This reduces the need for manual defrosting.
5.2 Pulizia
- Interno: Clean the interior regularly with a mild detergent and warm water. Avoid abrasive cleaners or harsh chemicals. Remove shelves and clean them separately.
- Esterno: Wipe the stainless steel exterior with a soft cloth and a stainless steel cleaner. Do not use abrasive pads.
- Guarnizione porta: Pulire regolarmente la guarnizione della porta per garantire una tenuta stagna.
- Serpentine del condensatore: Periodically clean the condenser coils located behind the front grille to ensure efficient operation. Unplug the unit before cleaning.
6. Risoluzione Dei Problemi
Prima di contattare il servizio clienti, consultare la seguente guida alla risoluzione dei problemi più comuni:
| Problema | Possibile causa | Soluzione |
|---|---|---|
| Il frigorifero non funziona. | Nessuna alimentazione, interruttore automatico scattato, cavo di alimentazione allentato. | Controllare l'alimentazione, ripristinare l'interruttore automatico, assicurarsi che il cavo sia collegato saldamente. |
| La temperatura non è abbastanza fredda. | Door not closed properly, excessive door openings, high ambient temperature, blocked air vents, temperature setting too high. | Ensure door is sealed, reduce door openings, move unit to cooler location if possible, clear vents, lower temperature setting. |
| L'unità è rumorosa. | Unit not level, vibrating against wall, normal compressor operation. | Adjust leveling feet, ensure clearance from walls, some noise from compressor is normal. |
| Acqua sul pavimento. | Tubo di scarico intasato o dislocato. | Clear drain tube, ensure it is correctly positioned in the drip tray. |
7. Specifiche
| Caratteristica | Dettaglio |
|---|---|
| Numero di modello | HX-160BR |
| Capacità | 5.4 Cubic Feet (approx. 175 x 12 oz cans) |
| Dimensioni (P x L x A) | 23.4"P x 23.6"L x 33.6"A |
| Cutout Dimensions (W x D x H) | 24"L x 24"P x 34.6"A |
| Peso | 88 libbre |
| Intervallo di temperatura | da 34°F a 65°F (da 1°C a 18°C) |
| Voltage | 115 Volt (CA) |
| Sistema di sbrinamento | Automatico |
| Scaffali | 3, Adjustable Wire |
| Orientamento della porta | Reversibile |
| Materiale | Acciaio inossidabile |
| Certificazioni | ETL, DOE |

Image: A diagram illustrating the overall dimensions of the refrigerator, including height, width, and depth.
8. Garanzia e supporto
Garanzia: Questo prodotto è coperto da una garanzia di 1 anni dalla data di acquisto. La garanzia copre difetti di fabbricazione e malfunzionamenti in condizioni di normale utilizzo. Si prega di conservare la prova d'acquisto per eventuali reclami in garanzia.
Assistenza clienti: For technical assistance, warranty claims, or any questions regarding your COTLIN refrigerator, please contact our customer support team. Refer to your purchase documentation or the manufacturer's websito per i contatti.
Note: Shipping damage cannot always be avoided. If your unit arrives damaged, please contact us promptly for assistance.
Ask a question about this manual
Ask about setup, troubleshooting, compatibility, parts, safety, or missing instructions. Manuals+ will review the question and use this page’s manual context to help answer it.