Introduzione
Welcome to the Nilox S1 E-Scooter user manual. This guide provides essential information for the safe and efficient use of your electric scooter. The Nilox S1 features a powerful 350W motor, cruise control, a smart display, and a dual braking system with an electronic front brake and a rear disc brake, designed for urban mobility.
Linee guida di sicurezza
Your safety is paramount. Please read and understand all safety instructions before operating the Nilox S1 E-Scooter.
- Indossa un elmetto: Quando si va in bici, indossare sempre un casco omologato e altri dispositivi di protezione (ginocchiere, gomitiere).
- Controllare prima di partire: Before each use, inspect the scooter for any loose parts, brake functionality, tire pressure, and battery level.
- Normative locali: Adhere to all local traffic laws and regulations regarding electric scooters. In Italy, speed limits are 6 km/h in pedestrian areas and 20 km/h elsewhere.
- Sistema frenante: The scooter is equipped with both front electronic and rear disc brakes. Familiarize yourself with their operation for effective stopping.
- Visibilità: Utilize the front light, rear LED light, and front/rear turn signals, especially during low-light conditions or at night, to ensure maximum visibility.
- Condizioni di guida: Avoid riding in heavy rain, on slippery surfaces, or over large obstacles.
- Limite di peso: Non superare il peso massimo supportato di 100 kg.
- Età consigliata: This scooter is recommended for adults.
- Consapevolezza: Remain alert and aware of your surroundings, including pedestrians, vehicles, and other riders.
Cosa c'è nella scatola
Upon unboxing your Nilox S1 E-Scooter, ensure all components are present:
- Nilox S1 E-Scooter
- Cavo di alimentazione
- NFC Keys (2)
- Tracolla
- Manuale dell'utente (questo documento)
Installazione e assemblaggio
Follow these steps to assemble your Nilox S1 E-Scooter and prepare it for its first ride.
- Disimballaggio: Rimuovere con attenzione tutti i componenti dalla confezione.
- Assemblaggio manubrio: Attach the handlebar to the main stem. Ensure all connections are secure and screws are tightened using the provided tools.
- Connessione via cavo: Connect any visible cables according to the instructions.
- Carica iniziale: Before first use, fully charge the scooter's battery. Refer to the "Charging Operation" section for details.
Video: Unboxing and Basic Assembly Guide. This video demonstrates the initial setup, including handlebar attachment and cable connections.

Immagine: The Nilox S1 E-Scooter in an urban setting, showcasing its sleek design and ready-to-ride stance.
Operating Your Nilox S1 E-Scooter
Accensione/spegnimento
- Per accendere: Press and hold the power button on the smart display until the screen illuminates.
- Per spegnere: Tenere premuto il pulsante di accensione finché il display non si spegne.
Cavalcare
- Di partenza: Appoggia un piede sul ponte e spingi con l'altro piede per acquisire slancio iniziale. Una volta in movimento, premi delicatamente l'acceleratore.
- Modalità di velocità: Double-click the power button to switch between different speed modes (e.g., ECO, D, S). The smart display will indicate the current mode.
- Controllo della velocità di crociera: The scooter features cruise control for consistent speed on longer rides. Activate it according to the specific instructions in the full manual.
- Frenata: Use the electronic front brake and the rear disc brake for controlled stopping. Apply both brakes simultaneously for emergency stops.
Luci e Segnali
- Faro: Click the power button once to turn on/off the front light.
- Rear LED Light: The rear LED light activates automatically with the headlight and also functions as a brake light.
- Indicatori di direzione: Use the dedicated controls on the handlebar to activate the front and rear turn signals when changing direction.

Immagine: A rider's hands on the handlebars, showing the illuminated front light and controls for safe night riding.
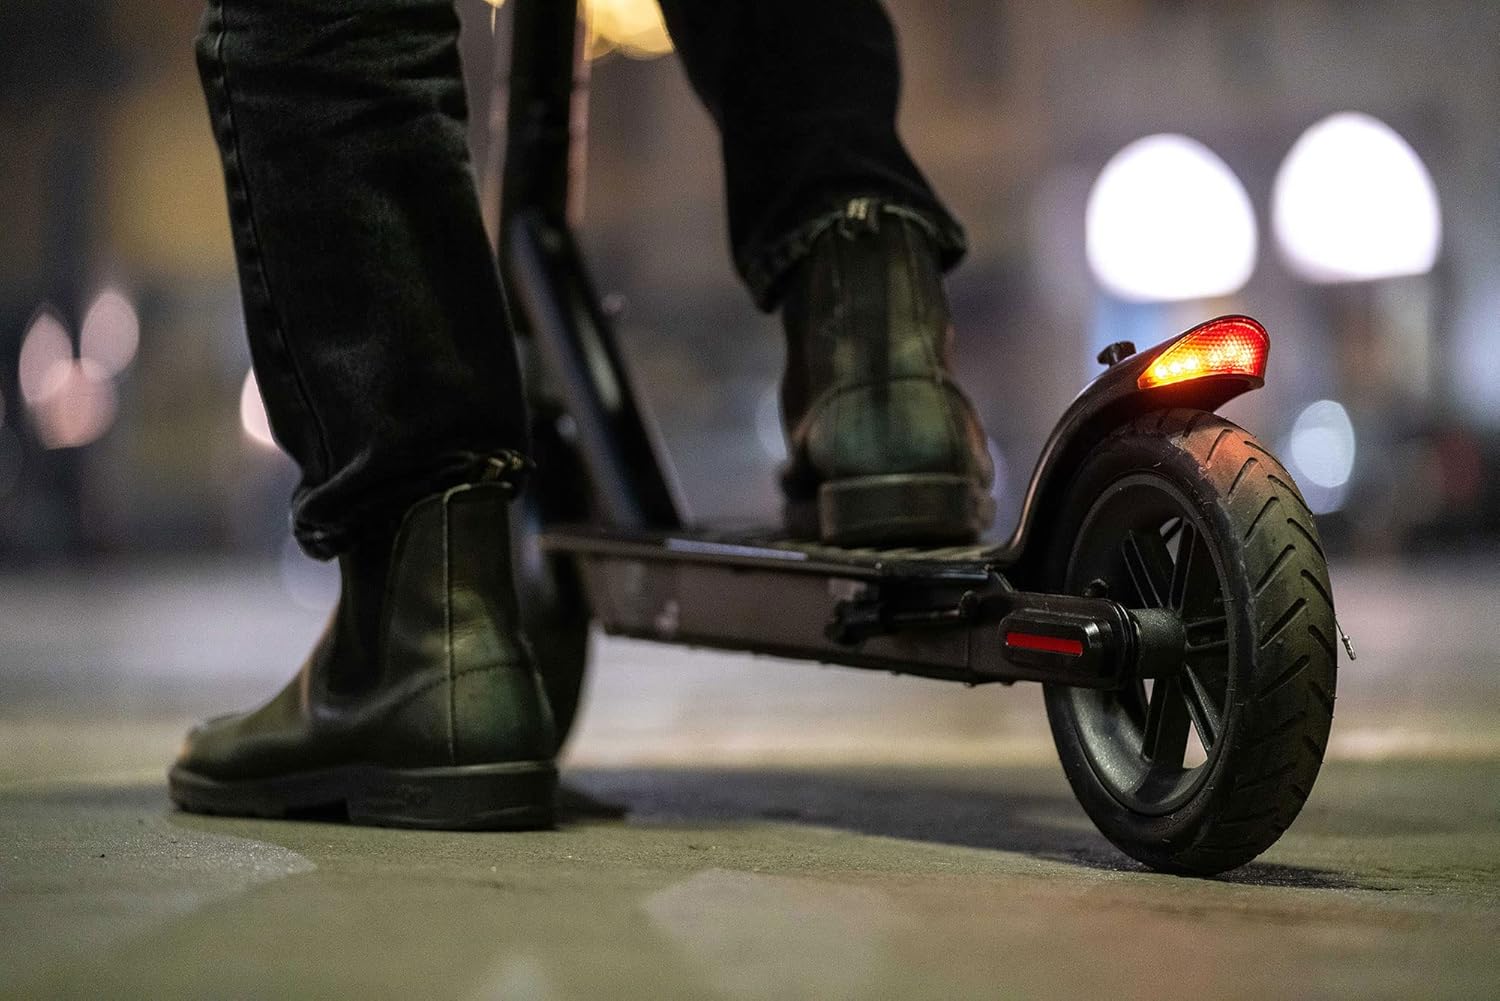
Immagine: The rear wheel and bright LED taillight of the Nilox S1 E-Scooter, enhancing visibility from behind.
App Connection (if applicable)
Your scooter may support a mobile application for additional features and settings. Scan the QR code on your scooter or refer to the full manual for app download and connection instructions.
Video: Demonstrates power-on, light activation, speed switching, and app connection for the scooter.
Operazioni di piegatura
The Nilox S1 E-Scooter is designed for easy portability. Follow these steps to fold and unfold your scooter:
- Pieghevole: Locate the folding mechanism on the stem. Release the latch and carefully fold the stem downwards until it locks into place.
- Svolgimento: Release the locking mechanism and raise the stem until it clicks securely into the upright position. Ensure it is fully locked before riding.
Video: Shows the one-click folding mechanism for convenient storage and transport.
Manutenzione
Una manutenzione regolare garantisce la longevità e il funzionamento sicuro del tuo scooter.
- Pulizia: Pulisci regolarmente lo scooter con un pannoamp panno. Non utilizzare acqua ad alta pressione né immergere lo scooter in acqua.
- Pneumatici: Check tire pressure regularly. The 8.5-inch wheels are designed for durability, but proper inflation is crucial for performance and safety.
- Freni: Periodically inspect the brake pads and cables for wear and tear. Adjust or replace as needed.
- Cura della batteria: Conservare lo scooter in un luogo fresco e asciutto. In caso di rimessaggio prolungato, caricare la batteria a circa il 50-70% e ricaricarla ogni 30-60 giorni per evitare una scarica profonda.
- Elementi di fissaggio: Check all screws and bolts for tightness regularly.
Operazione di ricarica
To charge your Nilox S1 E-Scooter:
- Individua la porta di ricarica sullo scooter.
- Connect the power cable to the charging port.
- Collegare l'altra estremità del cavo di alimentazione a una presa di corrente adeguata.
- In genere, la spia luminosa sul caricabatterie diventa rossa durante la ricarica e verde quando la carica è completa.
- Una carica completa richiede circa 4.5 ore.
Video: Illustrates how to connect the charger to the scooter and monitor the charging status.
Risoluzione dei problemi
If you encounter issues with your Nilox S1 E-Scooter, refer to this section for common solutions.
| Problema | Possibile causa | Soluzione |
|---|---|---|
| Lo scooter non si accende | Batteria scarica; collegamenti allentati; malfunzionamento del pulsante di accensione. | Charge the battery; check all visible cable connections; contact support if issue persists. |
| Autonomia o velocità ridotte | Bassa pressione degli pneumatici; carico pesante; guida in salita; degrado della batteria. | Check and inflate tires; reduce load; ensure battery is fully charged. |
| Freni non efficaci | Worn brake pads; loose brake cable; disc brake misalignment. | Inspect brake pads and cables; adjust or replace as necessary; seek professional service. |
| NFC key not working | Incorrect placement; faulty key; reader issue. | Ensure correct placement over the NFC reader; try the second NFC key; contact support. |
Specifiche tecniche
| Caratteristica | Dettaglio |
|---|---|
| Numero di modello | NXESS185BL |
| Potenza del motore | 350 Watt |
| Velocità massima | 20 km/h (up to 25 km/h in some regions, check local regulations) |
| Gamma massima | Fino a 28 km |
| Batteria | 36V Lithium-ion (1 included) |
| Tempo di ricarica | ca. 4.5 ore per la ricarica completa |
| Sistema frenante | Electronic Front Brake, Rear Disc Brake |
| Ruote | 8.5-inch (Rubber material) |
| Materiale del telaio | Alluminio |
| Peso massimo del carico | 100 kg |
| Peso del prodotto | 13.8 kg |
| Dimensioni (confezione) | Dimensioni: 114 x 50.5 x 18 cm |
| Caratteristiche | Headlights, Anti-slip footboard, Foldable, Turn Signals, Bell |
| Età consigliata | Adulti |
Garanzia e supporto
Per informazioni sulla garanzia, fare riferimento alla documentazione inclusa con l'acquisto o visitare il sito ufficiale Nilox website. For technical support or service inquiries, please contact Nilox customer service through their official channels.
Nota: Conserva la prova d'acquisto per le richieste di garanzia.