
1. Introduzione
This manual provides comprehensive instructions for the installation, operation, and maintenance of the Loocam 900MHz Point-to-Point Wireless Bridge Outdoor. This device is designed to extend network connectivity over long distances in outdoor environments, utilizing Wi-Fi HaLow technology. Please read this manual thoroughly before using the product to ensure proper setup and optimal performance.
2. Contenuto della confezione
Verifica che tutti gli articoli elencati di seguito siano inclusi nel pacco. Se alcuni articoli risultano mancanti o danneggiati, contatta l'assistenza clienti.
- 2 x Wireless Bridge Units (one Transmitter (TX), one Receiver (RX))
- 2 antenne WiFi
- 2 x alimentatori
- 2 cavi Ethernet
- Viti di montaggio (per l'installazione)
- Manuale del prodotto (questo documento)

Figura 2.1: Contenuto della confezione
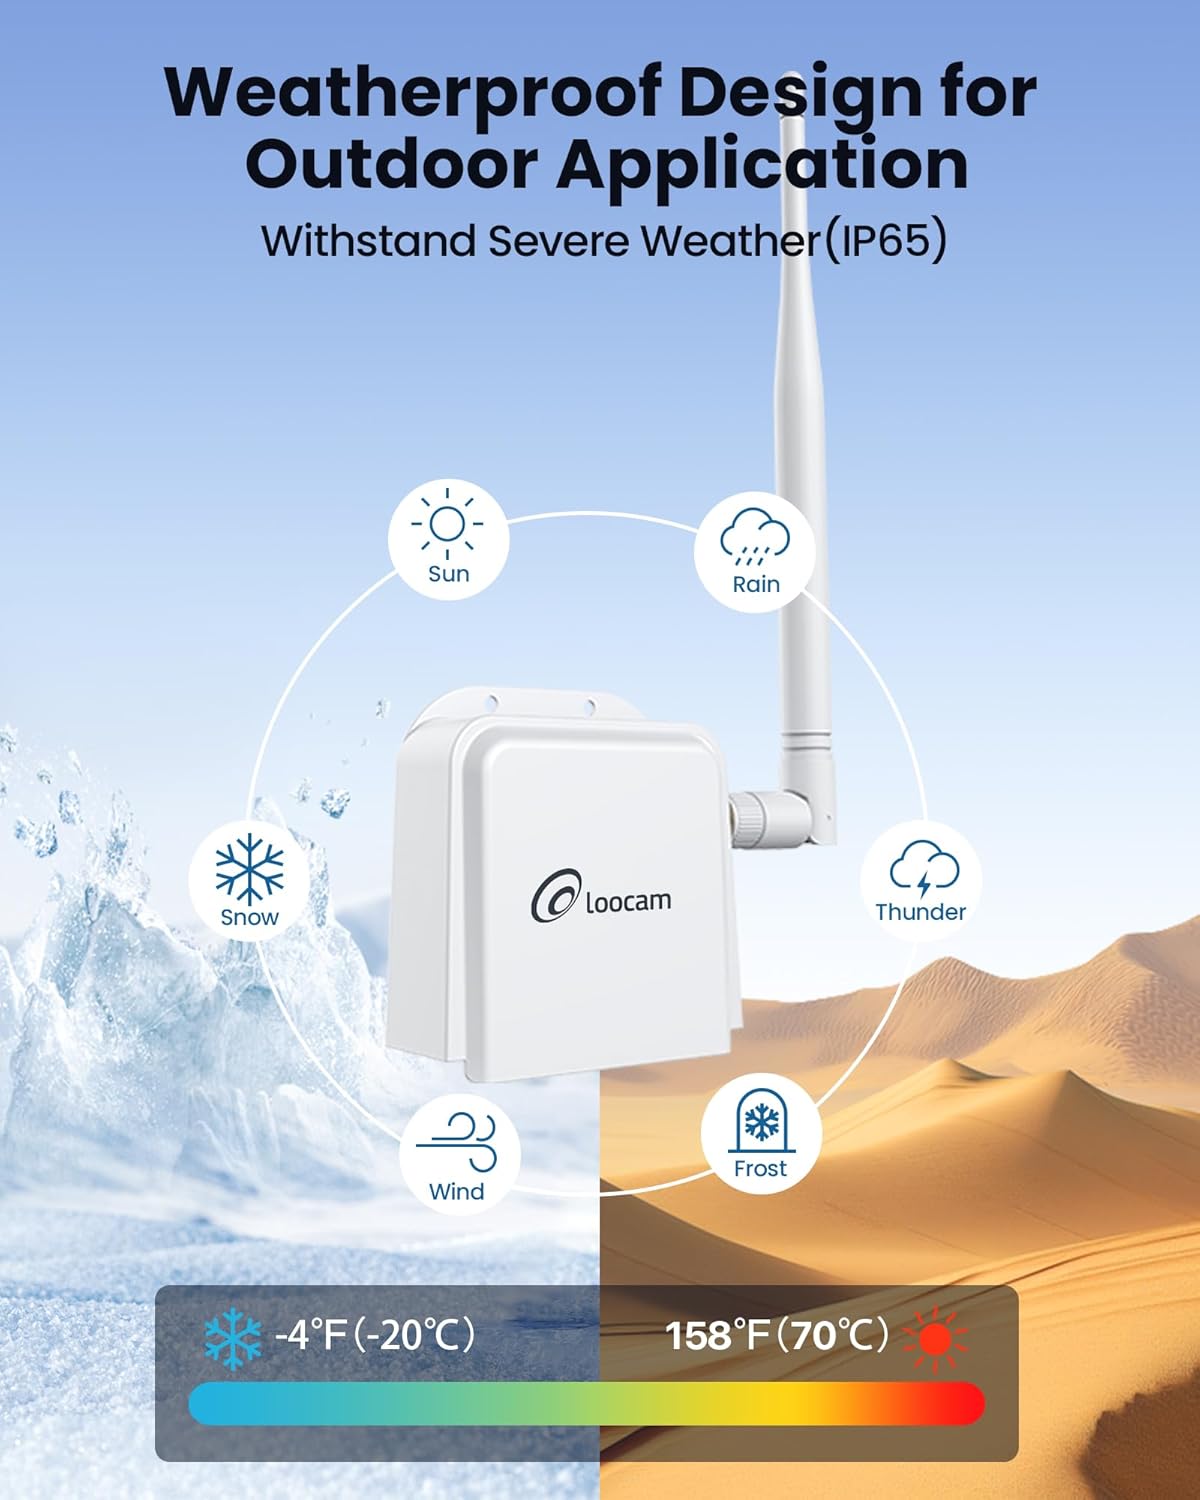
Figure 2.2: Wireless Bridge Unit Details (Ports and Indicators)
3. Configurazione e installazione
The Loocam Wireless Bridge is designed for plug-and-play operation with automatic pairing. Follow these steps for initial setup.
3.1 Connecting to a PC (Example)
- Collegare le antenne: Screw the provided antennas onto the TX and RX bridge units.
- Accensione dell'unità TX: Connect the power adapter to the TX bridge unit and plug it into a power outlet.
- Connect TX to Router: Use one Ethernet cable to connect the TX bridge unit to a LAN port on your router.
- Power On RX Unit: Connect the power adapter to the RX bridge unit and plug it into a power outlet.
- Connect RX to PC: Use the second Ethernet cable to connect the RX bridge unit to your computer's Ethernet port (you may need a USB to Ethernet adapter for laptops without a built-in port).
- Verifica connessione: Once both units are powered and connected, they will automatically pair. The computer connected to the RX unit should now be able to access the internet.

Figure 3.1: Basic PC Connection Diagram

Figure 3.2: Extending Network to a Second Building
3.2 Connecting to an NVR (Example)
The wireless bridge can also be used to extend network connectivity for IP cameras and Network Video Recorders (NVRs).
- Collegare le antenne: Screw the provided antennas onto the TX and RX bridge units.
- Accensione dell'unità TX: Connect the power adapter to the TX bridge unit and plug it into a power outlet.
- Connect TX to IP Camera: Use one Ethernet cable to connect the TX bridge unit to your IP camera.
- Power On RX Unit: Connect the power adapter to the RX bridge unit and plug it into a power outlet.
- Connect RX to NVR: Use the second Ethernet cable to connect the RX bridge unit to an available Ethernet port on your NVR.
- Verifica connessione: The NVR should now detect the IP camera connected via the wireless bridge.

Figura 3.3: Diagramma di collegamento NVR
3.3 Installazione fisica
The bridge units can be mounted to a wall or other suitable surface using the provided screws.
- Posizioni dei segnalibri: Hold the bridge unit against the desired mounting surface and mark the positions for the two screw holes.
- Fori di perforazione: Praticare dei fori pilota nelle posizioni contrassegnate.
- Unità sicura: Align the bridge unit with the holes and secure it using the provided screws.

Figura 3.4: Passaggi di installazione
3.4 Identifying TX and RX Units
The units are pre-paired. One unit acts as the Transmitter (TX) and the other as the Receiver (RX). You can identify them by observing the indicator lights after powering on:
- The RX light on the Receiver (RX) unit should be illuminated.
- The RX light on the Transmitter (TX) unit should be off.

Figure 3.5: TX and RX Identification
3.5 Guida video di installazione
For a visual guide on connecting the Loocam Wireless Bridge, please watch the official setup video below.
Video 3.1: How to Connect Loocam Wireless Bridge. This video demonstrates the step-by-step process of connecting the wireless bridge units to a router and a computer, as well as to an NVR and camera, showing the physical connections and power-on sequence.
4. Funzionamento
The Loocam Wireless Bridge operates on a point-to-point principle, extending your network wirelessly.
- Banda di frequenza: Operates in the 902MHz-928MHz band, offering strong penetration capabilities.
- Distanza di trasmissione: Achieves up to 2000 feet wireless transmission distance in open areas.
- Wi-Fi HaLow Technology: Utilizes 802.11ah Wi-Fi HaLow for extended coverage and improved obstacle penetration (up to 350 feet through one wall).
- Velocità dati: Supports speeds up to 16Mbps. Note that Wi-Fi HaLow is optimized for range and penetration rather than high bandwidth.
- Applicazioni: Ideal for extending network coverage between buildings, for video surveillance systems, and for expanding Wi-Fi coverage in areas where traditional Wi-Fi signals are weak.

Figure 4.1: Ultra Long Range Transmission

Figure 4.2: 900MHz Band Features

Figure 4.3: Superior Obstacle Penetration

Figure 4.4: Extended Monitoring Range

Figure 4.5: Indoor & Outdoor Network Extension Coverage
5. Manutenzione
The Loocam Wireless Bridge is designed for outdoor use with a weather-resistant (IP65) rating. To ensure longevity and optimal performance:
- Condizioni ambientali: The device operates effectively in temperatures ranging from -5°F to 120°F (-20°C to 48°C). Avoid exposing the device to conditions outside this range for extended periods.
- Pulizia: Periodically clean the exterior of the units with a soft, dry cloth to remove dust and debris. Do not use liquid cleaners or solvents.
- Integrità del cavo: Ispezionare regolarmente tutti i cavi collegati (alimentazione ed Ethernet) per verificare la presenza di segni di usura o danni. Sostituire immediatamente i cavi danneggiati.
- Posizione dell'antenna: Ensure antennas are securely attached and positioned for optimal signal strength.

Figure 5.1: Weatherproof Design
6. Risoluzione Dei Problemi
If you encounter issues with your Loocam Wireless Bridge, refer to the following common problems and solutions:
| Problema | Possibile causa | Soluzione |
|---|---|---|
| Nessuna connessione di rete |
|
|
| Velocità di rete lenta |
|
|
| Connessione intermittente |
|
|
If the issue persists after trying these solutions, please contact Loocam customer support.
7. Specifiche
| Caratteristica | Dettaglio |
|---|---|
| Marca | Loocam |
| Modello | B0BQ2R66S4 |
| Standard di comunicazione wireless | 900 MHz Radio Frequency (Wi-Fi HaLow 802.11ah) |
| Velocità di trasferimento dati | Fino a 16 Megabit al secondo |
| Classe di banda di frequenza | Banda singola (902 MHz-928 MHz) |
| Caratteristiche speciali | Modalità punto di accesso, WPS |
| Tipo di connettore | RJ45 |
| Dispositivi compatibili | Personal Computer, NVR, IP Cameras, Network Switches |
| Allineare | Up to 2000 feet (open areas), up to 350 feet (through one wall) |
| Resistenza alle intemperie | Grado di protezione IP65 |
| Temperatura di esercizio | Da -5°C a 120°C (da -20°F a 48°F) |
8. Garanzia e supporto
Loocam is committed to providing high-quality products and excellent customer service.
- Garanzia: Questo prodotto viene fornito con una garanzia di 1 anni.
- Garanzia di rimborso: Approfitta della garanzia soddisfatti o rimborsati di 30 giorni e dei resi gratuiti.
- Supporto tecnico: È disponibile supporto tecnico a vita.
- Supporto online: 24/7 online support is provided for any queries or assistance.
For further assistance, please visit the official Loocam websito o contattare il loro servizio clienti.