
1. Introduzione
This manual provides essential information for the safe and efficient use of your Intex PureSpa Calacatta Square Hot Tub, Model 28464EX. Please read all instructions carefully before installation and operation. This 4-person inflatable spa features 140 powerful air bubble jets and 4 hydro jets, an integrated heating system, and a stylish Calacatta marble-inspired design.

Image 1.1: The Intex PureSpa Calacatta Square Hot Tub, Model 28464EX, shown in an outdoor setting.
2. Informazioni importanti sulla sicurezza
Always follow basic safety precautions when installing and using this electrical product. Failure to follow these instructions can result in injury or death.
- Do not permit children to use this product unless they are supervised at all times.
- Non utilizzare la spa se la temperatura è inferiore a 4°C (40°F).
- The spa should be placed on a flat, level surface capable of supporting the weight of the filled spa and occupants.
- Always disconnect the power plug from the electrical outlet before removing, cleaning, servicing, or making any adjustment to the product.
- Do not operate the spa if the cover is not properly secured.
- Consult a physician before use if you are pregnant, have heart disease, high blood pressure, diabetes, or any other health condition.
3. Contenuto della confezione
Verificare che tutti i componenti siano presenti e in buone condizioni:
- Vasca idromassaggio gonfiabile
- Spa Control Unit (with integrated inflation system)
- Copertura isolante
- Panno di terra
- Storage and Transport Bag
- Cartucce filtranti (2)
- Dispenser chimico
- Kit di toppe di riparazione
4. Istruzioni per l'installazione
4.1 Preparazione del sito
Choose a flat, level, and stable surface for your spa. Ensure the area is free from sharp objects and debris. The surface must be able to support the weight of the filled spa (approximately 795 liters of water plus occupants).
4.2 Laying the Ground Cloth
Unfold the ground cloth and place it on your chosen site. This provides an additional layer of protection for the spa's base.

Image 4.1: The protective ground cloth should be placed on a level surface before setting up the spa.
4.3 Inflazione
- Unpack the spa tub and place it on the ground cloth.
- Collegare il tubo di gonfiaggio dall'unità di controllo alla valvola di gonfiaggio della spa.
- Plug the control unit into a grounded electrical outlet.
- Press the inflation button on the control panel to begin inflating the spa. Inflate until the spa walls are firm to the touch, but not over-inflated.
- Once inflated, disconnect the hose and securely close the inflation valve.
4.4 Riempimento della Spa
Fill the spa with fresh tap water to the indicated maximum fill line. Do not overfill.
5. Istruzioni per l'uso
5.1 Pannello di controllo Sopraview
The PureSpa features a wireless, rechargeable control panel for easy operation. Familiarize yourself with the buttons and display.

Image 5.1: The wireless control panel allows for easy adjustment of spa functions.
5.2 Riscaldamento dell'acqua
Press the heater button on the control panel. Use the temperature adjustment buttons to set your desired water temperature (range: 10°C to 40°C / 50°F to 104°F). The heating indicator light will illuminate. The heating system will automatically turn off once the set temperature is reached.
5.3 Activating Jets
Press the bubble jet button to activate the 140 air bubble jets for a relaxing massage. Press the hydro jet button to activate the 4 directional hydro jets for a more targeted massage. You can use both types of jets simultaneously.

Image 5.2: The spa features both invigorating air bubble jets and powerful hydro jets.
5.4 Sistema di filtrazione
The filtration system operates automatically to keep the water clean. Ensure filter cartridges are installed correctly and cleaned regularly.
6. Manutenzione
6.1 Chimica dell'acqua
Maintain proper water chemistry using appropriate spa chemicals. Test the water regularly and adjust pH, alkalinity, and sanitizer levels as needed. Refer to your chemical manufacturer's instructions.
6.2 Pulizia e sostituzione della cartuccia del filtro
The filter cartridges should be cleaned frequently, ideally after each use or every few days, depending on usage. Rinse them with a garden hose. Replace cartridges every 2-4 weeks, or when they remain dirty after cleaning.
6.3 Spa Cleaning
Periodically drain and clean the spa tub. Use a soft brush and mild cleaning solution. Rinse thoroughly before refilling.
6.4 Copertura Spa
Always use the insulated cover when the spa is not in use to retain heat and keep debris out. Secure the cover straps to prevent accidental removal.
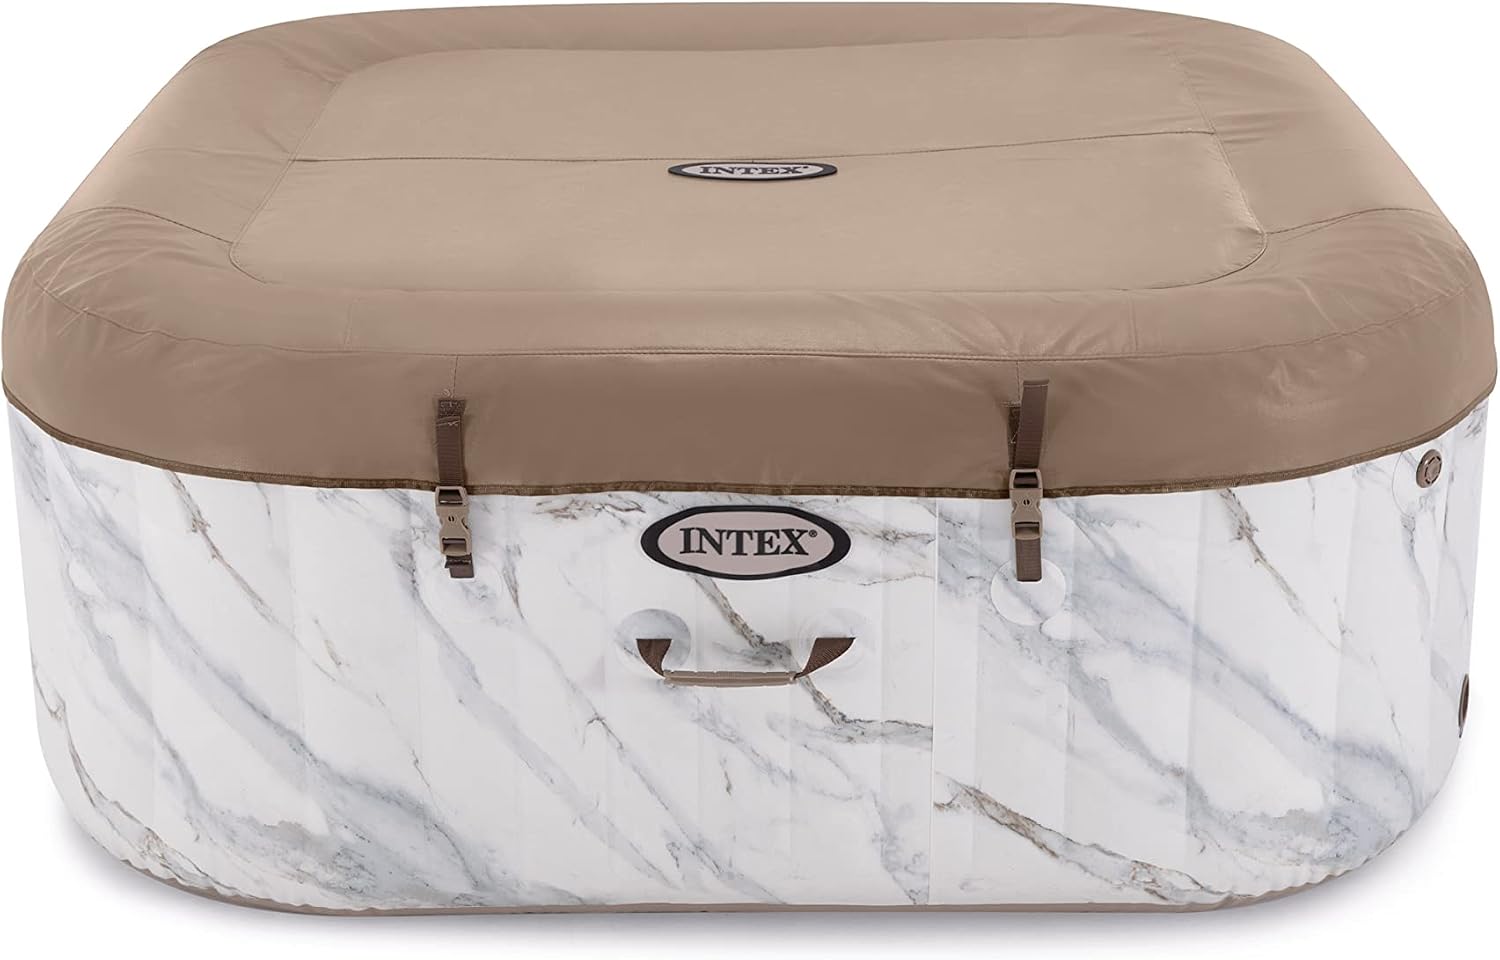
Image 6.1: The insulated cover helps maintain water temperature and keeps the spa clean.
7. Risoluzione Dei Problemi
| Problema | Possibile causa | Soluzione |
|---|---|---|
| La spa non si riscalda | Heater button not activated; filter clogged; water level too low; ambient temperature too cold. | Ensure heater is on; clean/replace filter; add water to fill line; ensure ambient temperature is suitable. |
| I getti non funzionano | Jet button not activated; air blower/pump issue; power supply problem. | Activate jet function; check power connection; consult support if issue persists. |
| L'acqua è torbida | Dirty filter cartridge; improper water chemistry; heavy usage. | Clean/replace filter; test and adjust water chemistry (sanitizer, pH); shock treat the water. |
| La spa perde aria | Loose inflation valve cap; small puncture. | Tighten valve cap; locate and repair puncture using the provided repair kit. |
8. Specifiche
| Caratteristica | Dettaglio |
|---|---|
| Numero di modello | 28464EX |
| Marca | Intex |
| Forma | Piazza |
| Capacità di posti a sedere | 4 persone |
| Capacità idrica | 795 litri |
| Dimensioni esterne (L x P x A) | 211 x 211 x 71 cm (83 x 83 x 28 pollici) |
| Dimensioni interne (L x P) | 160 x 160 cm (63 x 63 pollici) |
| Materiale | Polychlorure de vinyle (PVC), Vinyl |
| Numero di getti d'aria | 140 |
| Number of Hydro Jets | 4 |
| Gamma di riscaldamento | 10°C - 40°C (50°F - 104°F) |
| Voltage | 220 Volt |
| Peso dell'articolo (vuoto) | 53.7 chilogrammi (118.4 libbre) |
| Assemblaggio richiesto | SÌ |
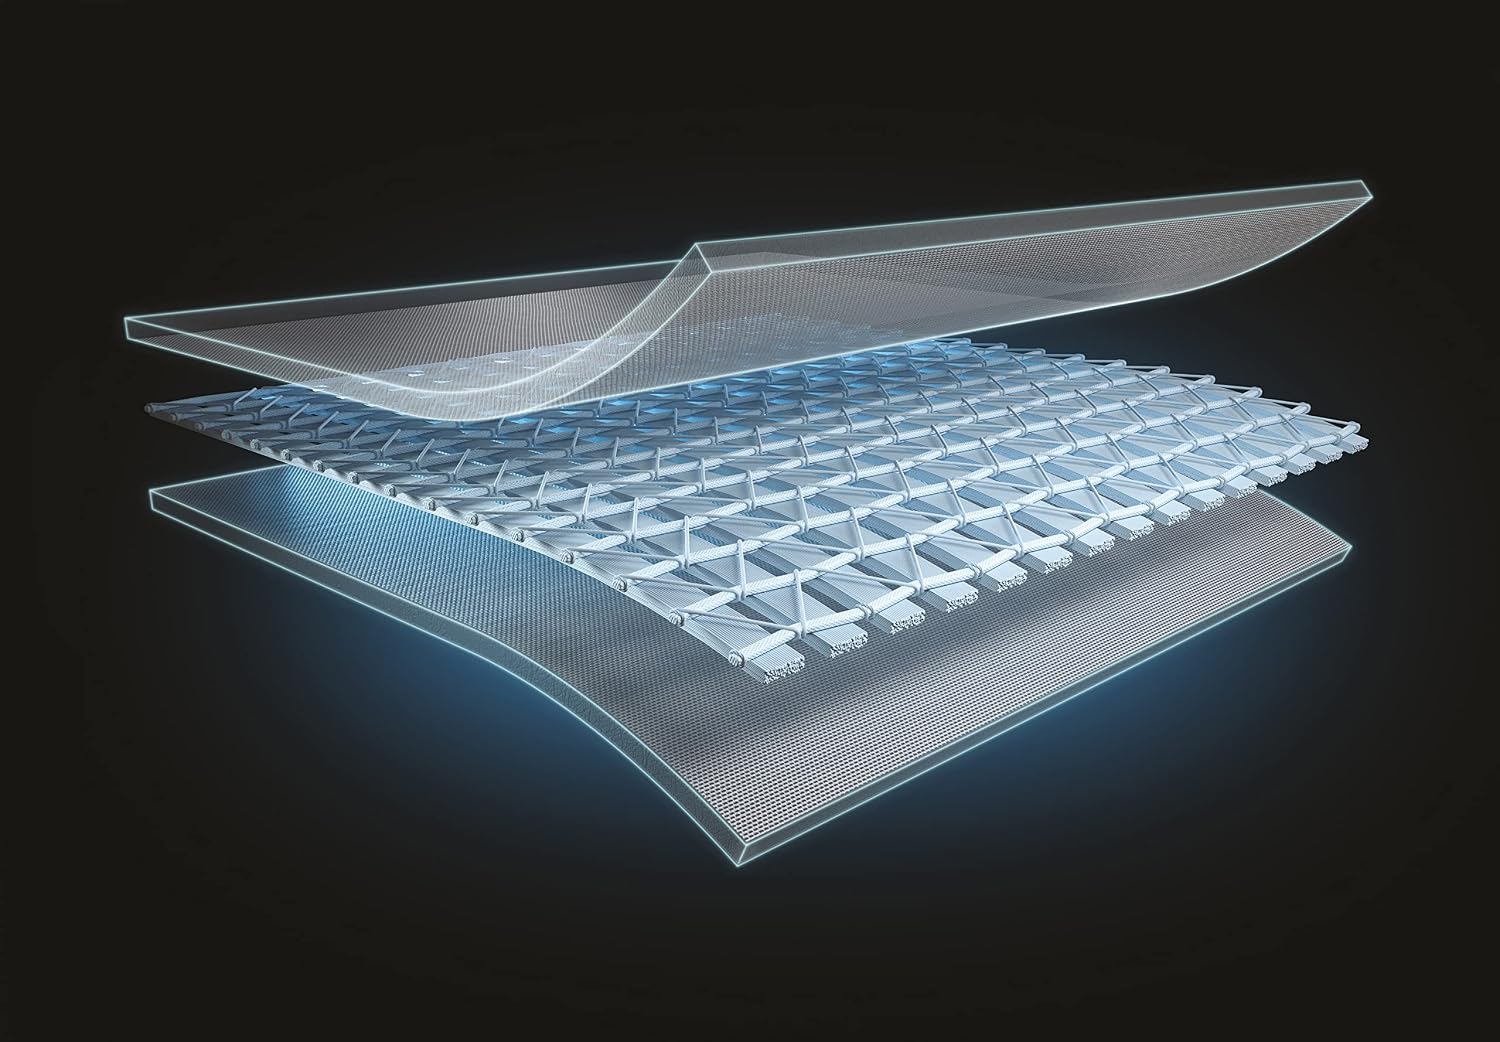
Image 8.1: The durable multi-layered PVC and Vinyl construction ensures product longevity.
9. Garanzia e supporto
For warranty information and customer support, please refer to the warranty card included with your product or visit the official Intex websito. Conservare la prova d'acquisto per eventuali reclami in garanzia.
If you encounter issues not covered in the troubleshooting section, contact Intex customer service for assistance. Contact details can typically be found on the Intex websito o nella confezione del prodotto.