
1. Introduzione
This manual provides comprehensive instructions for the setup, operation, and maintenance of your XTUGA UH-300 UHF Rechargeable Wireless Karaoke Microphone System. Please read this manual thoroughly before using the product to ensure optimal performance and longevity.
2. Contenuto della confezione
Verifica che tutti gli articoli elencati di seguito siano inclusi nel pacco. Se alcuni articoli risultano mancanti o danneggiati, contatta l'assistenza clienti.
- 1 ricevitore wireless UHF
- 2 microfoni wireless UHF
- 1 x adattatore di alimentazione (CC 5 V)
- 1 cavo audio da 3.5 mm a 3.5 mm
- 1 cavo audio da 3.5 mm a RCA
- 1 cavo di ricarica USB
- 1 x Manuale utente

Immagine: XTUGA UH-300 system components, including the receiver, two microphones, power adapter, and various audio cables.
3. Prodotto finitoview
3.1 Receiver Controls and Features

Immagine: Davanti view of the XTUGA UH-300 receiver with two wireless microphones. The receiver features various knobs and a display screen.
- ENERGIA: On/Off switch for the receiver.
- A-RF-B Indicator: Lights indicate signal reception for Microphone A and B.
- Indicatore AF: Lights indicate audio signal presence.
- MIC VOL A/B: Independent volume controls for Microphone A and Microphone B.
- ECO: Knob to adjust the echo effect level.
- MUSICA: Knob to adjust the volume of background music input (e.g., via Bluetooth or AUX).
- MIC (1/4" Jack): Input for an additional wired or wireless microphone.
- Schermo di visualizzazione: Shows channel information for both microphones.

Immagine: Dettagliato view of the receiver's front panel, highlighting the 1/4" MIC jack, individual volume controls for microphones, echo control, and Bluetooth music control.
3.2 Caratteristiche del microfono
- UHF Wireless: Operates on UHF frequencies for stable signal transmission.
- Batteria ricaricabile: Built-in lithium battery provides 3-8 hours of operation on a 2-3 hour charge.
- Display a LED: Shows battery level and selected channel (e.g., CH01-CH30).
- Anello luminoso a LED: A cool design feature that illuminates during use.
- Porta di ricarica CC 5 V: USB port for convenient charging.
- Pulsante di frequenza: Allows selection of operating channels.

Immagine: Close-up of the rechargeable wireless microphones, showing the LED display with channel information, and the DC5V charging port with a frequency button.
4. Impostazione
4.1 Collegamento del ricevitore
- Collegare l'adattatore di alimentazione all'ingresso CC 5V del ricevitore e collegarlo a una presa di corrente.
- Connect the receiver's audio output to your speaker system, amplifier, or soundbar. You can use either the 1/4" (6.35mm) output or the 1/8" (3.5mm) output, depending on your audio device's input. Use the provided 3.5mm to 3.5mm or 3.5mm to RCA cables as needed.
- Ensure your speaker system is powered on and set to the correct input source.

Immagine: Diagram illustrating various input and output connection options for the XTUGA UH-300 system, including connections to smartphones, laptops, karaoke speakers, soundbars, and home theater systems.
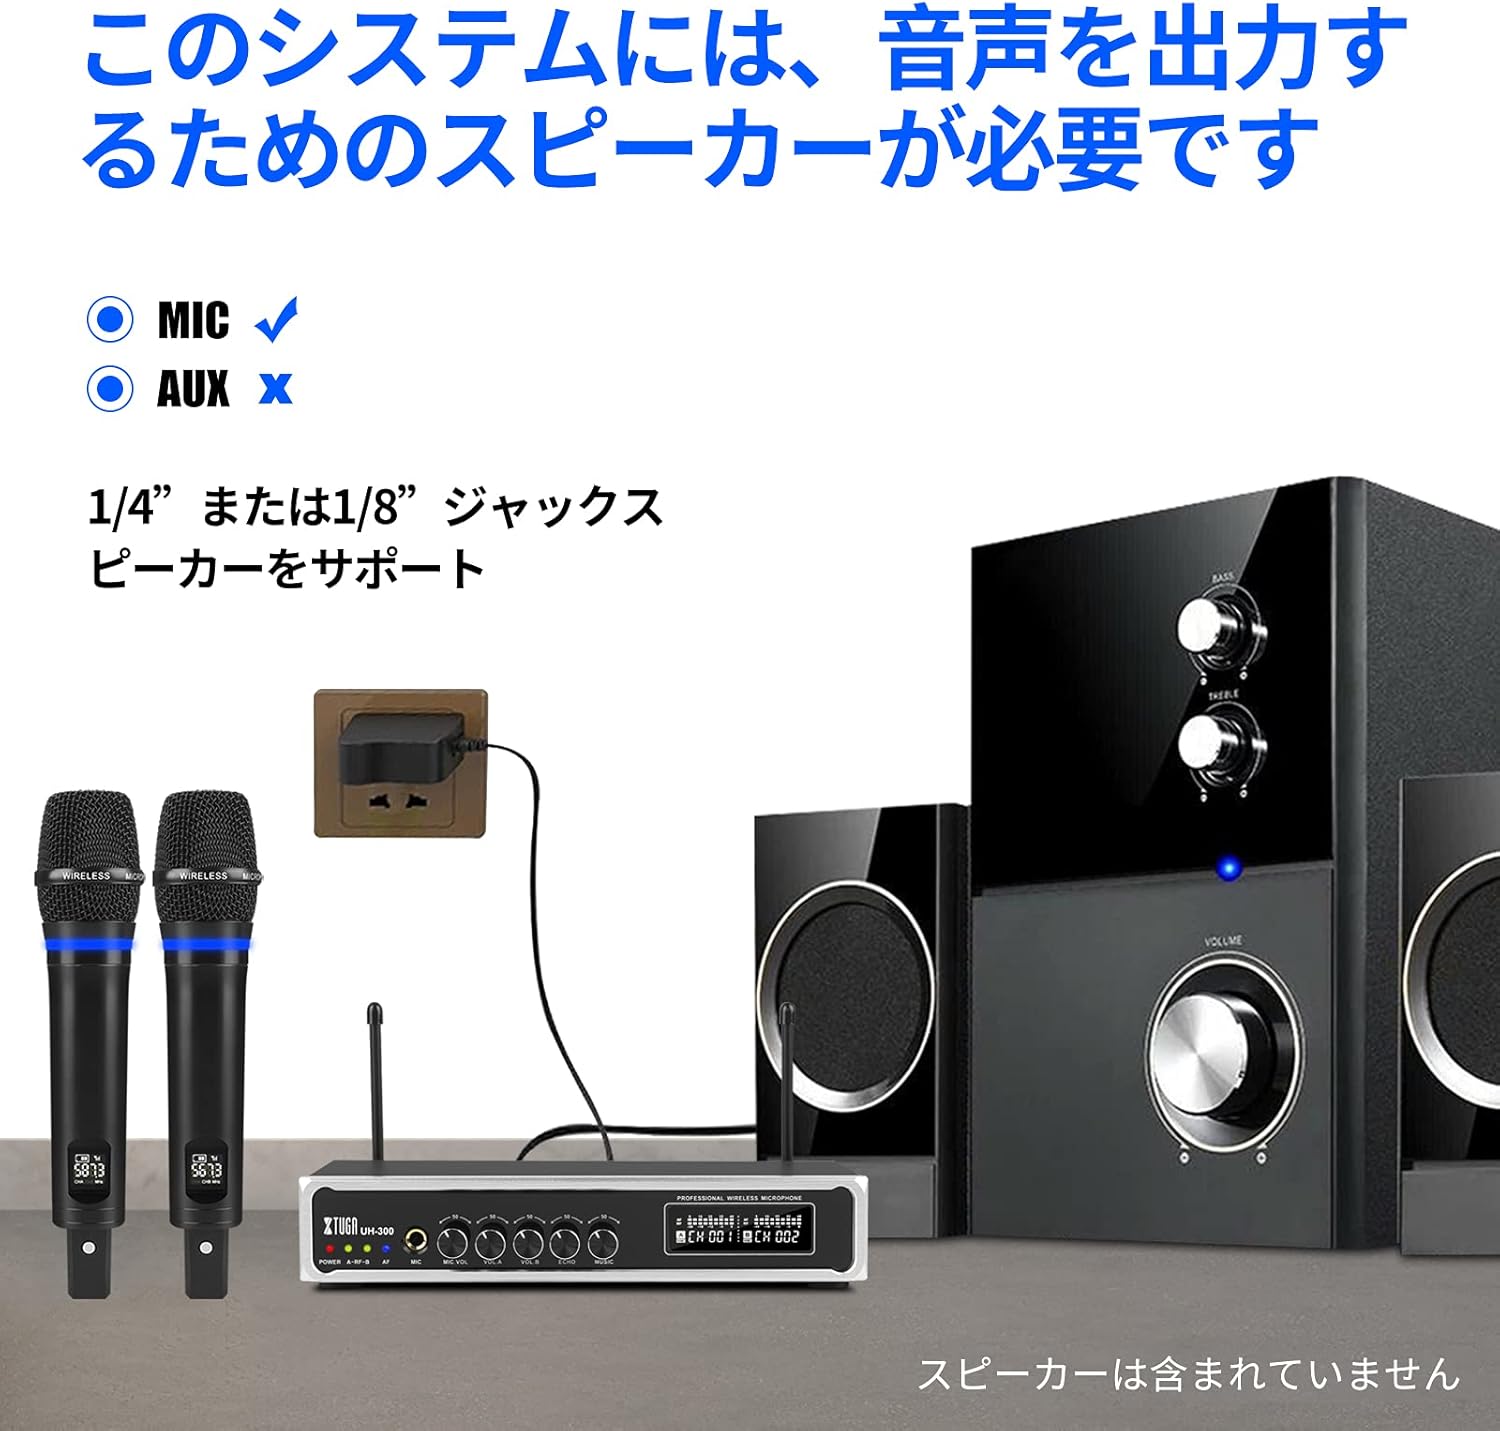
Immagine: The XTUGA UH-300 receiver and microphones connected to a speaker system. Note that a speaker is required for audio output and is not included with the system.
4.2 Ricarica dei microfoni
The microphones have built-in rechargeable lithium batteries. Before first use, fully charge both microphones.
- Connect the USB charging cable to the DC 5V charging port on each microphone.
- Plug the other end of the USB cable into a USB power source (e.g., a USB wall adapter, computer USB port).
- Charging typically takes 2-3 hours. The microphone's display may indicate charging status.

Immagine: A wireless microphone being charged via its USB port, illustrating the charging process and indicating typical charging and usage times.
4.3 Microphone Pairing and Channel Selection
The microphones are typically pre-paired with the receiver. If you experience connection issues or wish to change channels:
- Turn on the receiver and the microphone.
- Press the 'SET' or 'Frequency' button on the microphone to cycle through the 50 available UHF channels (CH01-CH50).
- Select a channel that is free from interference. The receiver's display will show the corresponding channel for each microphone.
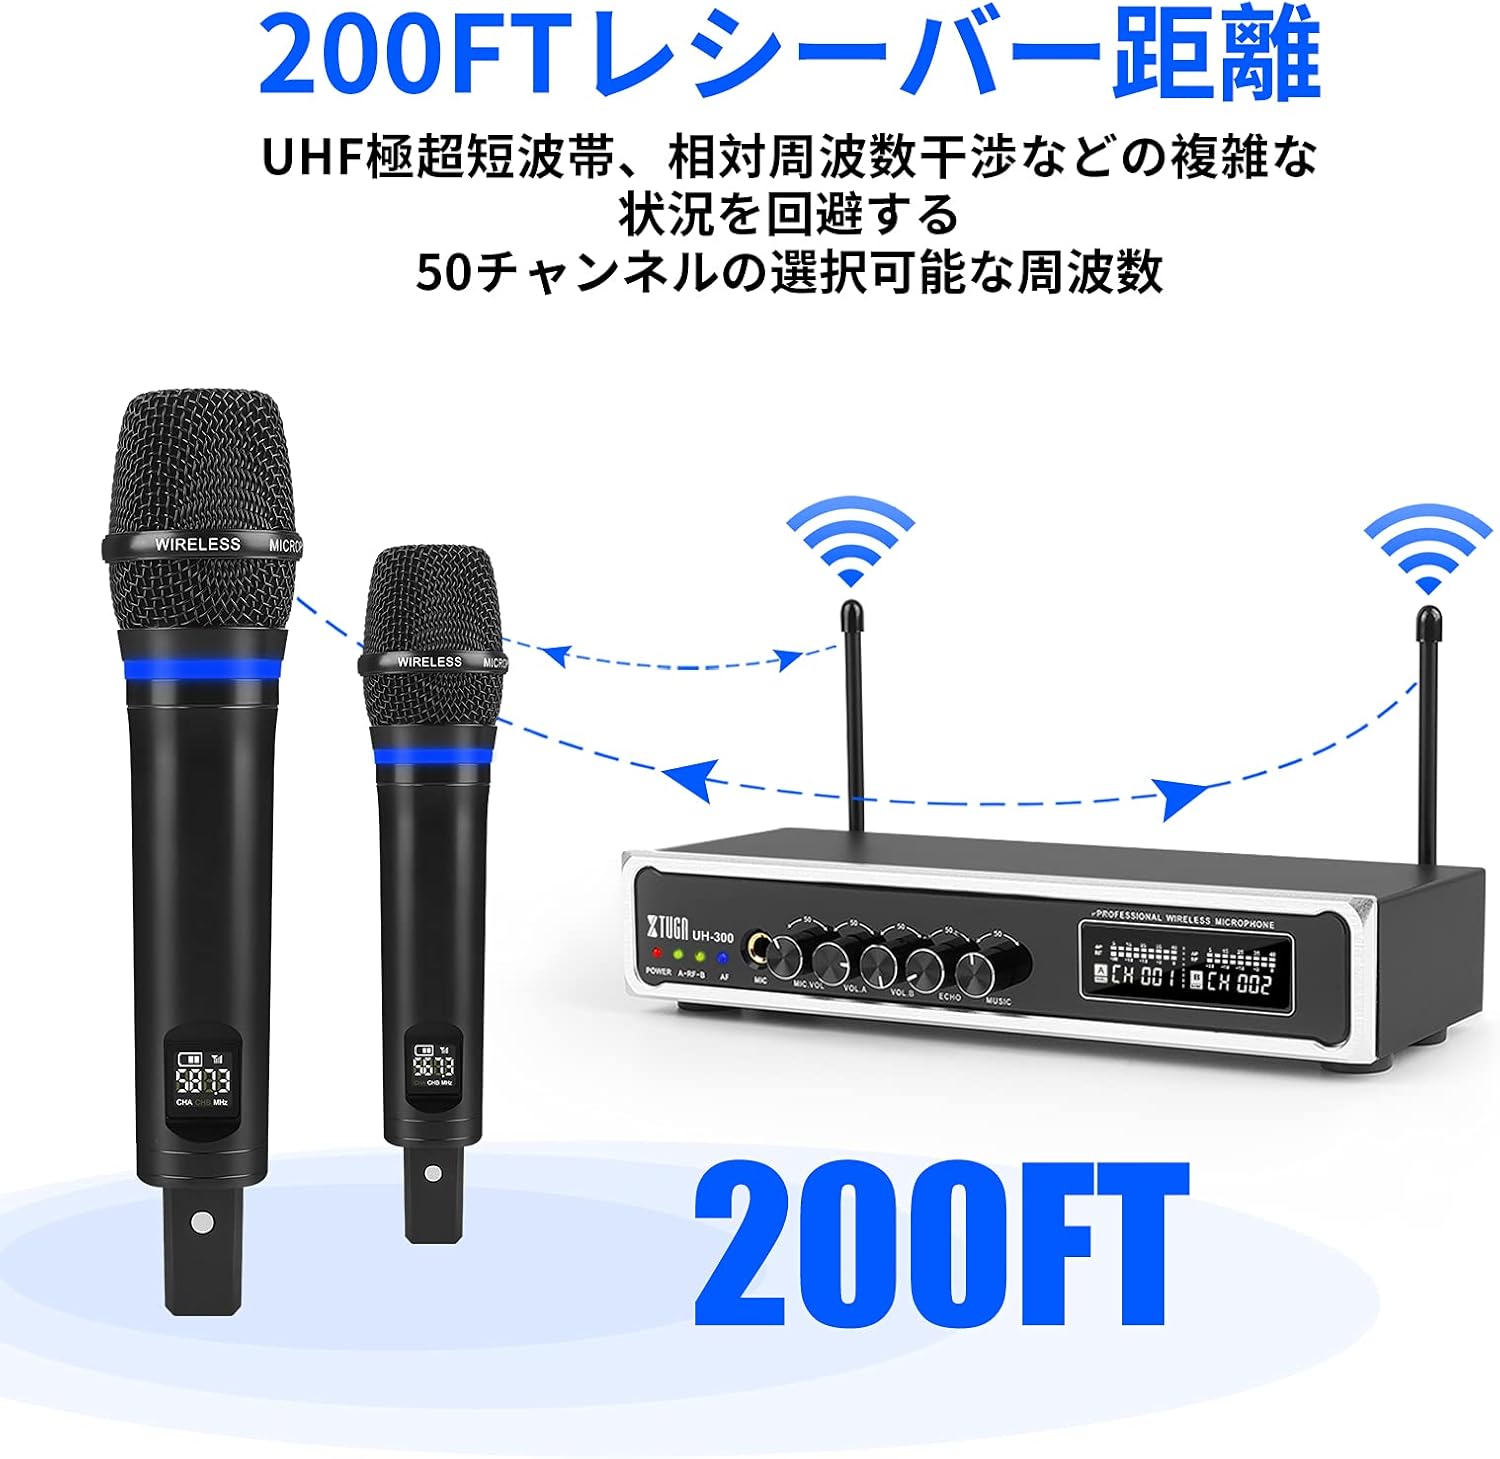
Immagine: Illustration of the XTUGA UH-300's wireless range (up to 200 feet) and the availability of 50 selectable channels to avoid interference.
5. Istruzioni per l'uso
5.1 Funzionamento di base
- Power on the receiver using the POWER switch.
- Power on the wireless microphones. The A-RF-B indicators on the receiver should light up, confirming connection.
- Speak into the microphones. The AF indicators on the receiver should light up, indicating audio signal presence.
- Adjust the MIC VOL A and MIC VOL B knobs on the receiver to set the desired volume for each microphone.
- Adjust the ECHO knob to add or reduce the echo effect to your vocals.

Immagine: Close-up of the receiver's controls, showing the independent volume knobs for Microphone A and Microphone B, and the adjustable echo effect knob.
5.2 Using Bluetooth Input
The system features built-in Bluetooth for playing background music from your smart devices.
- Turn on the Bluetooth function on your smartphone, tablet, or other smart device.
- Cercare Bluetooth devices and select "X168" from the list.
- Once connected, play music from your device. The audio will be routed through the UH-300 receiver.
- Adjust the MUSIC knob on the receiver to control the background music volume.

Immagine: Step-by-step guide for connecting a smartphone or iPad to the XTUGA UH-300 via Bluetooth, showing the device name "X168" and the Bluetooth music volume control.

Immagine: Illustrates the Bluetooth receiver functionality for playing background music, indicating a range of approximately 32 feet and the connection process.
5.3 Using the 1/4" MIC Input
The receiver includes a 1/4" (6.35mm) jack for connecting an additional microphone, allowing for a third vocalist.
- Connect a wired microphone or the receiver of a third wireless microphone (not included) to the 1/4" MIC input jack on the receiver.
- Adjust the MIC VOL knob (if available for the 1/4" input) or the overall system volume to balance the sound.

Immagine: Close-up of the 1/4-inch microphone input jack on the receiver, indicating its function for an additional microphone.
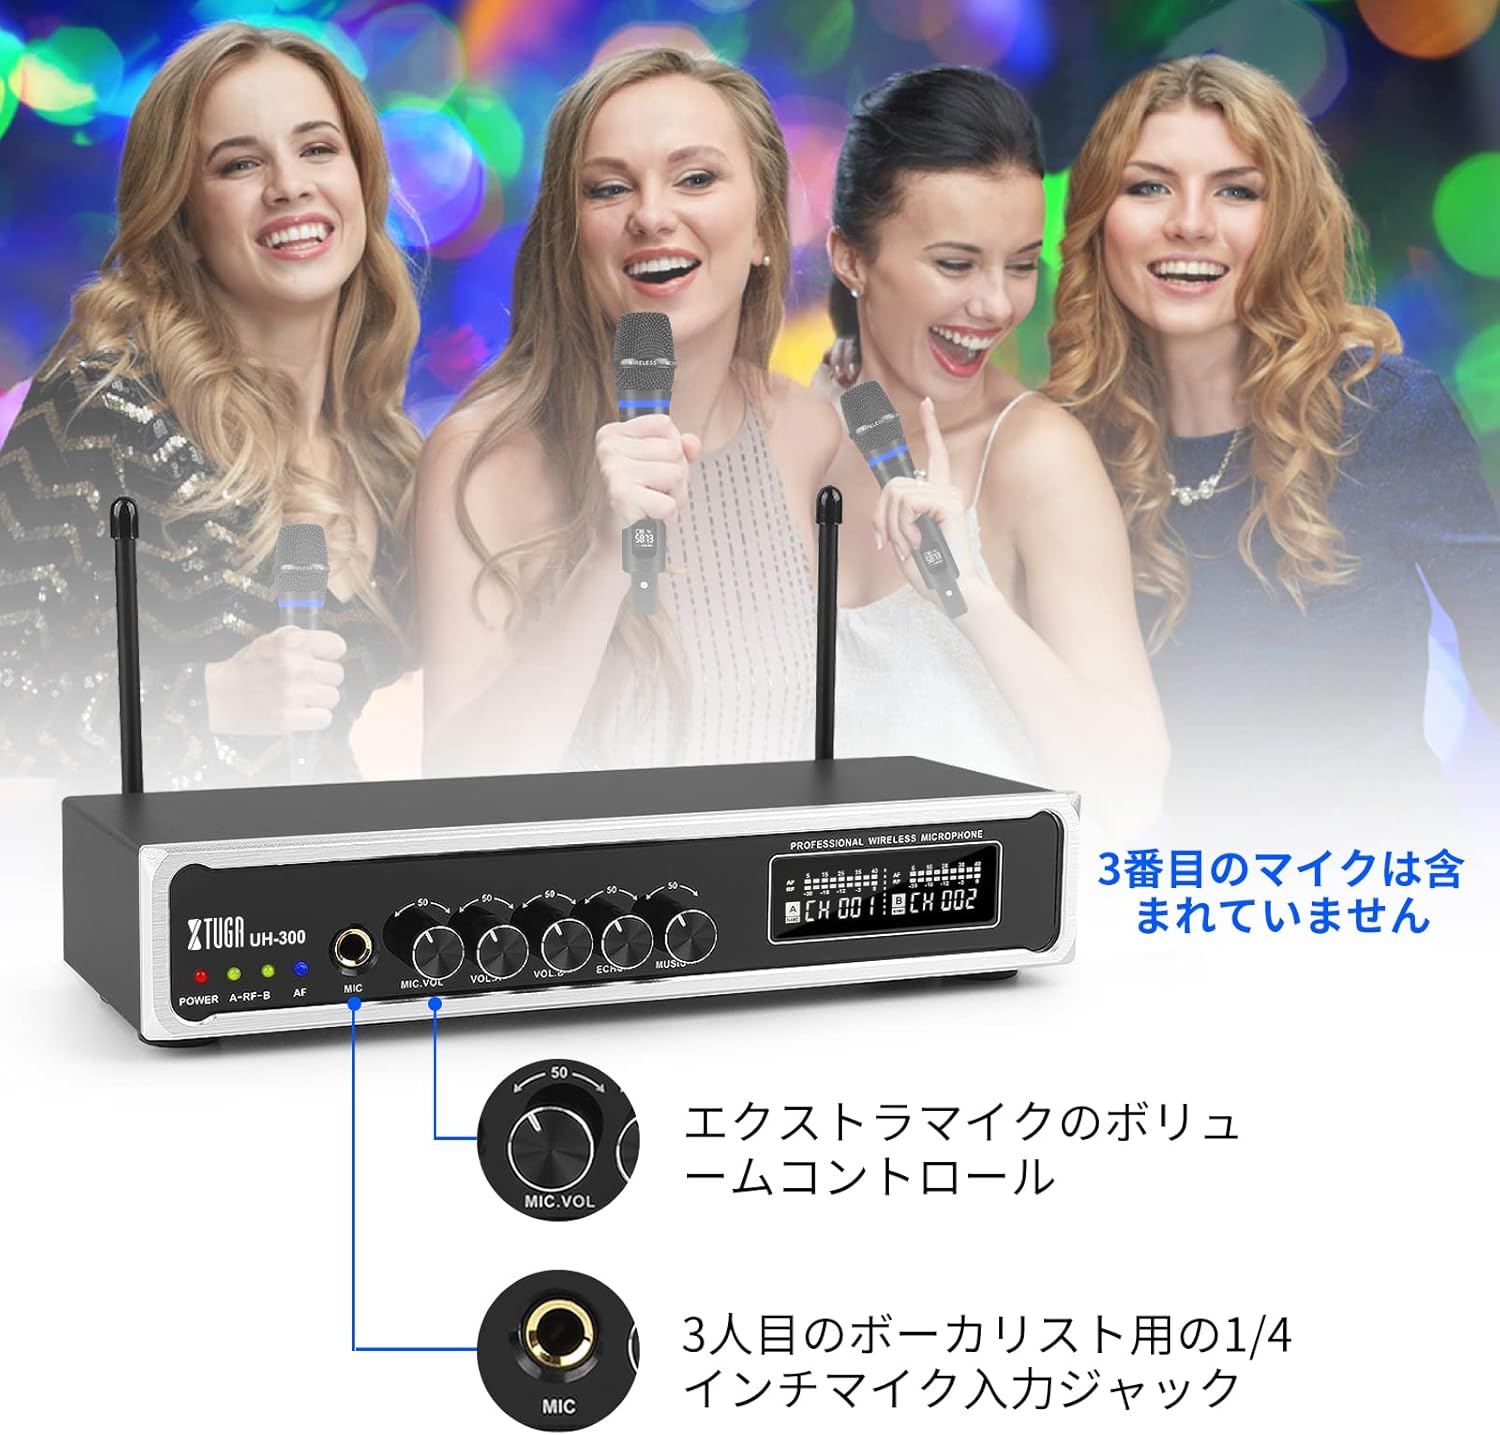
Immagine: Depicts a scenario with three vocalists, highlighting the 1/4-inch input jack for an additional microphone. The third microphone is not included.
6. Manutenzione
- Pulizia: Utilizzare un panno morbido e asciutto per pulire il ricevitore e i microfoni. Non utilizzare detergenti liquidi o materiali abrasivi.
- Magazzinaggio: Quando non in uso, conservare il sistema in un luogo fresco e asciutto, lontano dalla luce solare diretta e da temperature estreme.
- Cura della batteria: For optimal battery life, fully charge the microphones before long periods of storage and recharge them every 3-6 months.
- Evitare l'umidità: Keep the system away from water and high humidity to prevent damage.
7. Risoluzione Dei Problemi
| Problema | Possibile causa | Soluzione |
|---|---|---|
| Nessun suono dai microfoni | Microphones not powered on; Receiver not powered on; Microphones not paired; Volume too low; Speaker not connected or off. | Ensure microphones and receiver are on; Check microphone battery; Re-pair microphones if necessary; Increase MIC VOL A/B; Verify speaker connection and power. |
| Interferenza o rumore statico | Other wireless devices nearby; Operating on a crowded frequency; Distance too far. | Change microphone channel using the frequency button; Move closer to the receiver; Turn off other wireless devices. |
| Il Bluetooth non si connette | Bluetooth not enabled on device; Incorrect device selected; Device too far. | Ensure Bluetooth is on and search for "X168"; Move device closer to the receiver; Restart Bluetooth on your device. |
| La batteria del microfono si scarica rapidamente | Batteria non completamente carica; batteria vecchia. | Ensure full charge (2-3 hours); If battery life significantly degrades, contact support. |
8. Specifiche
| Caratteristica | Dettaglio |
|---|---|
| Marca | XTUGA |
| Modello | UH-300 |
| Tecnologia di connettività | UHF Wireless, Bluetooth, AUX, USB |
| Frequenza senza fili | 50 selectable UHF channels |
| wireless Range | Fino a 262 piedi (80 metri) |
| Portata Bluetooth | Fino a 32 piedi (10 metri) |
| Batteria del microfono | Batteria al litio ricaricabile integrata |
| Tempo di ricarica del microfono | Approx. 2-3 hours (DC 5V) |
| Microphone Operating Time | Circa 3-8 ore |
| Ingressi audio | 1/8" (3.5mm) Jack, Bluetooth |
| Ingressi microfono | 2 x UHF Wireless, 1 x 1/4" (6.35mm) Jack |
| Uscite audio | 1/4" (6.35mm) Jack, 1/8" (3.5mm) Jack |
9. Garanzia e supporto
XTUGA products are designed for reliability and performance. For warranty information, technical support, or service inquiries, please refer to the contact information provided with your purchase or visit the official XTUGA websito. Conservare la prova d'acquisto per eventuali reclami in garanzia.