
1. Introduzione
This manual provides essential information for the safe and effective use of your Lovskoo Mini Video Projector. Please read these instructions thoroughly before operating the device and retain them for future reference.
2. Informazioni sulla sicurezza
- Non esporre il proiettore alla pioggia o all'umidità per evitare incendi o scosse elettriche.
- Non aprire il casing. Affidare tutti gli interventi di manutenzione a personale qualificato.
- Assicurare una ventilazione adeguata. Non ostruire le aperture di ventilazione.
- Utilizzare solo l'adattatore di alimentazione specificato per questo dispositivo.
- Evitare l'esposizione diretta degli occhi alla lente del proiettore quando il dispositivo è in funzione.
- Tenere il proiettore lontano da fonti di calore e dalla luce solare diretta.
3. Contenuto della confezione
Verificare che tutti gli articoli siano presenti nel pacco:
- Lovskoo Mini Video Projector (Host)
- Cavo di alimentazione USB
- Telecomando
- Manuale d'uso
4. Prodotto finitoview
Familiarize yourself with the components and dimensions of your projector.

Figura 4.1: Fronte view of the Lovskoo Mini Video Projector.

Figure 4.2: Dimensions of the Lovskoo Mini Video Projector (approximately 4.3 x 1.9 x 3.5 inches).
The projector features a compact design with a lens at the front and control buttons on the top surface. Connectivity ports are located on the sides or rear, typically including USB and a 3.5mm audio output.
5. Impostazione
Follow these steps to set up your projector for first use:
- Collegamento elettrico: Connect the provided USB power cable to the projector's micro USB input and then to a compatible 5V 2A power source (e.g., a wall adapter or power bank).
- Posizionamento: Place the projector on a stable, flat surface. Ensure there are no obstructions in front of the lens. The recommended projection distance is 2-13.1 feet for a 14-100 inch screen size. For optimal viewing, a 9.32 feet distance is suggested for a 100-inch display.
- Accensione: Premere il pulsante di accensione sul proiettore o sul telecomando per accendere il dispositivo.
- Regolazione della messa a fuoco: Adjust the focus ring (if available) near the lens until the projected image is clear and sharp.
Video 5.1: This video demonstrates the projector's capability to display various screen sizes (40" to 60") and shows the projector in different color variants. It illustrates the projection distance and how the image scales.
6. Operativo
Once powered on, the projector will display its main interface. Use the remote control or the buttons on the projector to navigate menus and select input sources.
6.1 Controlli di base
- Pulsante di accensione: Accende o spegne il proiettore.
- Pulsanti di navigazione: Utilizzato per spostarsi tra le opzioni del menu (Su, Giù, Sinistra, Destra).
- Pulsante OK/Invio: Conferma le selezioni.
- Pulsante Indietro/Esci: Ritorna al menu precedente o esce dalla funzione corrente.
- Pulsanti del volume: Regola il livello di uscita audio.
6.2 Connettività
Il proiettore supporta vari metodi di input:
- Ingresso USB: Collegare un'unità USB per riprodurre contenuti multimediali filedirettamente.
- Uscita audio da 3.5 mm: Collega altoparlanti o cuffie esterni per un audio migliorato.
- Connessione cellulare: Connect your Android or iOS phone to the projector to mirror content. Specific connection methods (e.g., wired screen mirroring) may vary by phone model and require additional adapters (not included).

Figure 6.1: The projector can be powered by a mobile power supply (power bank) for portable use.
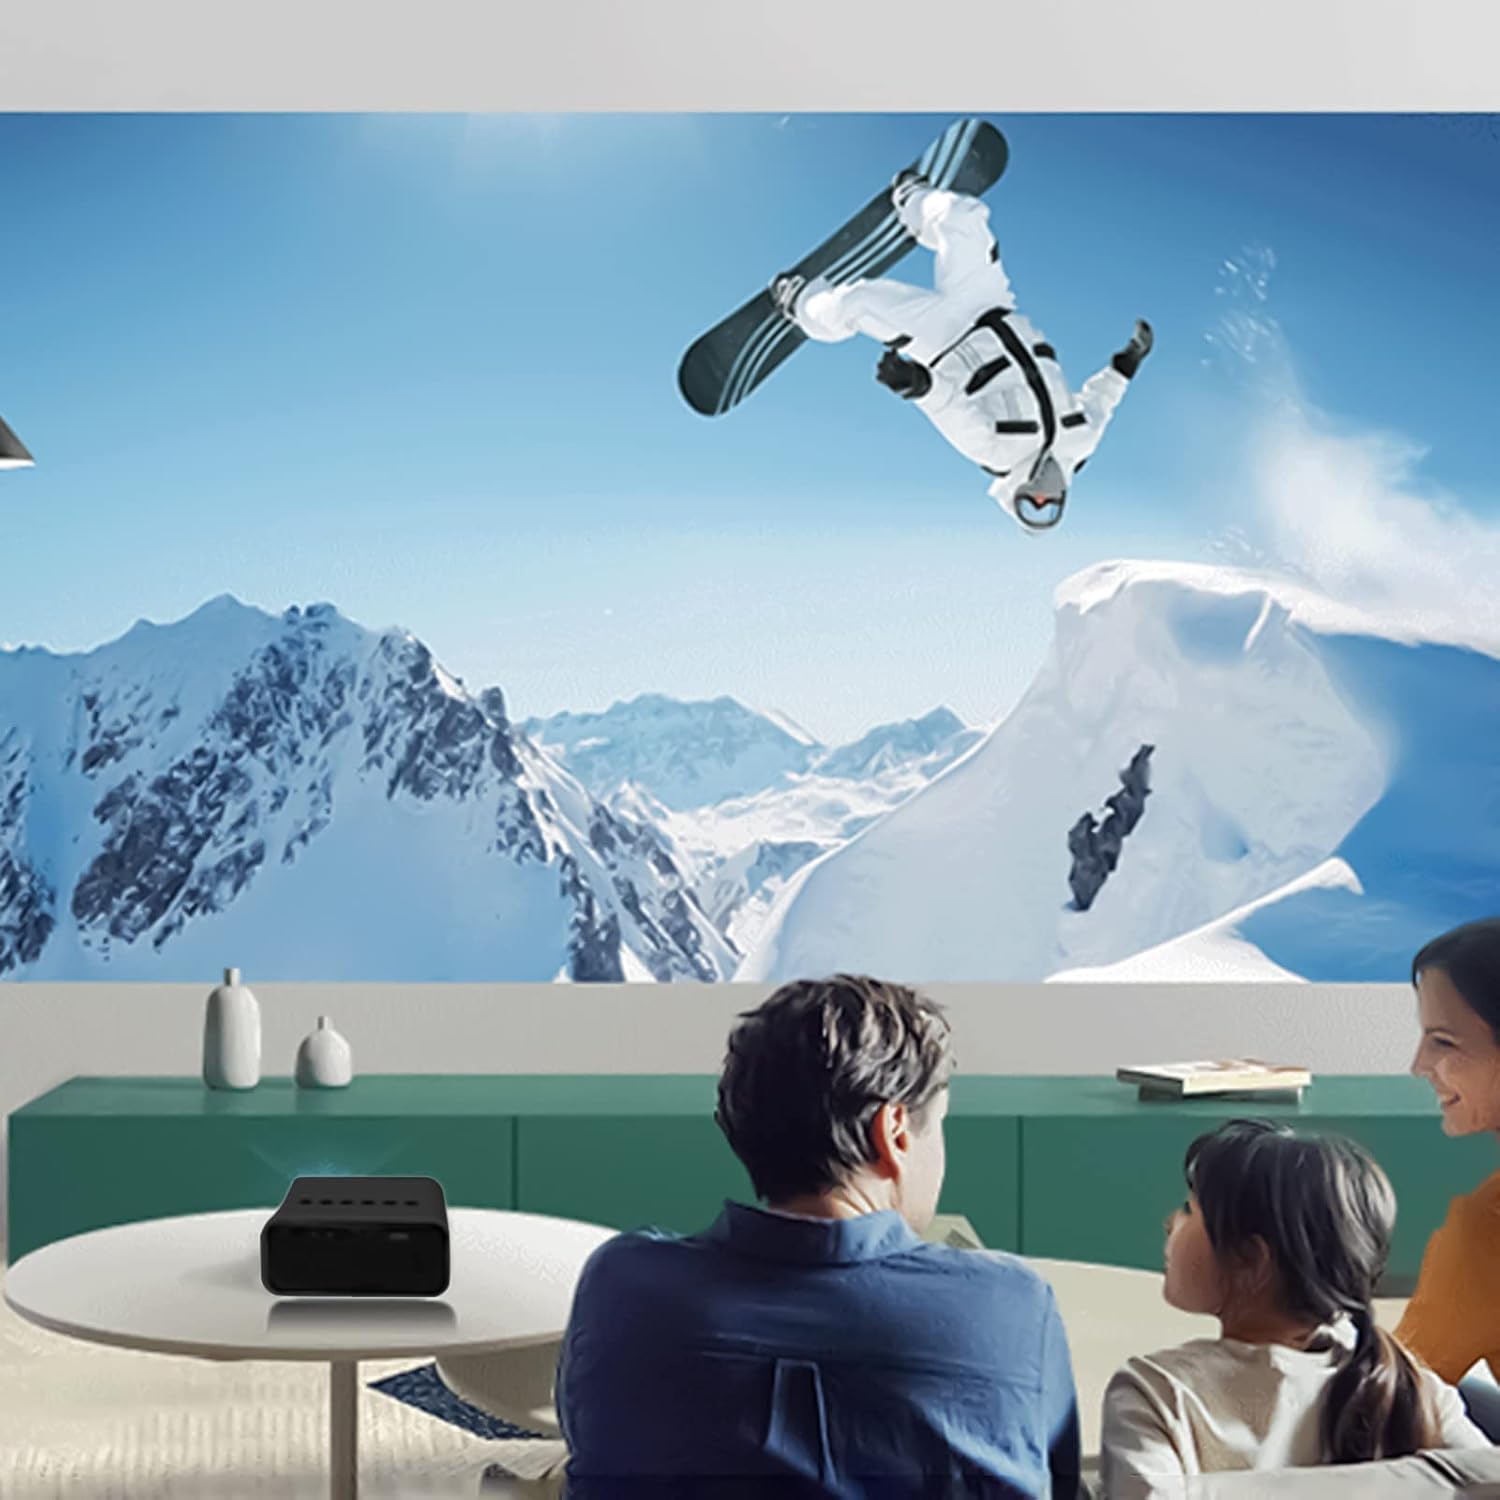
Figura 6.2: Esample of indoor projection setup.

Figura 6.3: Esample of outdoor projection setup, ideal for camping.
7. Manutenzione
Una corretta manutenzione garantisce la longevità e le prestazioni del proiettore.
- Pulizia delle lenti: Utilizzare un panno morbido e privo di lanugine, specificamente progettato per lenti ottiche, per pulire delicatamente la lente del proiettore. Non utilizzare detergenti abrasivi o esercitare una forza eccessiva.
- Rimozione della polvere: Periodically clean the projector's exterior with a soft, dry cloth. Ensure ventilation openings are free from dust and debris.
- Magazzinaggio: Quando non in uso, conservare il proiettore in un luogo fresco e asciutto, lontano dalla luce solare diretta e da temperature estreme.
8. Risoluzione Dei Problemi
Se riscontri problemi con il proiettore, fai riferimento ai seguenti problemi comuni e alle relative soluzioni:
| Problema | Possibile causa | Soluzione |
|---|---|---|
| Nessun potere | Power cable not connected properly; faulty power source. | Ensure the USB power cable is securely connected. Try a different power adapter or USB port. |
| Nessuna immagine | Incorrect input source selected; lens cap on; focus issue. | Select the correct input source (e.g., USB). Remove any lens cap. Adjust the focus. |
| Immagine sfocata | Sfocato; distanza di proiezione errata. | Adjust the focus ring. Ensure the projector is within the recommended projection distance. |
| Nessun suono | Volume too low; external speakers not connected or faulty. | Increase the volume. Check external speaker connections if used. |
9. Specifiche
Key technical specifications for the Lovskoo Mini Video Projector:
- Modello: Mini videoproiettore
- Risoluzione supportata: 1080P HD (1920 x 1080 Max)
- Risoluzione nativa: 320x180
- Tecnologia di visualizzazione: Schermo LCD
- Dimensioni della proiezione: 14-100 pollici
- Distanza di proiezione: 2-13.1 piedi
- Durata del LED: Fino a 30,000 ore
- Consumo energetico: 10 L
- Voltage/Corrente: 5V 2A
- Modalità di controllo: Manual buttons / Remote control
- Interfacce: USB x 1, 3.5mm Audio Output x 1, Micro USB (Power Input)
- Dimensioni: Approximately 4.3 x 1.9 x 3.5 inches (11 x 4.7 cm)
- Peso: Circa 11.3 once
- Altoparlante incorporato: SÌ
10. Garanzia e supporto
For warranty information and customer support, please refer to the documentation provided at the time of purchase or contact Lovskoo customer service through their official channels. Keep your purchase receipt as proof of purchase.