
1. Prodotto finitoview
This Bewinner DVD drive is designed as a replacement part for the Nintendo Wii console, specifically compatible with the D2E model. It is engineered for accurate fit and performance, aiming to effectively prevent corrosion and wear. The package includes the DVD Rom Drive Disk and an opening tool for installation.
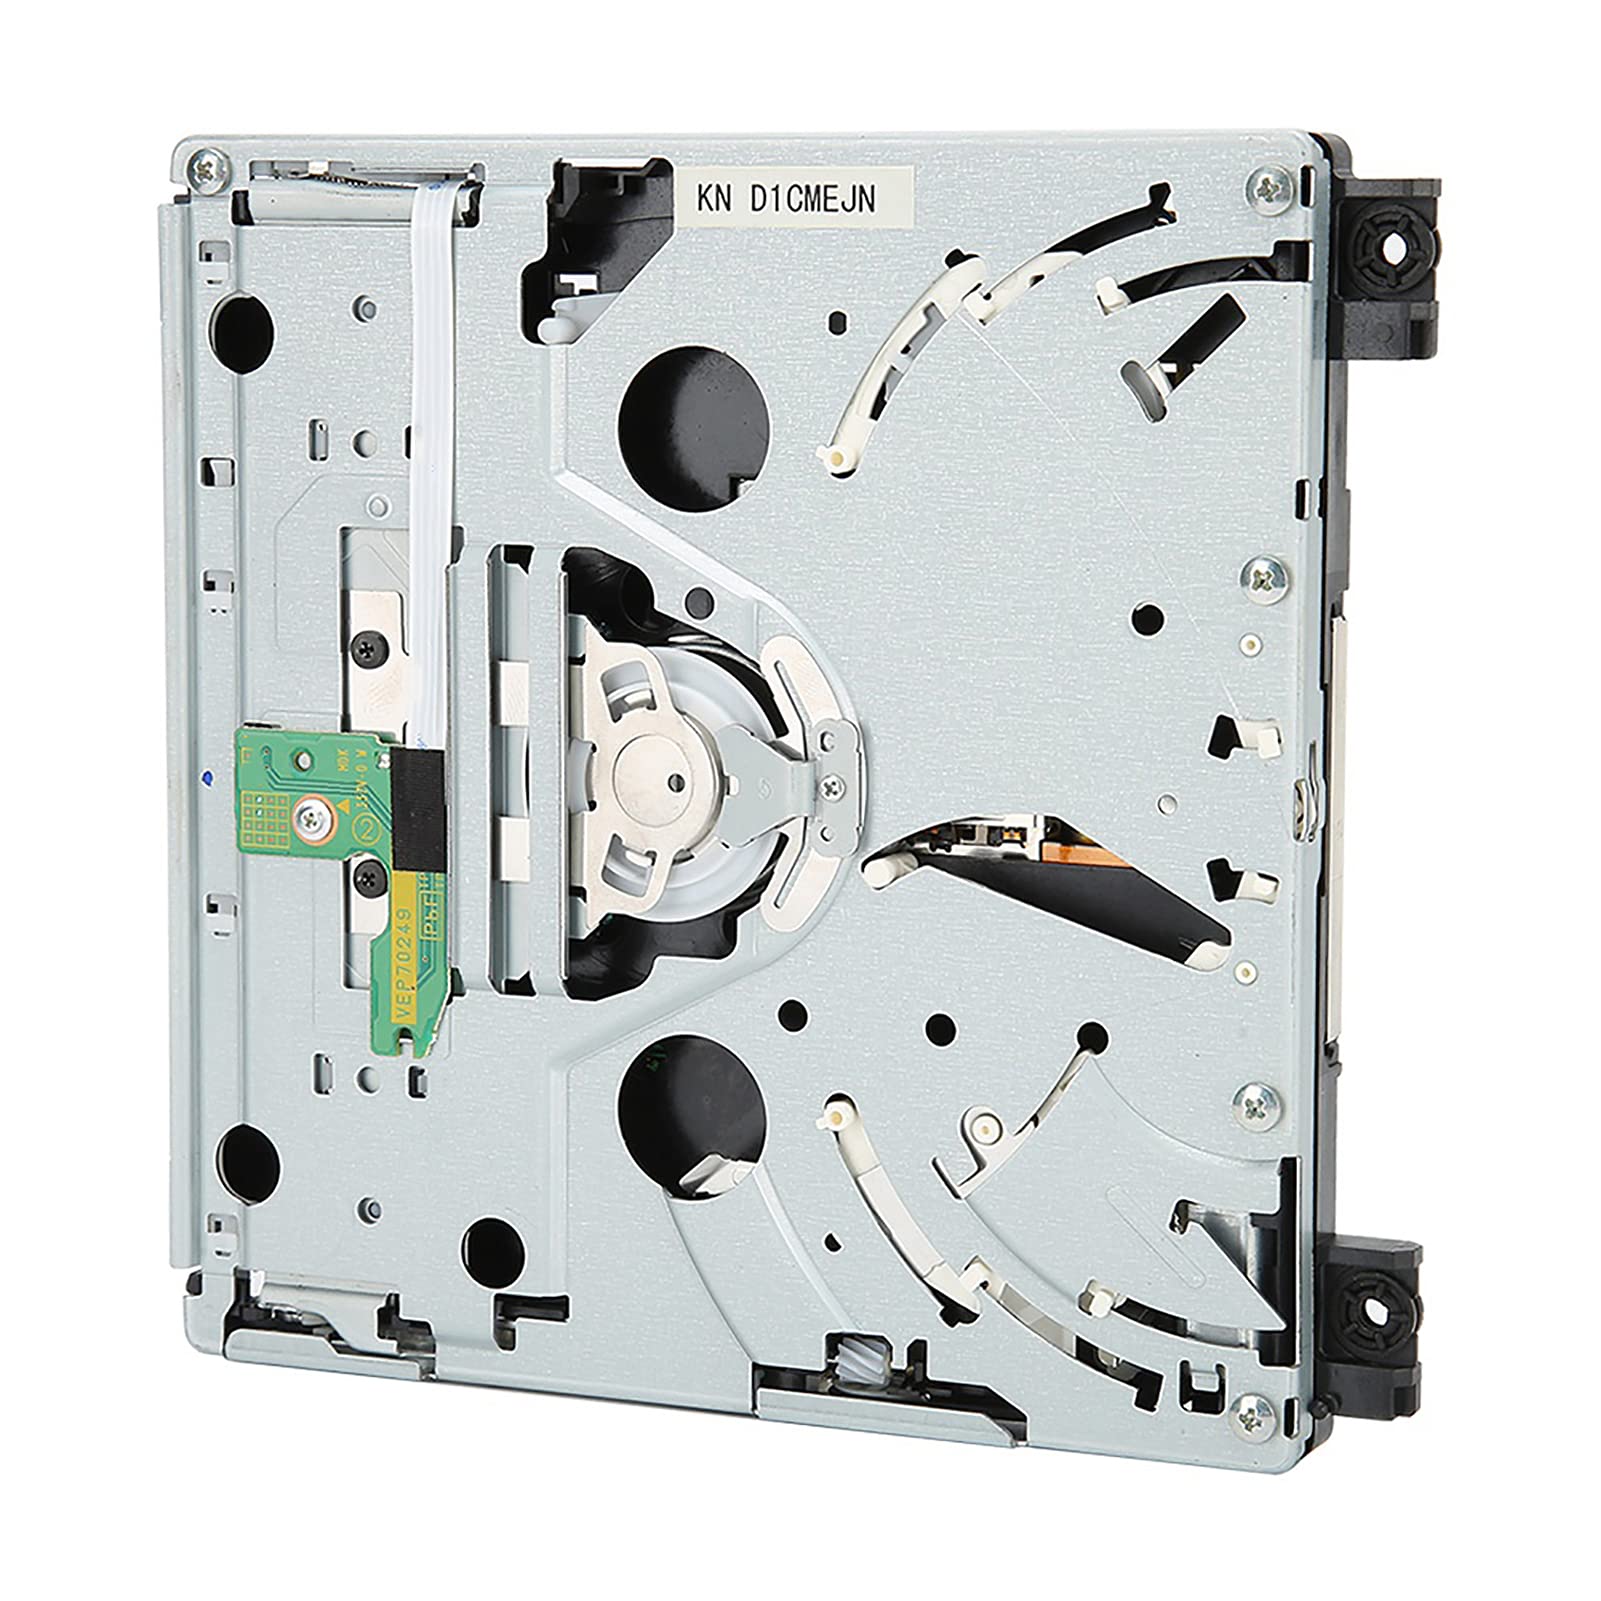
Image 1.1: The Bewinner DVD drive replacement part shown alongside a screwdriver and a Nintendo Wii console, illustrating its intended use.
Please note that due to manufacturing variations, you may receive either a new type or an old type of this product. Both types are compatible with the specified model.

Image 1.2: A visual comparison between the new and old types of the Bewinner DVD drive replacement, highlighting their similar form factors.
2. Specifiche
| Caratteristica | Dettaglio |
|---|---|
| Condizione | 100% nuovo di zecca |
| Tipo di articolo | DVD Rom Drive Disk |
| Materiale | Metallo + ABS |
| Colore | As Picture Shown |
| Peso | Circa 351 g / 12.4 once |
| Dimensioni del prodotto (L x P x A) | 14.5 x 14 x 2 cm / 5.7 x 5.5 x 0.8 pollici |
| Modello applicabile | For Nintendo Wii D2E |
| Interfaccia Hardware | Ideale per gli amanti |
| Dimensione della cache | 2 MB |
| Numero di modello | Bewinnerk6dt2nue8h |

Image 2.1: The physical dimensions of the DVD drive replacement, showing length, width, and height measurements.
3. Contenuto della confezione
La confezione del prodotto in genere include i seguenti articoli:
- 1 x DVD Rom Drive Disk
- 1 x Opening Tool (for installation assistance)
4. Configurazione e installazione
Installation of the Bewinner DVD drive replacement requires careful handling and basic technical knowledge. It is recommended to consult a professional or refer to detailed online guides specific to your Nintendo Wii console model for precise disassembly and reassembly instructions. The drive features precise incisions and interfaces for a suitable fit.

Image 4.1: The internal components and circuit board of the DVD drive, illustrating the connection points for installation.
General Installation Steps (Consult specific Wii repair guides):
- Spegnimento e disconnessione: Ensure your Nintendo Wii console is completely powered off and all cables (power, AV, etc.) are disconnected.
- Access Console Interior: Carefully open the Wii console casing. This typically involves removing screws and clips. Use the provided opening tool if applicable.
- Locate and Disconnect Old Drive: Identify the existing DVD drive. Disconnect any ribbon cables and power connectors attached to it.
- Remove Old Drive: Unscrew and remove the old DVD drive from its housing.
- Install New Drive: Position the Bewinner DVD drive replacement into the console's drive bay. Ensure it aligns correctly.
- Connect New Drive: Reconnect all ribbon cables and power connectors to the new DVD drive. Ensure connections are secure and properly seated.
- Reassemble Console: Carefully close the console casing, ensuring all screws and clips are re-secured.
- Funzionalità di prova: Reconnect the Wii console to power and your display. Insert a game disc to verify the new DVD drive is functioning correctly.
Nota importante: Attempting repairs without proper knowledge can damage your console. Proceed with caution or seek professional assistance.
5. Istruzioni per l'uso
Once the Bewinner DVD drive replacement is successfully installed, its operation is identical to the original Wii console DVD drive.
- Inserimento di un disco: Gently slide a compatible Nintendo Wii game disc or DVD into the disc slot until it is pulled in by the drive mechanism.
- Espulsione di un disco: Press the Eject button on the Wii console to release the disc.
- Compatibilità del disco: The drive supports standard Nintendo Wii game discs and compatible DVD video discs, depending on your console's region and firmware.
6. Manutenzione
To ensure the longevity and optimal performance of your DVD drive replacement, consider the following maintenance tips:
- Keep Discs Clean: Always use clean, scratch-free discs. Dust and smudges on discs can affect read performance and potentially damage the drive's laser lens.
- Evitare l'accumulo di polvere: Keep your Wii console in a clean, dust-free environment. Dust can accumulate inside the drive and interfere with its operation.
- Trattamento delicato: Avoid forcing discs into or out of the drive.
- No Liquid Cleaners: Do not use liquid cleaners or sprays directly on the drive or inside the console.
7. Risoluzione Dei Problemi
If you encounter issues after installing the DVD drive replacement, refer to the following common troubleshooting steps:
- Disco non letto:
- Assicurarsi che il disco sia pulito e privo di graffi.
- Verificare che il disco sia inserito correttamente.
- Check if the console's region matches the disc's region.
- Riavviare la console Wii.
- Disc Ejection Issues:
- Ensure no foreign objects are obstructing the disc slot.
- Try pressing the Eject button multiple times.
- If the disc is stuck, power off the console and gently attempt to remove it (consult a specific guide for manual ejection if available).
- Problemi di installazione:
- Double-check all cable connections (ribbon cables, power connectors) to ensure they are securely seated.
- Verify that the drive is correctly positioned in the console.
- Ensure you have the correct drive type for your specific Wii model (D2E).
- No Power to Drive:
- Confirm the console itself is receiving power and functioning otherwise.
- Recheck the power cable connection to the DVD drive.
If problems persist after attempting these steps, it may indicate a more complex issue with the drive or console, or an incorrect installation. Consider seeking professional repair or contacting customer support.
8. Garanzia e supporto
For warranty information, technical support, or further assistance, please contact Bewinner customer service directly. Refer to the product packaging or the Bewinner official websito per i contatti.
Produttore: Vincitore
Numero modello: Bewinnerk6dt2nue8h