
Introduzione
Thank you for choosing the TNICER N1 Motorcycle Helmet Bluetooth Headset. This manual provides detailed instructions for the proper installation, operation, and maintenance of your device. Please read this manual thoroughly before use to ensure optimal performance and safety.
Caratteristiche del prodotto
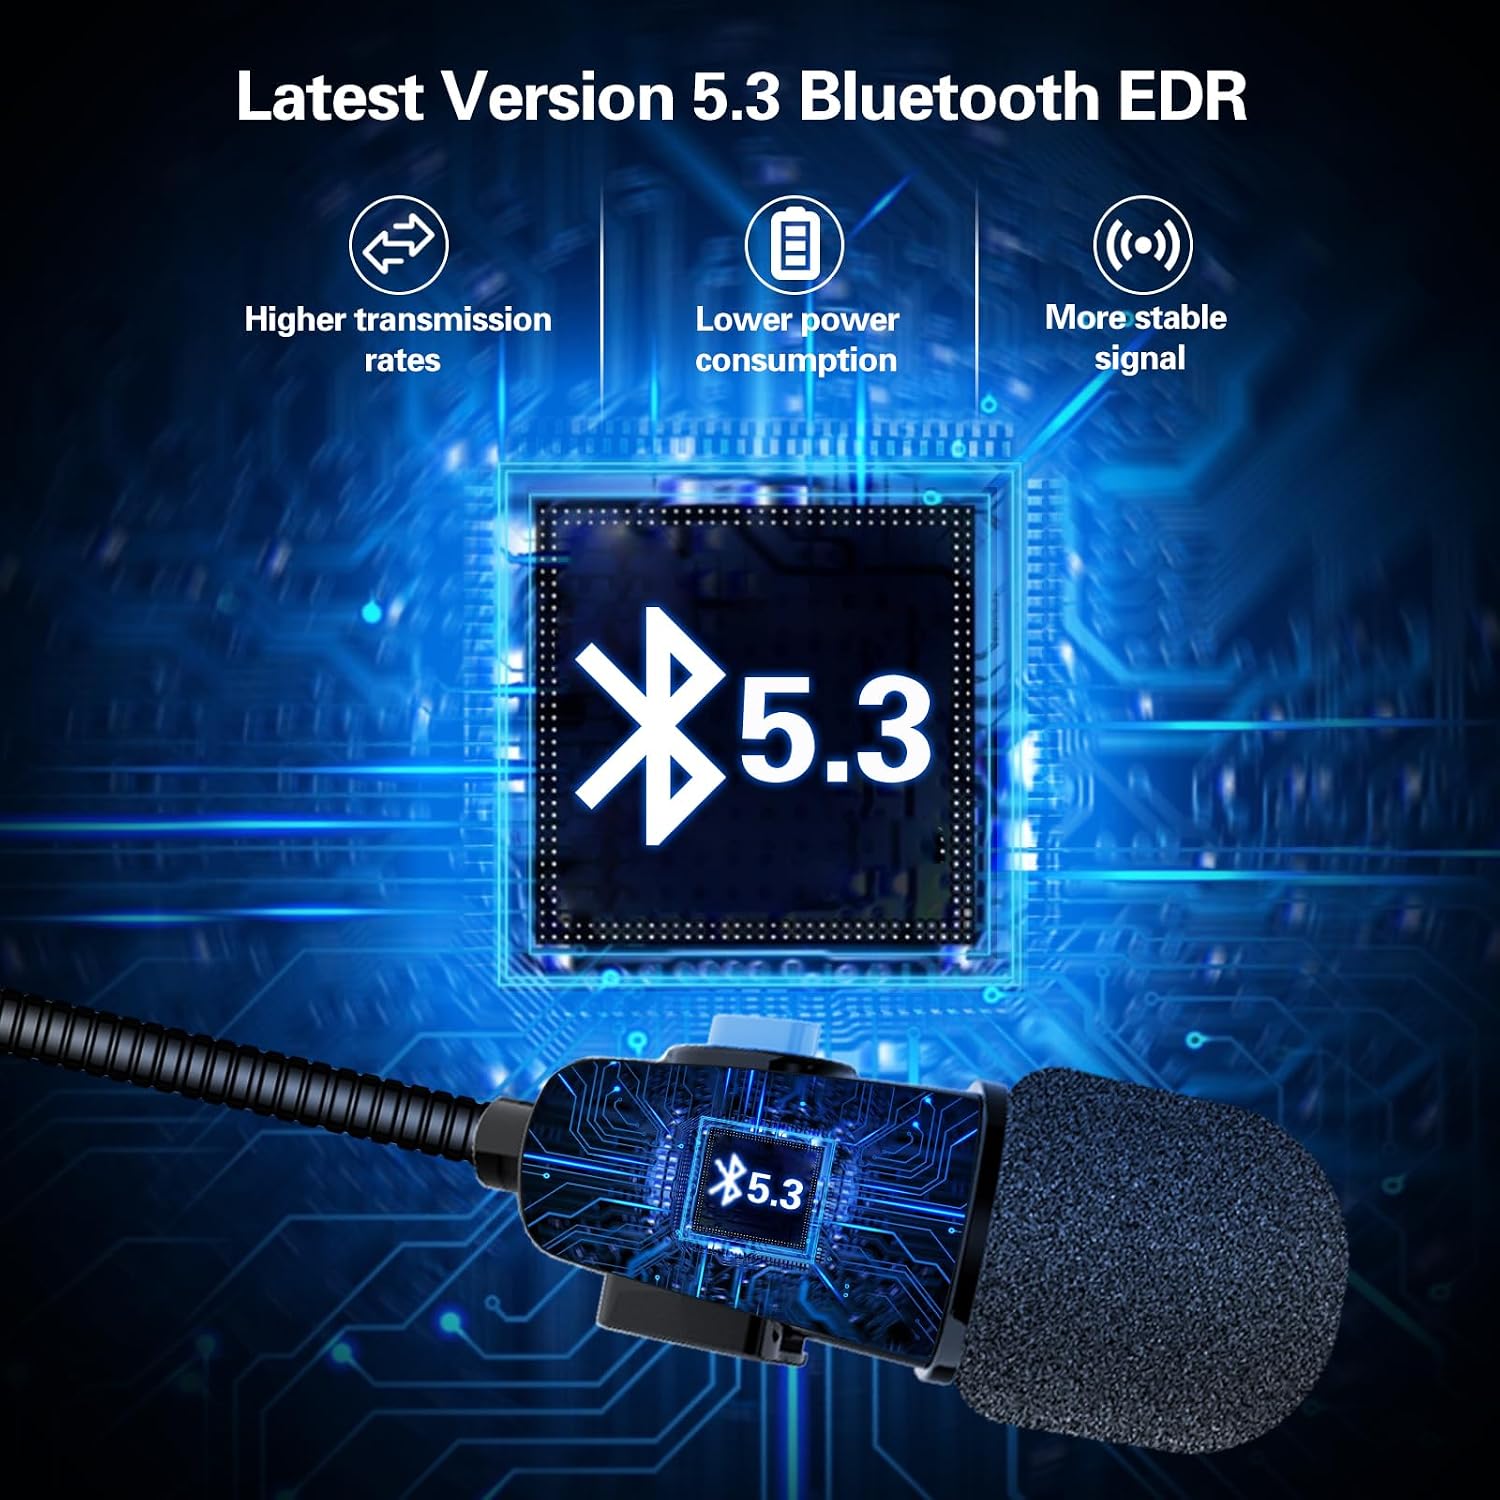
- Tecnologia Bluetooth 5.3: Ensures faster, more stable signal transmission with ultra-low power consumption.
- DSP Noise Suppression: Enhances sound quality for clear stereo music and communication.
- Risposta automatica alle chiamate: Incoming calls are answered automatically after 8 seconds, enhancing safety during rides. Manual hang-up is possible within 8 seconds.
- Comandi intuitivi: Three raised control buttons for easy operation, even with gloves.
- Batteria a lunga durata: Up to 8 hours of continuous work and 300 hours of standby time on a 1.5-hour charge.
- Design durevole: Anti-sweat and dustproof sealing for extended product lifespan.
- Vestibilità universale: Designed for easy mounting on most helmets.
Prodotto finitoview e componenti


Configurazione e installazione
1. Checking Helmet Compatibility
Before installation, measure the speaker recess section within your helmet. The TNICER N1 speakers have a thickness of 0.44 inches (approximately 11.17 mm) and diameters of 40mm and 35mm. Ensure there is adequate space for proper fitment.
2. Mounting the Headset
- Identify suitable locations inside your helmet for the speakers and microphone. The headset is designed for easy and firm mounting.
- Attach the speakers to the helmet's interior, typically within the ear recesses, using the provided adhesive pads or Velcro.
- Position the microphone near your mouth for clear voice pickup. Ensure it does not obstruct your vision or helmet closure.
- Disporre i cavi in modo ordinato all'interno dell'imbottitura del casco per evitare interferenze e garantire il comfort.
3. Carica del dispositivo
- Connect the charging cable to the headset's charging port and to a standard USB power source.
- Una carica completa richiede circa 1.5 ore.
- The device will indicate charging status (e.g., LED indicator). Refer to the device's LED behavior for specific charging signals.
4. Accoppiamento Bluetooth
- Assicurati che le cuffie siano spente.
- Press and hold the power button until the LED indicator flashes alternately in red and blue, indicating pairing mode.
- Sul tuo smartphone o altro dispositivo Bluetooth, attiva il Bluetooth e cerca i dispositivi disponibili.
- Select "TNICER N1" from the list of found devices.
- Una volta effettuato l'accoppiamento, l'indicatore LED in genere emetterà una luce blu fissa o lampeggerà lentamente.
Istruzioni per l'uso
1. Accensione/spegnimento
- Accensione: Press and hold the power button for approximately 3 seconds until you hear an audible prompt and the LED indicator lights up.
- Spegni: Press and hold the power button for approximately 5 seconds until you hear an audible prompt and the LED indicator turns off.
2. Gestione delle chiamate
- Risposta automatica: Incoming calls will be answered automatically after 8 seconds.
- Manual Hang Up: During the 8-second automatic answering period, you can manually press the appropriate button (refer to device controls) to hang up the call.
- Ricomponi l'ultimo numero: Double-press the power button to redial the last dialed number.
3. Riproduzione di musica
- Riproduci/Pausa: Press the central control button (often the power button) once to play or pause music.
- Aumenta volume: Premere il pulsante '+' per aumentare il volume.
- Volume basso: Premere il pulsante '-' per diminuire il volume.
- Traccia successiva: Press and hold the '+' button for 2 seconds to skip to the next song.
- Traccia precedente: Press and hold the '-' button for 2 seconds to go to the previous song.
4. Assistente vocale
- Attiva l'assistente vocale: Triple-press the power button to activate your smartphone's voice assistant (e.g., Siri, Google Assistant).
Manutenzione
- Pulizia: The N1 speaker is sealed to prevent sweat and dust. Wipe the device with a soft, damp stoffa. Non utilizzare prodotti chimici aggressivi o detergenti abrasivi.
- Magazzinaggio: Quando non vengono utilizzate, conservare le cuffie in un luogo fresco e asciutto, lontano dalla luce solare diretta e da temperature estreme.
- Cura della batteria: Per prolungare la durata della batteria, evitare di scaricarla completamente frequentemente. Caricare regolarmente il dispositivo, anche se non lo si utilizza costantemente.
Risoluzione dei problemi
| Problema | Possibile causa | Soluzione |
|---|---|---|
| Il dispositivo non si accende. | Batteria scarica. | Caricare il dispositivo per almeno 1.5 ore. |
| Impossibile effettuare l'associazione con lo smartphone. | Headset not in pairing mode; Bluetooth off on phone; device too far. | Ensure headset is in pairing mode (flashing red/blue LED). Turn on phone's Bluetooth. Keep devices within 1 meter. |
| Nessun suono o volume basso. | Volume too low; device not connected; speakers improperly placed. | Increase volume on headset and phone. Re-pair the device. Adjust speaker position in helmet. |
| "Low battery" warning. | Il livello della batteria è estremamente basso. | Recharge the headset immediately. |
Specifiche
| Caratteristica | Dettaglio |
|---|---|
| Nome del modello | N1 |
| Marca | TNICER |
| Versione Bluetooth | 5.3 |
| Tempo di carica della batteria | 1.5 ore |
| Battery Average Life (Music/Talk) | 8 ore |
| Tempo di standby | 300 ore |
| Livello di resistenza all'acqua | Waterproof (Anti-sweat and dustproof) |
| Speaker Thickness | 0.44 pollici (circa 11.17 mm) |
| Diametro dell'altoparlante | 40 mm e 35 mm |
| Lunghezza cavo microfono | 43 centimetri |
| Lunghezza del cavo dell'altoparlante | 15 centimetri |
| Posizionamento dell'orecchio | Sull'orecchio |
| Fattore di forma | Sopra l'orecchio |
| Dispositivi compatibili | Smartphone, Laptop, Personal Computer, Tablet, Gaming Console |
| Materiale | Plastica |
Garanzia e supporto
For warranty information or technical support, please refer to the product packaging or contact TNICER customer service directly. Keep your purchase receipt for warranty claims.