1. Introduzione
Thank you for choosing the LAUFEN Cleanet Navia H8916010000001 Toilet Seat. This manual provides essential information for the safe and correct installation, operation, and maintenance of your new toilet seat. Please read these instructions thoroughly before installation and retain them for future reference.
The LAUFEN Cleanet Navia toilet seat is designed for comfort and hygiene, featuring a soft-close mechanism and a removable design for easy cleaning. It is intended for cavity mounting on compatible LAUFEN Cleanet Navia toilet bowls.
2. Informazioni sulla sicurezza
Per evitare lesioni o danni al prodotto, osservare le seguenti linee guida di sicurezza:
- Installazione: Ensure all components are securely fastened. Loose parts can cause instability and potential injury.
- Pulizia: Use only mild, non-abrasive cleaning agents. Harsh chemicals can damage the surface finish and material.
- Limite di peso: The toilet seat is designed for standard use. Avoid standing on the seat or lid, as this can cause damage or personal injury.
- Bambini: Supervise children to ensure they do not misuse the toilet seat or its soft-close mechanism.
- Manutenzione: Regularly check for any signs of wear or damage. Do not use the product if it is damaged.
3. Contenuto della confezione
Verifica che tutti gli articoli elencati di seguito siano presenti nel tuo pacco:
- 1 x LAUFEN Cleanet Navia Toilet Seat with Lid
- Hardware di montaggio (cerniere, viti, rondelle, dadi)
- Istruzioni per l'installazione (questo manuale)
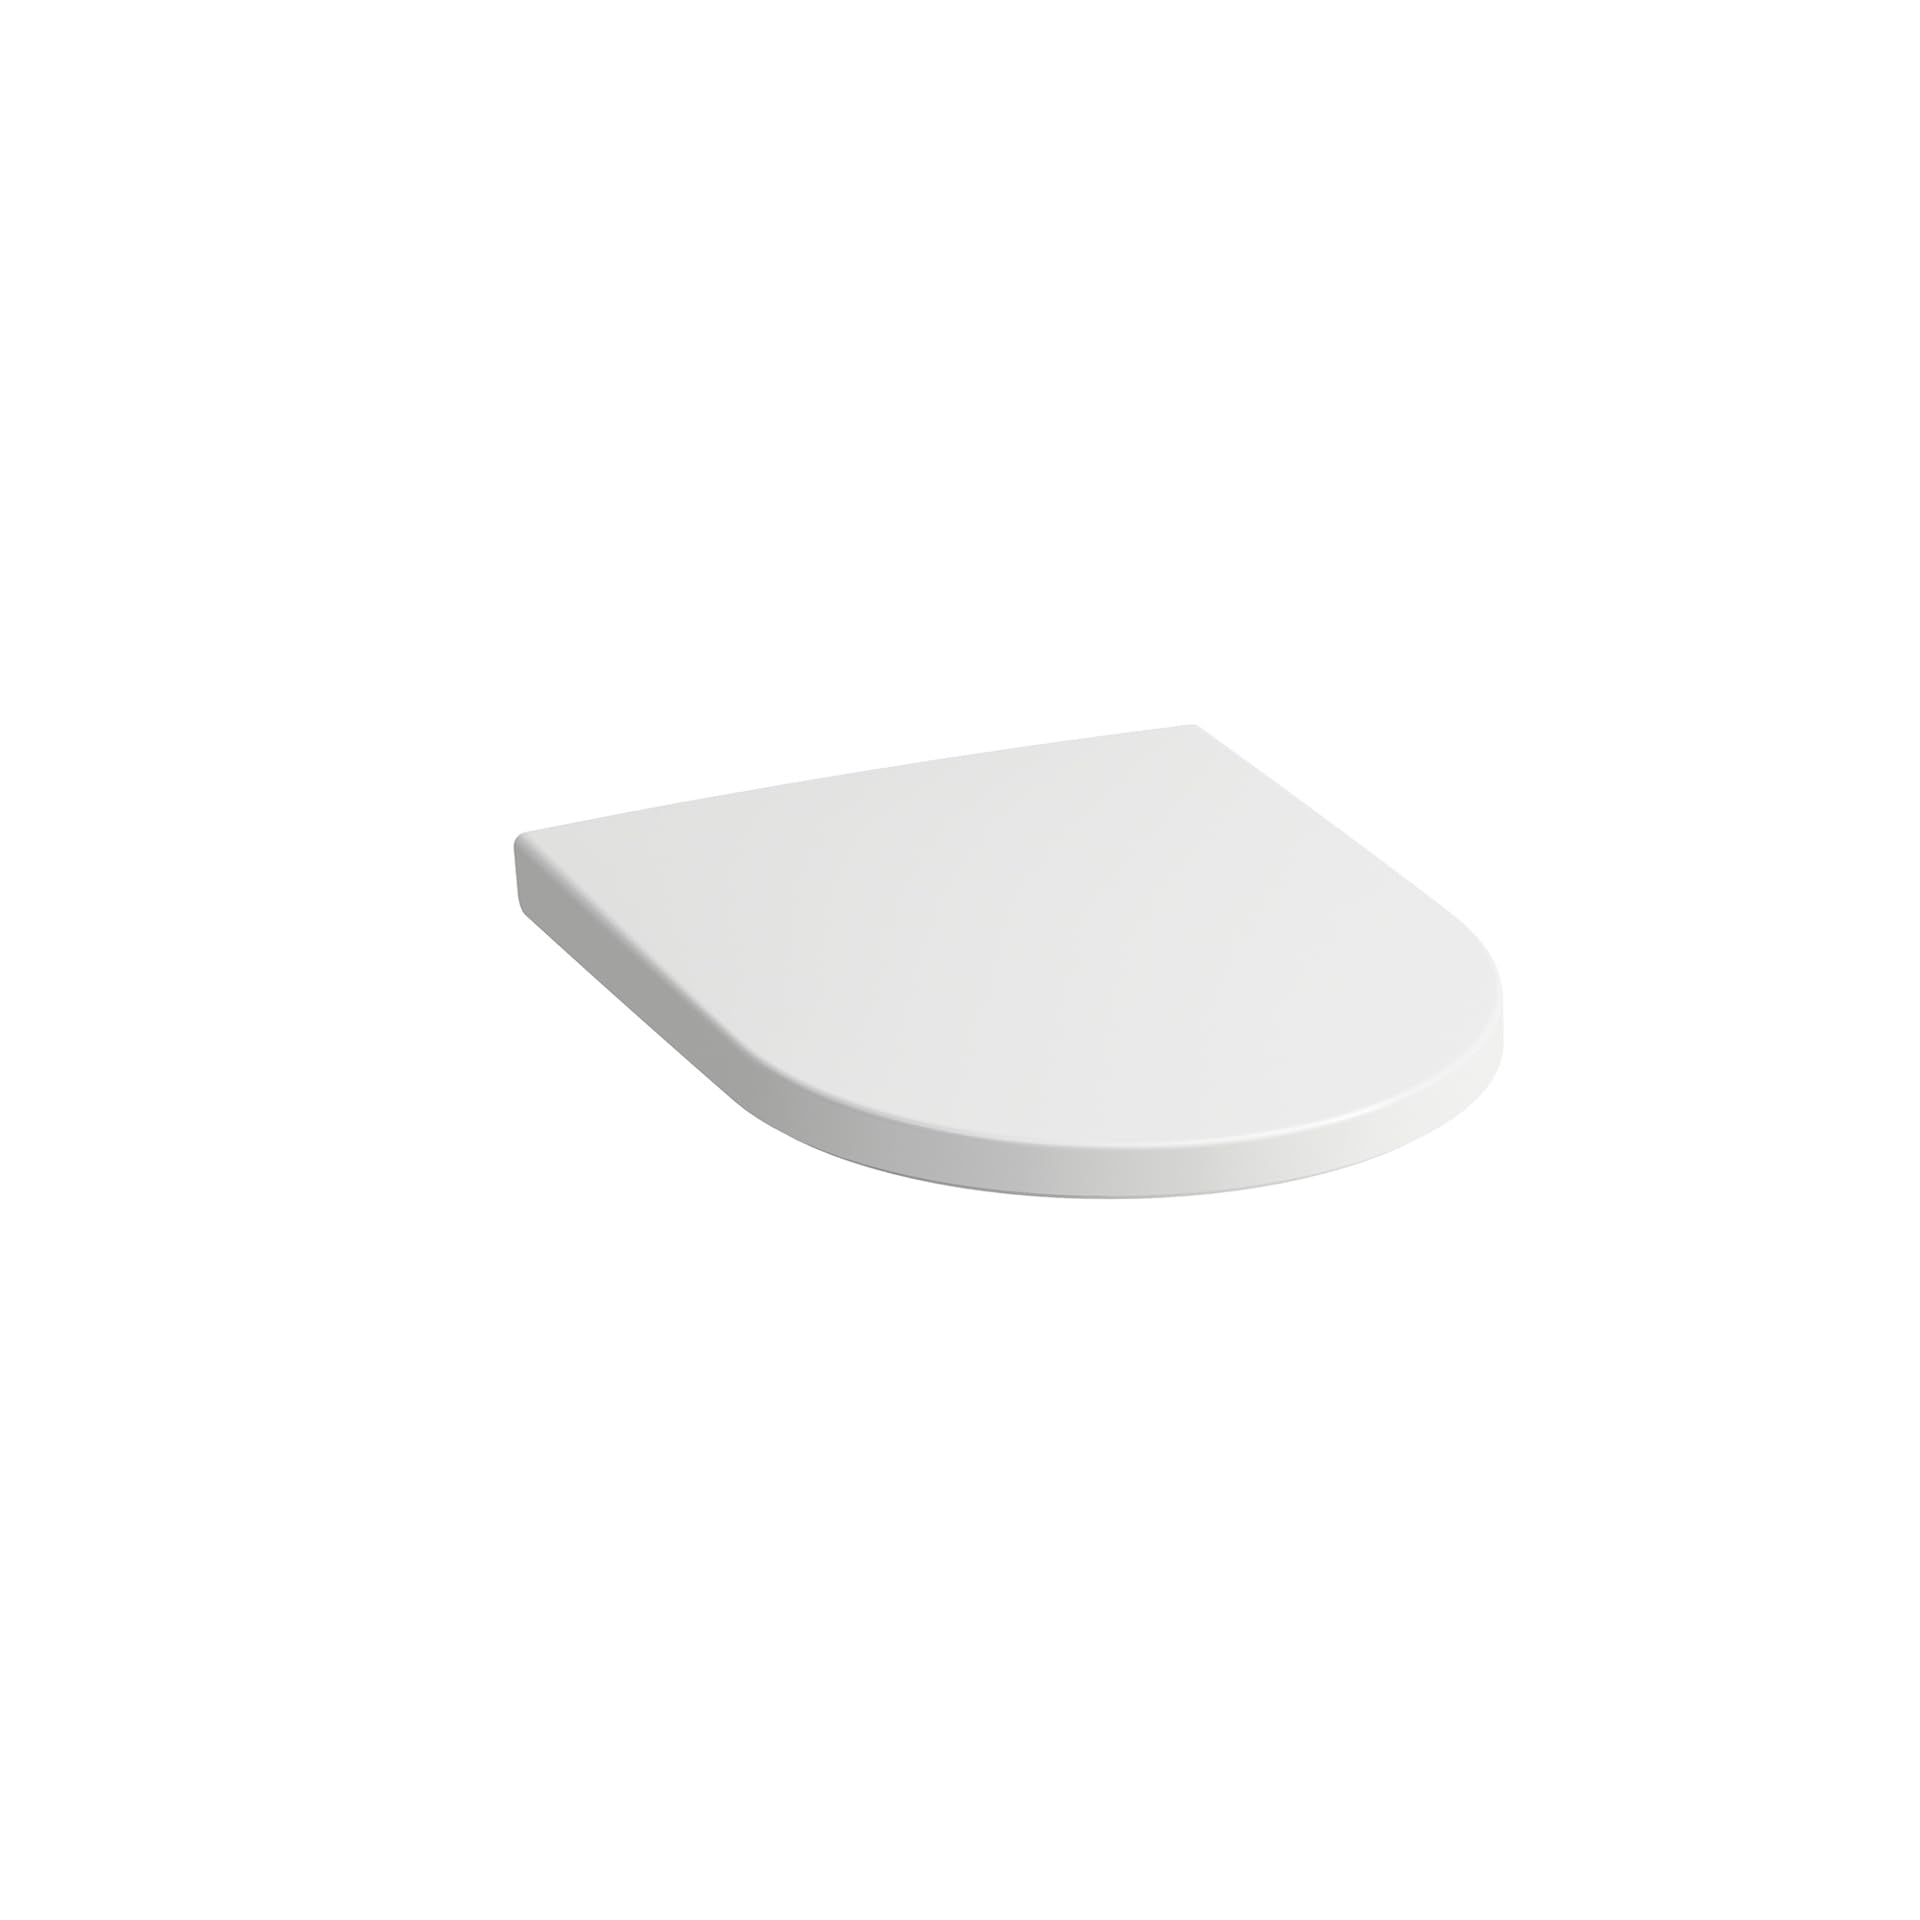
Image 1: LAUFEN Cleanet Navia H8916010000001 Toilet Seat. This image shows the complete toilet seat and lid assembly.
4. Configurazione e installazione
4.1. Preparazione
- Ensure the toilet bowl surface is clean and dry before installation.
- Gather necessary tools: screwdriver (flathead or Phillips, depending on screw type), wrench (if applicable).
4.2. Mounting the Seat (Cavity Fixing)
The LAUFEN Cleanet Navia toilet seat uses a cavity fixing system. Follow these steps for secure installation:
- Posizione cerniere: Place the hinge bases into the mounting holes on the toilet bowl. Ensure they are aligned correctly with the bowl's edge.
- Inserire le viti: Insert the mounting screws through the hinge bases and into the toilet bowl's mounting cavities.
- Elementi di fissaggio sicuri: From underneath the toilet bowl (if accessible) or by tightening from the top (for top-fix systems), secure the screws with the provided washers and nuts. Tighten firmly but do not overtighten to avoid damaging the ceramic.
- Attacca il sedile: Align the toilet seat's attachment points with the hinge posts. Press down firmly until the seat clicks into place. This indicates it is securely attached.
- Stabilità del test: Gently try to move the seat to ensure it is stable and does not wobble. Adjust hinge positions or tighten screws if necessary.

Image 2: Technical drawing illustrating the dimensions (445 x 370 mm) and hinge spacing (155 mm) for the LAUFEN Cleanet Navia H8916010000001 Toilet Seat. This diagram is essential for verifying compatibility and correct installation.
5. Istruzioni per l'uso
5.1. Soft-Close Mechanism
The LAUFEN Cleanet Navia toilet seat is equipped with a soft-close mechanism. This feature allows the seat and lid to close slowly and quietly without slamming. To operate, simply push the seat or lid downwards gently, and the mechanism will engage, lowering it smoothly.
5.2. Removing the Seat for Cleaning
For thorough cleaning of the toilet bowl and seat, the LAUFEN Cleanet Navia seat can be easily removed:
- Open Lid and Seat: Lift both the toilet seat and lid to their fully upright positions.
- Individuare i pulsanti di rilascio: On the underside of the seat, near the hinges, locate the quick-release buttons or levers. These may vary slightly in design.
- Premere e sollevare: Press the release buttons simultaneously (or activate the levers) and gently lift the entire seat assembly straight up from the hinge posts.
- Riattacco: To reattach, align the seat's attachment points with the hinge posts and press down until it clicks securely into place.
6. Manutenzione e pulizia
Una cura adeguata prolungherà la durata e manterrà l'aspetto del sedile del water:
- Pulizia regolare: Clean the seat and lid regularly with a soft cloth and mild soapy water.
- Evitare prodotti chimici aggressivi: Do not use abrasive cleaners, scouring pads, strong acids, alkalis, or chlorine-based products, as these can damage the plastic surface and hinge mechanisms.
- Essiccazione: After cleaning, wipe the seat and hinges dry with a soft cloth to prevent water spots and mineral buildup.
- Cura delle cerniere: Periodically check the hinge connections for tightness. If they become loose, gently retighten the mounting screws.
7. Risoluzione Dei Problemi
Refer to the table below for solutions to common issues:
| Problema | Possibile causa | Soluzione |
|---|---|---|
| Il sedile oscilla o si sposta | Le viti di montaggio sono allentate. | Serrare saldamente le viti di montaggio. |
| Il meccanismo di chiusura ammortizzata non funziona | Il meccanismo potrebbe essere ostruito o danneggiato. | Ensure no debris is blocking the hinges. If damaged, contact customer support. |
| Sedile difficile da rimuovere/fissare | Release buttons not fully pressed or misaligned. | Ensure release buttons are fully engaged. Realign seat carefully before pressing down to attach. |
8. Specifiche del prodotto
Key specifications for the LAUFEN Cleanet Navia H8916010000001 Toilet Seat:
| Caratteristica | Dettaglio |
|---|---|
| Numero di modello | H8916010000001 |
| Marca | correre |
| Materiale | Plastica |
| Colore | Bianco |
| Dimensioni (L x P x A) | 445 x 370 x 55 mm (approx. 17.52"L x 14.57"W) |
| Tipo di montaggio | Fissaggio di cavità |
| Caratteristiche | Removable, Soft-Close Mechanism |
| Peso dell'articolo | 2.9 chilogrammi (6.38 libbre) |
9. Garanzia e assistenza clienti
For warranty information, please refer to the documentation provided at the time of purchase or visit the official Laufen website. If you encounter any issues not covered in this manual or require further assistance, please contact Laufen customer support through their official channels.