
MARK ADLER Xeno 4.1
MARK ADLER Xeno 4.1 Electric Height-Adjustable Desk Frame
Model: Xeno 4.1 | Brand: MARK ADLER
Introduzione
This manual provides essential instructions for the assembly, operation, and maintenance of your MARK ADLER Xeno 4.1 Electric Height-Adjustable Desk Frame. Please read this manual thoroughly before use to ensure safe and efficient operation.
The MARK ADLER Xeno 4.1 desk frame offers a flexible workspace solution, allowing you to switch between sitting and standing positions. Its robust construction and intuitive controls are designed for comfort and stability in various work environments.
Informazioni sulla sicurezza
- Assicurarsi che tutti i componenti siano fissati saldamente prima dell'uso.
- Non superare la capacità di carico massima di 70 kg (154 libbre).
- Tenere bambini e animali domestici lontani dalla scrivania durante la regolazione dell'altezza.
- Evitare di versare liquidi direttamente sul pannello di controllo o sui componenti del motore.
- Scollegare l'alimentazione prima di effettuare operazioni di pulizia o manutenzione.
- Utilizzare solo l'adattatore di alimentazione e i componenti forniti.
- If any unusual noise or malfunction occurs, immediately stop operation and disconnect power.
Contenuto della confezione
Verify that all parts are present before beginning assembly. Refer to the included assembly guide for a detailed list of components.
- Electric Height-Adjustable Desk Frame components
- Control Panel with Memory Function
- Adattatore di alimentazione
- Guida all'assemblaggio
- Necessary Screws and Tools (Screwdriver recommended for assembly)
Installazione e assemblaggio
Follow these general steps for assembling your MARK ADLER Xeno 4.1 desk frame. A detailed assembly guide is included with your product.
- Disimballare i componenti: Estrarre con cautela tutti i componenti dall'imballaggio e disporli su una superficie pulita e piana.
- Assemble Legs and Feet: Attach the desk legs to the feet using the provided screws. Ensure they are stable and level.
- Connetti la barra trasversale: Attach the adjustable crossbar between the two leg assemblies. Adjust the width to match your desired tabletop size (90 to 160 cm).
- Installare il motore e la scatola di controllo: Secure the motor and control box to the frame according to the assembly guide.
- Allega pannello di controllo: Mount the LED control panel in an accessible location on the frame.
- Cablaggio: Connect all cables from the motor, control panel, and power adapter to the control box. Ensure all connections are secure.
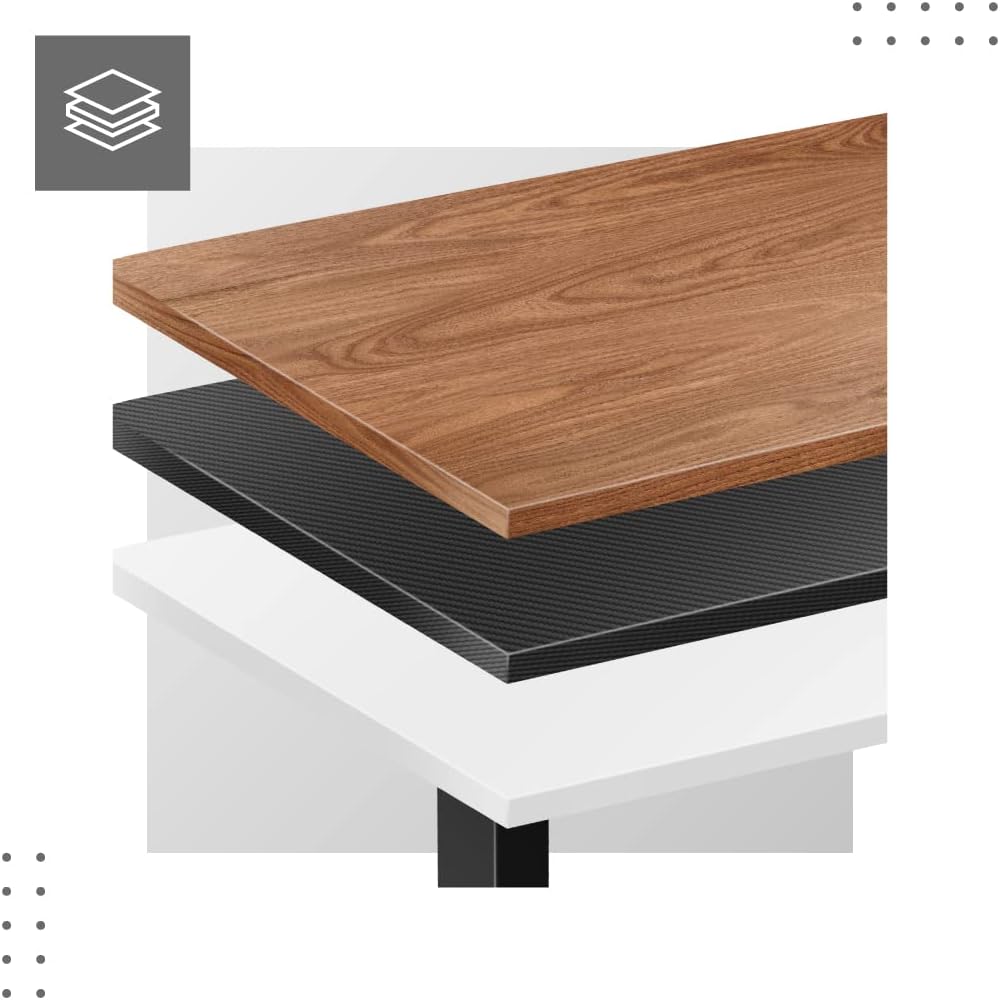
- Attach Tabletop (Not Included): Place your tabletop (90-160 cm width recommended) onto the assembled frame and secure it using appropriate screws (not included with frame).
- Accensione iniziale: Plug the power adapter into a wall outlet. The desk is now ready for calibration.
Dimensioni e compatibilità:

Istruzioni per l'uso
The MARK ADLER Xeno 4.1 features an intuitive LED control panel for easy height adjustment and memory functions.


Basic Height Adjustment
- Utilizzare il Su (▲) pulsante freccia per sollevare la scrivania all'altezza desiderata.
- Utilizzare il Giù (▼) pulsante freccia per abbassare la scrivania all'altezza di seduta desiderata.
- L'altezza attuale verrà visualizzata sullo schermo LED.
Impostazione delle preimpostazioni di memoria
La scrivania consente di salvare fino a tre impostazioni di altezza preferite.
- Regolare la scrivania all'altezza desiderata utilizzando i pulsanti Su/Giù.
- Premere il tasto "S" (Save) button. The display will show "S-".
- Entro 3 secondi, premere uno dei pulsanti di memoria ("1", "2", O "3"). L'altezza corrente viene ora salvata in quella preimpostazione.
Richiamo delle preimpostazioni di memoria
- Premere semplicemente il pulsante di memoria desiderato ("1", "2", O "3"). La scrivania si sposterà automaticamente all'altezza salvata.
Initial Calibration / Reset
If the desk does not operate correctly or displays an error code, a reset may be required.
- Premere e tenere premuto il tasto Giù (▼) button until the desk reaches its lowest position and then slightly rises. Release the button.
- If the issue persists, disconnect the power for 10 seconds, then reconnect and attempt the reset procedure again.
Manutenzione
- Pulizia: Pulisci la struttura della scrivania con un panno morbido eamp cloth. Avoid abrasive cleaners or solvents. Ensure the control panel and electrical components remain dry.
- Gestione dei cavi: Regularly check and organize cables to prevent tangles or damage, especially during height adjustments.
- Controllo del dispositivo di fissaggio: Controllare periodicamente tutte le viti e i bulloni per assicurarsi che siano ben serrati. Serrarli nuovamente se necessario.
- Lubrificazione: The electric lifting mechanism is generally maintenance-free. Do not attempt to lubricate internal components unless specifically instructed by the manufacturer.
Risoluzione dei problemi
| Problema | Possibile causa | Soluzione |
|---|---|---|
| La scrivania non si muove. | Power cable disconnected; Overload; Motor overheating; Control panel issue. | Check power connection. Reduce load. Allow motor to cool down. Perform a reset (see Operating Instructions). |
| Uneven movement or desk tilting. | Uneven load distribution; Loose fasteners. | Distribute weight evenly on the tabletop. Check and tighten all assembly screws. |
| Codice di errore visualizzato sul pannello di controllo. | System malfunction; Overload; Sensor issue. | Perform a reset (see Operating Instructions). If the error persists, contact customer support. |
| Le preimpostazioni di memoria non funzionano. | I preset non sono stati salvati correttamente. | Re-save your desired height presets (see Operating Instructions). |
Specifiche
| Caratteristica | Dettaglio |
|---|---|
| Nome del modello | Xeno 4.1 Black |
| Marca | MARCA ADLER |
| Gamma di regolazione dell'altezza | 72 cm - 118 cm (28.3 pollici - 46.5 pollici) |
| Gamma di regolazione della larghezza | 84 cm - 129 cm (33.1 pollici - 50.8 pollici) |
| Larghezza consigliata del piano del tavolo | 90 cm - 160 cm (35.4 pollici - 63 pollici) |
| Capacità di carico massima | 70 kg (154 libbre) |
| Materiale del telaio | Metallo |
| Colore | Nero |
| Pannello di controllo | LED with 3 Memory Presets |
| Tipo di motore | Electric, Smooth Operation |
| Assemblaggio richiesto | SÌ |
| Strumenti consigliati | Cacciavite |
| Peso dell'articolo | 17 kg (37.5 libbre) |
| Produttore | Meester Group sp. z o.o. |
Garanzia e supporto
For warranty information and customer support, please refer to the official MARK ADLER websito o contattare il rivenditore. Conservare la ricevuta d'acquisto come prova d'acquisto per eventuali reclami in garanzia.
Produttore: Meester Group sp. z o.o.
ASIN: B0C66DP9NT
Per ulteriore assistenza, visitare il sito pagina del prodotto su Amazon or contact MARK ADLER customer service.
Ask a question about this manual
Ask about setup, troubleshooting, compatibility, parts, safety, or missing instructions. Manuals+ will review the question and use this page’s manual context to help answer it.