1. Introduzione
This manual provides detailed instructions for the installation, configuration, and operation of your MAXSUN B760M WIFI DDR4 Motherboard. Designed for Intel LGA 1700 processors (12th and 13th Generation), this motherboard offers robust performance and connectivity for your computing needs. Please read this manual thoroughly before proceeding with installation to ensure proper setup and avoid potential issues.
2. Informazioni sulla sicurezza
Quando si maneggiano i componenti del computer, osservare sempre le seguenti precauzioni di sicurezza:
- Scollegare il cavo di alimentazione dalla presa a muro prima di toccare qualsiasi componente.
- Indossare un braccialetto antistatico o toccare frequentemente un oggetto metallico collegato a terra per scaricare l'elettricità statica.
- Maneggiare i componenti tenendoli per i bordi per evitare di toccare i circuiti sensibili.
- Tenere i componenti lontani dall'umidità e dalle temperature estreme.
- Assicurare una corretta ventilazione all'interno del case del PC per evitare il surriscaldamento.
3. Contenuto della confezione
Verificare che tutti gli elementi siano presenti nella confezione della scheda madre:
- MAXSUN B760M WIFI DDR4 Motherboard
- Manuale utente (questo documento o simile)
- Schermo I / O
- Cavi dati SATA
- Antenna Wi-Fi
- CD/USB del driver (o istruzioni per il download)
- Viti/distanziatori M.2
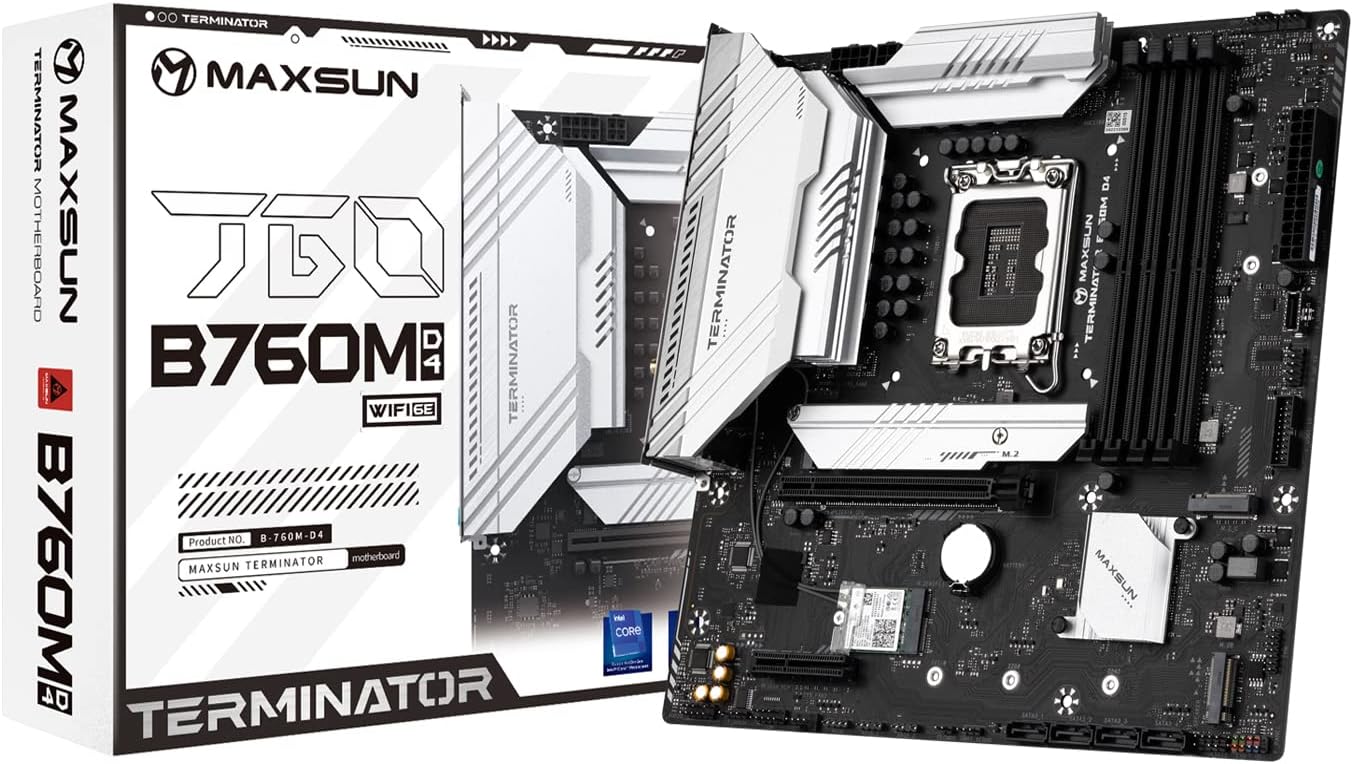
Figure 3.1: MAXSUN B760M WIFI DDR4 Motherboard and its retail packaging.
4. Layout della scheda madre
Familiarizza con i vari componenti e connettori della tua scheda madre.

Figura 4.1: Dall'alto verso il basso view of the MAXSUN B760M WIFI DDR4 Motherboard, highlighting the CPU socket, DIMM slots, PCIe slots, and M.2 slots.
4.1 Pannello I/O posteriore
The rear I/O panel provides external connectivity for peripherals.

Figura 4.2: dettagliata view of the rear I/O panel, showing USB 2.0 ports, Clear CMOS button, DisplayPort, HDMI port, 2.5G LAN port, USB 3.2 ports, Wi-Fi antenna connectors, and audio jacks.
4.2 M.2 Slots
The motherboard features multiple M.2 slots for high-speed NVMe SSDs.

Figura 4.3: Angolato view of the motherboard, illustrating the placement of the M.2 slots and the chipset heatsink.
5. Configurazione e installazione
Per installare i componenti sulla scheda madre, seguire questi passaggi.
5.1 Installazione della CPU
- Individua il socket LGA 1700 sulla scheda madre.
- Aprire la leva del socket della CPU e sollevare la piastra di carico.
- Carefully align the notches on your Intel 12th or 13th Gen CPU with the socket. Do not force the CPU into place.
- Abbassare la piastra di carico e fissarla con la leva.
- Installare il dissipatore della CPU seguendo le istruzioni del produttore.
5.2 Installazione della memoria (RAM)
- Locate the four DDR4 DIMM slots. For dual-channel operation, refer to the motherboard's silkscreen for recommended slot pairing (usually slots 2 and 4, or 1 and 3).
- Aprire le clip su entrambe le estremità dello slot DIMM.
- Allineare la tacca sul modulo di memoria DDR4 con la chiave nello slot DIMM.
- Premere con decisione su entrambe le estremità del modulo di memoria finché le clip non scattano in posizione.
5.3 Installazione del dispositivo di archiviazione
M.2 NVMe SSD
- Locate an available M.2 slot.
- Rimuovere la vite distanziatrice M.2.
- Inserire l'SSD M.2 nello slot con un'angolazione di 30 gradi.
- Gently push the SSD down and secure it with the M.2 screw.
Unità SATA
- Collegare un'estremità di un cavo dati SATA a una porta SATA 3.0 sulla scheda madre.
- Collegare l'altra estremità del cavo dati SATA al disco rigido/ssd SATA.
- Collegare un cavo di alimentazione SATA dall'alimentatore (PSU) all'unità.
5.4 Installazione della scheda di espansione (PCIe)
- Locate the desired PCIe slot (e.g., PCIe X16 5.0 for a graphics card).
- Rimuovere il coperchio dello slot di espansione corrispondente dal case del PC.
- Allineare la scheda di espansione con lo slot e premere con decisione finché non è ben inserita.
- Fissare la scheda alla custodia con una vite.
5.5 Collegamenti di alimentazione
- Collegare il connettore di alimentazione ATX a 24 pin dell'alimentatore alla presa di alimentazione principale sulla scheda madre.
- Collegare il connettore di alimentazione della CPU a 8 pin dall'alimentatore alla presa di alimentazione della CPU vicino alla CPU.
5.6 Collegamenti del pannello frontale
Connect the cables from your PC case's front panel to the corresponding headers on the motherboard. These include:
- Power Switch (PWR_SW)
- Reset Switch (RESET_SW)
- Power LED (PWR_LED)
- HDD Activity LED (HDD_LED)
- Front Panel USB (USB 2.0, USB 3.2, Type-C)
- Front Panel Audio (HD_AUDIO)
Refer to the motherboard's silkscreen labels for correct pin orientation.
5.7 Connessioni I/O posteriori
Collegare le periferiche al pannello I/O posteriore:
- Display: Connect your monitor to the HDMI or DisplayPort (DP) output.
- Dispositivi USB: Collegare tastiere, mouse e altri dispositivi USB alle porte USB 2.0 o USB 3.2 disponibili.
- Rete: Connect an Ethernet cable to the 2.5Gb LAN port for wired internet.
- Wifi: Attach the included Wi-Fi antenna to the connectors for wireless connectivity.
- Audio: Collegare gli altoparlanti o le cuffie ai jack audio.
6. Istruzioni per l'uso
6.1 Configurazione BIOS/UEFI
Per accedere all'utilità di configurazione BIOS/UEFI, accendere il computer e premere ripetutamente il tasto DEL key (or sometimes F2) during the boot process. Within the BIOS, you can configure system settings such as boot order, memory frequency, CPU settings, and enable/disable integrated peripherals.
6.2 Installazione del driver
After installing your operating system, it is crucial to install the latest drivers for your motherboard's components. These include chipset drivers, LAN drivers, Wi-Fi drivers, audio drivers, and any other necessary utilities. Drivers can typically be found on the manufacturer's website or on the included driver media.
7. Manutenzione
Una manutenzione regolare contribuisce a garantire la longevità e le prestazioni ottimali della scheda madre:
- Pulizia: Pulisci periodicamente la polvere dall'interno del case del PC, in particolare intorno ai dissipatori e alle ventole, utilizzando aria compressa. Assicurati che il sistema sia spento e scollegato prima di pulire.
- Aggiornamenti del BIOS: Check the MAXSUN webSito per gli aggiornamenti BIOS/UEFI. Gli aggiornamenti possono migliorare la stabilità, aggiungere supporto per nuovo hardware o correggere bug. Seguire attentamente le istruzioni di aggiornamento per evitare di danneggiare la scheda madre.
- Aggiornamenti driver: Keep your drivers updated to ensure compatibility and performance with your operating system and applications.
8. Risoluzione Dei Problemi
In caso di problemi, prendere in considerazione i seguenti passaggi comuni per la risoluzione dei problemi:
- Nessun potere: Assicurarsi che tutti i cavi di alimentazione (ATX a 24 pin, CPU a 8 pin) siano collegati saldamente. Controllare l'alimentatore (PSU) e la presa a muro.
- Nessuna visualizzazione: Verify that your monitor is connected to the graphics card (if installed) or the motherboard's integrated graphics ports (HDMI/DP). Reseat your RAM modules and graphics card.
- Instabilità/arresti anomali del sistema: This can be caused by incompatible RAM, overheating, or faulty drivers. Test memory modules individually, monitor temperatures, and ensure all drivers are correctly installed.
- Problemi di avvio: Check boot order in BIOS. Ensure your operating system drive is detected. Try resetting CMOS (Clear CMOS button on rear I/O or jumper on motherboard).
- Periferica non rilevata: Ensure the device is properly connected. Try a different port. Install necessary drivers.
9. Specifiche
Detailed technical specifications for the MAXSUN B760M WIFI DDR4 Motherboard:
| Caratteristica | Specificazione |
|---|---|
| Fattore di forma | Micro ATX (24.5 x 24.5 cm) |
| Chipset | Intel B760 |
| Presa CPU | Intel LGA 1700 (Supports 12th & 13th Gen Processors) |
| Supporto di memoria | 4 x DDR4 DIMM slots, Dual Channel, 3200/OC+ MHz |
| Slot PCIe | 1 x PCIe X16 5.0, 1 x PCIe X4 3.0 |
| Slot M.2 | 3 x M.2 (NVMe PCIe 4.0 x4) |
| Porte SATA | 4 x SATA 3.0 6Gb/s (Supports RAID 0/1/5/10) |
| Uscite video | 1 DisplayPort, 1 HDMI |
| Porte USB (posteriori) | 2 x USB 3.2 Gen2x2 Type-C, 2 x USB 3.2, 2 x USB 2.0 |
| Porte USB (intestazioni frontali) | 4 x USB 3.2, 4 x USB 2.0 |
| Intestazioni RGB | 2 x 5V 3-pin ARGB, 1 x 12V 4-pin RGB |
| Audio | Audio HD a 7.1 canali |
| Etereo | 2.5 Gb di rete LAN |
| Connettività wireless | Wi-Fi 6E |
10. Garanzia e supporto
The MAXSUN B760M WIFI DDR4 Motherboard typically comes with a 3-year limited warranty. Please retain your proof of purchase for warranty claims.
For further technical support, driver downloads, BIOS updates, or detailed documentation, please visit the official MAXSUN website or refer to the comprehensive PDF manual available at: http://www.maxsun.com.cn/docs/MS-Terminator B760M D4.pdf