1. Introduzione
This manual provides detailed instructions for the installation, operation, and programming of the TAXNELE THC30A Digital Programmable Timer Switch. This device is designed for automatic control of various electrical appliances based on user-defined daily and weekly schedules.

Figure 1: TAXNELE THC30A Digital Programmable Timer Switch
2. Caratteristiche principali
- 7-Day Digital Programmable Timer: Supports daily and weekly programs with a full time range from 1 minute to 168 hours.
- Multiple ON/OFF Settings: Up to 20 ON and 20 OFF settings for precise control.
- Controllo automatico: Automatically switches power to connected devices according to programmed schedules.
- Interfaccia intuitiva: Large LCD screen and clear buttons (D+, H+, M+) for easy operation.
- Alta precisione: Equipped with an industrial-grade chip for accurate timing.
- Memoria di spegnimento: Built-in high-performance battery retains timing, display, and data for up to 3 years during power outages.
- Elevata capacità di carico: Features a 30A relay for handling significant electrical loads.
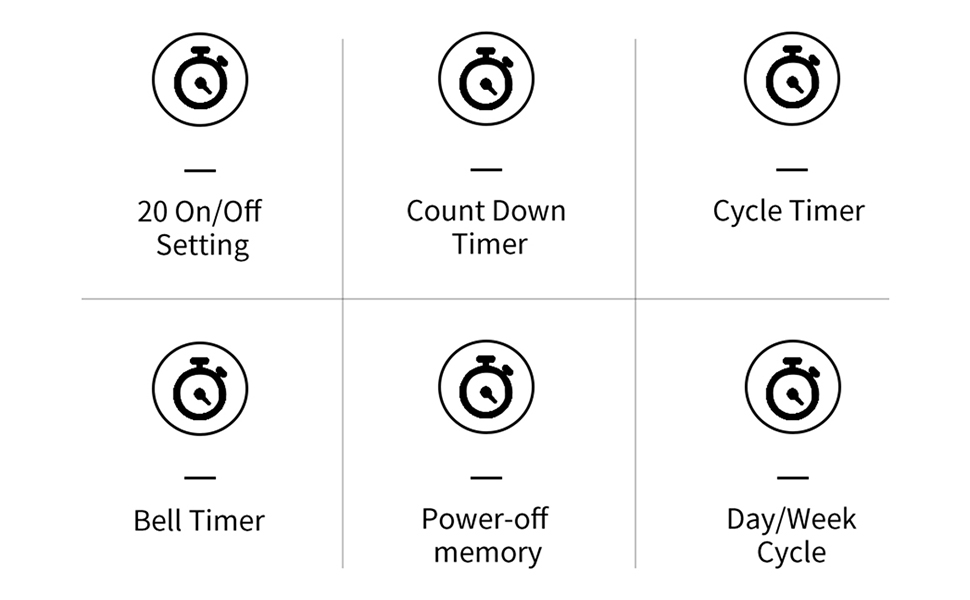
Figura 2: Oltreview of THC30A Timer Switch Features
3. Specifiche
| Modello | THC30A |
| Voltage | 230 V CA |
| Capacità di carico | 30A |
| Intervallo di tempo | Da 1 minuto a 168 ore |
| Programmi | 20 ON/20 OFF settings |
| Memoria di spegnimento | Yes, with built-in CR2032 battery (up to 3 years) |
| Installazione | 35mm DIN Rail Mounted |
| Dimensioni | Circa 87 mm (A) x 36 mm (L) x 65 mm (P) |

Figure 3: THC30A Timer Switch Dimensions
4. Installazione
4.1 Precauzioni di sicurezza
- Prima dell'installazione, assicurarsi che l'alimentazione sia scollegata per evitare scosse elettriche.
- L'installazione deve essere eseguita da un elettricista qualificato o da una persona esperta.
- Verificare il volumetage and current ratings of your circuit match the timer's specifications.
4.2 Montaggio
The THC30A timer switch is designed for 35mm DIN rail mounting. Securely attach the timer to the DIN rail in your electrical panel or enclosure.

Figure 4: THC30A Mounted on a DIN Rail
4.3 Schema elettrico
Connect the timer according to the wiring diagram below. Ensure correct polarity for input (IN) and output (OUT) terminals. The input terminals are typically labeled 'N' (Neutral) and 'L' (Live), and the output terminals are also 'N' and 'L' for connecting to the load.

Figure 5: Simplified Wiring Diagram for THC30A
Connect the incoming power supply to the 'IN' terminals (N and L). Connect the device to be controlled to the 'OUT' terminals (N and L).
5. Istruzioni per l'uso
5.1 Configurazione iniziale e ripristino
Upon first use or after a prolonged power-off, the display may be blank. Press the Reset button (often recessed, may require a pointed object) to initialize the timer. The LCD will display the current time (e.g., 0:00) and "AUTO".

Figure 6: Front Panel with Buttons and LCD Screen
- Indicatore di lavoro: LED light indicating operation status.
- Schermo LCD: Displays time, day, and program status.
- Pulsante Timer: Used to enter programming mode.
- Pulsante dell'orologio: Used to set current time and day.
- D+ Button: Regola il giorno della settimana.
- H+ Button: Regola l'ora.
- Pulsante M+: Regola i minuti.
- ON/AUTO/OFF Button (Manual): Cycles through ON, AUTO, and OFF modes.
- Pulsante di reset: Cancella tutte le impostazioni e reimposta il timer.
5.2 Impostazione dell'ora e del giorno correnti
- Premere e tenere premuto il tasto Orologio pulsante.
- Mentre si tiene Orologio, premere D+ to set the current day of the week (MON, TUE, WED, THU, FRI, SAT, SUN).
- Mentre si tiene Orologio, premere H+ per impostare l'ora corrente (0-23).
- Mentre si tiene Orologio, premere M+ per impostare i minuti correnti (0-59).
- Rilasciare il Orologio pulsante. Ora l'ora e il giorno correnti sono impostati.
5.3 Comando manuale (ON/AUTO/OFF)
Premere il tasto Manuale button (often labeled ON/AUTO/OFF) to cycle through the following modes:
- SOPRA: The timer output is continuously ON, overriding all programmed schedules.
- OFF: The timer output is continuously OFF, overriding all programmed schedules.
- AUTO: The timer operates according to the programmed ON/OFF schedules. This is the standard operating mode for automatic control.
6. Programmazione degli orari di accensione/spegnimento
The THC30A supports up to 20 ON and 20 OFF programs. Follow these steps to set your desired schedules:
- Premere il tasto Timer button once. The display will show "1 ON" (or the next available program number).
- Premere D+ to select the day(s) for this "ON" program. You can choose individual days, weekdays, weekends, or all 7 days.
- Premere H+ to set the hour for the "ON" time.
- Premere M+ to set the minute for the "ON" time.
- Premere il tasto Timer nuovamente il pulsante. Il display mostrerà "1 OFF".
- Repeat steps 2-4 to set the day(s), hour, and minute for the corresponding "OFF" time.
- Continua a premere il pulsante Timer button to cycle through "2 ON", "2 OFF", and so on, up to "20 ON" and "20 OFF". Repeat steps 2-6 for each program.
- Dopo aver impostato tutti i programmi desiderati, premere il tasto Orologio button to exit programming mode and return to the current time display. Ensure the timer is in AUTO mode for programs to execute.
To clear a specific program, navigate to that program (e.g., "5 ON") and press the Reset button. This will clear both the ON and OFF times for that program number.
7. Manutenzione
The THC30A timer switch requires minimal maintenance.
- Pulizia: Pulire l'esterno con un panno morbido e asciutto. Non utilizzare detergenti abrasivi o solventi.
- Batteria: The internal CR2032 battery provides power-off memory. If the timer frequently loses settings during power outages, the battery may need replacement. This typically requires professional service.
- Ambiente: Ensure the timer is installed in a dry, well-ventilated area, away from direct sunlight, extreme temperatures, and corrosive environments.

Figure 7: Power-Off Memory Function with Internal Battery
8. Risoluzione Dei Problemi
| Problema | Possibile causa | Soluzione |
|---|---|---|
| Il display è vuoto. | No power supply; Timer needs initialization. | Controllare i collegamenti di alimentazione. Premere il tasto Reset pulsante. |
| Il timer non si accende/spegne agli orari programmati. | Timer is not in AUTO mode; Incorrect program settings; Overlapping programs. | Premere Manuale finché non viene visualizzato "AUTO". Review and correct program settings. Ensure ON/OFF times do not conflict. |
| Le impostazioni vengono perse dopo uno spegnimentotage. | La batteria interna è scarica o esaurita. | The internal battery may need replacement. Contact customer support if this issue persists. |
| L'uscita è sempre ON o sempre OFF. | Il timer è in modalità manuale ON o OFF. | Premere Manuale finché non viene visualizzato "AUTO". |
9. Garanzia e supporto
This product comes with a standard manufacturer's warranty. For specific warranty details, please refer to the product packaging or contact your retailer. For technical support or inquiries, please reach out to TAXNELE customer service through your purchase platform or the official TAXNELE websito.