
1. Introduzione
Thank you for choosing the SILENTWARE Air 1000 Black ATX Midi Tower PC Case. This manual provides essential information for the proper installation, operation, and maintenance of your new PC case. Please read this manual thoroughly before beginning the assembly process to ensure a smooth and successful build.
2. Informazioni sulla sicurezza
- Scollegare sempre l'alimentatore dalla presa a muro prima di installare o rimuovere qualsiasi componente all'interno del case del PC.
- Maneggiare i componenti con cura per evitare danni causati da scariche elettrostatiche (ESD). Si consiglia di utilizzare un braccialetto antistatico.
- Fare attenzione ai bordi taglienti all'interno della custodia.
- Non tentare di modificare la custodia o i suoi componenti, poiché ciò potrebbe invalidare la garanzia e comportare rischi per la sicurezza.
- Tenere la custodia lontana da acqua, umidità e temperature estreme.
3. Contenuto della confezione
Si prega di verificare che tutti gli articoli siano presenti nel pacco:
- SILENTWARE Air 1000 Black ATX Midi Tower PC Case
- Pre-installed 4x 120mm ARGB Fans
- Accessory box (screws, cable ties, standoffs, etc.)
- Manuale dell'utente (questo documento)
4. Prodotto finitoview
The SILENTWARE Air 1000 is an ATX Midi Tower PC case designed for optimal airflow and component compatibility. It features a mesh front panel for maximum ventilation and a tempered glass side panel to showcase your build.


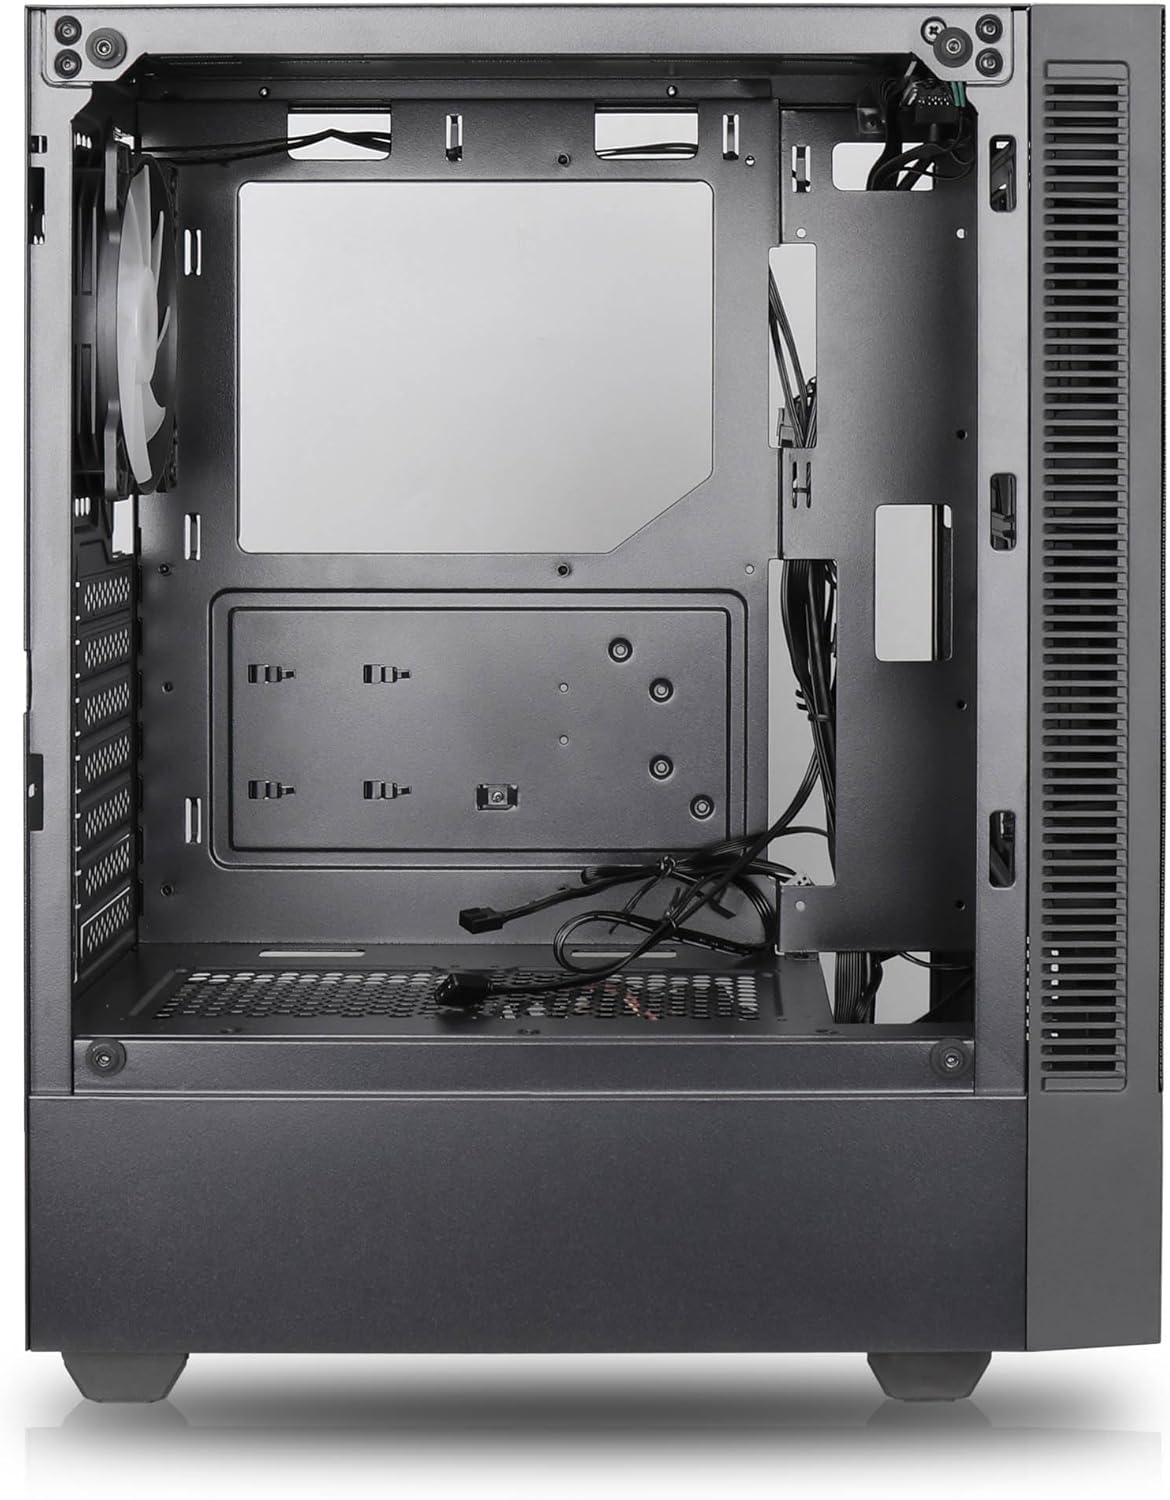

Caratteristiche principali:
- Flusso d'aria massimo: Large mesh front panel and four pre-installed 140mm A-RGB fans with hydraulic bearings ensure excellent ventilation.
- Easy PC Building: Thoughtful design with daisy-chain connections simplifies installation, eliminating the need for additional adapters or controllers.
- Design di alta qualità: Genuine tempered glass side panel showcases installed components and provides a minimalist, premium aesthetic.
- Flexible Lighting and Control: 3-pin A-RGB fans and 4-pin fan control allow for impressive lighting effects and easy adjustment of fan speed and curves directly from the motherboard.
- Powerful Component Compatibility: Supports GPUs up to 400mm long, radiators up to 360mm (front and top) and 140mm (rear), and space for up to 4 fans.
- Compact Case with Amplo Spazio: Midi tower format accommodates E-ATX, ATX, mATX, and ITX motherboards, up to two 2.5" SSDs, two 3.5" HDDs, and ATX power supplies.
5. Guida all'installazione
Follow these steps for component installation. Refer to your individual component manuals for specific instructions.
5.1. Preparazione del caso
- Posizionare la custodia su una superficie piana e stabile.
- Carefully remove the tempered glass side panel by unscrewing the thumb screws and gently pulling it away. Set it aside on a soft, non-abrasive surface.
- Remove the solid right side panel by unscrewing the thumb screws and sliding it backward.
5.2. Installazione della scheda madre
- Installare la schermatura I/O nell'apertura posteriore del case.
- Ensure the correct standoffs are installed for your motherboard form factor (E-ATX, ATX, mATX, ITX). Adjust or add standoffs as needed.
- Posizionare con attenzione la scheda madre sui distanziatori, allineando i fori delle viti.
- Fissare la scheda madre con le viti fornite. Non serrare eccessivamente.
5.3. Installazione dell'unità di alimentazione (PSU)
- Posizionare l'alimentatore nell'apposito vano nella parte inferiore posteriore del case.
- Ensure the PSU fan faces downwards (if the case has a bottom vent) or upwards, depending on your cooling preference.
- Fissare l'alimentatore al case con le viti fornite nella parte posteriore.
5.4. Installazione dell'unità di archiviazione
SSD da 2.5":
- Locate the 2.5" drive mounts (typically behind the motherboard tray).
- Secure the SSDs using the provided screws.
HDD da 3.5":
- Locate the 3.5" drive cages (usually near the PSU shroud).
- Slide the HDDs into the drive trays and secure them with screws or tool-less mechanisms if available.
5.5. Installazione della scheda grafica (GPU)
- Rimuovere le coperture degli slot PCIe necessari dalla parte posteriore del case.
- Align your GPU with the PCIe slot on the motherboard and press firmly until it clicks into place.
- Secure the GPU to the case with screws.
5.6. Gestione dei cavi
Utilizzate i fori per il passaggio dei cavi e i punti di fissaggio dietro il vassoio della scheda madre per gestire i cavi. Questo migliora il flusso d'aria e l'estetica.
6. Funzionamento
6.1. Accensione
After all components are installed and cables are connected, reattach the side panels. Connect the power cable to the PSU and a wall outlet, then press the power button on the top I/O panel of the case.
6.2. Controllo della ventola ARGB
The pre-installed ARGB fans feature 3-pin ARGB connectors for lighting control and 4-pin connectors for fan speed control. These can be connected directly to compatible headers on your motherboard. Use your motherboard's software or BIOS settings to customize lighting effects and fan curves.
7. Manutenzione
7.1. Pulizia
- Regularly clean dust filters (if present) to maintain optimal airflow.
- Use a can of compressed air to remove dust from inside the case and components.
- Pulire le superfici esterne con un panno morbido eamp stoffa. Evitare prodotti chimici aggressivi.
- For the tempered glass panel, use a glass cleaner and a microfiber cloth.
8. Risoluzione Dei Problemi
- PC not powering on: Check all power connections, including the 24-pin motherboard power, 8-pin CPU power, and GPU power cables. Ensure the PSU switch is in the 'ON' position.
- Fans not spinning/RGB not working: Verify that fan and ARGB headers are correctly connected to the motherboard. Check motherboard software for fan speed and lighting control settings.
- Surriscaldamento: Ensure proper airflow by checking fan orientation and cleaning dust filters. Verify CPU cooler and GPU cooler are properly seated.
- Nessuna visualizzazione: Confirm the monitor cable is connected to the graphics card (not the motherboard integrated graphics, unless you are using integrated graphics). Reseat the graphics card and RAM modules.
9. Specifiche
| Caratteristica | Specificazione |
|---|---|
| Marca | SILENTWARE |
| Nome del modello | Silentware Flow 100 ARGB |
| Numero modello articolo | FLUSSO100 |
| ASIN | B0CB8CZ5GF |
| Colore | Nero |
| Tipo di caso | Mid Tower |
| Materiale | Vetro temperato |
| Compatibilità della scheda madre | ATX, Micro ATX, Mini ITX |
| Dispositivi compatibili | ATX, mATX, ITX motherboards, GPUs up to 325mm, radiators up to 360mm, 2.5" and 3.5" storage drives |
| Usi consigliati | Gioco d'azzardo |
| Metodo di raffreddamento | Aria |
| Ventole preinstallate | 4 ventole ARGB da 120 mm |
| Dimensioni della ventola | 140 Millimeters (Note: Product description mentions 140mm fans, while pre-installed are 120mm. Please verify with product packaging.) |
| Tipo di montaggio dell'alimentatore | Montaggio inferiore |
| Lunghezza massima della GPU | 400mm |
| Radiator Support (Front/Top) | Fino a 360 mm |
| Supporto radiatore (posteriore) | Fino a 140 mm |
| Alloggiamenti per unità da 2.5" | Fino a 2 |
| Alloggiamenti per unità da 3.5" | Fino a 2 |
10. Garanzia e supporto
For warranty information and technical support, please refer to the official SILENTWARE website or contact your retailer. Specific details regarding spare parts availability and software updates are not available in the provided product information.