
1. Introduzione
Thank you for choosing the Paulmann 71076 Selection Bathroom Luena Wall Lamp. This manual provides important information regarding the installation, operation, and maintenance of your new wall lamp. Please read these instructions carefully before installation and keep them for future reference. This product is designed for indoor use, specifically in bathrooms and other damp areas, thanks to its IP44 splash water protection rating.
2. Istruzioni di sicurezza
- Sicurezza elettrica: Installation must be carried out by a qualified electrician in accordance with local wiring regulations. Ensure the main power supply is switched off before commencing any installation or maintenance work.
- Voltage: Questo lamp operates on 230V AC.
- Tipo di lampadina: Utilizzare solo lampadine E14 con una potenza massima ditage di 20W. Non superare il watt specificatotage.
- Grado di protezione IP44: This product is splash-proof (IP44) and suitable for use in bathroom zones 2 and 3. Do not install in zone 1 (inside the shower or bath).
- Gestione: Maneggiare con cura i componenti in vetro per evitare rotture.
- Pulizia: Scollegare l'alimentazione prima della pulizia. Utilizzare un panno morbido e asciutto. Non utilizzare detergenti abrasivi o solventi.

Figure 2.1: IP Protection Zones in a Bathroom. The Paulmann 71076 lamp is suitable for IP44 zones.
3. Contenuto della confezione
Prima dell'installazione, verificare che tutti i componenti siano presenti e integri:
- Paulmann 71076 Selection Bathroom Luena Wall Lamp apparecchio
- Istruzioni di montaggio
- Materiale di montaggio (viti, tasselli)
Nota: The light bulb (E14, max. 20W) is not included and must be purchased separately.
4. Configurazione e installazione
Per una corretta installazione, seguire questi passaggi:
- Preparare il sito di installazione: Assicurarsi che l'alimentazione elettrica dell'area di installazione sia interrotta tramite l'interruttore generale.
- Segnare i punti di foratura: tenere il lamp's mounting plate against the wall at the desired installation height and mark the drilling points.
- Fori di perforazione: Praticare dei fori nei punti contrassegnati e inserire i tasselli appropriati.
- Collegare il cablaggio: Collegare lamp's wires to the 230V wall outlet wiring. Ensure correct polarity (Live, Neutral, Earth). Secure connections properly.
- Montare l'apparecchio: Allega la lamp's mounting plate to the wall using the provided screws.
- Installa la lampadina: Carefully screw an E14 bulb (max. 20W) into the lamp titolare.
- Fissare il paralume in vetro: The bayonet glass shade can be attached and removed without tools. Align the glass shade with the fixture and twist to secure it.
- Ripristina alimentazione: Una volta completata l'installazione e dopo aver fissato saldamente tutti i componenti, ripristinare l'alimentazione all'interruttore principale.

Figura 4.1: Primo piano dell'lamp's chrome base and glass shade, showing mounting points.
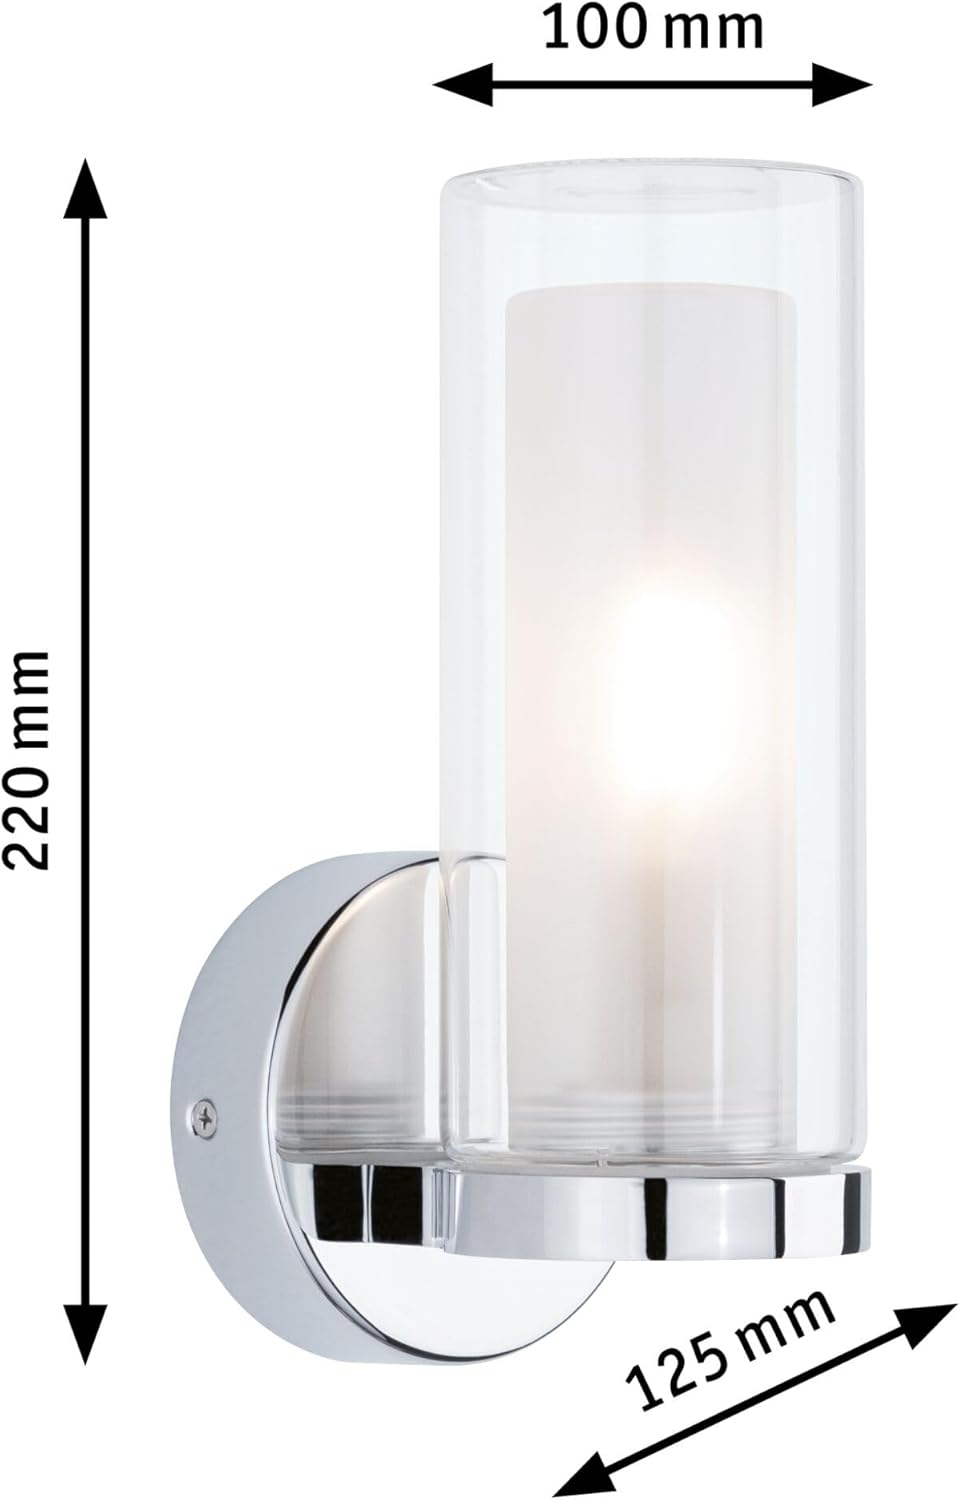
Figura 4.2: Dimensioni del prodotto per la pianificazione dell'installazione.
5. Istruzioni per l'uso
Once installed and powered, the Paulmann 71076 wall lamp operates via your standard wall switch. If a dimmable E14 bulb is used and connected to a compatible dimmer switch, the light intensity can be adjusted. The lamp provides decorative light effects, enhancing the ambiance of your bathroom.

Figure 5.1: The E14 bulb socket, ready for bulb insertion.

Figure 5.2: The Paulmann Luena Wall Lamp in an installed setting.
6. Manutenzione
To ensure the longevity and appearance of your Paulmann wall lamp, seguire queste linee guida di manutenzione:
- Pulizia: Always switch off the power supply before cleaning. Use a soft, dry, or slightly damp cloth to wipe the chrome finish and glass shade. Avoid harsh chemicals, abrasive cleaners, or scouring pads, as these can damage the surfaces.
- Sostituzione della lampadina: Ensure the power is off and the bulb has cooled down before attempting to replace it. The bayonet glass shade can be easily removed without tools to access the E14 bulb.
- Ispezione: Controllare periodicamente la lamp for any signs of damage or loose connections. If any issues are found, disconnect power and consult a qualified electrician.
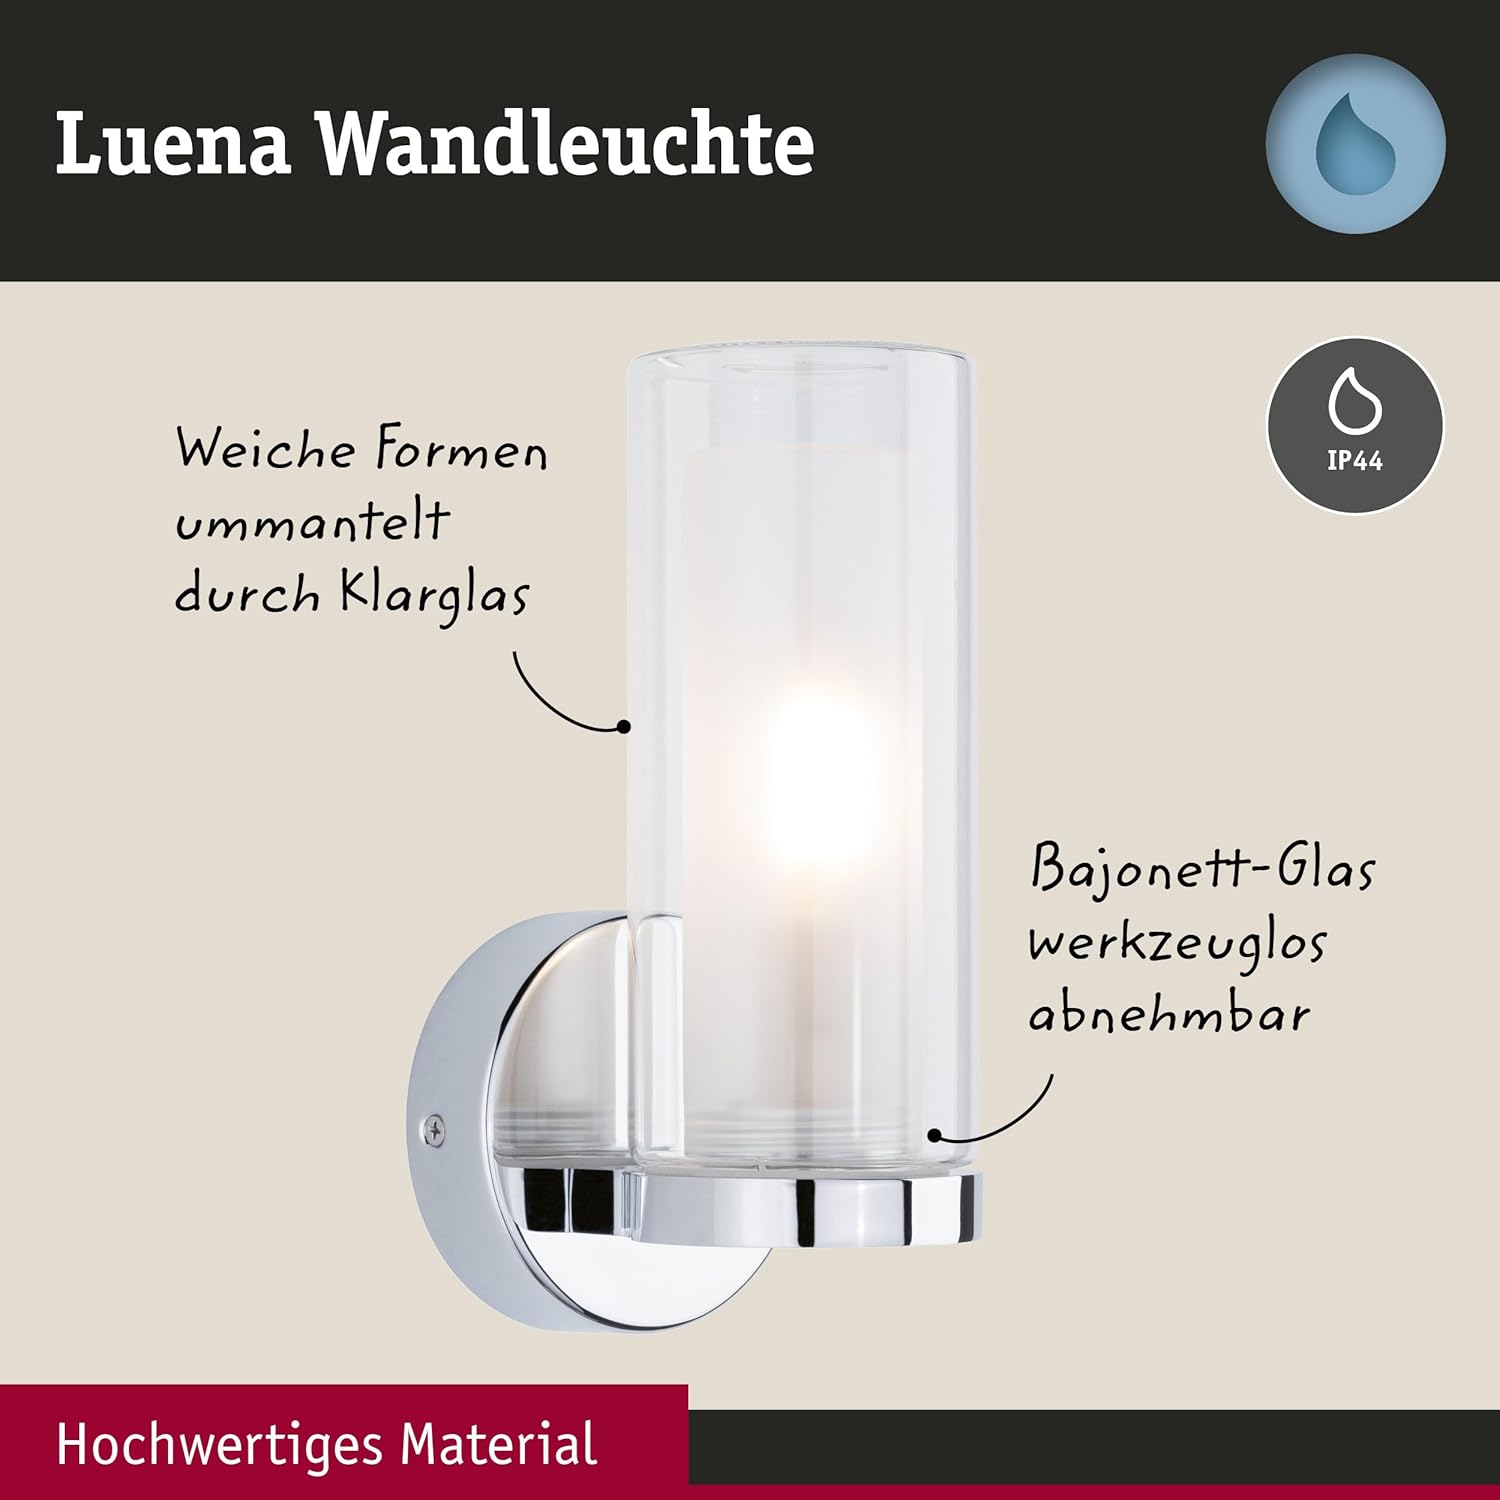
Figure 6.1: The bayonet glass shade can be removed without tools for easy bulb replacement and cleaning.
7. Risoluzione Dei Problemi
If you encounter issues with your Paulmann 71076 wall lamp, considera quanto segue:
- Lamp non si accende:
- Check if the power supply is switched on at the wall switch and the main circuit breaker.
- Ensure the bulb is correctly screwed in and not faulty. Try replacing the bulb with a new one.
- Verify that the wiring connections are secure. If unsure, consult a qualified electrician.
- La luce tremola:
- Assicurarsi che la lampadina sia completamente serrata.
- Se si utilizza una lampadina dimmerabile, assicurarsi che sia compatibile con il dimmer.
- Controllare che i collegamenti dei cavi non siano allentati.
- Il paralume in vetro è allentato:
- Ensure the bayonet glass shade is properly aligned and twisted into its locked position.
If problems persist, contact Paulmann customer support or a qualified electrician.
8. Specifiche
| Caratteristica | Specificazione |
|---|---|
| Numero di modello | 71076 |
| Marca | Paulmann |
| Dimensioni del prodotto | 12.5 cm (L) x 10 cm (L) x 22 cm (A) |
| Peso dell'articolo | 850 grammi |
| Materiale | Glass, Chrome |
| Colore | Chrome, Glass |
| Fine | Cromo |
| Stile | Moderno/Minimalista |
| Tipologia di camera | Bagno |
| Uso specifico | Bagno |
| Uso interno/esterno | Al chiuso |
| Fonte di alimentazione | AC |
| Voltage | 230V |
| Tipo di lampadina | E14 (non incluso) |
| massimo Wattage | 20W |
| Dimmerabile | Sì (con lampadina e dimmer compatibili) |
| Grado di protezione IP | IP44 (a prova di spruzzi d'acqua) |
| Certificazioni | CE |
| Batterie richieste | NO |
9. Garanzia e supporto
Paulmann products are manufactured to high-quality standards and come with a manufacturer's warranty. For specific warranty terms and conditions, please refer to the documentation provided with your purchase or visit the official Paulmann website. For technical support, spare parts, or any questions not covered in this manual, please contact Paulmann customer service directly.