1. Prodotto finitoview
The Wokyo TF-100 6 PIN Electric Scooter Thumb Throttle with LCD Display is a versatile 2-in-1 unit designed to enhance your electric scooter's control and monitoring capabilities. It integrates both a thumb throttle for speed control and a clear LCD display for real-time data, providing a streamlined user experience.
This device is engineered for durability with a waterproof plug, ensuring reliable performance across various weather conditions. It is compatible with electric scooters that utilize Protocol 2, including models such as Kugoo M4, Kugoo Pro, Vsett, Kaabo, and Dualtron.

Image: The TF-100 Electric Thumb Throttle with LCD Display mounted on an electric scooter handlebar, illustrating its integrated design and clear display.
2. Compatibilità e note importanti
This TF-100 6-pin electric thumb throttle operates using Protocol 2. It is specifically designed for use with electric scooters that also adopt Protocol 2. Confirmed compatible models include Kugoo M4, Kugoo Pro, Vsett, Kaabo, and Dualtron electric scooters.
Importante: Prima dell'acquistoasing and installing, please verify that your electric scooter's controller uses Protocol 2 and that its cable connector is a 6-pin type. Incompatibility may lead to the product not functioning as intended.

Image: A warning sign emphasizing the product's compatibility with TF-100 system scooters and the need to check system compatibility before purchase.
3. Guida all'installazione
3.1. Controllo pre-installazione
- Ensure your scooter's power is off before beginning installation.
- Confirm the scooter's controller uses Protocol 2 and has a 6-pin connector.
- Gather necessary tools (e.g., Allen wrenches for mounting screws).
3.2. Mounting the Throttle
- Identify a suitable position on your scooter's handlebar. The throttle is designed for handlebars with a diameter of approximately 2.2 cm (0.87 inches).
- Loosen the mounting screws on the throttle's clamp.
- Position the throttle on the handlebar, ensuring the LCD display is easily visible and the thumb lever is comfortably accessible.
- Tighten the mounting screws securely, but do not overtighten to avoid damaging the handlebar or the throttle unit.

Image: The mounting clamp of the TF-100 throttle, showing its internal diameter of 2.2 cm (0.87 inches) for handlebar compatibility.

Immagine: dettagliata view of the four screws on the mounting bracket, used to secure the throttle to the handlebar.
3.3. Connessione elettrica
- Locate the 6-pin connector cable extending from the TF-100 throttle.
- Connect this cable to the corresponding 6-pin port on your electric scooter's controller. Ensure the pins align correctly before pushing the connector firmly into place. The waterproof design of the plug helps protect the connection from moisture.

Image: Pinout diagram for the 6-pin connector, detailing the function of each wire (HALL Blue, Black(-), Red(+), RT Green, XT Yellow, DS White) for proper electrical connection.
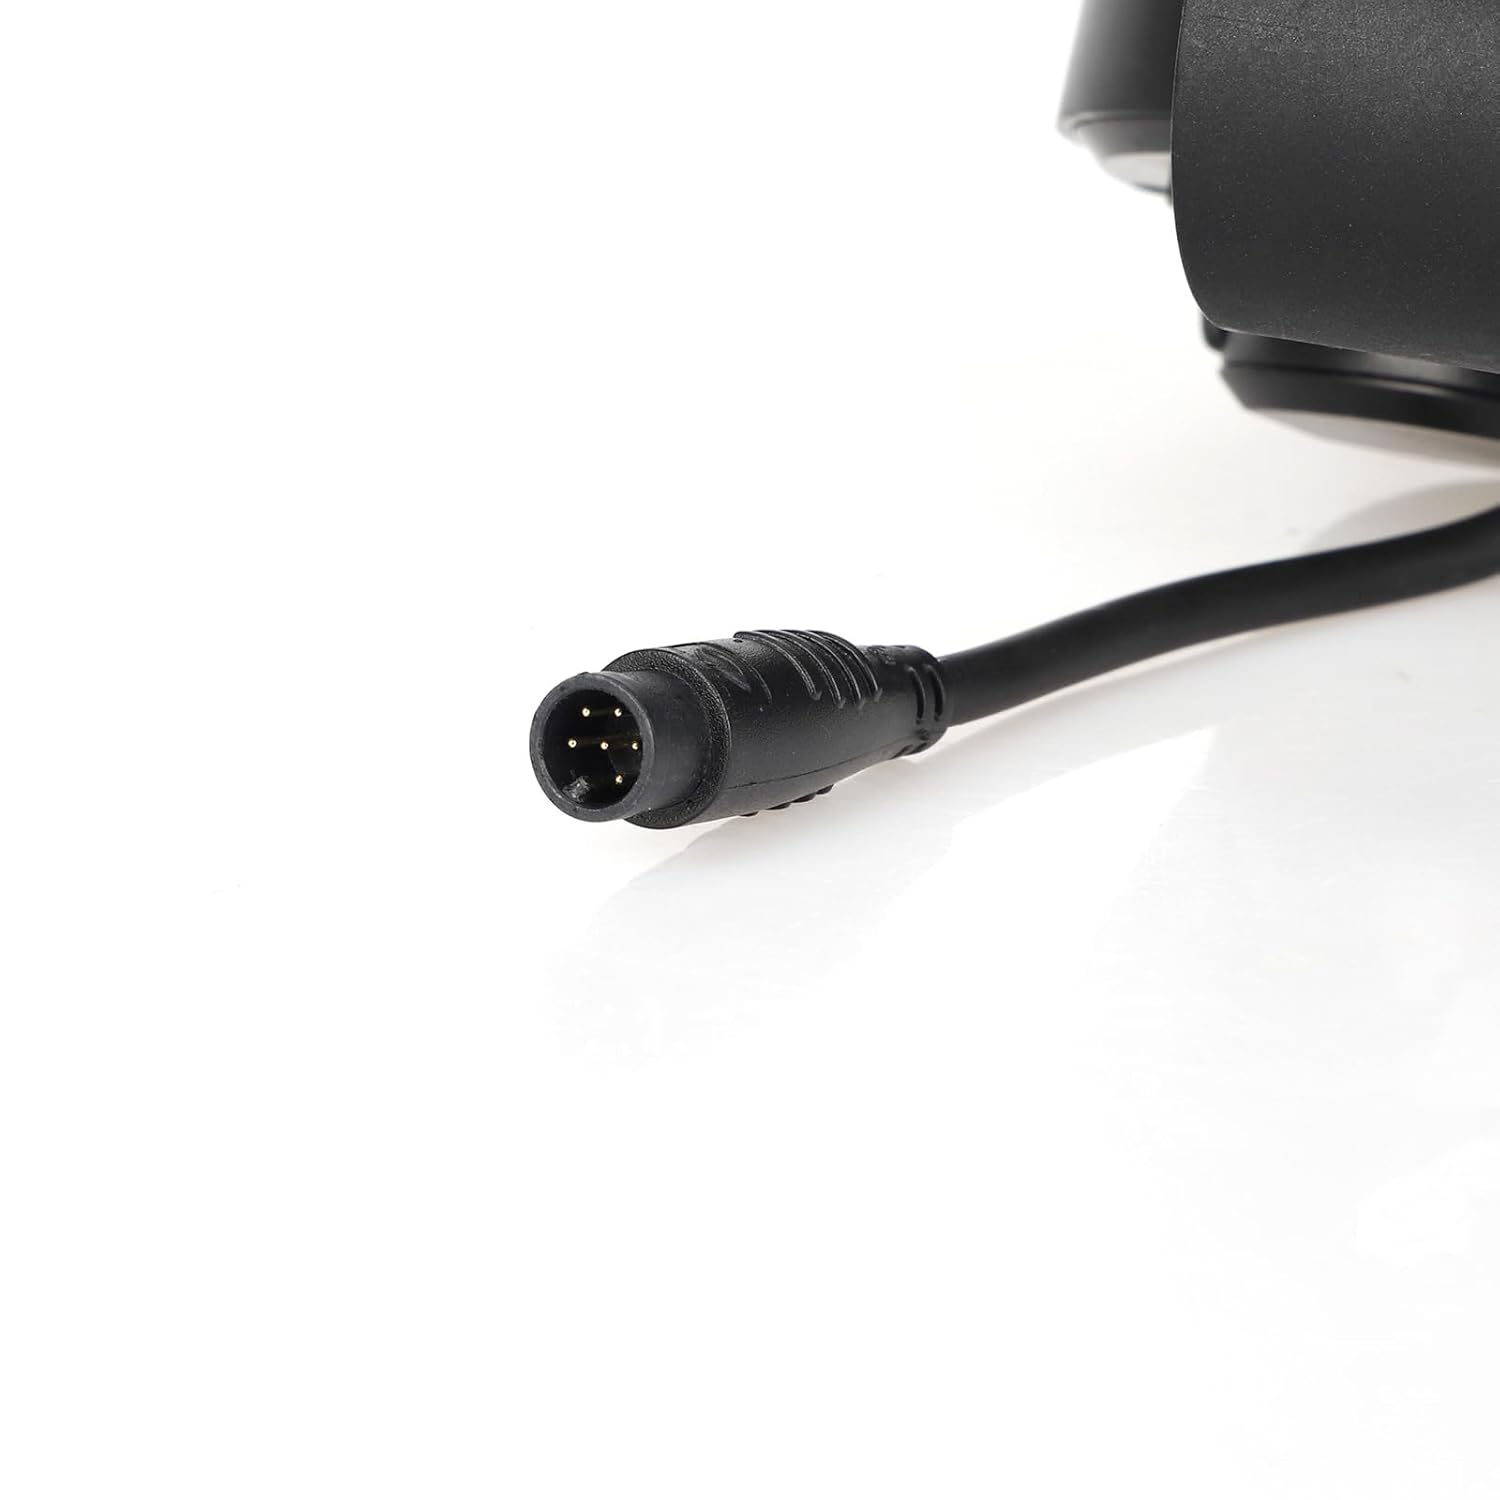
Immagine: Un dettaglio view of the 6-pin waterproof connector, highlighting its robust design for secure and protected electrical connections.
4. Istruzioni per l'uso
4.1. Accensione/Spegnimento
- Per accendere il display, tenere premuto il tasto Pulsante di accensione (red button with power symbol) located on the throttle unit.
- Per spegnere, tenere premuto il pulsante Pulsante di accensione di nuovo finché il display non si spegne.
4.2. Comprensione del display LCD
The integrated LCD display provides essential real-time information for your ride:
- Velocità: Visualizza la velocità di guida attuale (km/h o mph).
- Livello della batteria: Indica la carica residua della batteria.
- Distanza percorsa: Shows trip distance or total odometer reading.
- Gear/Mode: May indicate current gear or riding mode (e.g., Eco, Normal, Sport).
- Luci di segnalazione: Other icons may illuminate for specific functions or warnings.

Immagine: un primo piano view of the TF-100 LCD display, clearly showing the digital speed reading, battery indicator, and trip odometer.
4.3. Accelerating and Adjusting Speed
- To accelerate, gently press the thumb lever forward. The further you press, the faster the scooter will go.
- To decelerate, release the thumb lever.
- The throttle provides a convenient and ergonomic way to control your electric scooter's speed with precision.

Immagine: Un dettaglio view of the thumb lever, which is used to control the scooter's acceleration and speed.
4.4. Mode Button Functionality
IL Pulsante MODE allows you to cycle through different display modes or settings. Short press to switch between display parameters (e.g., Trip distance, Odometer). Long press may enter settings menu (refer to your scooter's main controller manual for specific display settings if applicable).
5. Manutenzione
- Pulizia: Wipe the display and throttle unit with a soft, damp stoffa. Evitare l'uso di detergenti o solventi abrasivi.
- Resistenza all'acqua: The unit features a waterproof plug, making it resistant to splashes and light rain. However, avoid submerging the unit in water.
- Verifica della connessione: Periodically check the 6-pin connector to ensure it remains securely plugged in and free from debris.
- Magazzinaggio: When not in use for extended periods, store the scooter and throttle in a dry, cool place away from direct sunlight.
6. Risoluzione Dei Problemi
| Problema | Possibile causa | Soluzione |
|---|---|---|
| Il display non si accende. |
|
|
| L'acceleratore non risponde. |
|
|
| Letture imprecise di velocità/distanza. |
|
|
7. Specifiche
| Caratteristica | Dettaglio |
|---|---|
| Numero di modello | 6 PIN (TF-100) |
| Compatibilità | Electric scooters with Protocol 2 (e.g., Kugoo M4/Pro, Vsett, Kaabo, Dualtron) |
| Voltage Compatibilità | 24V/36V/48V (as per product title) |
| Tipo di connettore | 6-pin waterproof plug |
| Materiale | Acrilonitrile Butadiene Stirene (ABS) |
| Dimensioni articolo (L x P x A) | 11 x 9.4 inches (approximate, based on product data) |
| Peso dell'articolo | 0.2 libbre |
| Tipo di visualizzazione | LCD (Speed, Battery Level, Distance, Gear/Mode) |

Image: The TF-100 throttle unit, highlighting its 6-pin connector and indicating compatibility with 36V-48V systems.
8. Garanzia e supporto
For warranty information and customer support, please refer to the documentation provided with your purchase or contact Wokyo customer service directly through their official channels. Ensure you have your product model number (6 PIN) and purchase details ready when seeking support.
Wokyo is committed to customer satisfaction and aims to provide a positive experience with their products.