
1. Introduzione
This manual provides essential information for the safe and efficient operation of your MLJ 8.1 Cu. Ft. Biometric Security Safe. Please read these instructions carefully before installation and use, and retain them for future reference. This safe is designed to protect valuables, documents, and other important items from unauthorized access, fire, and water damage.
2. Informazioni sulla sicurezza
- Always store emergency keys and the user manual in a secure location away from the safe. Do not store them inside the safe.
- Ensure the safe is installed on a stable, level surface or securely mounted to the floor as instructed to prevent tipping.
- Keep the safe door closed and locked when not in use to maintain security.
- Non esporre la cassaforte a temperature o umidità estreme.
- Keep children and unauthorized individuals away from the safe and its keys/codes.
3. Caratteristiche del prodotto
3.1 Capacity and Interior
The safe offers 8.1 cubic feet of storage capacity. It includes two removable and adjustable shelves and one inner cabinet for organized storage of various items such as jewelry, documents, and medicines.
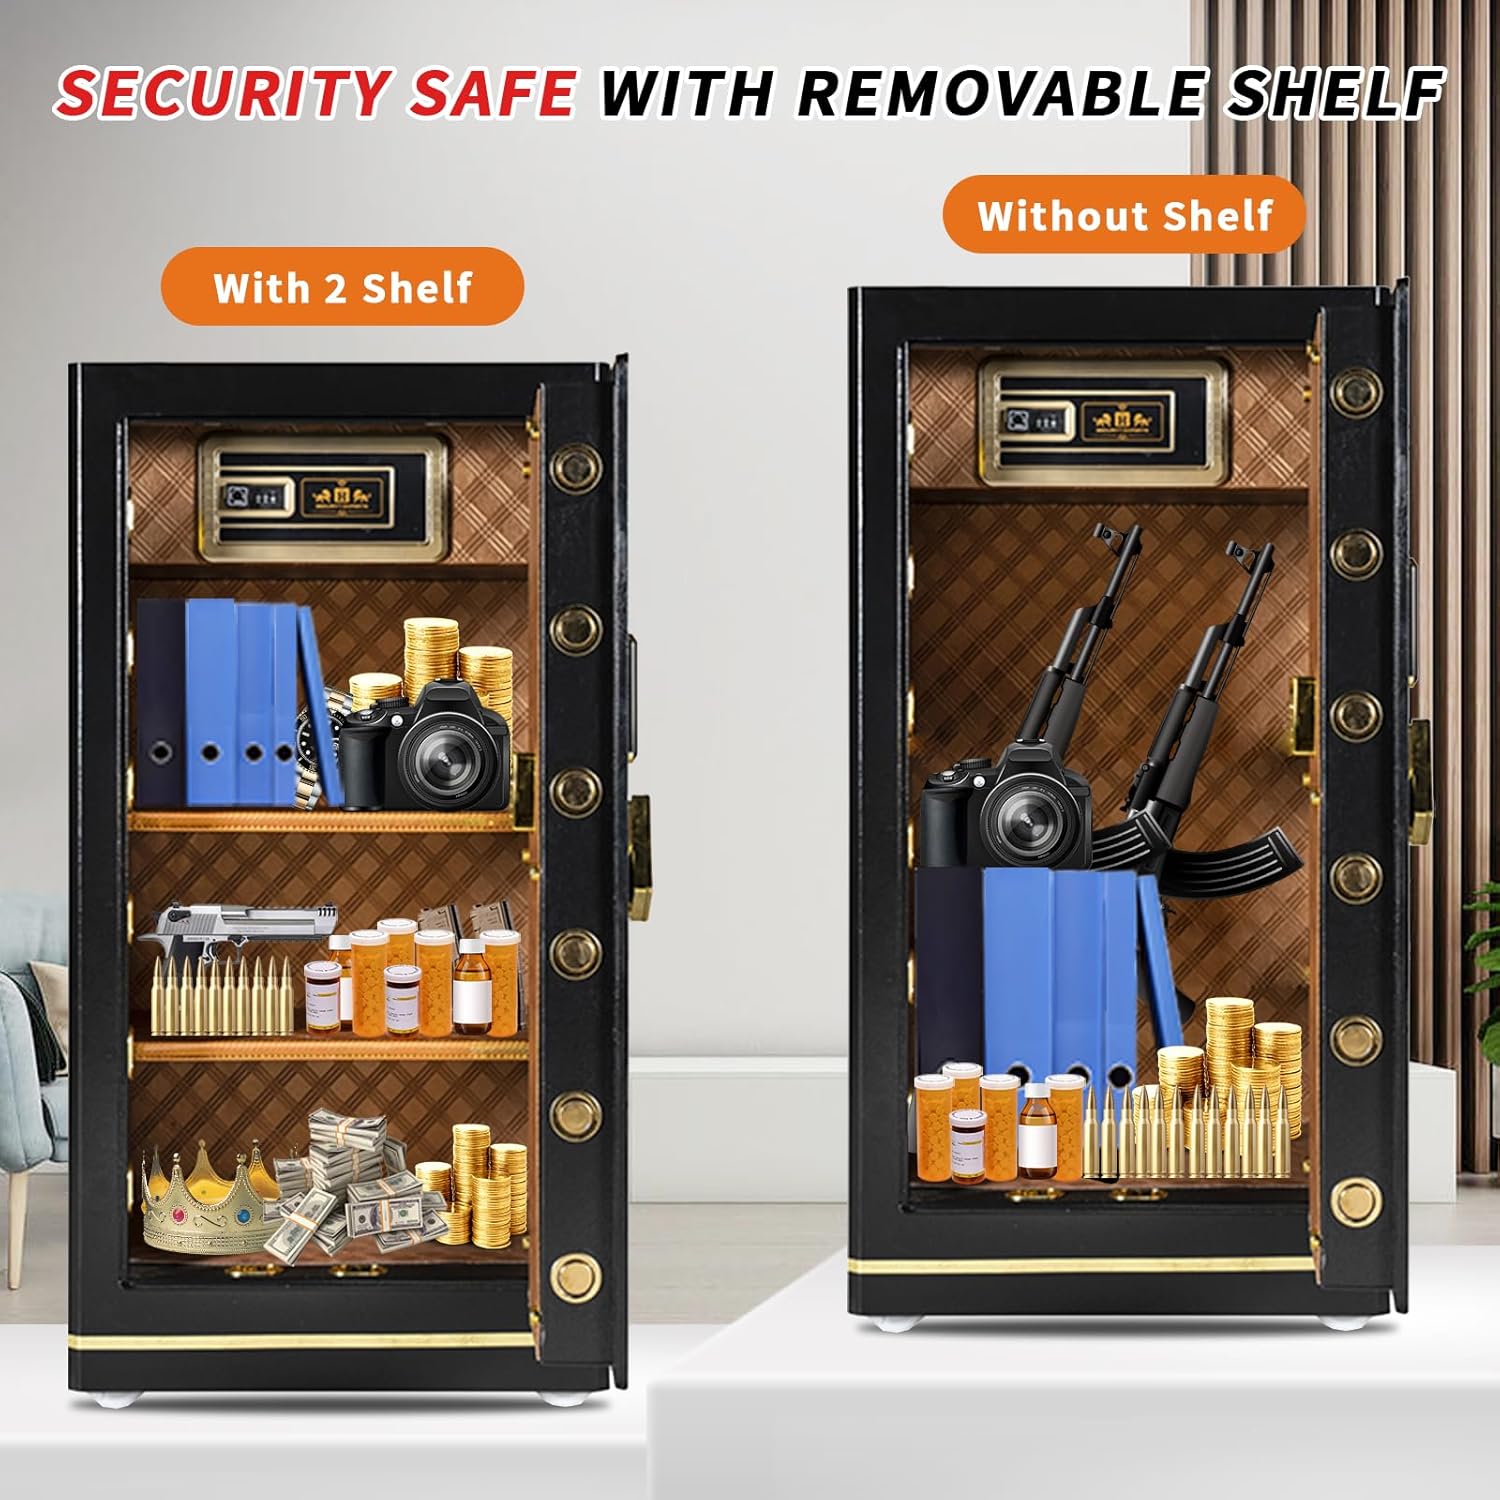
Image: Interior of the safe demonstrating storage with and without removable shelves.

Image: Detail of the movable partitions for flexible storage.

Image: High-quality interior lining for protection.

Image: Metal basket for small item storage.
3.2 Costruzione
The safe is constructed from 5-layer robust cold-rolled low carbon steel. It utilizes advanced laser cutting technology for a seamless design, enhancing resistance against prying, smashing, and drilling attempts. The door features 10 live bolts and dual anti-impact hinges for robust security.
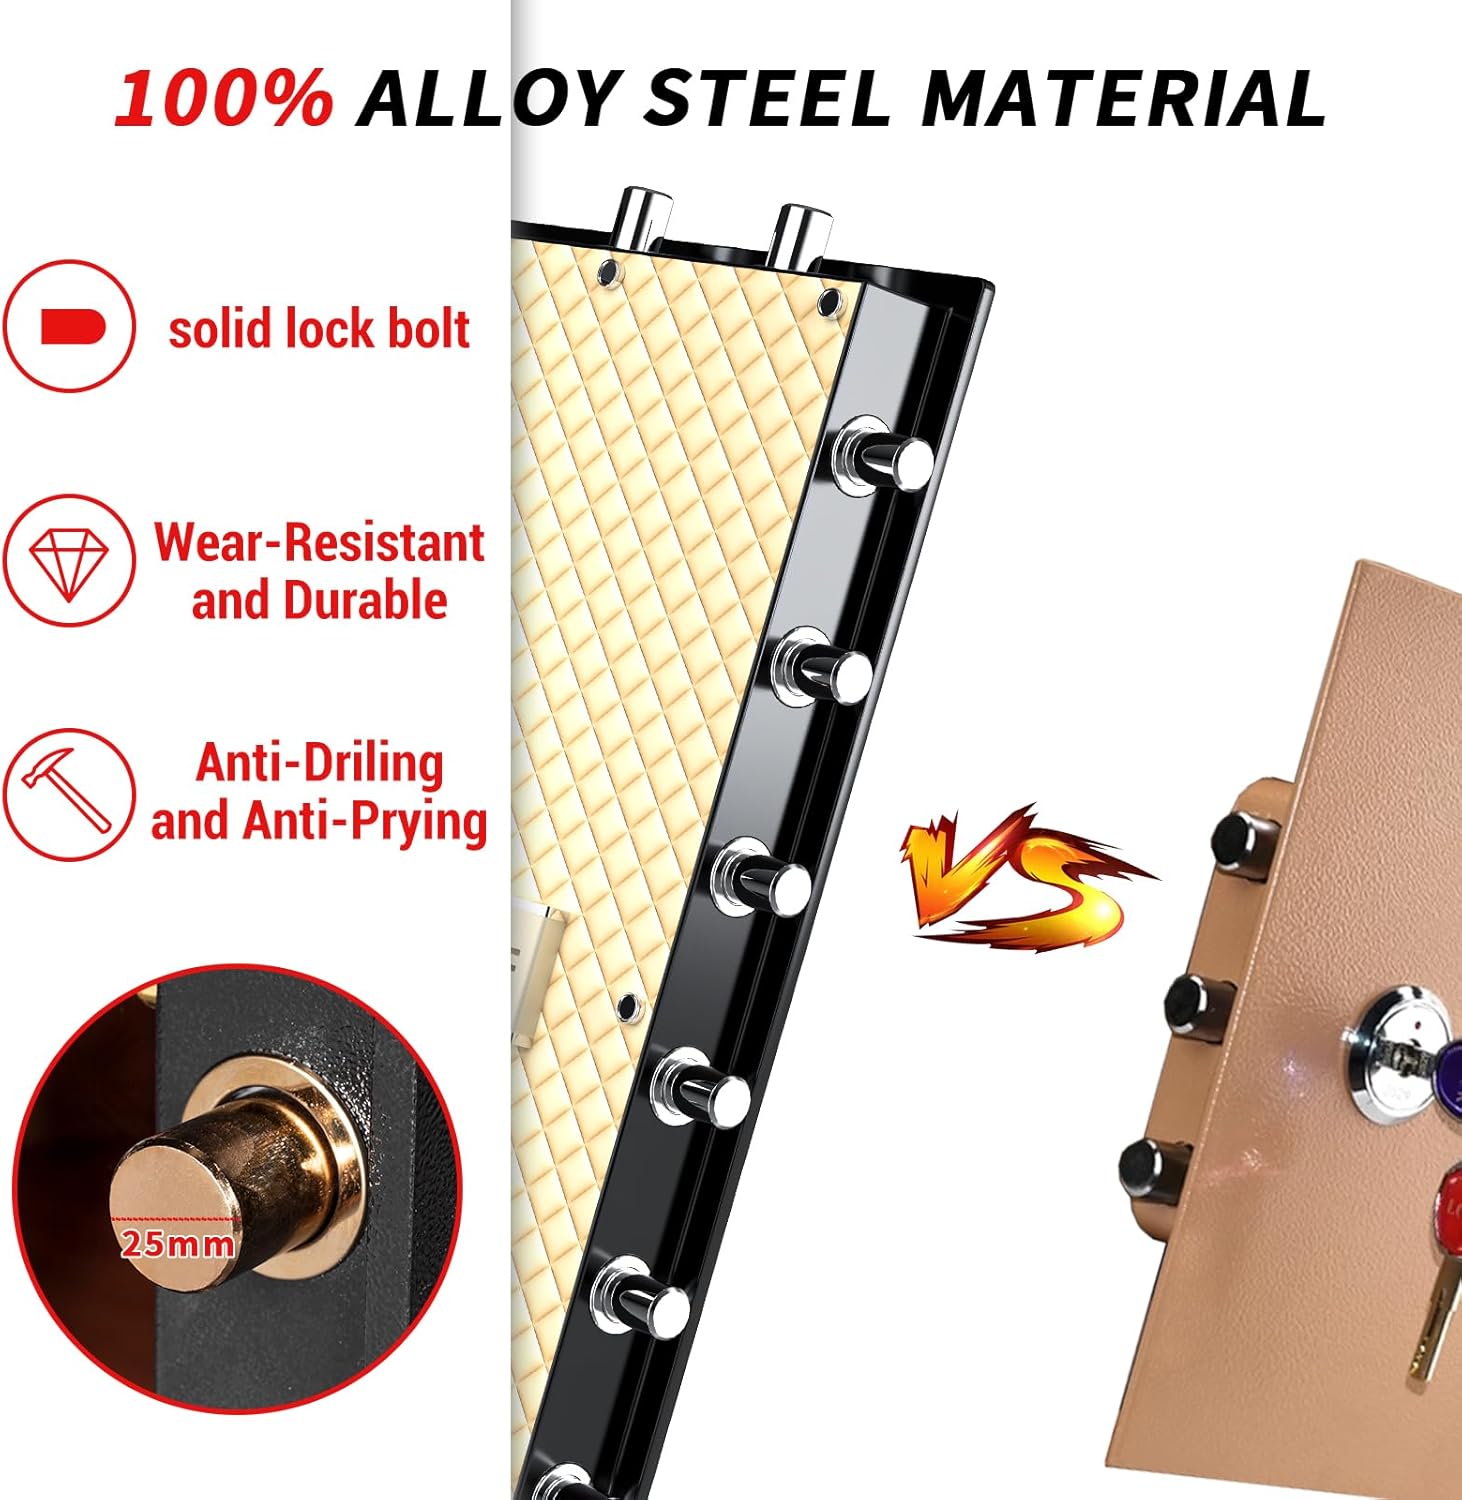
Image: Illustration of the safe's alloy steel material and solid lock bolts.
Sistema di allarme 3.3
La cassaforte è dotata di almenoamper and motion-sensitive alarm system. If incorrect codes are entered repeatedly (typically three times), or if the safe experiences violent vibration or illegal movement, a high-decibel alarm (exceeding 70dB) will activate to alert you to potential unauthorized access.
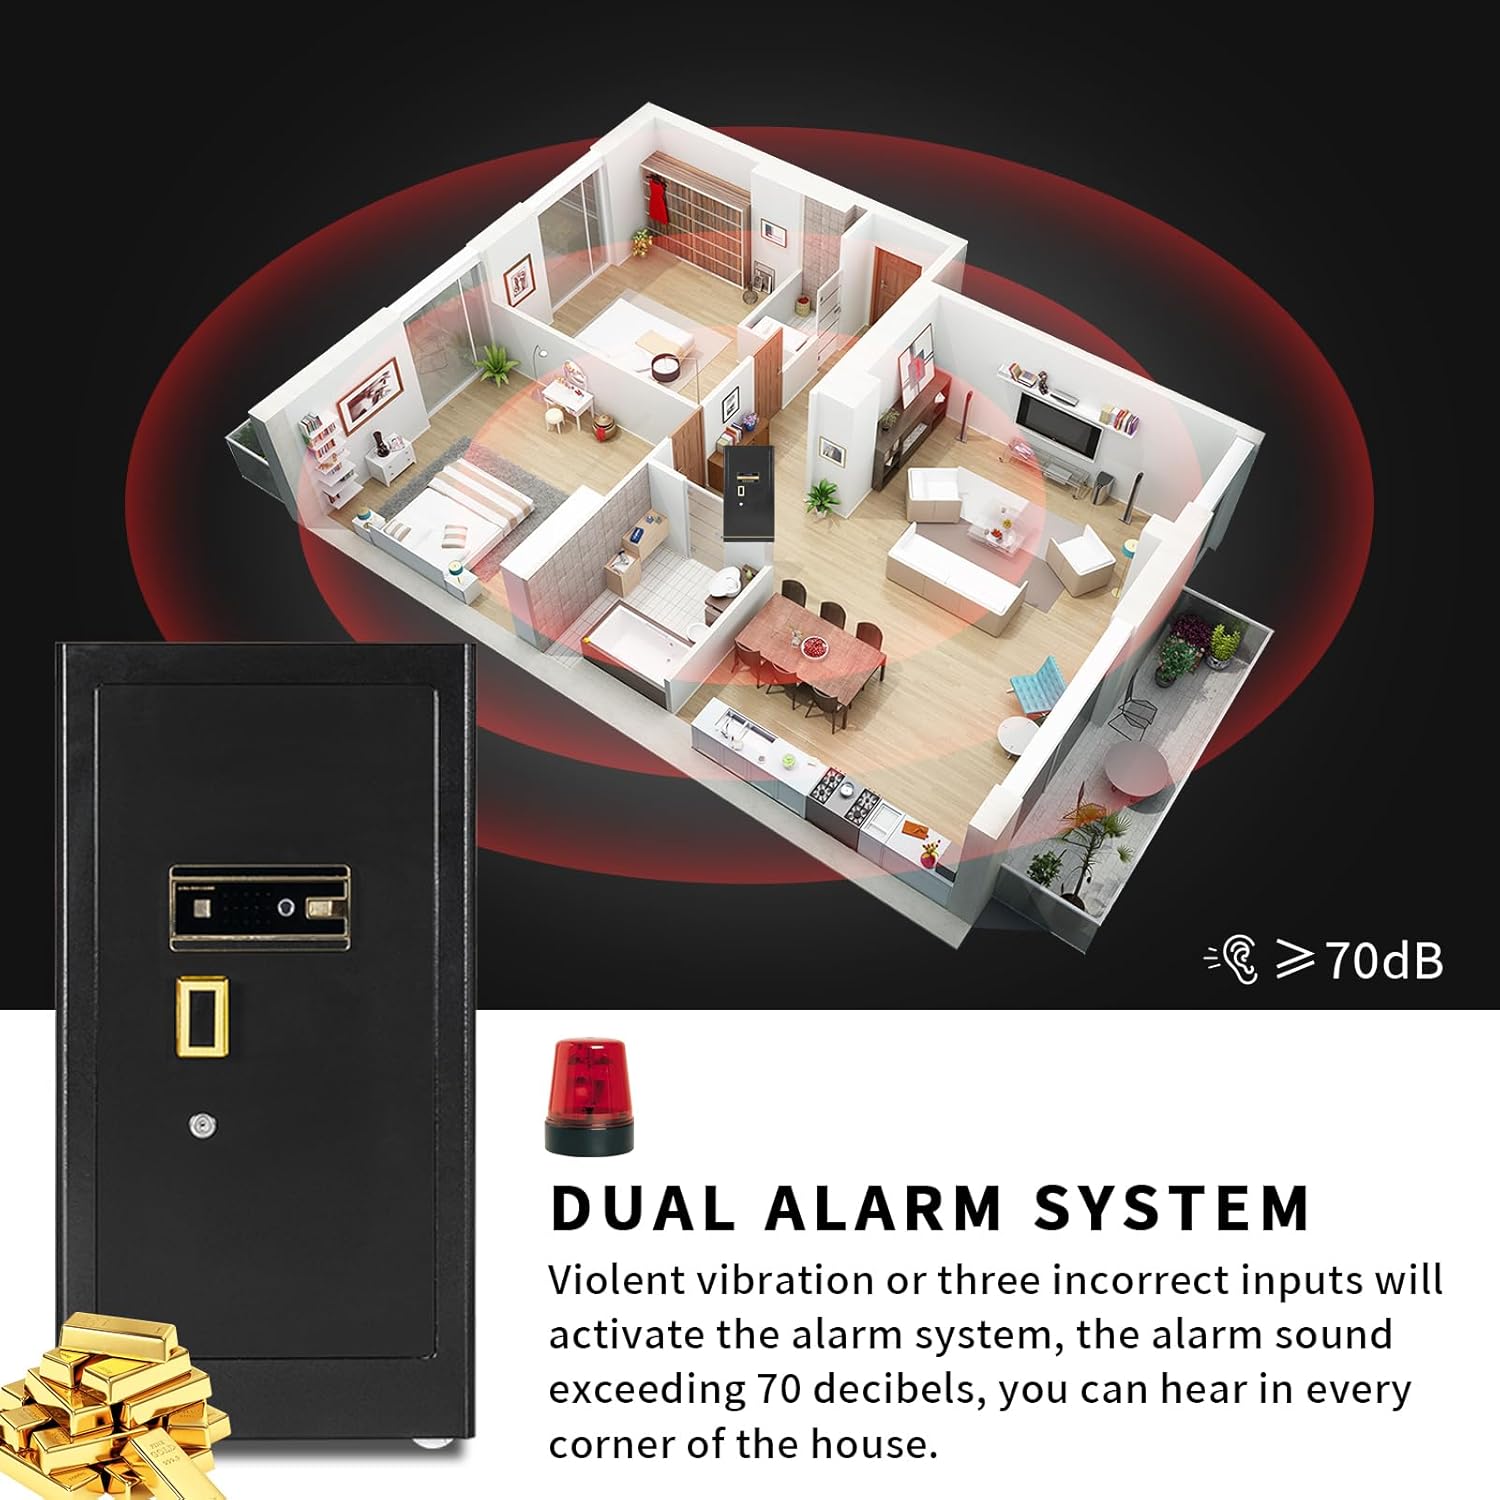
Image: Visual representation of the dual alarm system's coverage.
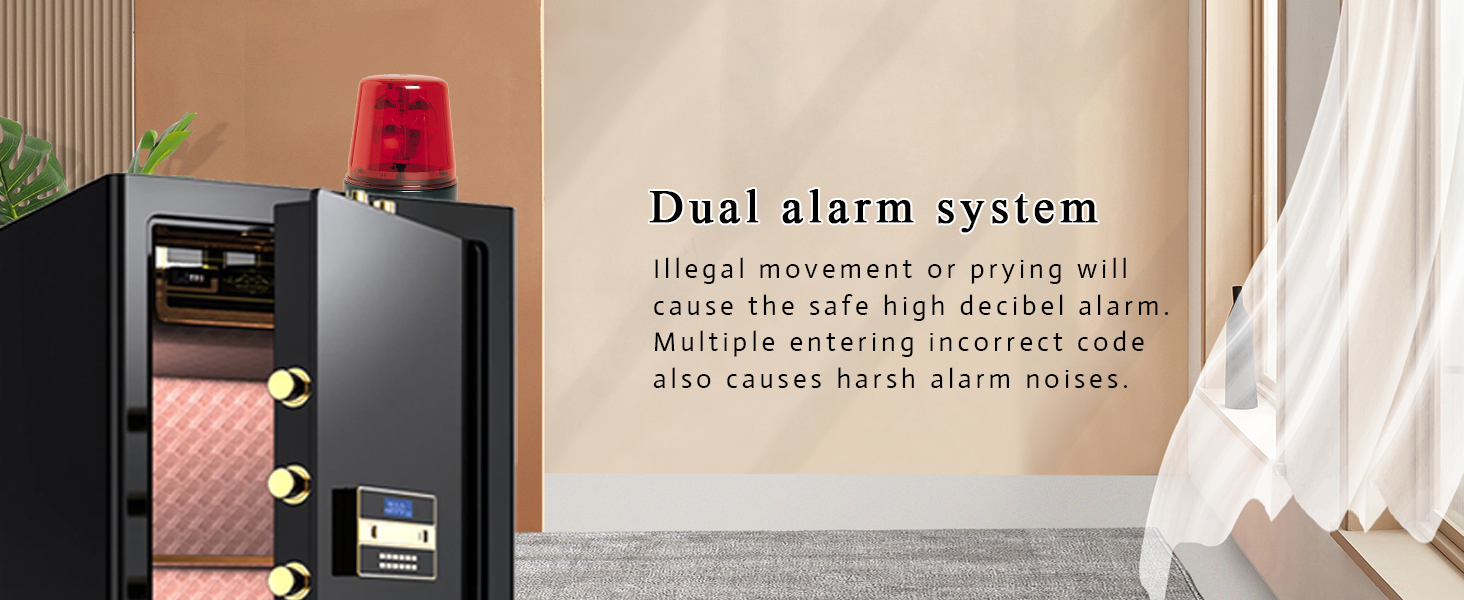
Image: The safe's dual alarm system in action.
3.4 Video Oltreview
Video: Un oltreview of the MLJ 8.1 cu. ft. Single Door Safe, demonstrating its features and functionality.
4. Contenuto della confezione
Si prega di controllare attentamente il pacco per assicurarsi che siano presenti tutti gli articoli:
- 1 x MLJ 8.1 Cu. Ft. Biometric Security Safe
- 1 x Manuale utente
- 2 x Mounting Screws (Expansion Screws)
- 1 x Fireproof Waterproof Document Bag
- 3 x Emergency Keys (Main Key, Auxiliary Key, Emergency Key)
- 1 x scatola di alimentazione esterna

Image: All items included in the package.
5. Guida all'installazione
5.1 Disimballaggio e ispezione iniziale
- Estrarre con cautela la cassaforte dall'imballaggio.
- Ispezionare la cassaforte per verificare eventuali segni di danni durante il trasporto. In caso di danni, contattare immediatamente l'assistenza clienti.
- Individuare tutti gli accessori inclusi come elencato nella Sezione 4.
5.2 Installazione delle batterie
The safe requires batteries for the electronic lock and fingerprint scanner. Use the external power box if the safe is completely without power for initial setup.
- Open the battery compartment, usually located on the inside of the safe door or on the back of the keypad.
- Inserire le batterie necessarie (in genere AA, non incluse) rispettando la polarità indicata.
- Chiudere bene il vano batterie.
5.3 Montaggio della cassaforte
Per una maggiore sicurezza, si consiglia di montare la cassaforte sul pavimento o sulla parete utilizzando le viti di espansione fornite.
- Scegliere una posizione adatta per la cassaforte, assicurandosi che sia in piano e stabile.
- Segnare i punti di foratura attraverso i fori preforati nella parte inferiore o posteriore della cassaforte.
- Praticare dei fori pilota nel pavimento o nella parete utilizzando una punta da trapano adatta.
- Allineare la cassaforte con i fori praticati e inserire le viti di espansione.
- Tighten the screws firmly to secure the safe in place.
6. Istruzioni per l'uso
6.1 Apertura iniziale
For the first use or if the batteries are completely depleted, use the emergency keys:
- Insert the Main Key into the main lock cylinder.
- Insert the Auxiliary Key into the auxiliary lock cylinder.
- Turn both keys simultaneously to open the safe door.
6.2 Setting/Changing Passcode
The safe uses a 3-8 digit programmable master PIN code.
- Con lo sportello della cassaforte aperto, premere il pulsante di reset interno (solitamente un piccolo pulsante rosso).
- Inserisci il codice di accesso desiderato, composto da 3-8 cifre, sulla tastiera.
- Press the '#' or 'confirm' button to save the new passcode.
- Provare il nuovo codice di accesso con la porta aperta prima di chiuderla.
6.3 Registrazione delle impronte digitali
Refer to the specific instructions in your user manual for detailed steps on registering fingerprints, as procedures may vary slightly.
- With the safe door open, initiate the fingerprint registration mode (often by pressing a specific button or sequence).
- Place your finger on the scanner multiple times as prompted until registration is complete.
- Test the registered fingerprint with the door open.
6.4 Metodi di sblocco
Your safe offers multiple unlocking options:
- Apertura di emergenza: Main Key + Auxiliary Key + Emergency Key (for initial use or battery depletion).
- Standard Opening (Biometric): Main Key + Auxiliary Key + Fingerprint.
- Standard Opening (Digital Code): Main Key + Auxiliary Key + Password.
- Enhanced Security Mode: Fingerprint + Password + Main Key + Auxiliary Key.
- Quick Access (Keys Removed): Fingerprint Only OR Password Only (after the main and auxiliary keys are removed from their horizontal positions).
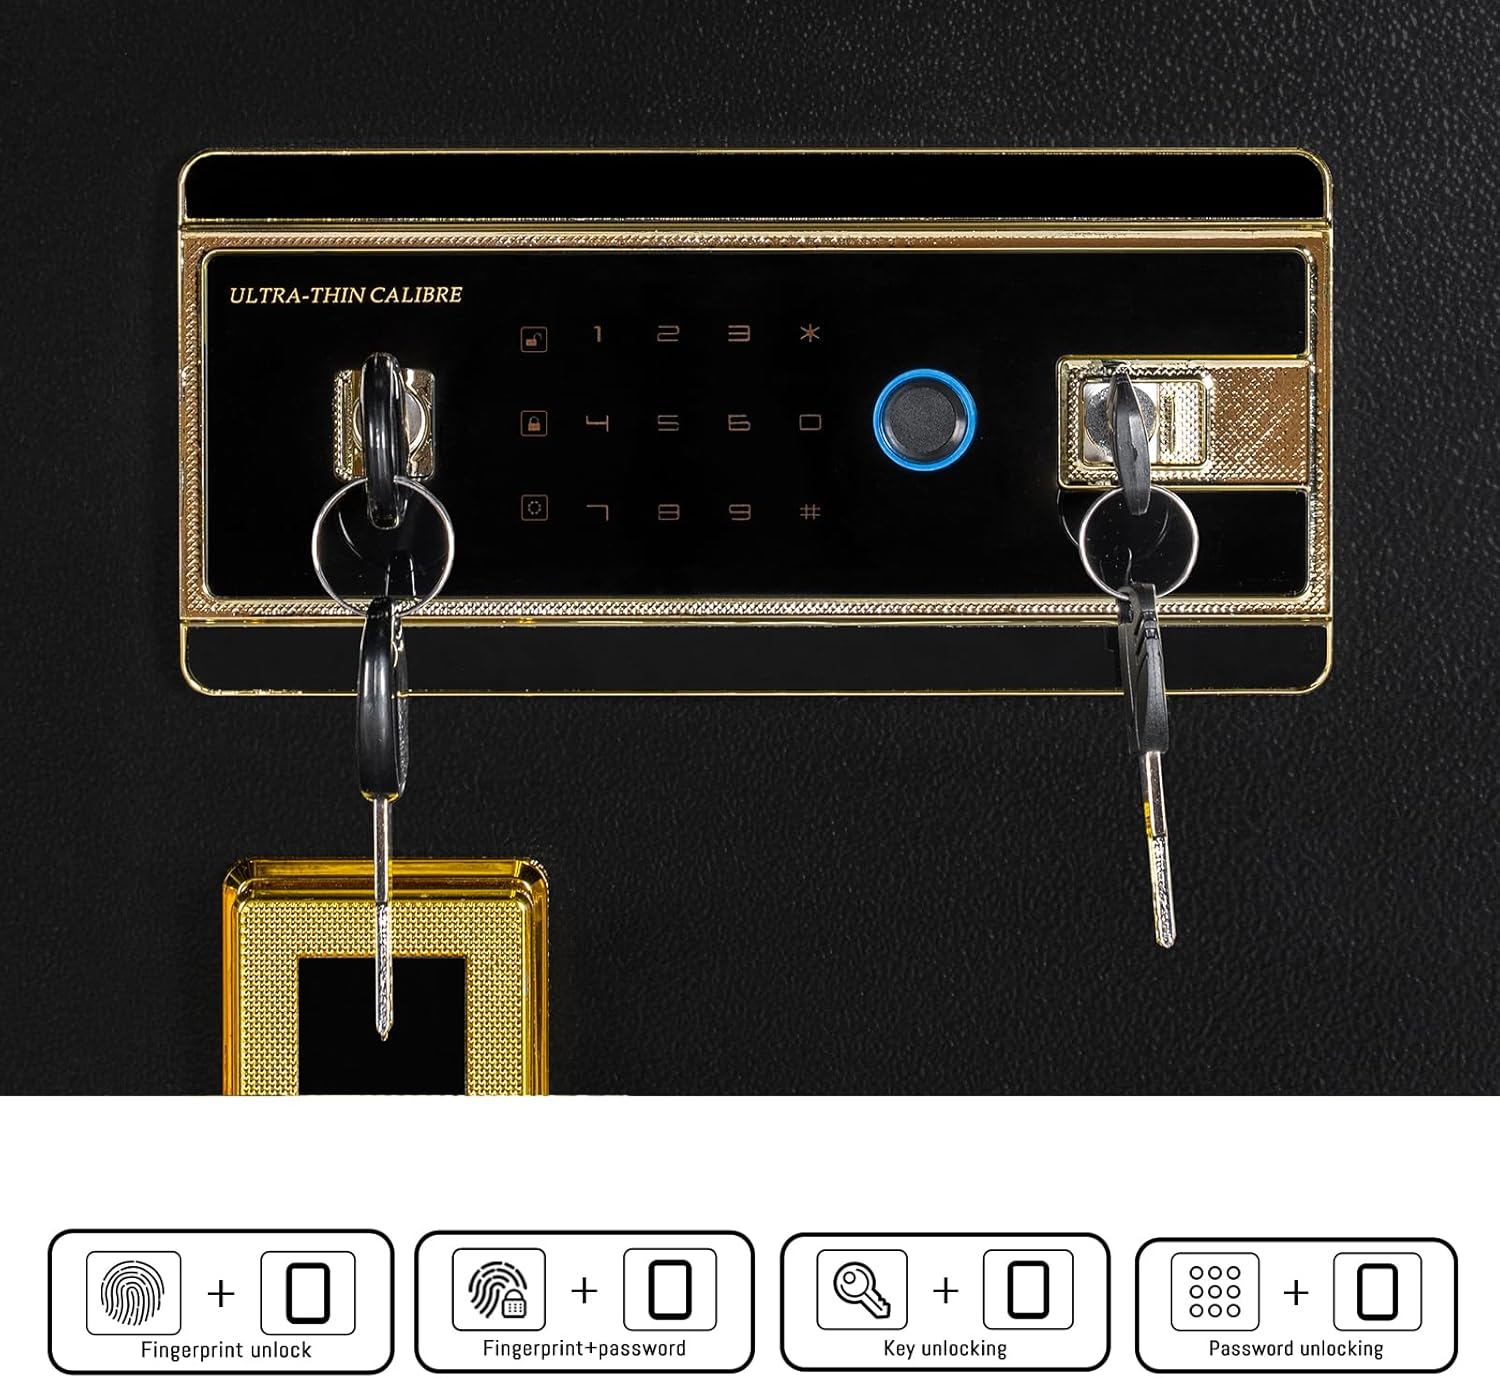
Image: The safe's multi-function lock panel and various unlocking methods.

Image: Different types of multi-function locks available.
7. Manutenzione
7.1 Sostituzione della batteria
When the battery indicator shows low power, replace all batteries promptly to avoid being locked out. Use the external power box or emergency keys if the batteries die completely.
7.2 Pulizia
Pulisci l'esterno della cassaforte con un panno morbido eamp cloth. Avoid abrasive cleaners or solvents that could damage the finish or electronic components. Keep the fingerprint scanner clean and dry for optimal performance.
7.3 Gestione delle chiavi
Keep emergency keys in a secure, hidden location outside the safe. Do not duplicate keys unless absolutely necessary, and ensure any duplicates are also stored securely.
8. Risoluzione Dei Problemi
- La cassaforte non si apre con codice/impronta digitale: Ensure batteries are not low. Try using the external power box. Re-enter the code carefully. Re-scan your finger, ensuring it is clean and properly positioned. If issues persist, use the emergency keys.
- L'allarme scatta inaspettatamente: Check if the safe has been moved or subjected to strong vibrations. Ensure no incorrect codes were entered. The alarm will reset after a period or upon successful unlocking.
- La tastiera non risponde: Check battery levels. If using the external power box, ensure it is correctly connected.
- Keys do not turn: Ensure the correct keys are being used and are fully inserted. Do not force the keys.
9. Specifiche
| Caratteristica | Dettaglio |
|---|---|
| Marca | MLJ |
| Numero di modello | LARGE SAFE BOX |
| Capacità | 8.1 piedi cubi |
| Dimensioni del prodotto (P x L x A) | 17.33"P x 20.5"L x 39.4"A |
| Peso dell'articolo | 101.4 libbre |
| Tipo di blocco | Biometric (Fingerprint), Digital Keypad, Key |
| Materiale | Cold-rolled low carbon steel |
| Caratteristiche speciali | Alarm System, Sensor Light, Anti-Theft, Fire Resistant, Removable Shelf, Waterproof |
| Tipo di montaggio | Montaggio a pavimento |
| Colore | Nero |

Image: Product dimensions of the safe.
10. Garanzia e supporto
For warranty information, technical support, or any questions regarding your MLJ Security Safe, please refer to the contact information provided with your purchase documentation or visit the official MLJ websito. Conservare la ricevuta d'acquisto come prova d'acquisto per eventuali reclami in garanzia.